
PDF · A4 · 50 KB · Free, no sign-up. For home and classroom use.
How to draw a tree
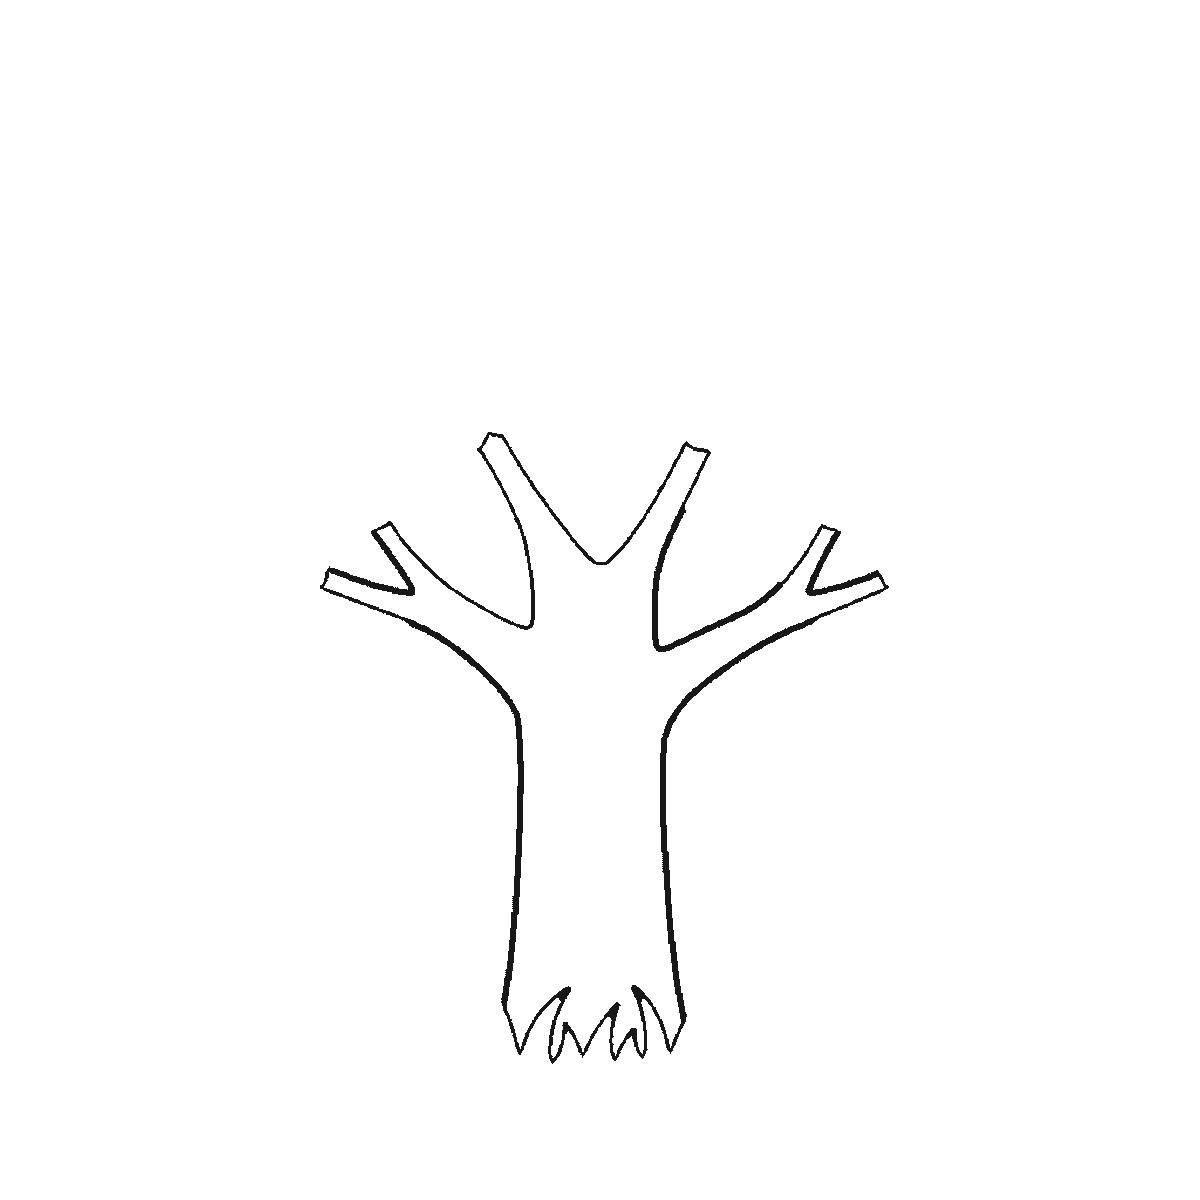
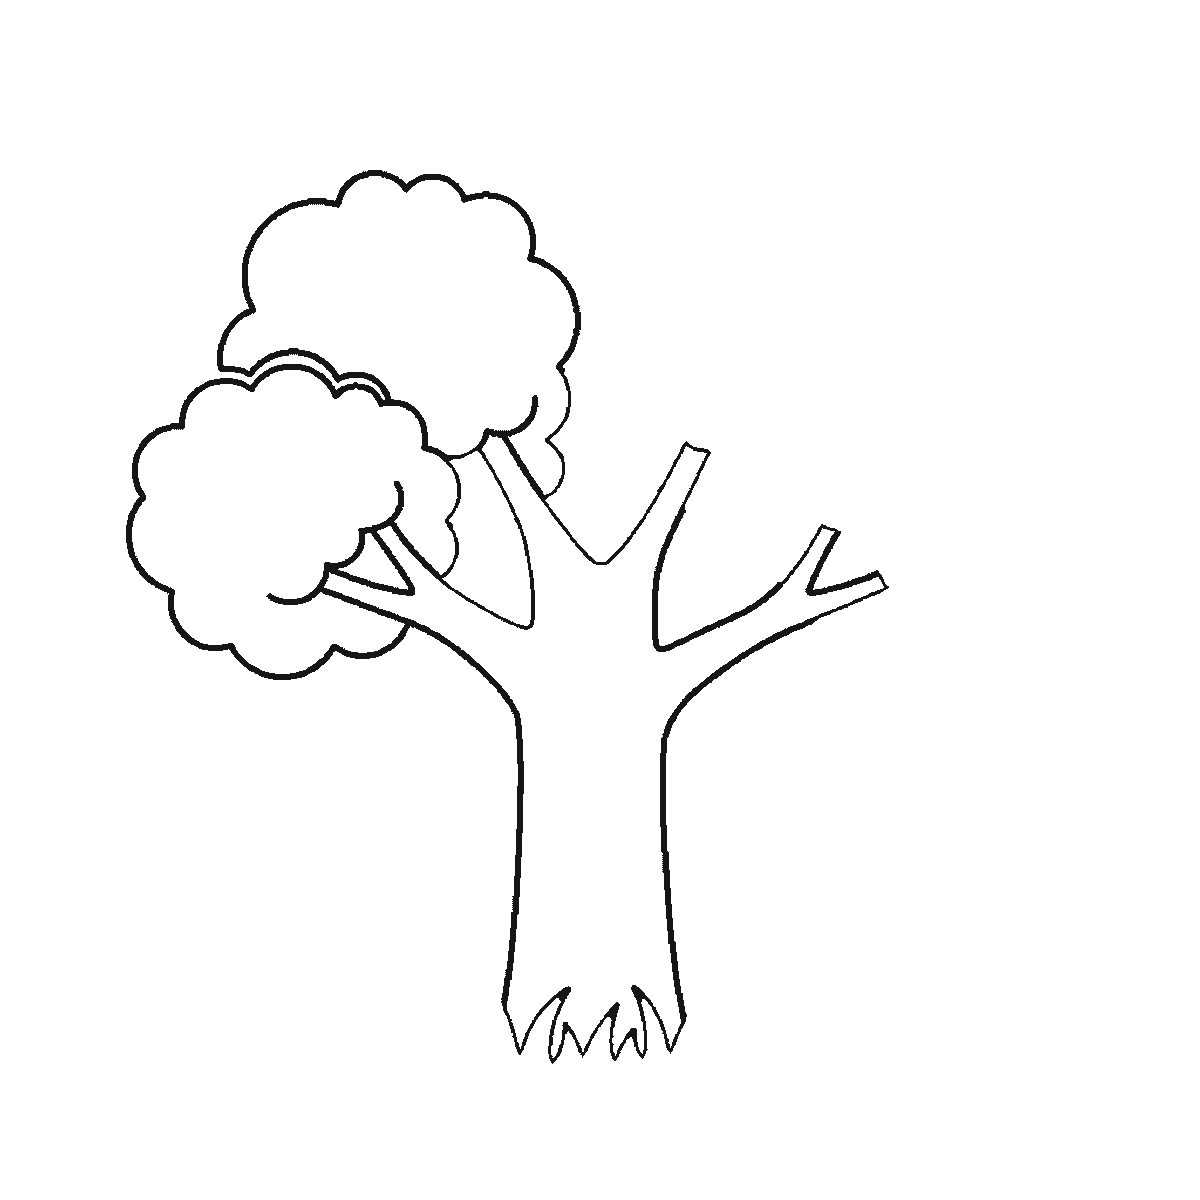
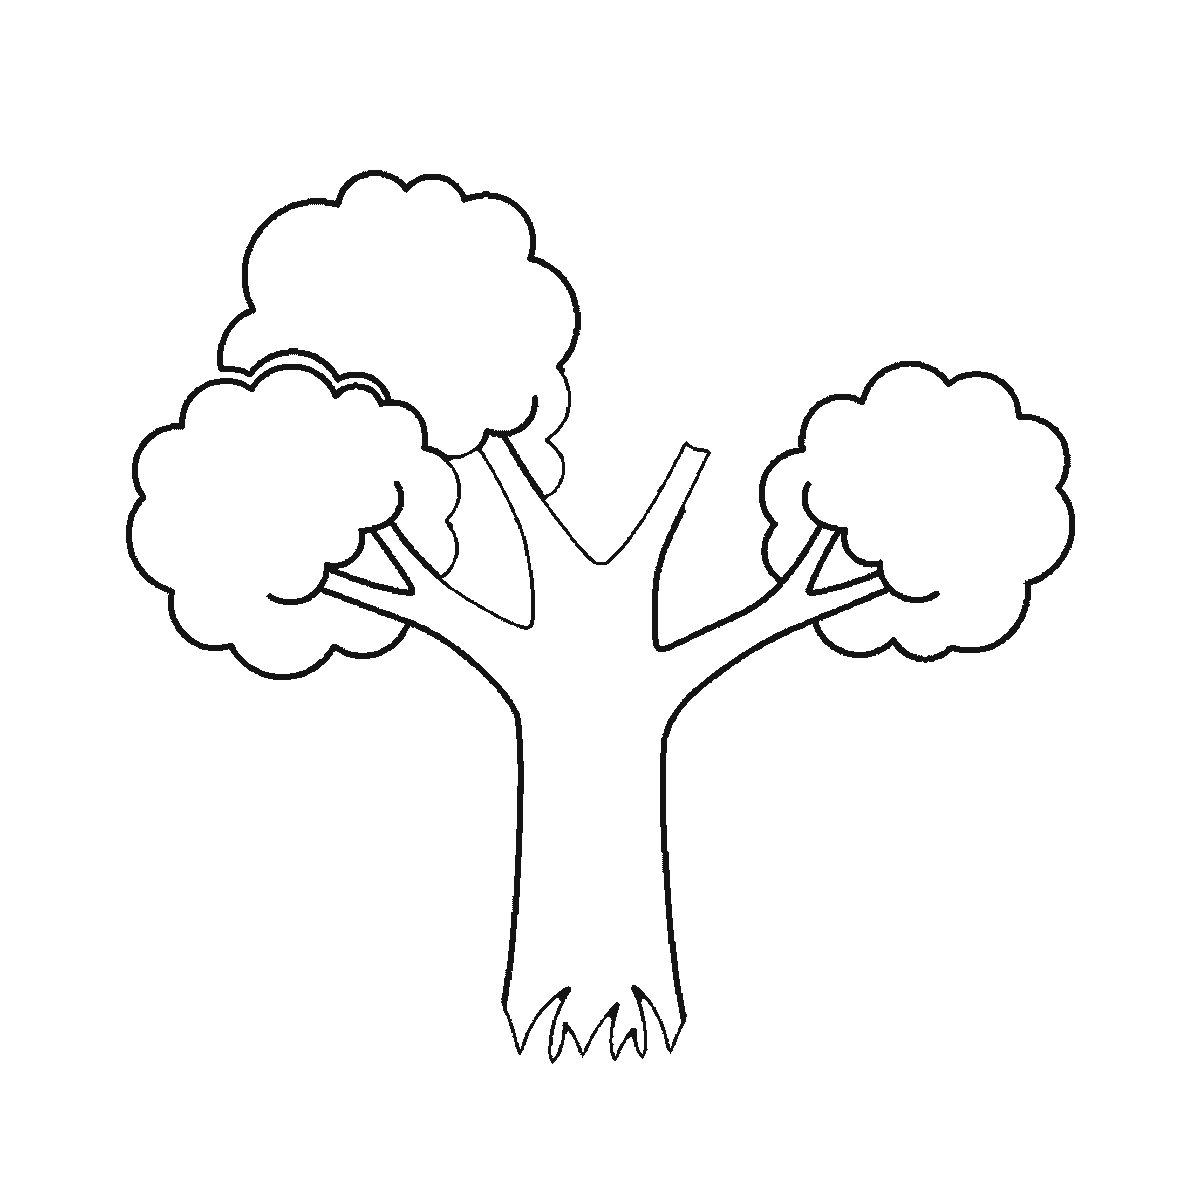
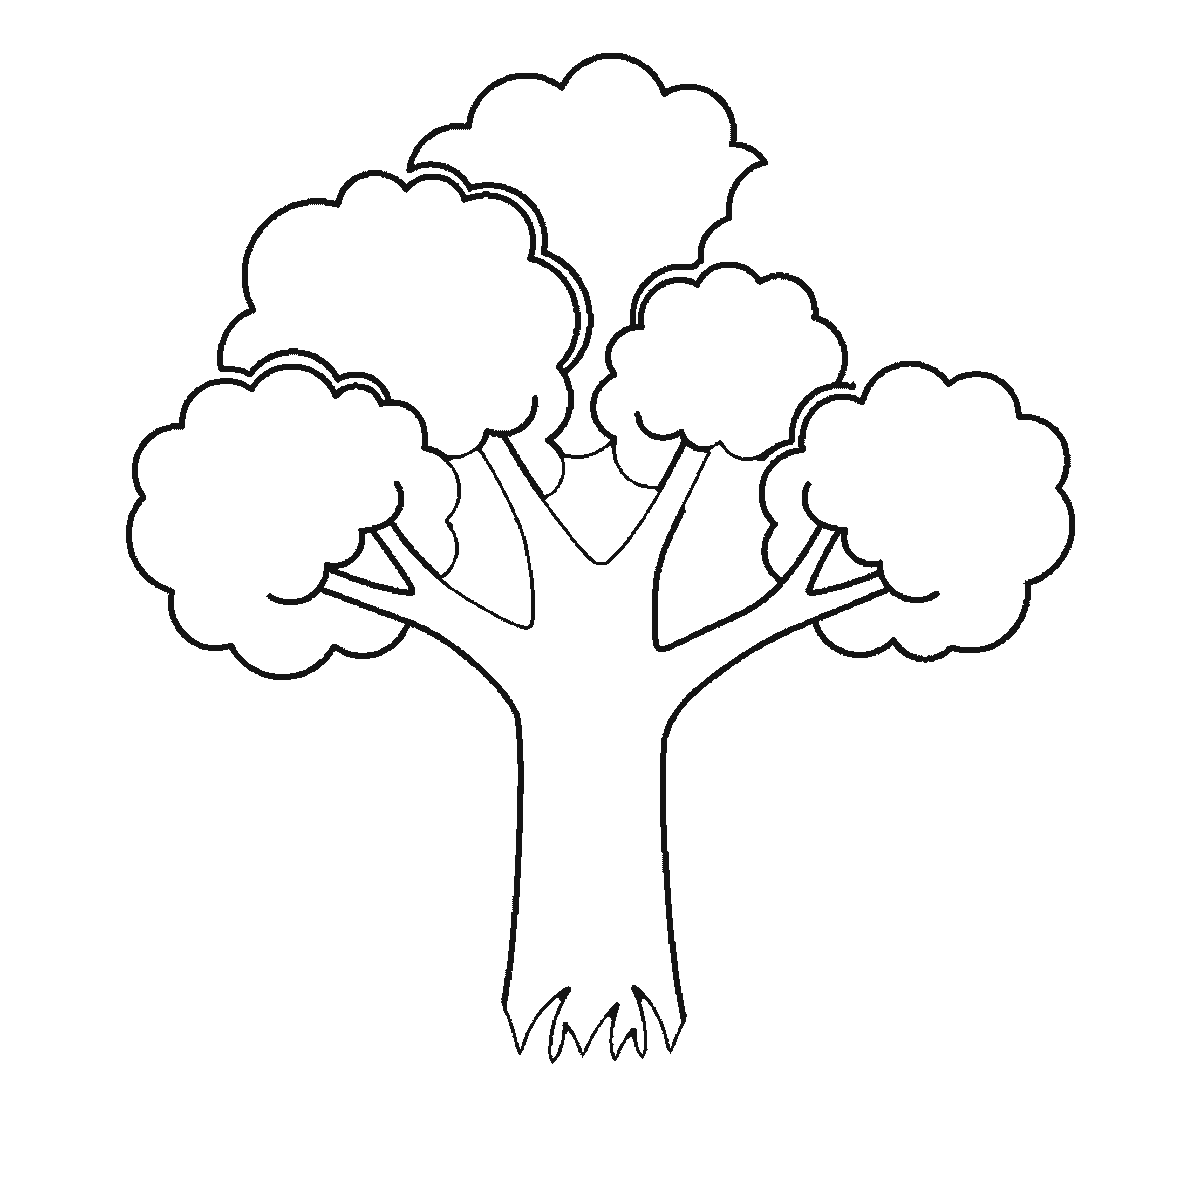
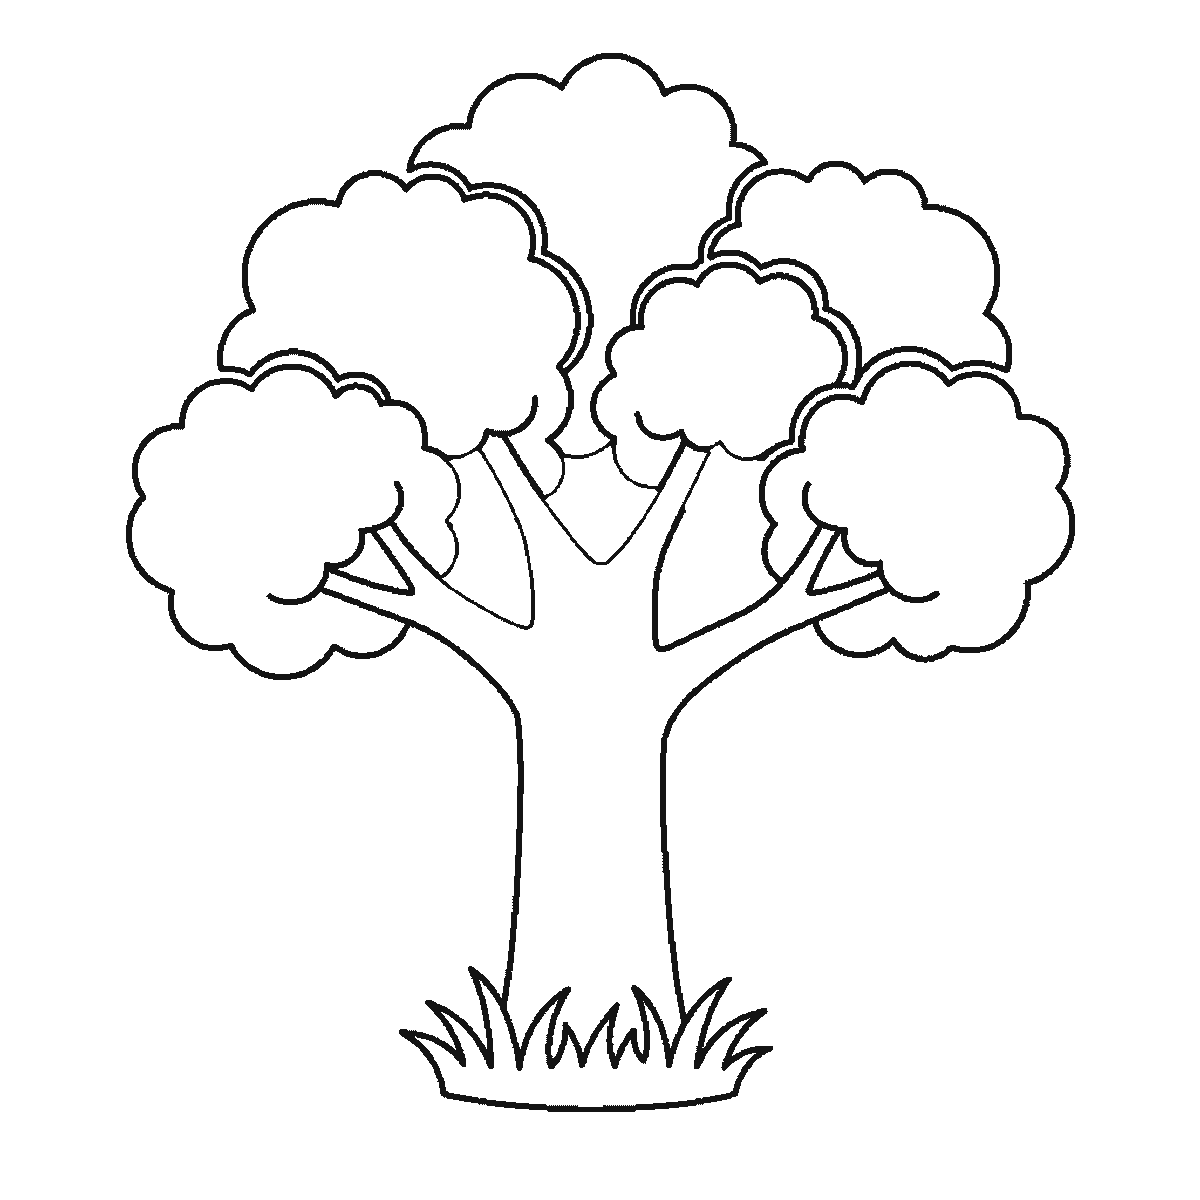
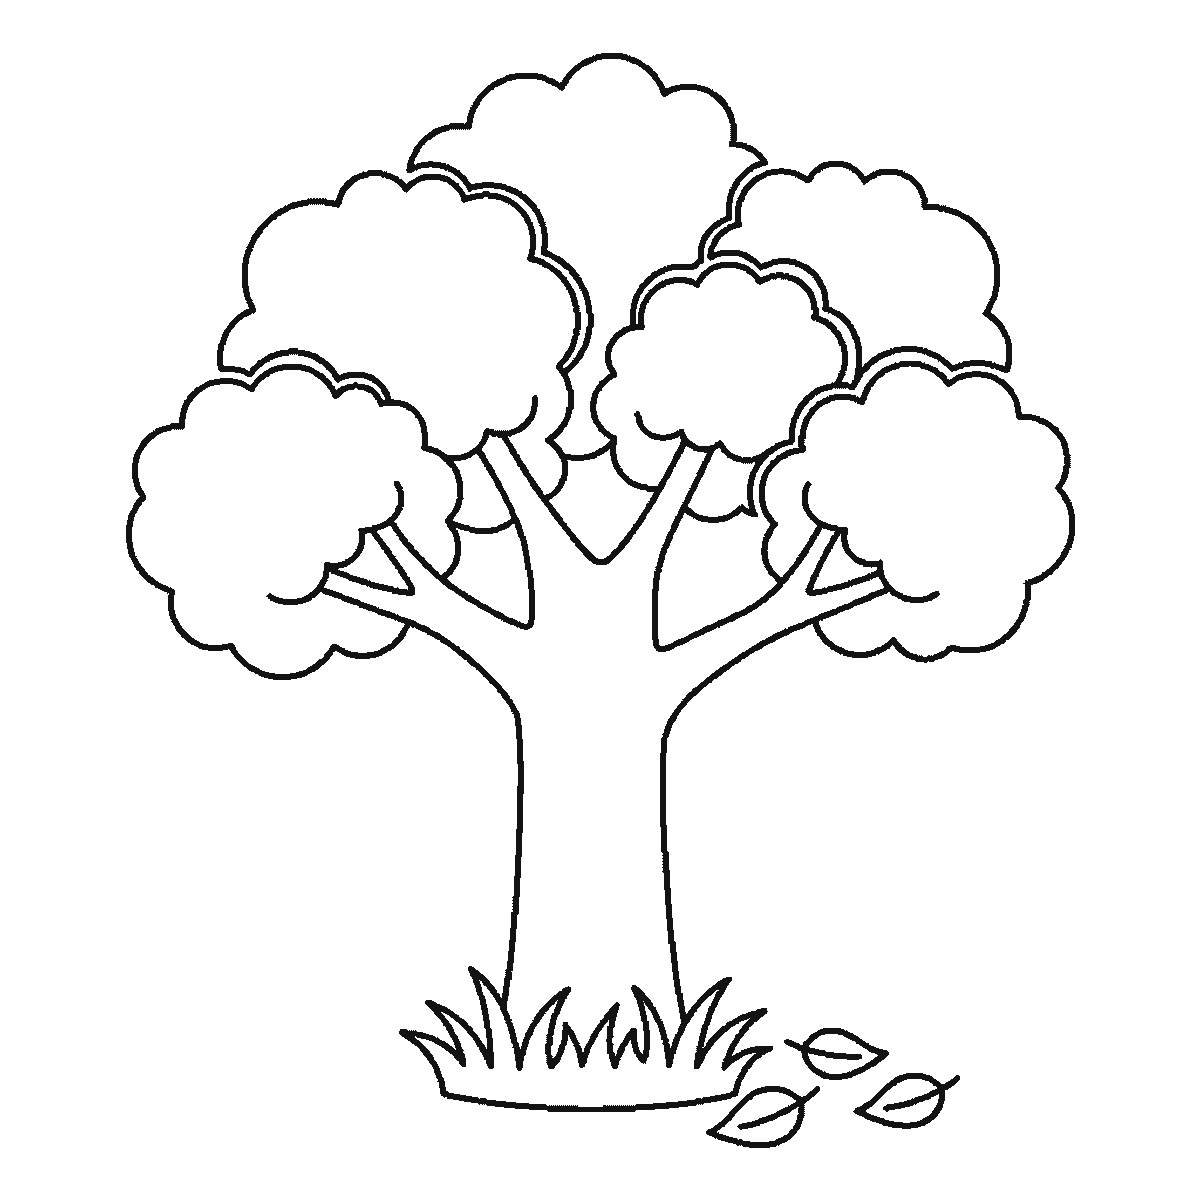
Six frames, one broad-leaved tree. Trunk first, then the branches, then the foliage in separate clumps.
The difference between a tree that looks like a tree and one that looks like a lollipop is almost entirely about the foliage. Most people draw one big cloud on a stick. A real broad-leaved tree reads as several separate masses of leaves at different heights, with sky showing between them, and this sheet builds it that way from the start.
Frame one is the trunk, and it should be wider at the bottom than at the top by a noticeable amount. A trunk drawn with parallel sides looks like a post. Let the base flare out where it meets the ground, and let the two sides be slightly different from each other, because a tree that is symmetrical about its middle is a tree nobody has looked at.
The branches come next, splitting off the trunk and then splitting again. The rule worth remembering is that a branch is always thinner than the thing it grew out of, and it gets thinner along its own length too. Branches drawn at a constant thickness are the second-commonest reason a drawn tree looks wrong, after the lollipop foliage.
Where the branches fork, keep the angles varied. A tree that forks at the same angle every time looks like a diagram of a tree. Some forks are narrow and reach upwards, some are wide and nearly horizontal, and the difference between the two is what gives the crown its irregular spread.
Then the foliage, which arrives as five separate rounded clumps rather than one outline around everything. Each clump sits on its own branch, at its own height, and they overlap without merging. The gaps between them are as important as the clumps themselves — those gaps are the sky you can see through the tree, and a crown with no gaps is a solid green blob.
Draw the edge of each clump as a series of small bumps rather than a smooth curve. Leaves in mass have a lumpy silhouette, and about six or seven bumps around a clump is enough to suggest it. Drawing individual leaves inside the mass is a trap: it takes a long time and makes the tree look worse, because real foliage at any distance reads as texture, not as countable objects.
The last frames add the grass at the base and three fallen leaves beside it. The grass matters because it settles the tree onto the ground instead of leaving it floating. Draw it as a low irregular tuft that overlaps the bottom of the trunk slightly, rather than as a straight line the tree stands on.
The fallen leaves are the small storytelling detail, and they are worth including for a reason beyond decoration: they show what a single leaf from this tree looks like, which is information the massed foliage deliberately hides. A pointed oval with a central vein is enough.
If you want to push the drawing further, try the same tree in winter. Remove all five foliage clumps and you are left with the trunk and branches, and every fork you fudged becomes visible. It is an unforgiving exercise and it improves the summer version enormously.
The six frames are ordered from the biggest closed shape down to the smallest, which here puts the trunk and its bare branches first, then the foliage clumps one at a time, then the grass and the fallen leaves. It is a straightforward order to copy and it is not a rule about how trees should be drawn — starting with the overall silhouette of the crown and working inwards is just as reasonable.
Before you start
- Flare the trunk where it meets the ground. Parallel sides make a post, not a tree.
- Draw the crown as separate clumps with sky between them, never one outline round the lot.
- Give each clump a bumpy edge and resist drawing individual leaves inside it.
- Make every branch thinner than the branch it grew from, and taper it along its length.
Published Updated 599 words
The six steps
The steps go from the largest shape to the smallest, which is an easy order to copy. It is not the only order, and it is not a rule — if you would rather start somewhere else on the sheet, do.
Step 1
Step 2
Step 3
Step 4
Step 5
Step 6
More in this section
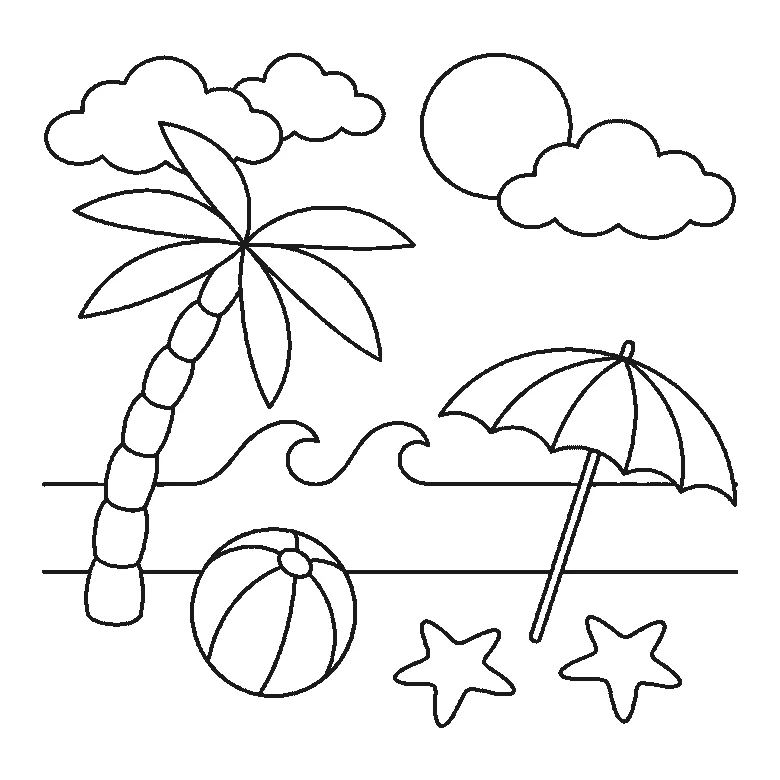
How to draw a beach
Six frames, one beach scene. The sea and its three waves first, then the sun and clouds — and the palm trunk and the parasol pole right at the end.
Step sequence made by us from a single drawing: each step keeps the lines of the one before it and adds to them.
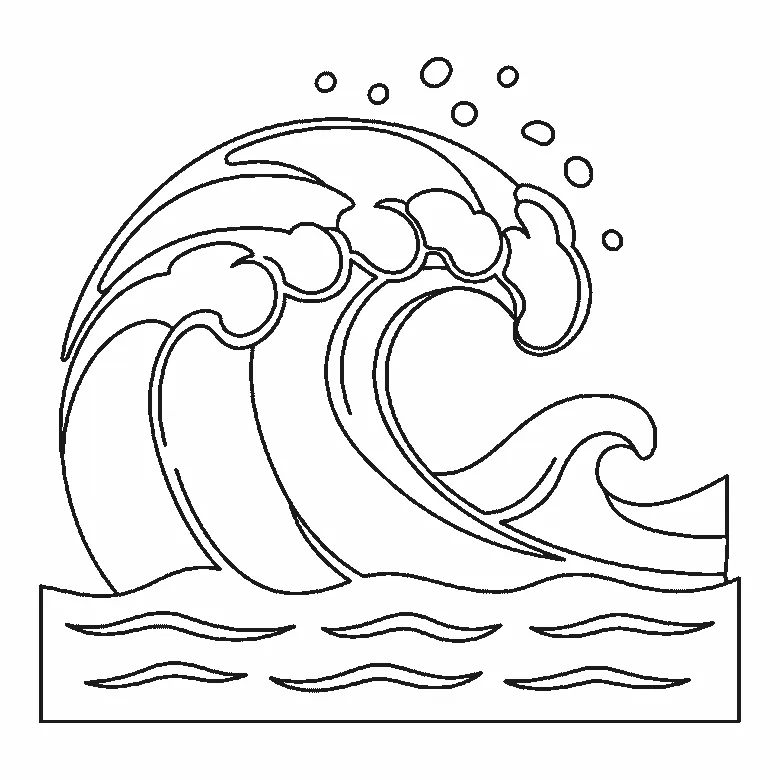
How to draw a wave
Six frames, one big breaking wave. The inside of the curl first, not the outline — and all the spray droplets in the very last frame.
Step sequence made by us from a single drawing: each step keeps the lines of the one before it and adds to them.
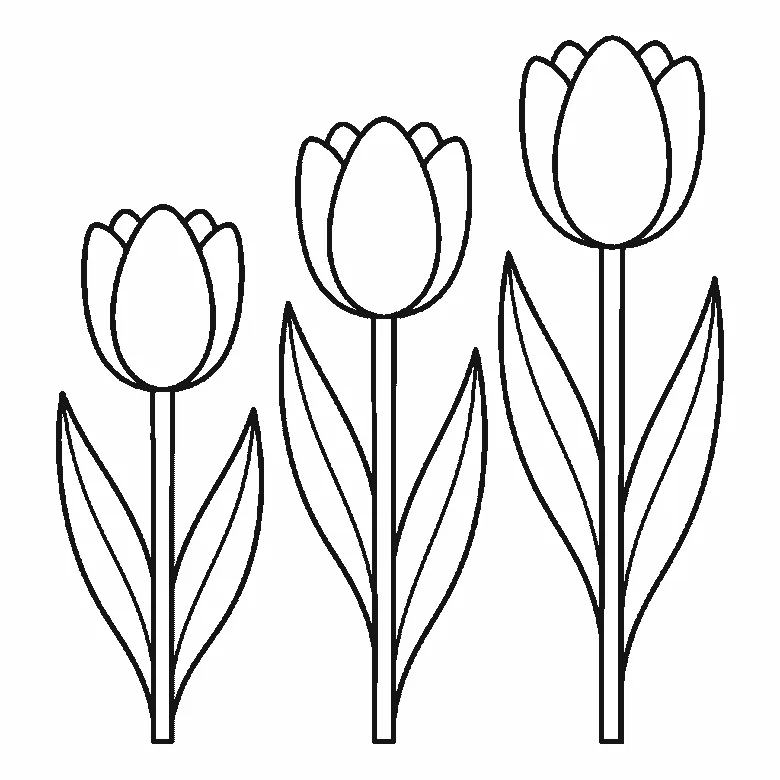
How to draw tulips
Six frames, three tulips of different heights. All three flower cups arrive together in the first frame — and the lines that split each cup into petals come last.
Step sequence made by us from a single drawing: each step keeps the lines of the one before it and adds to them.
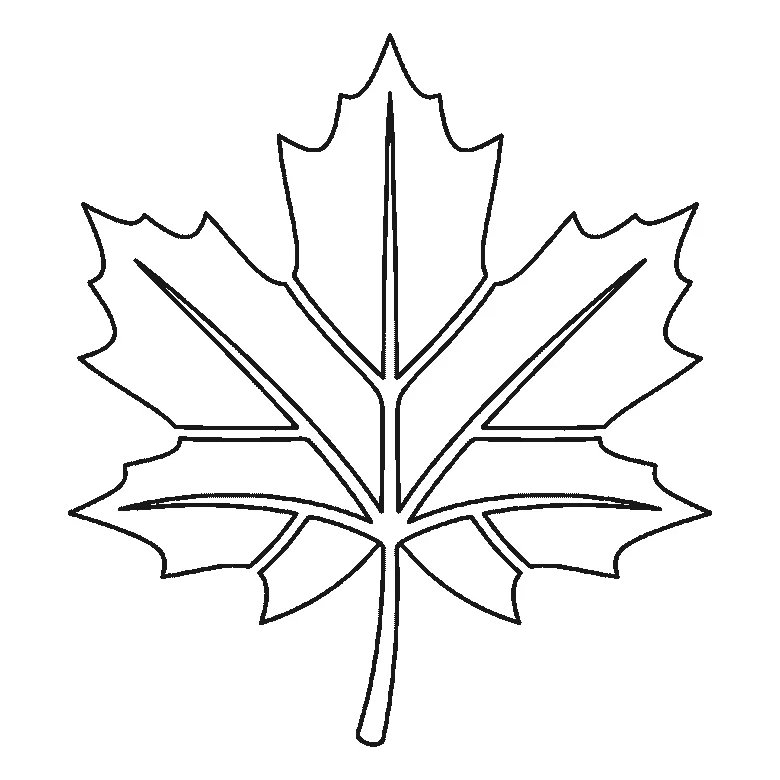
How to draw a leaf
Six frames, one maple leaf — and this sheet is the tidiest on the site: one lobe per frame, each with its own vein, and the stem last.
Step sequence made by us from a single drawing: each step keeps the lines of the one before it and adds to them.
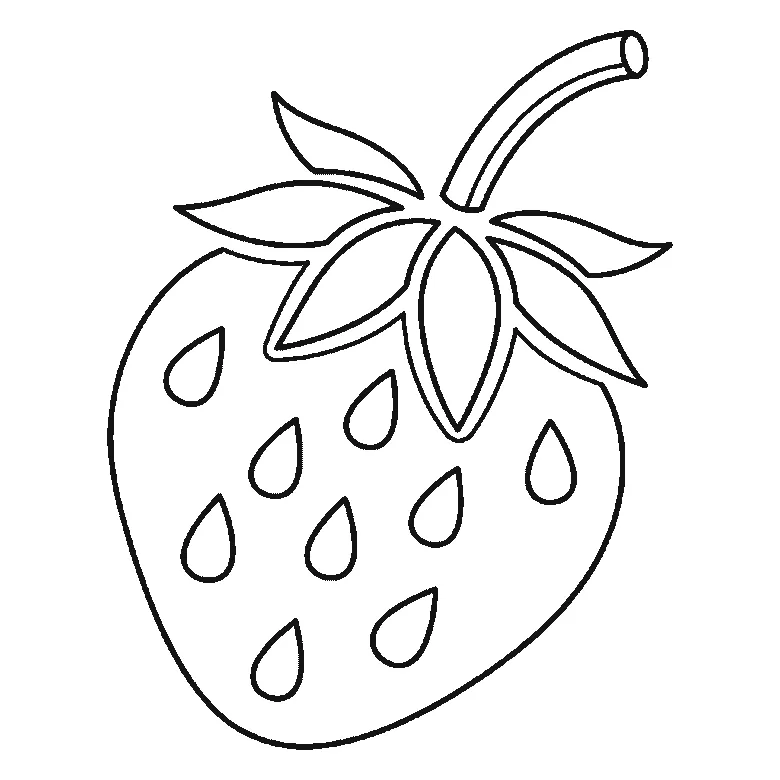
How to draw a strawberry
Six frames, one strawberry. The whole berry outline arrives in the first frame — a big first step — then a calyx leaf at a time, with all eleven seeds at the end.
Step sequence made by us from a single drawing: each step keeps the lines of the one before it and adds to them.

How to draw Earth
Six frames, one globe, revealed ocean-panel by ocean-panel rather than continent by continent. The land emerges as the white left behind, and the stars come last.
Step sequence made by us from a single drawing: each step keeps the lines of the one before it and adds to them.
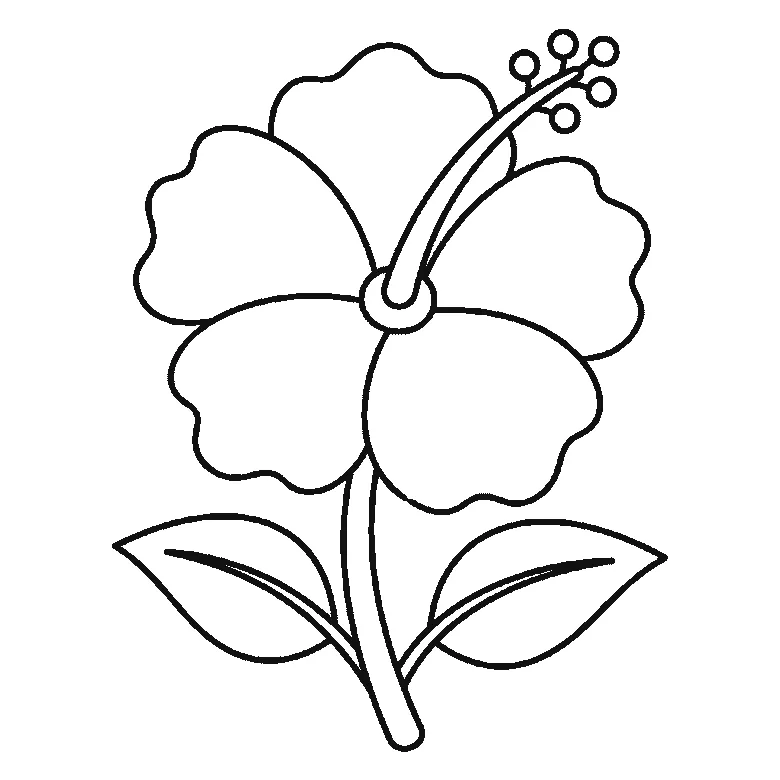
How to draw a hibiscus flower
Six frames, one open hibiscus. Three petals first and the other two next, so the flower head is done by frame two — and the stamen column arrives at frame five.
Step sequence made by us from a single drawing: each step keeps the lines of the one before it and adds to them.
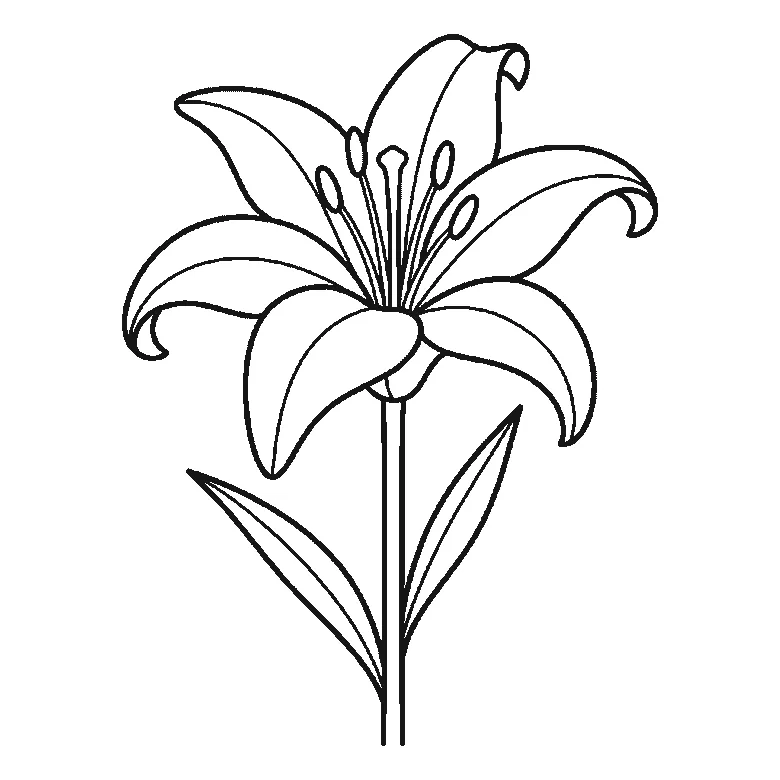
How to draw a lily
Six frames, one open lily. Three petals in the first frame, the rest two at a time — and the stem, the leaves and the central stamens right at the end.
Step sequence made by us from a single drawing: each step keeps the lines of the one before it and adds to them.
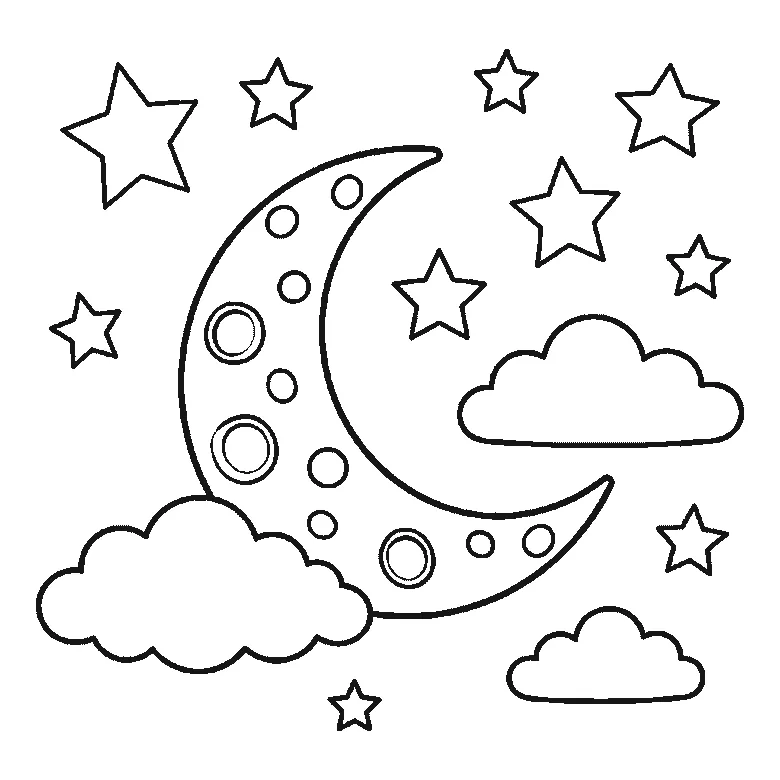
How to draw the moon
Six frames, a crescent moon in a night sky. The whole moon and every crater arrive in frame one; the five frames after it are clouds and stars.
Step sequence made by us from a single drawing: each step keeps the lines of the one before it and adds to them.
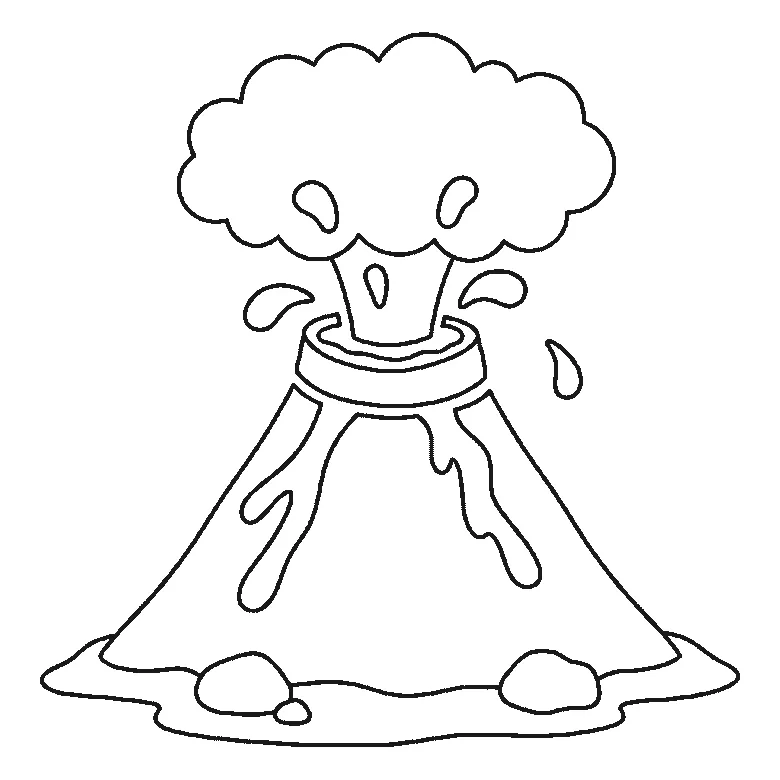
How to draw a volcano
Six frames, one erupting volcano. The whole cone with its lava streams arrives in frame one; the smoke, the ground and the flying lava come after it.
Step sequence made by us from a single drawing: each step keeps the lines of the one before it and adds to them.
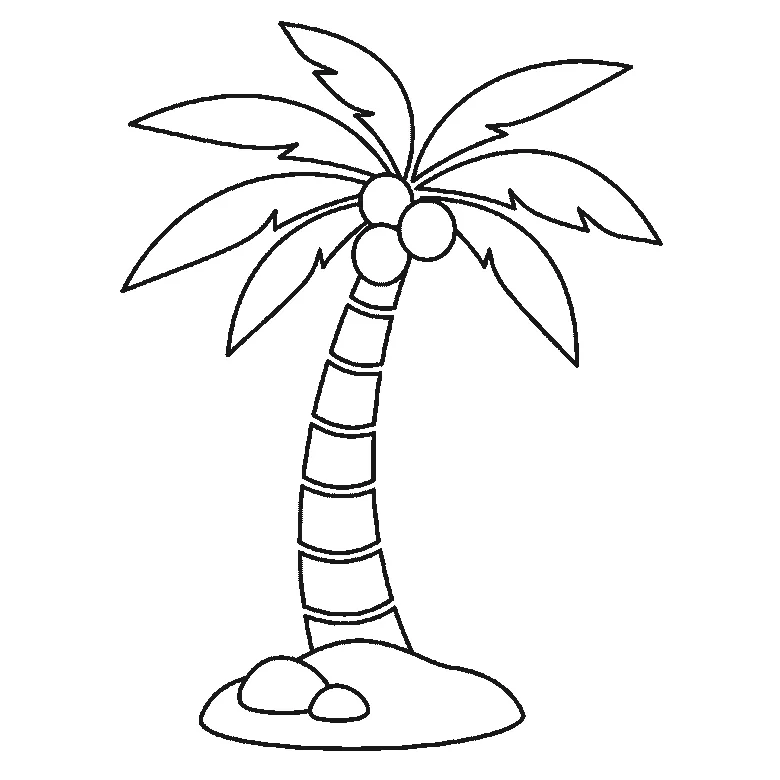
How to draw a palm tree
Six frames, one palm tree on a mound of sand. The fronds come first, two at a time; the trunk is not drawn until frame five.
Step sequence made by us from a single drawing: each step keeps the lines of the one before it and adds to them.
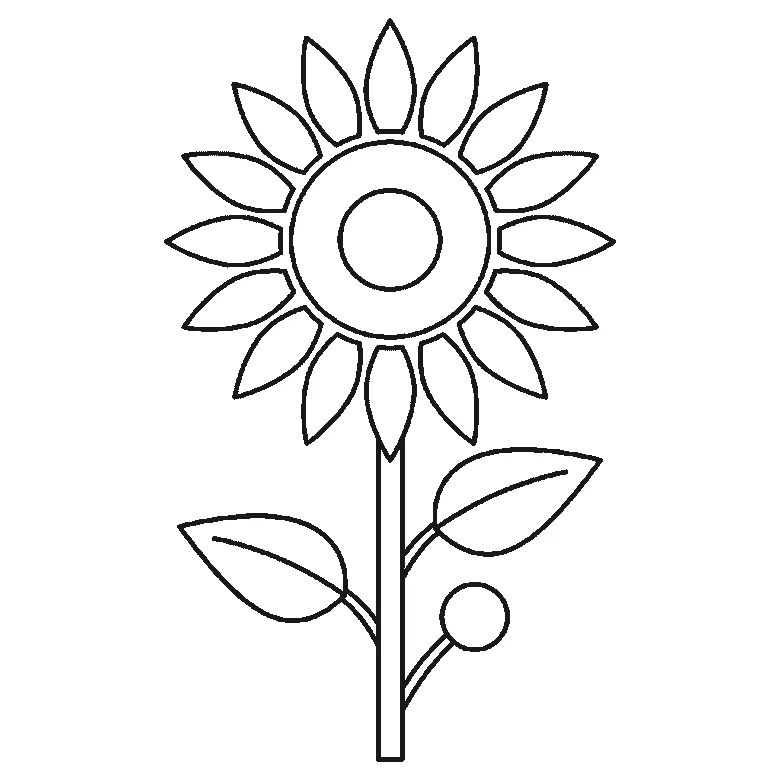
How to draw a sunflower
Six frames, one tall sunflower with two leaves and a bud. The seed head and one leaf first — and no petals at all until frame three.
Step sequence made by us from a single drawing: each step keeps the lines of the one before it and adds to them.


