
PDF · A4 · 56 KB · Free, no sign-up. For home and classroom use.
How to draw a beach
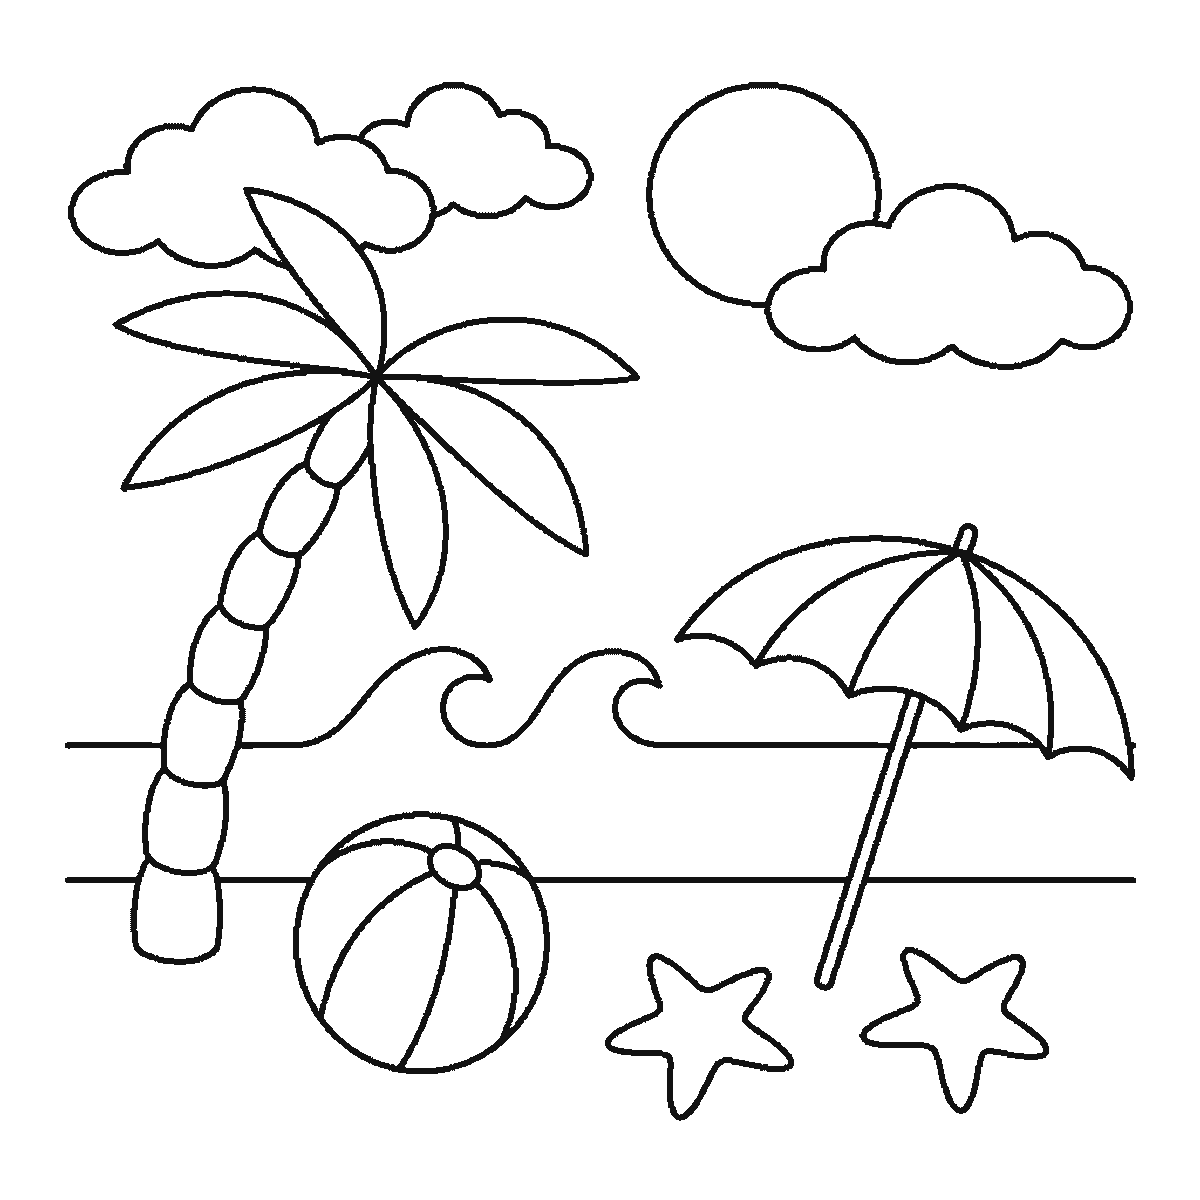
Six frames, one beach scene. The sea and its three waves first, then the sun and clouds — and the palm trunk and the parasol pole right at the end.
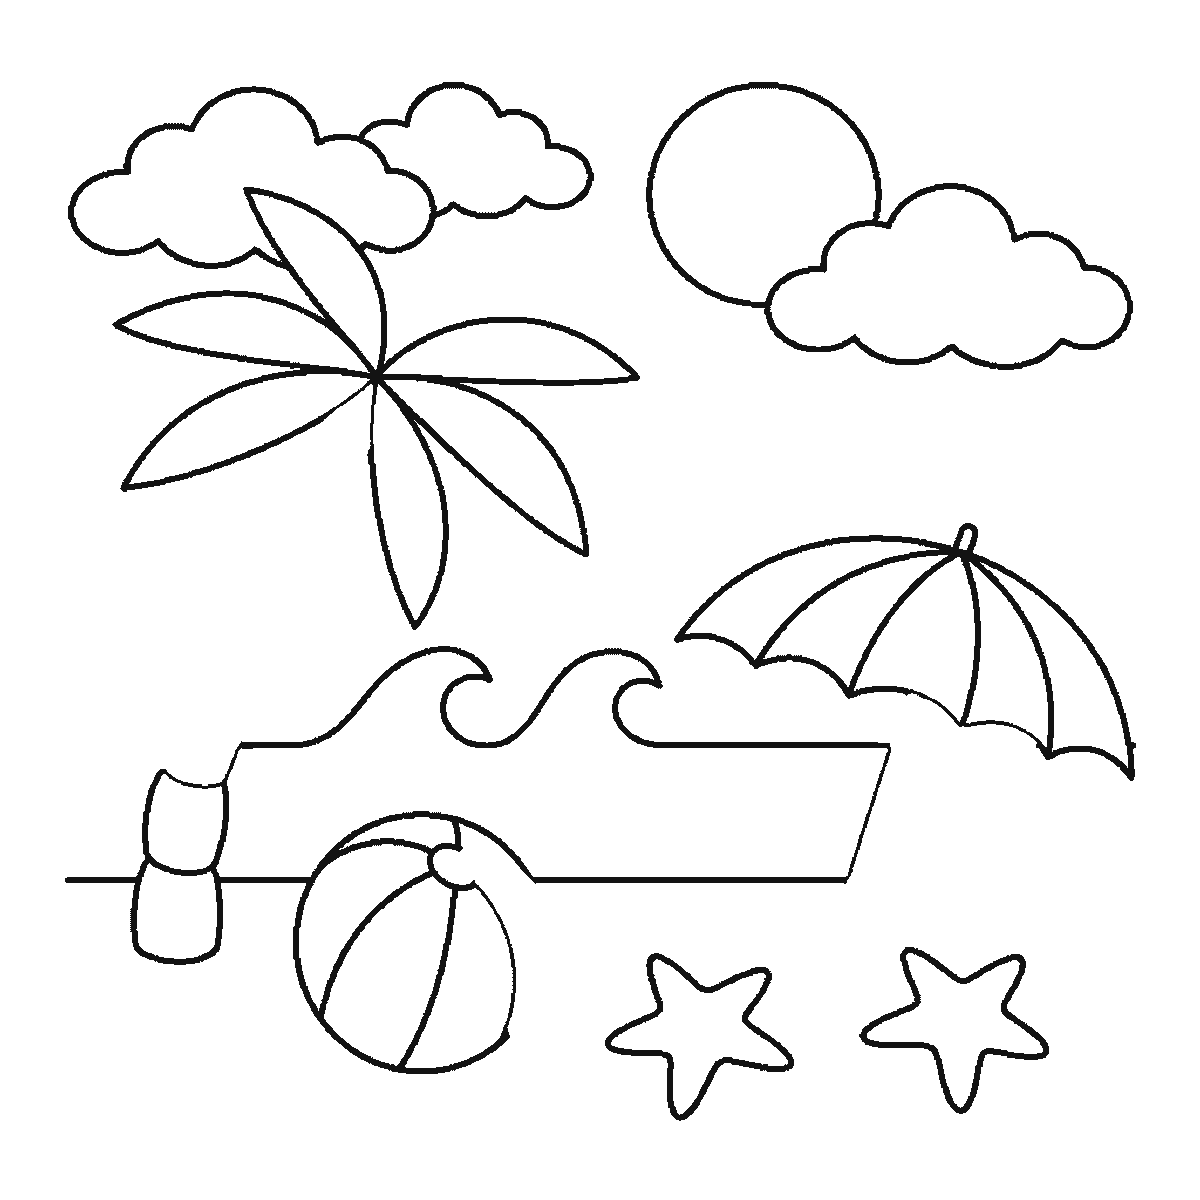
This sheet is one drawing of a beach — sun, clouds, a palm tree, waves, a beach ball, a parasol and two starfish — shown six times, each frame keeping the last one's lines and adding more. It is the only scene in this section rather than a single object, and that changes how it is best copied: there is no one shape holding the picture together, so the thing to get right is where everything sits relative to everything else.
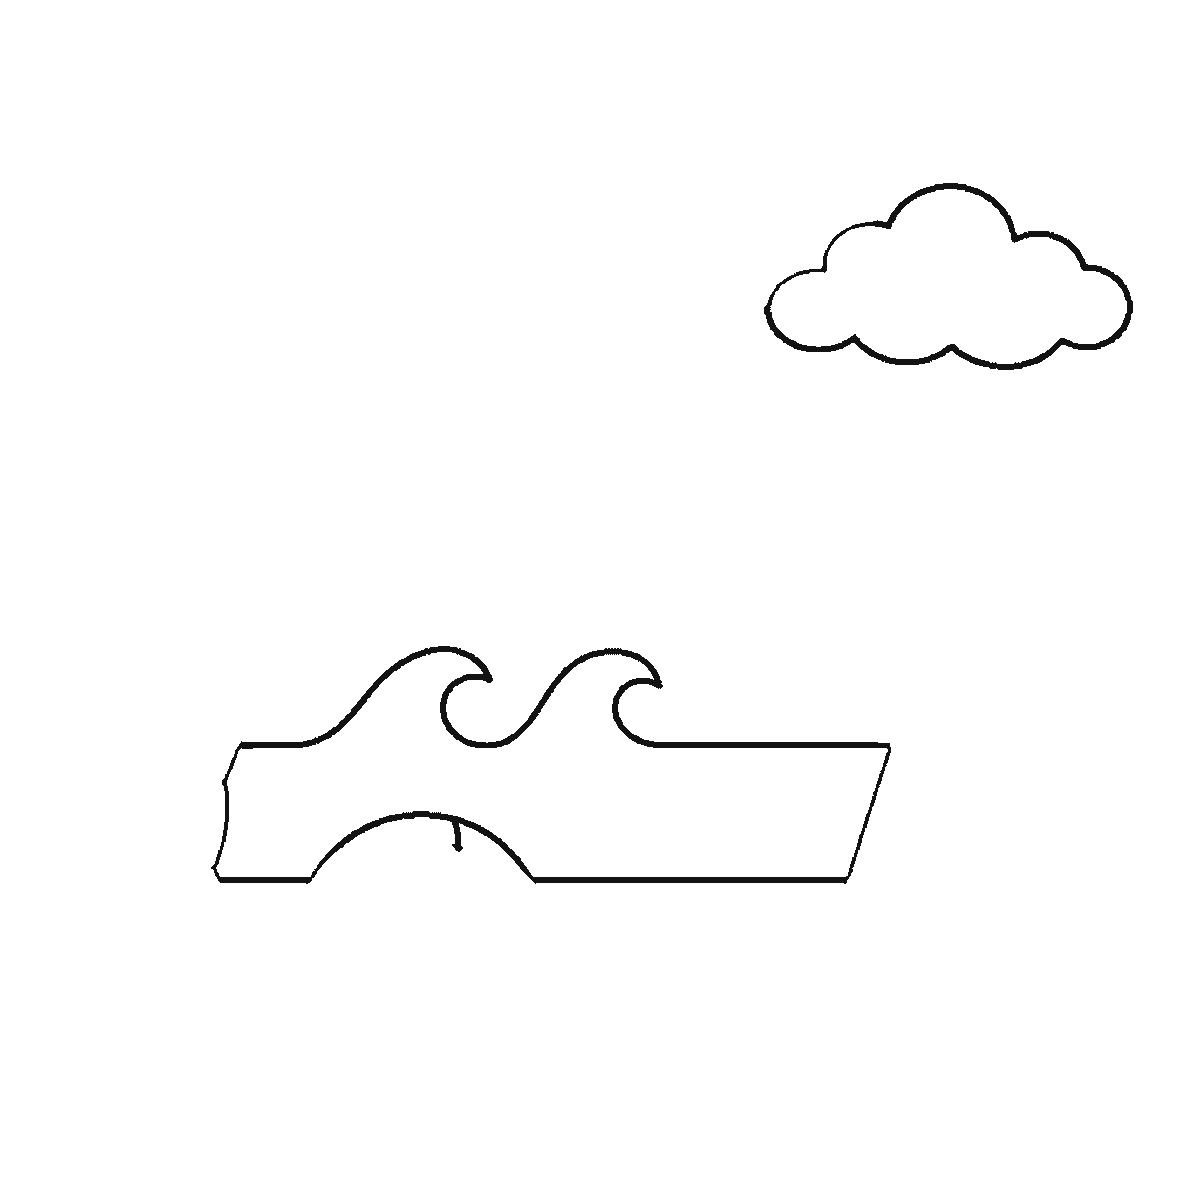
Frame one is the sea. A wide band of water runs across the middle of the page with three wave crests along its top edge, and one cloud sits over on the right. That is all. The palm tree, which is visually the biggest thing in the finished drawing, is not there at all, and neither is the sun. Starting with the water is genuinely the right way round for a scene like this, because the waterline is the horizon and everything else on the page is positioned above or below it.
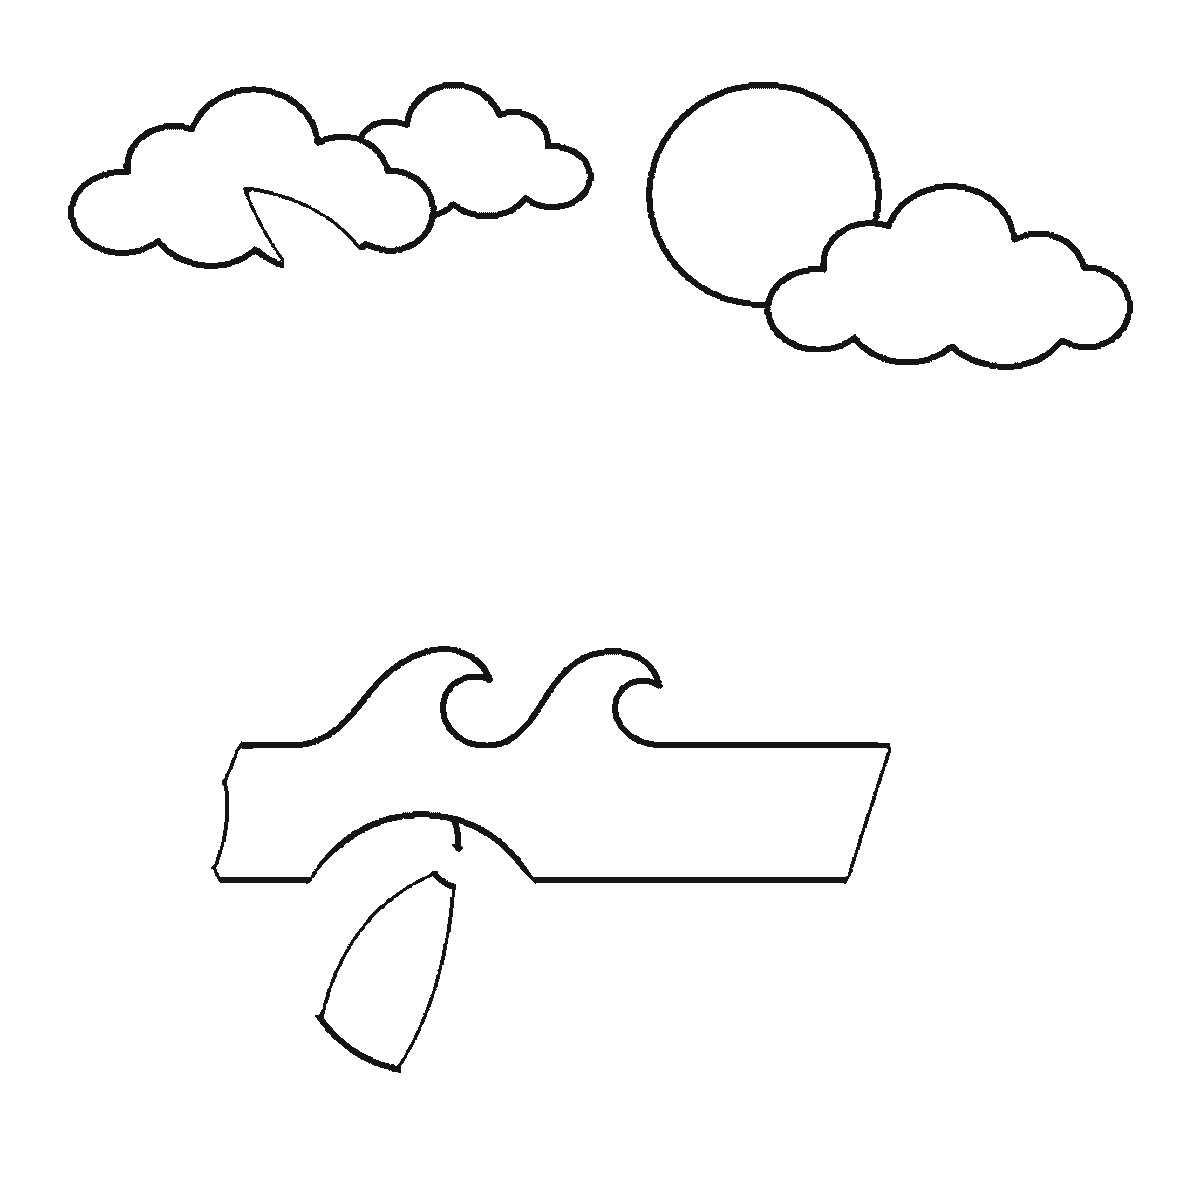
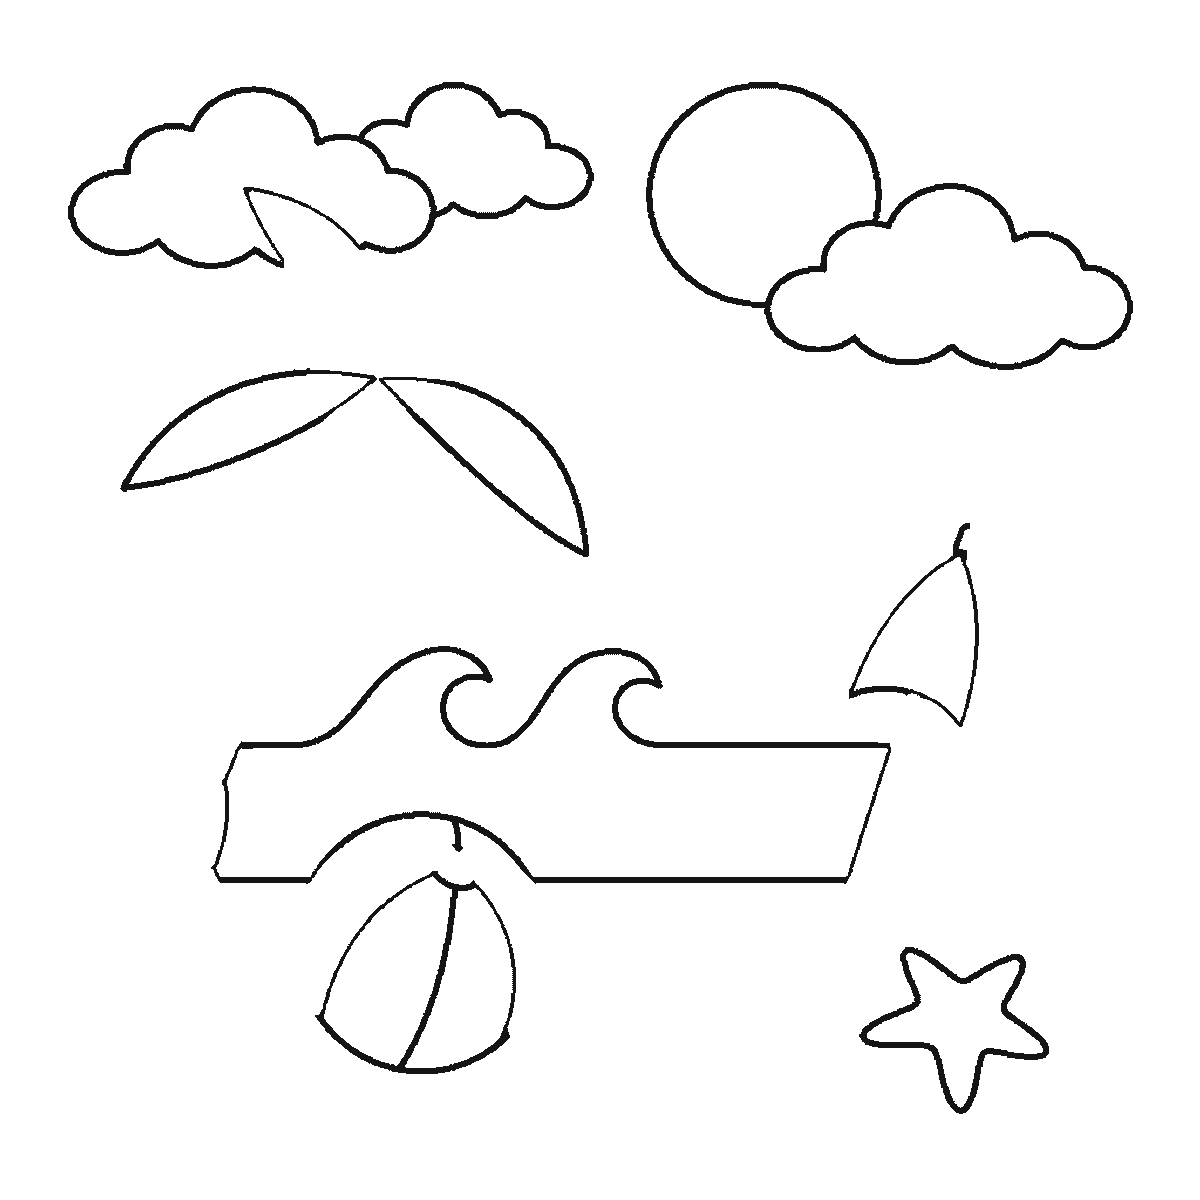
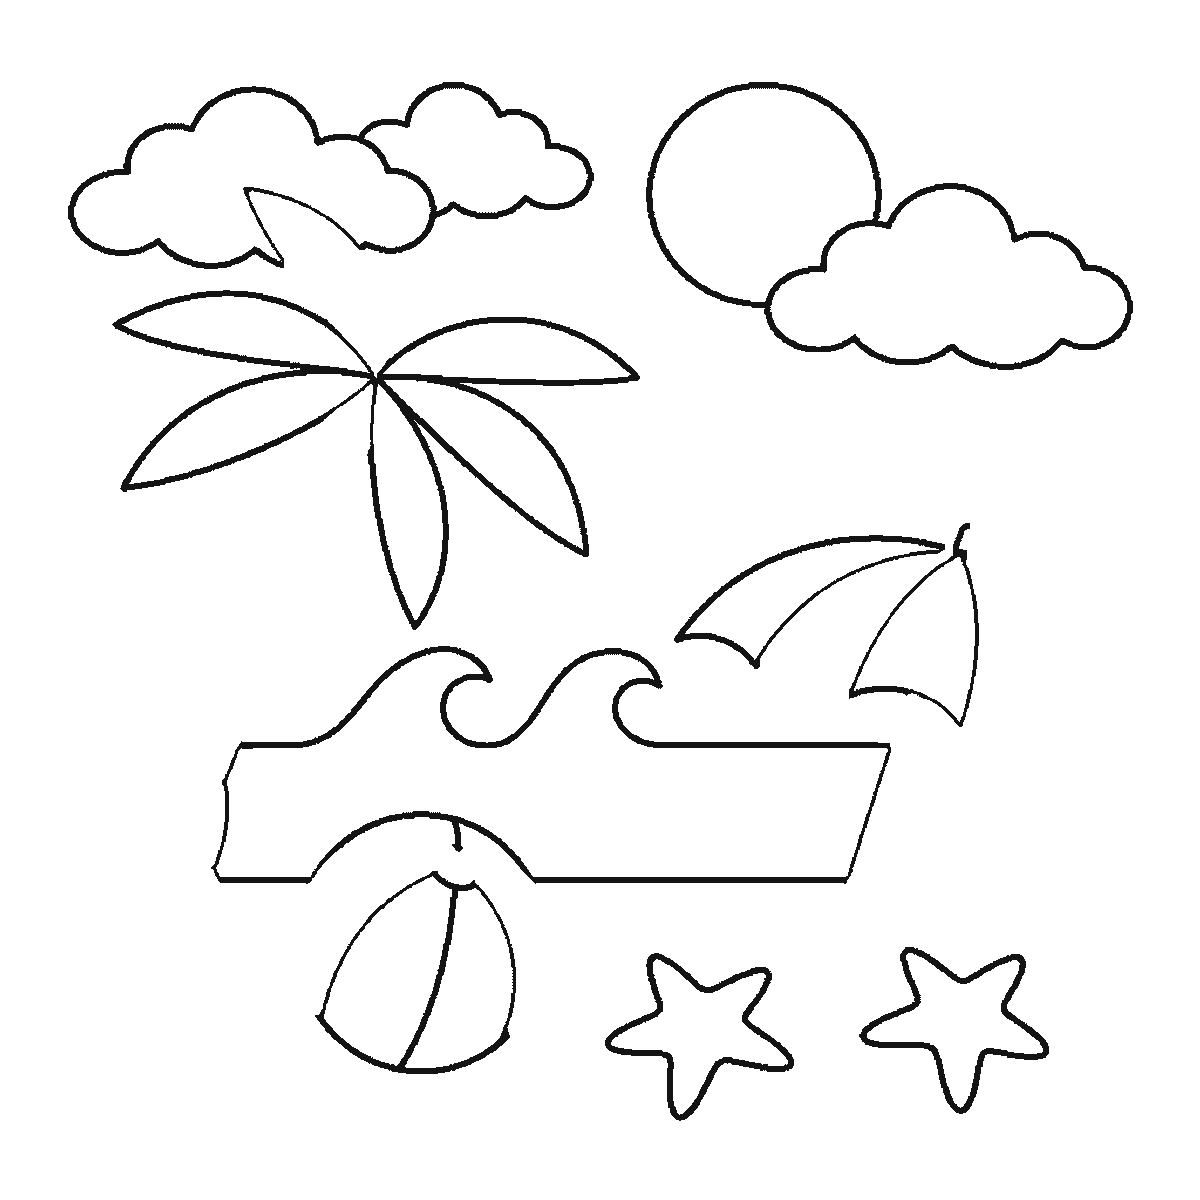
The second frame adds the two clouds on the left and the sun, with the first panel of the beach ball. Frames three, four and five then work through the palm leaves, the parasol panels and the two starfish, roughly two shapes at a time. The starfish arrive one per frame, the right one in frame three and the left one in frame four, which is a small mercy: five-pointed stars drawn as a pair tend to come out as twins, and drawing them a frame apart makes them different without any effort.
The last frame is the one to watch for. It brings the segments of the palm tree's trunk that join the leaves to the ground, and the parasol's pole, plus the last of the shoreline. So for five frames you have a spray of palm leaves floating in the sky with nothing holding it up — two stray trunk blocks arrive down at sand level in frame five and connect to nothing — and a parasol canopy hovering over the beach. That looks wrong the whole way through and then resolves in one step, which is a good thing to be warned about before you start rather than to discover at frame four.
The palm leaves themselves are worth taking slowly. They all radiate from one point at the top of the trunk, and they should be different lengths and drop at different angles. Six leaves of equal length spaced evenly around a circle give you a starfish on a stick; uneven lengths with two or three drooping much lower than the rest give you a palm.
The order on this sheet is largest closed shape first, smallest last, which is how a band of sea outranks a whole tree and how a trunk ends up in the final frame. That sequence copies easily and it is not being offered as the correct way to draw a beach. Blocking in the trunk first so that the leaves have somewhere to attach is at least as sensible, and it produces the same picture.
One A4 sheet holds all six frames in plain black outline on white, with no shading anywhere, so it prints on a tired printer and the finished frame colours in cleanly. A beach is one of the better subjects on this site for colouring, because almost every shape on it is a different colour in life.
A scene like this one is really a lesson in spacing rather than in drawing, and the way to get the practice is to copy it once as it stands and then draw it again with everything moved. Put the palm on the right and the parasol on the left, raise the horizon so there is more sand than sky, and keep every individual shape identical. The second drawing will feel completely different from the first, and nothing in it has been drawn any better — which is the point.
Before you start
- Draw the waterline first, right across the page, before anything else. Everything on a beach scene is positioned from that one line.
- Make the palm leaves different lengths and let two or three droop. Equal leaves spaced evenly read as a windmill.
- Sketch the palm trunk lightly in step one even though the sheet leaves it until last — it stops the leaves floating.
- Keep the two starfish different sizes and turn one of them slightly. Matching pairs are what make a scene look like clip art.
Published Updated 664 words
The six steps
The steps go from the largest shape to the smallest, which is an easy order to copy. It is not the only order, and it is not a rule — if you would rather start somewhere else on the sheet, do.
Step 1
Step 2
Step 3
Step 4
Step 5
Step 6
More in this section
How to draw a wave
Six frames, one big breaking wave. The inside of the curl first, not the outline — and all the spray droplets in the very last frame.
Step sequence made by us from a single drawing: each step keeps the lines of the one before it and adds to them.
How to draw tulips
Six frames, three tulips of different heights. All three flower cups arrive together in the first frame — and the lines that split each cup into petals come last.
Step sequence made by us from a single drawing: each step keeps the lines of the one before it and adds to them.
How to draw a leaf
Six frames, one maple leaf — and this sheet is the tidiest on the site: one lobe per frame, each with its own vein, and the stem last.
Step sequence made by us from a single drawing: each step keeps the lines of the one before it and adds to them.
How to draw a strawberry
Six frames, one strawberry. The whole berry outline arrives in the first frame — a big first step — then a calyx leaf at a time, with all eleven seeds at the end.
Step sequence made by us from a single drawing: each step keeps the lines of the one before it and adds to them.
How to draw Earth
Six frames, one globe, revealed ocean-panel by ocean-panel rather than continent by continent. The land emerges as the white left behind, and the stars come last.
Step sequence made by us from a single drawing: each step keeps the lines of the one before it and adds to them.
How to draw a hibiscus flower
Six frames, one open hibiscus. Three petals first and the other two next, so the flower head is done by frame two — and the stamen column arrives at frame five.
Step sequence made by us from a single drawing: each step keeps the lines of the one before it and adds to them.
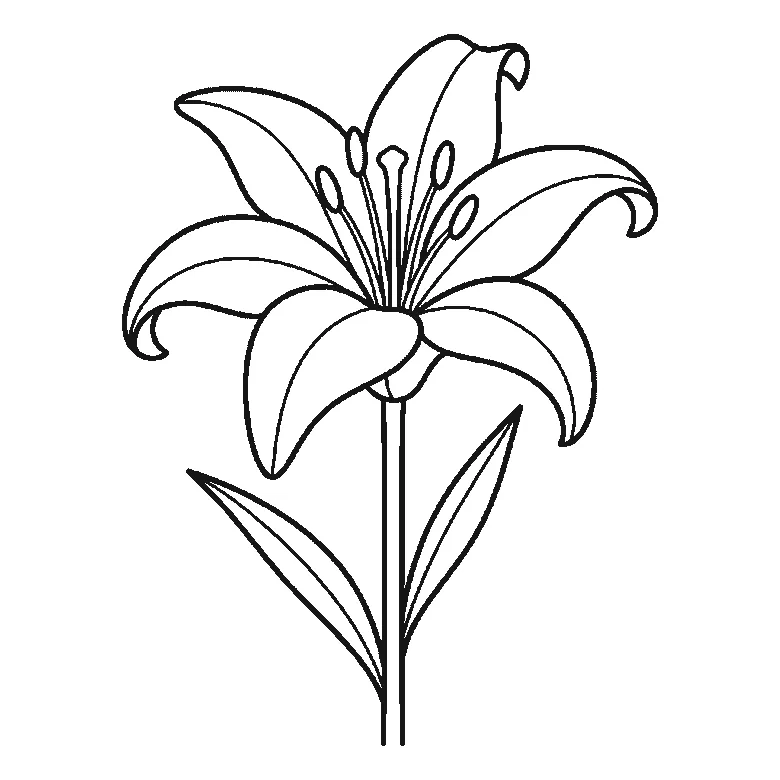
How to draw a lily
Six frames, one open lily. Three petals in the first frame, the rest two at a time — and the stem, the leaves and the central stamens right at the end.
Step sequence made by us from a single drawing: each step keeps the lines of the one before it and adds to them.
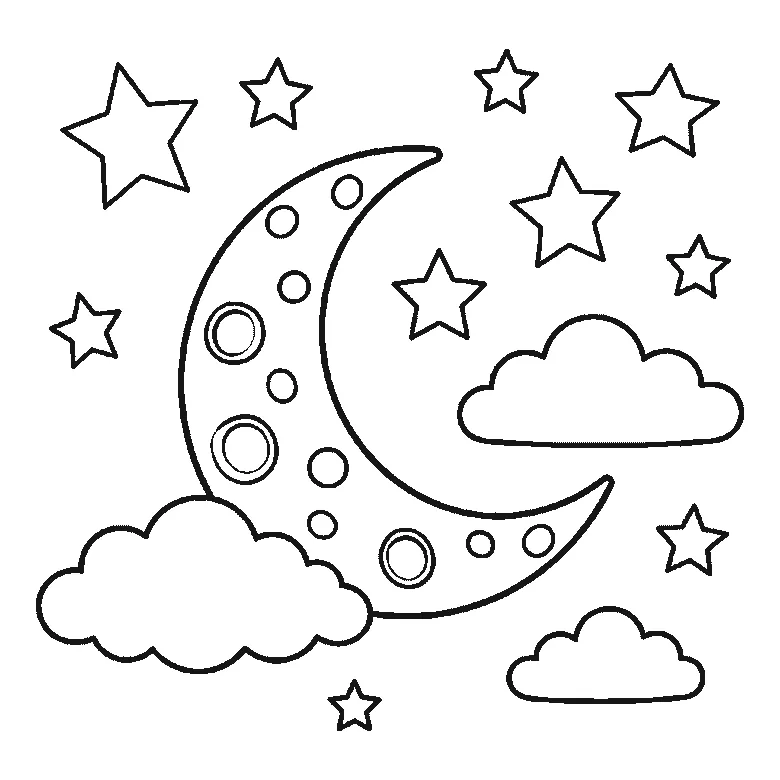
How to draw the moon
Six frames, a crescent moon in a night sky. The whole moon and every crater arrive in frame one; the five frames after it are clouds and stars.
Step sequence made by us from a single drawing: each step keeps the lines of the one before it and adds to them.
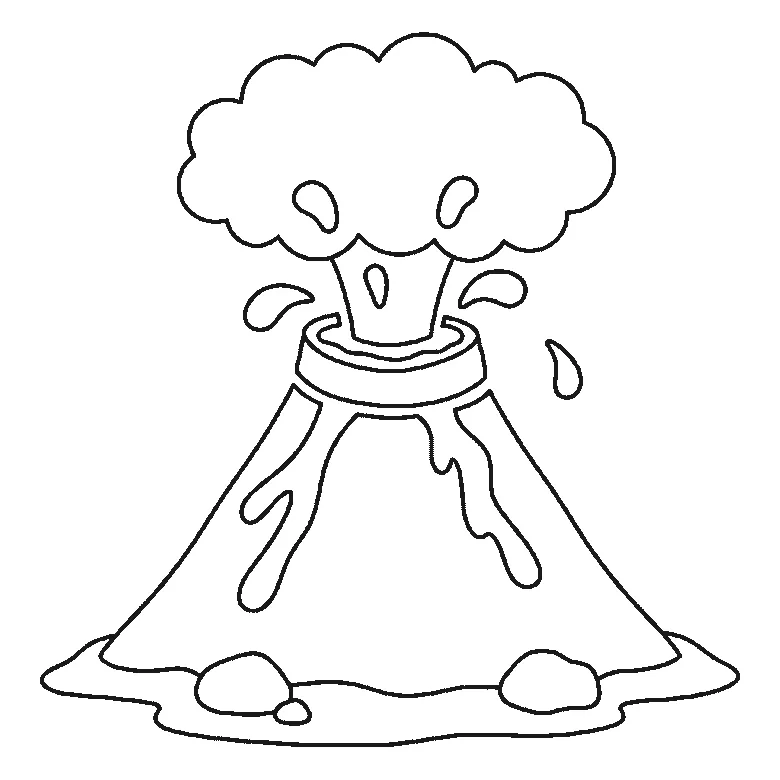
How to draw a volcano
Six frames, one erupting volcano. The whole cone with its lava streams arrives in frame one; the smoke, the ground and the flying lava come after it.
Step sequence made by us from a single drawing: each step keeps the lines of the one before it and adds to them.
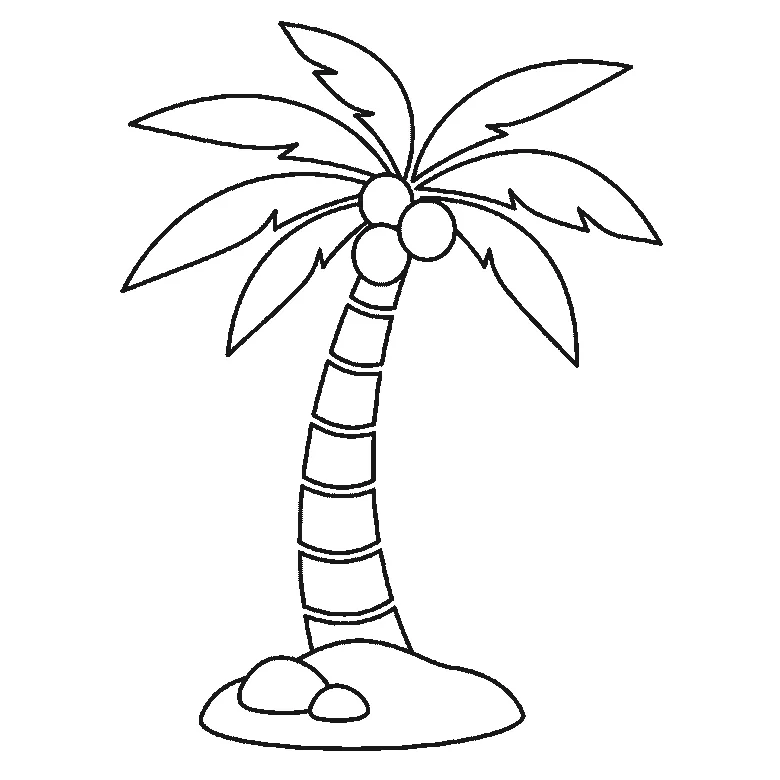
How to draw a palm tree
Six frames, one palm tree on a mound of sand. The fronds come first, two at a time; the trunk is not drawn until frame five.
Step sequence made by us from a single drawing: each step keeps the lines of the one before it and adds to them.
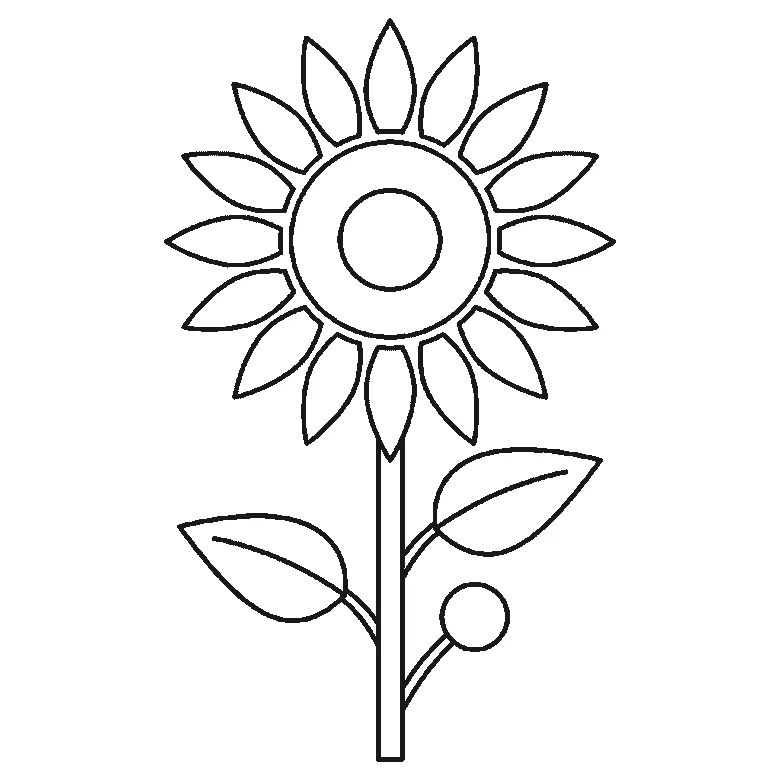
How to draw a sunflower
Six frames, one tall sunflower with two leaves and a bud. The seed head and one leaf first — and no petals at all until frame three.
Step sequence made by us from a single drawing: each step keeps the lines of the one before it and adds to them.
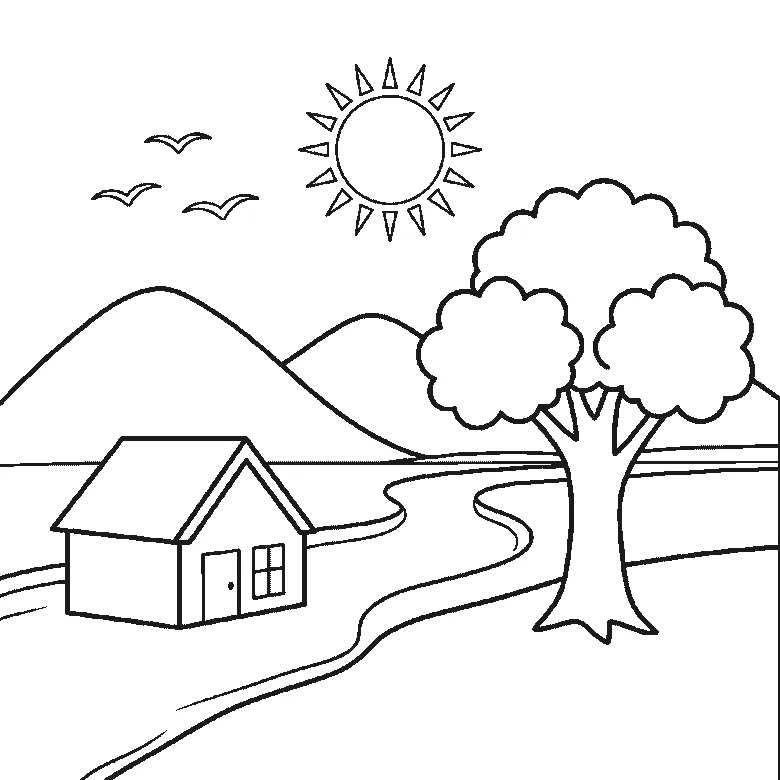
How to draw a landscape
Six frames, one countryside scene with hills, a river, a tree, a house and a sun. The leaves come first and the birds last.
Step sequence made by us from a single drawing: each step keeps the lines of the one before it and adds to them.


