
PDF · A4 · 52 KB · Free, no sign-up. For home and classroom use.
How to draw a landscape
Six frames, one countryside scene with hills, a river, a tree, a house and a sun. The leaves come first and the birds last.
A landscape is the first drawing most people attempt that has more than one thing in it, and the difficulty moves from the shapes to the arrangement. Every element here is easy on its own; what makes it a landscape is where they sit relative to each other and how far away each one is meant to be. This sheet takes one drawing of a countryside scene and shows it six times, each frame keeping everything the last one had and adding more.
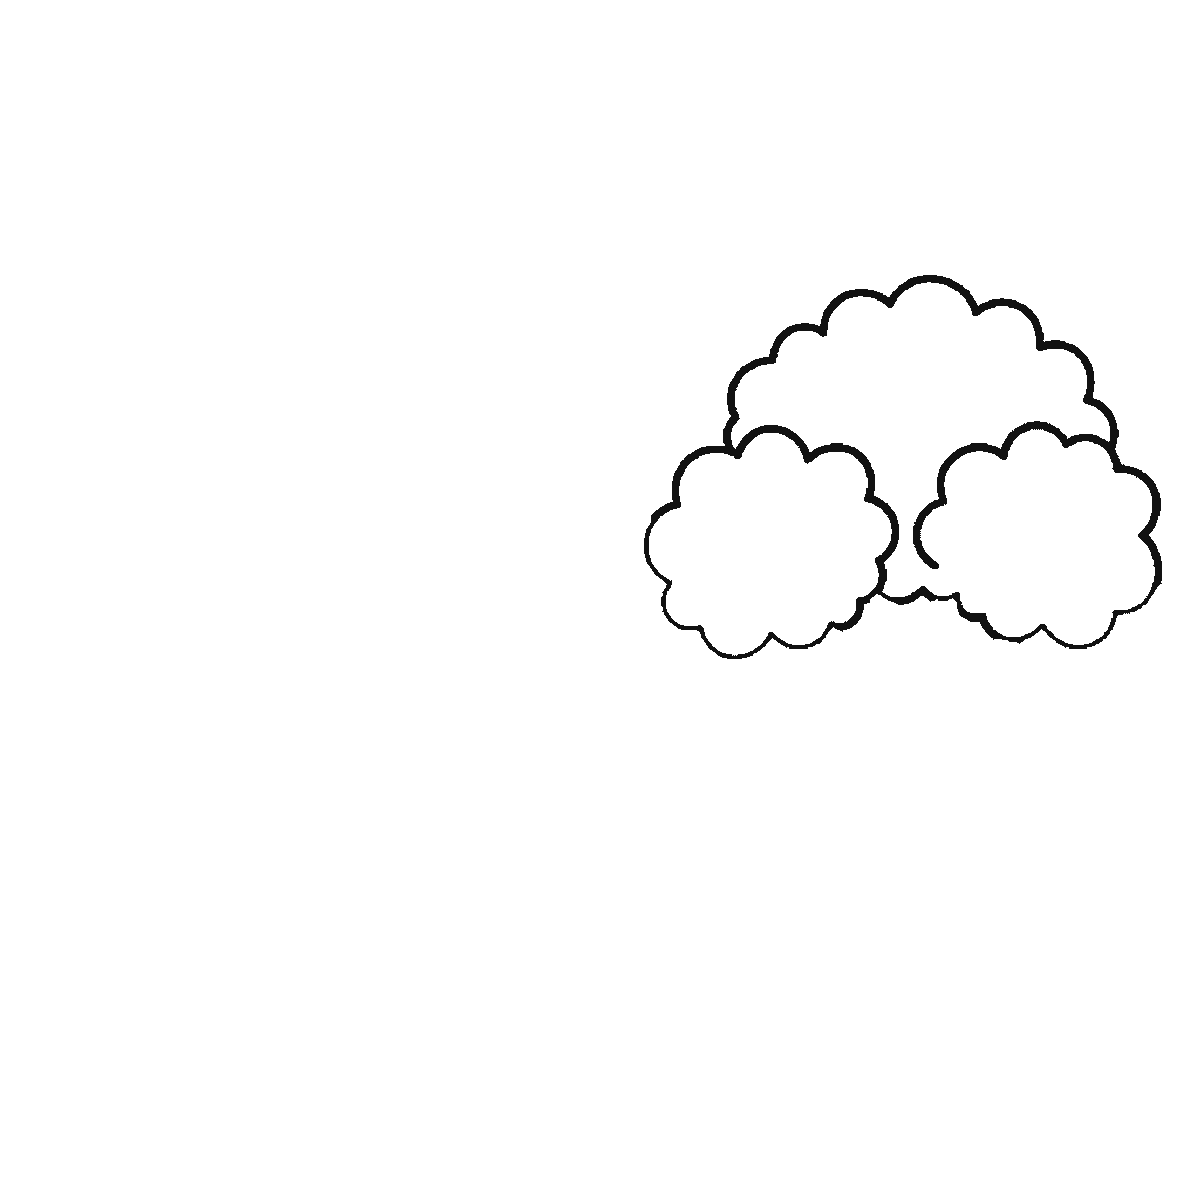
Frame one is THREE CLOUDS OF FOLIAGE floating in an otherwise empty sky. No trunk, no ground, no horizon. It is the strangest opening frame on this site and it is genuinely useful: the tree crown is the largest closed shape in the drawing, so placing it first fixes the scale of everything else. Copy it where the frame shows it, high and to the right, and resist the urge to draw a trunk under it.
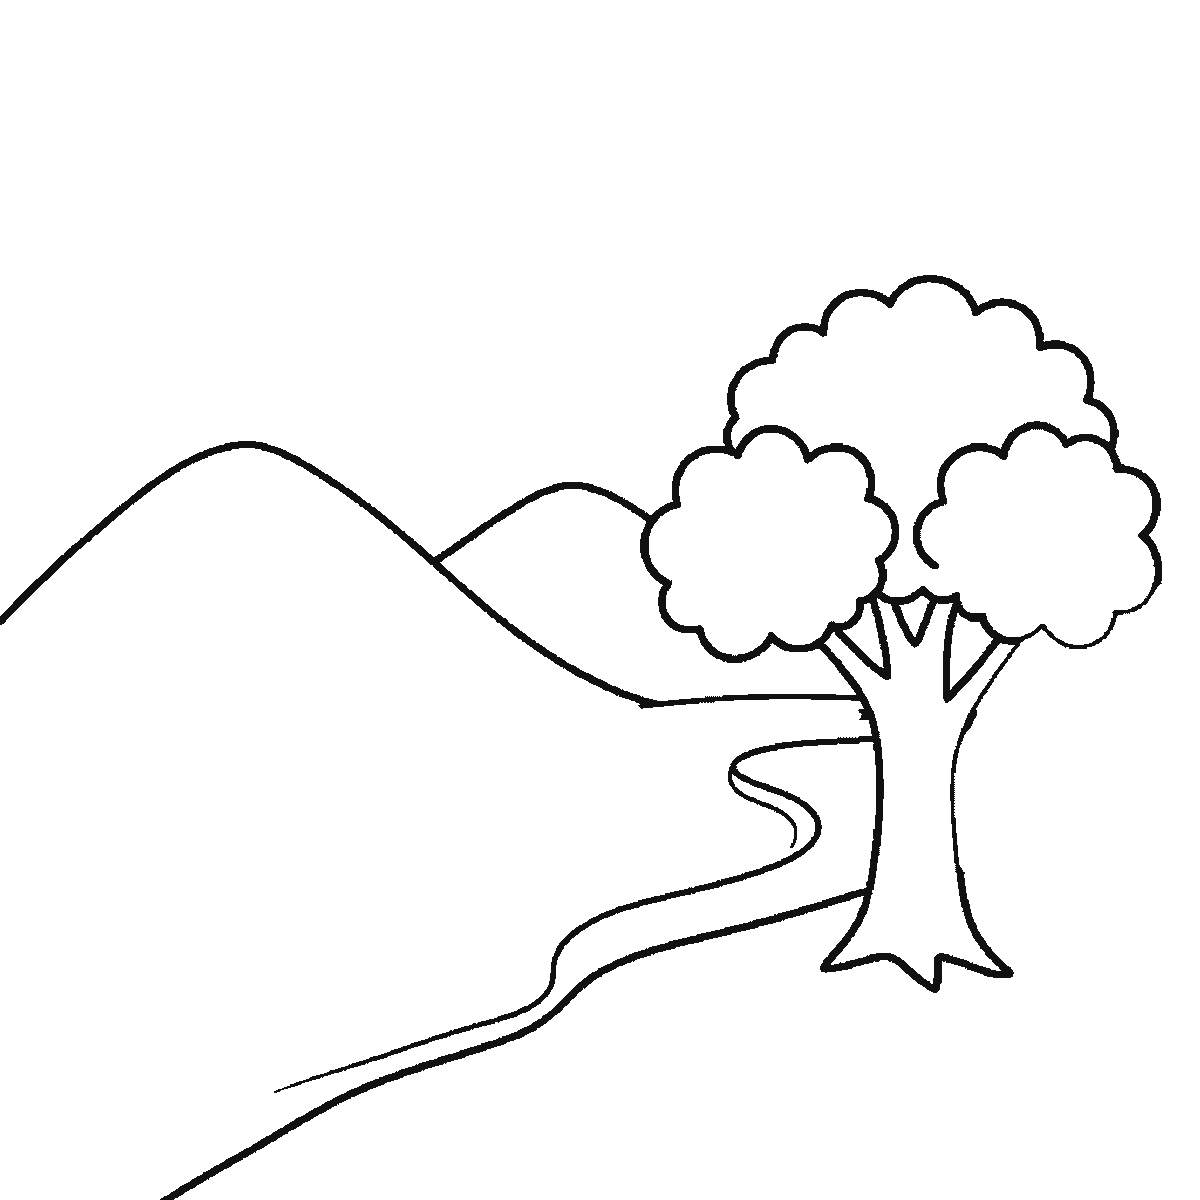
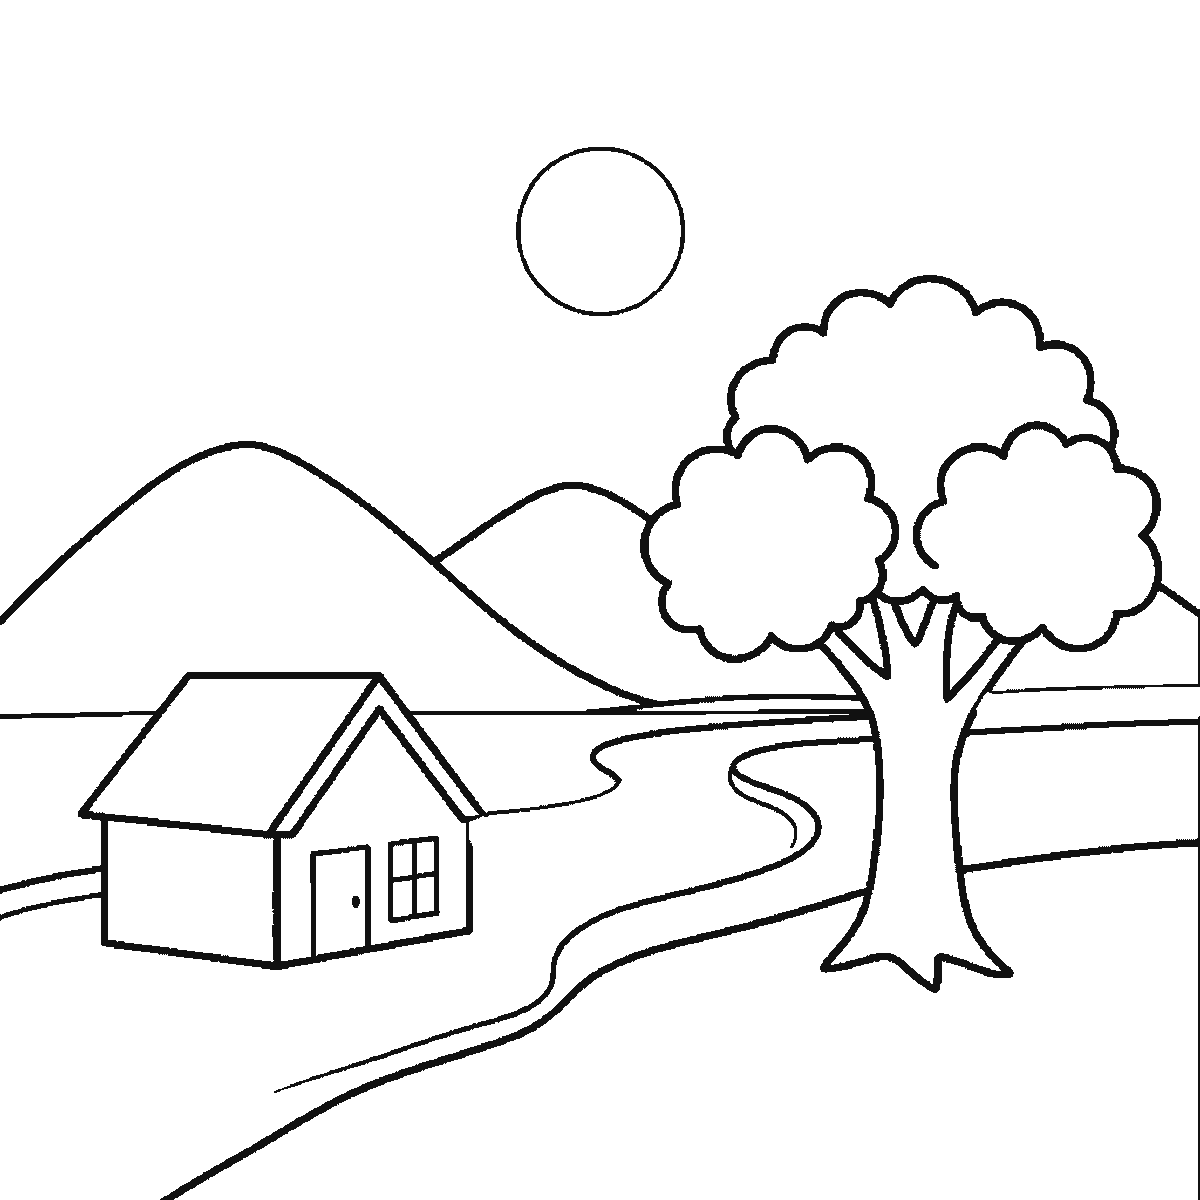
The trunk arrives in frame two, along with the two hills behind and the near bank of the river. Now the drawing has a horizon, and this is the frame where the arrangement is decided. The two hills overlap — the nearer one crosses in front of the further one — and that overlap is doing all the work of depth in this picture. Two hills drawn side by side with a gap between them read as flat scenery; one crossing in front of the other reads as distance.
The river is a band, not a line. It is drawn as two edges with real width between them, wide at the bottom of the page where it is near and narrowing as it goes back towards the hills. That narrowing is the second depth cue in the drawing and it is worth exaggerating: rivers that keep the same width all the way to the horizon look like roads painted on a backdrop.
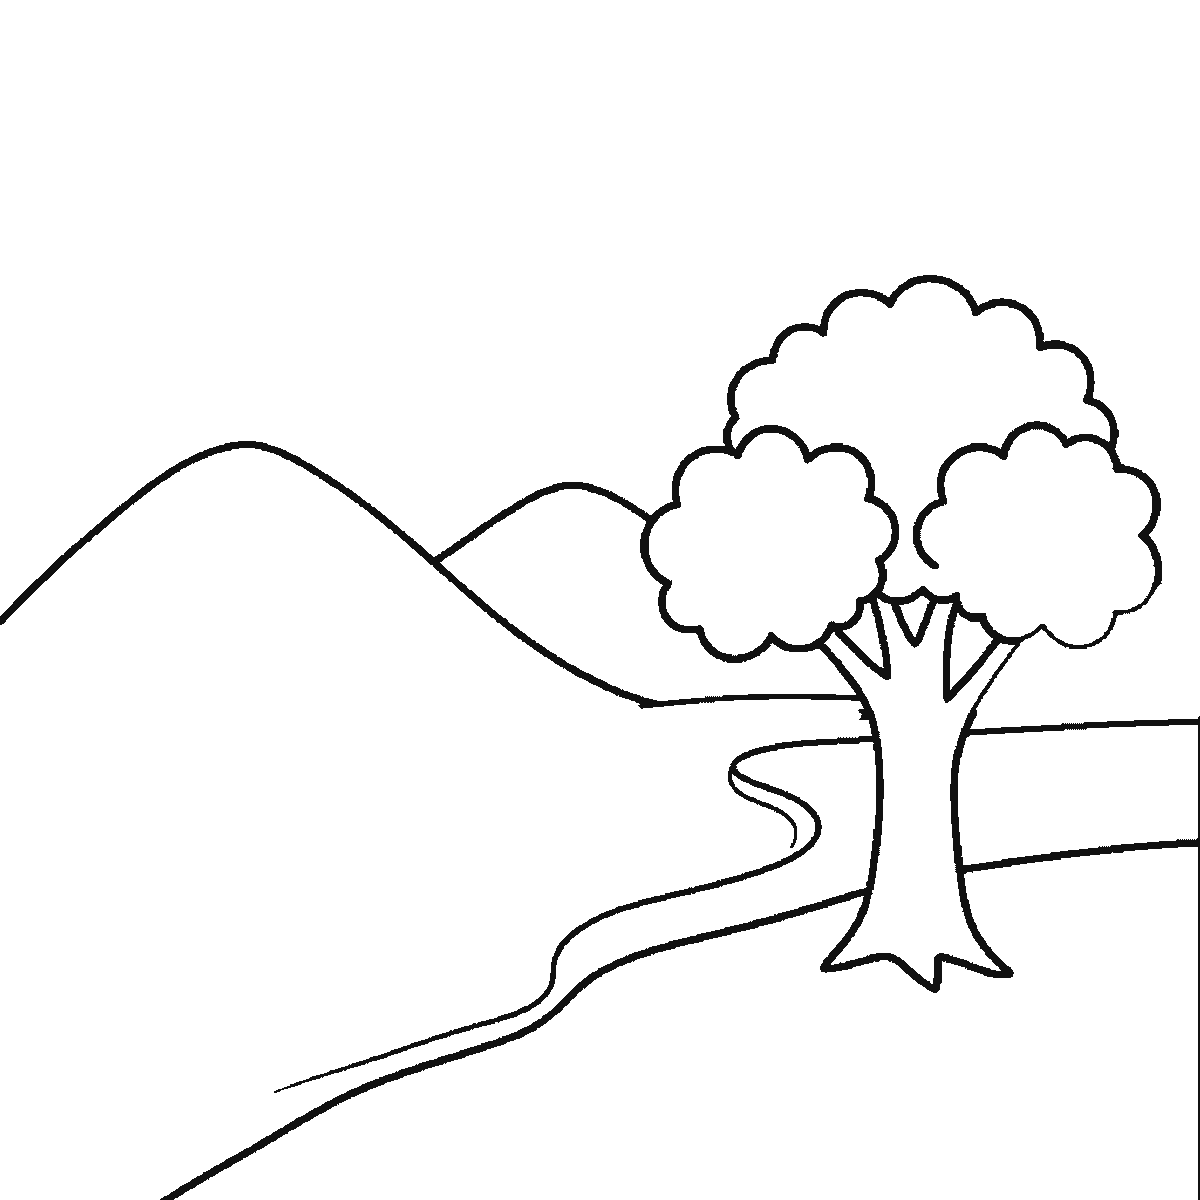
Frame three is the thinnest step on the sheet — one long horizontal stroke, the far bank on the right of the tree. It is the sort of line that is easy to leave out and awkward to add later, because it sets where the ground stops and the water begins on that side.
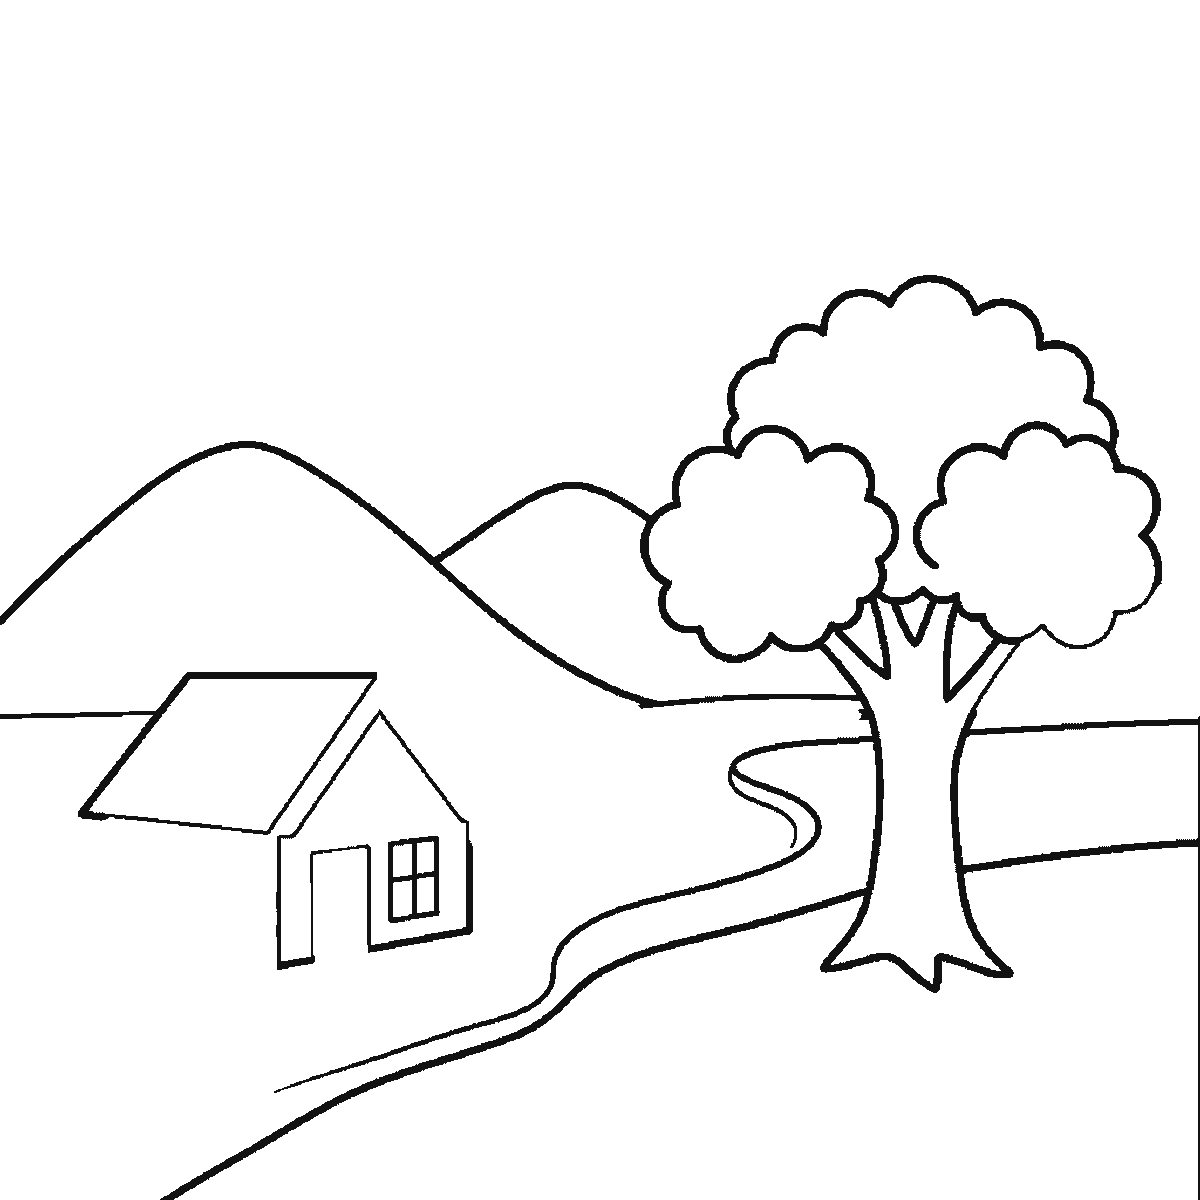
The house is the whole of frame four: the pitched roof, the gable, the near wall, the door and a four-pane window. It is drawn small, and that is deliberate — the size of the house is what tells you how big the tree and the hills are. Drawing it too large is the most common way a beginner flattens a landscape, because a house that competes with the tree destroys the sense that anything is far away.
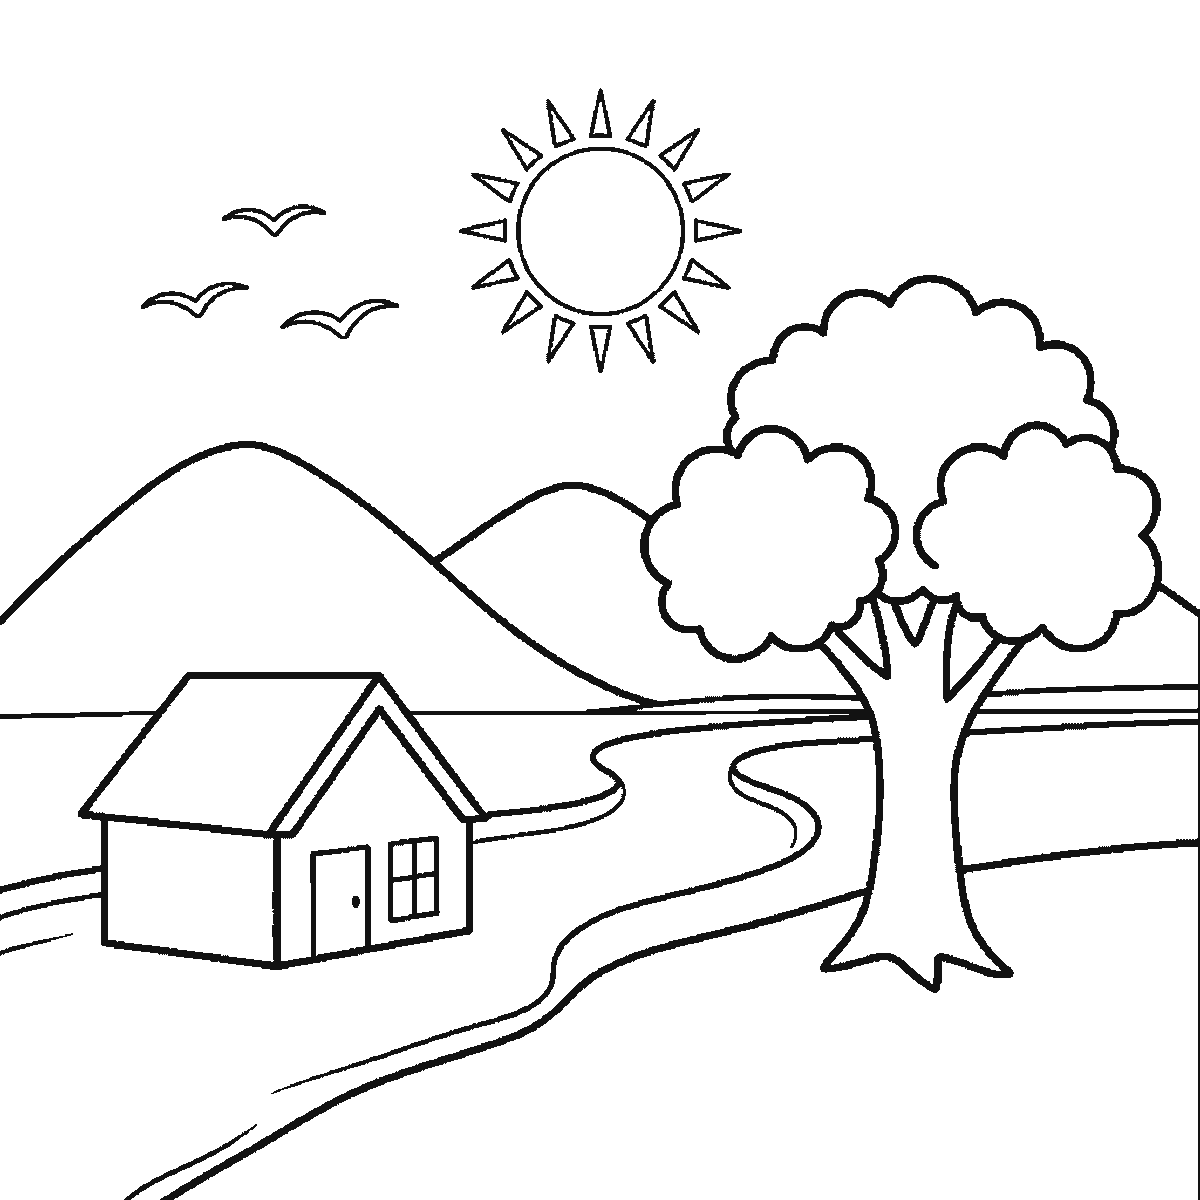
The sun arrives in two pieces across the last two frames, and this is the detail a sheet like this exists to show. Frame five gives you the plain circle of the disc and nothing else. The ring of straight triangular rays around it is the whole of frame six, together with the three birds. So the sun spends a frame looking like a bare circle in the sky, which is correct and looks wrong, and then becomes a sun.
The birds are the last thing on the page and they are the cheapest mark in the drawing: three pairs of shallow curves, no bodies, no heads, set at different heights and different sizes. Put them at obviously different distances rather than in a neat row. Three birds evenly spaced read as a decoration; three at different sizes and heights read as birds.
The six frames run from the largest closed shape to the smallest, which is why the tree crown comes before the trunk that holds it up and why the sun’s rays come last. It is not advice about the order anyone should draw a landscape in — most people would start with the horizon — and the finished drawing is the same either way.
The download is one A4 page carrying all six frames, plain black outline on white with no shading anywhere, so it prints on any printer. It is also the best sheet here to colour: the hills, the river, the crown, the roof and the sun are large separate closed areas, and the scene gives a reason to use more than one green.
Before you start
- Draw the tree crown first and leave the trunk until you have the horizon, exactly as the sheet does. The crown fixes the scale of the whole picture.
- Overlap the two hills rather than setting them side by side. That overlap is the only thing making the far hill far.
- Draw the river as two edges with width between them, wider at the bottom of the page than at the top.
- Keep the house small. A house that competes with the tree flattens the whole scene.
Published Updated 722 words
The six steps
The steps go from the largest shape to the smallest, which is an easy order to copy. It is not the only order, and it is not a rule — if you would rather start somewhere else on the sheet, do.
Step 1
Step 2
Step 3
Step 4
Step 5
Step 6
More in this section
How to draw a flower
Six frames, one open flower on a stem. Three petals first, then the other three and the stem, the two leaves, and the centre near the end.
Step sequence made by us from a single drawing: each step keeps the lines of the one before it and adds to them.
How to draw a rainbow
Six frames, a rainbow with a cloud at each end and three birds. The clouds first, then the bands from the outside in, and the birds last.
Step sequence made by us from a single drawing: each step keeps the lines of the one before it and adds to them.
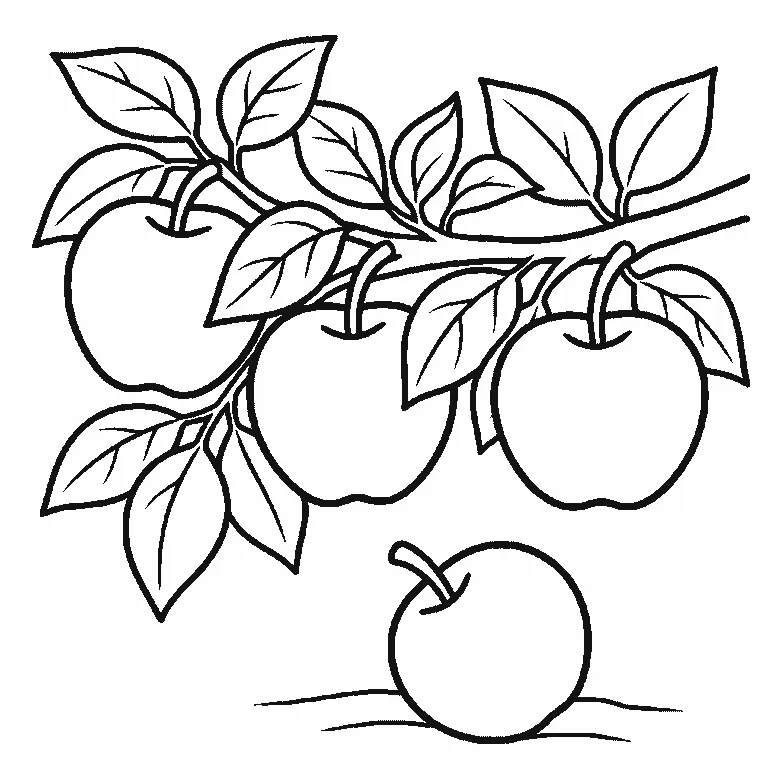
How to draw an apple
Six frames, four apples on a leafy branch — three hanging and one on the ground. Two apples first, then the other two, then leaf after leaf.
Step sequence made by us from a single drawing: each step keeps the lines of the one before it and adds to them.
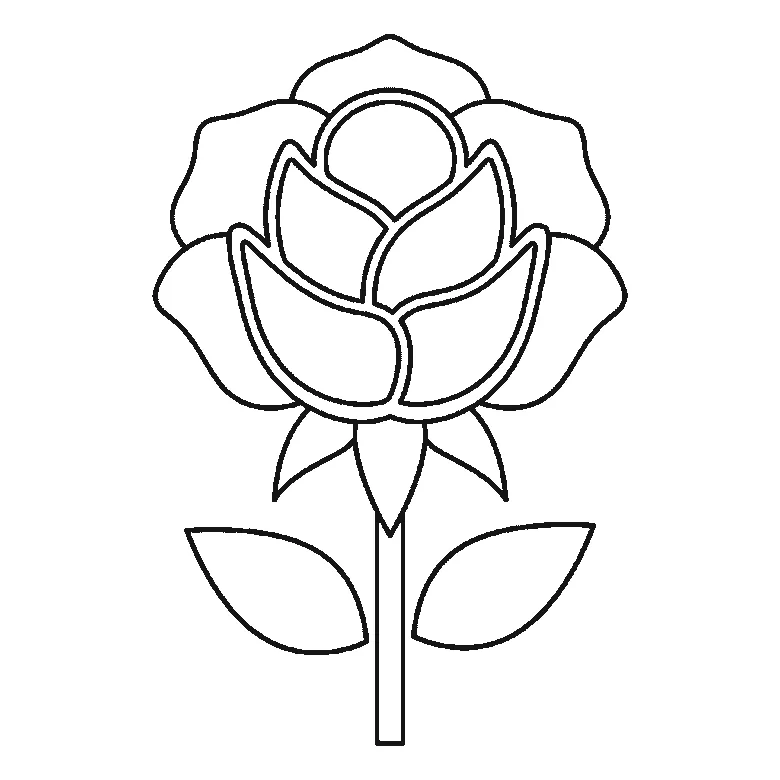
How to draw a rose
Six frames, one open rose. The centre cluster first, then the leaves, the outer petals and the stem.
Step sequence made by us from a single drawing: each step keeps the lines of the one before it and adds to them.
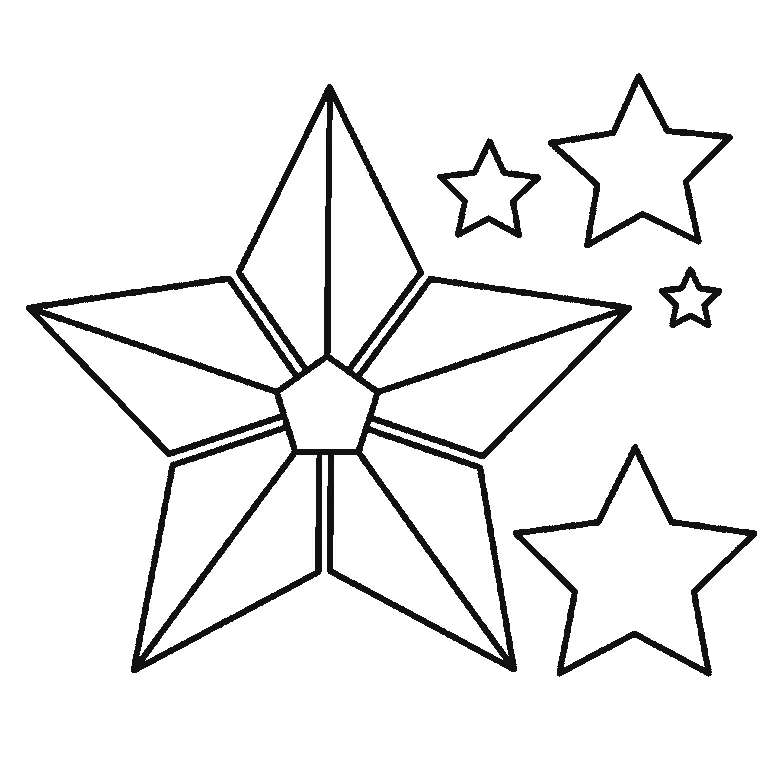
How to draw a star
Six frames, one faceted five-pointed star and four smaller ones, built one facet panel at a time.
Step sequence made by us from a single drawing: each step keeps the lines of the one before it and adds to them.
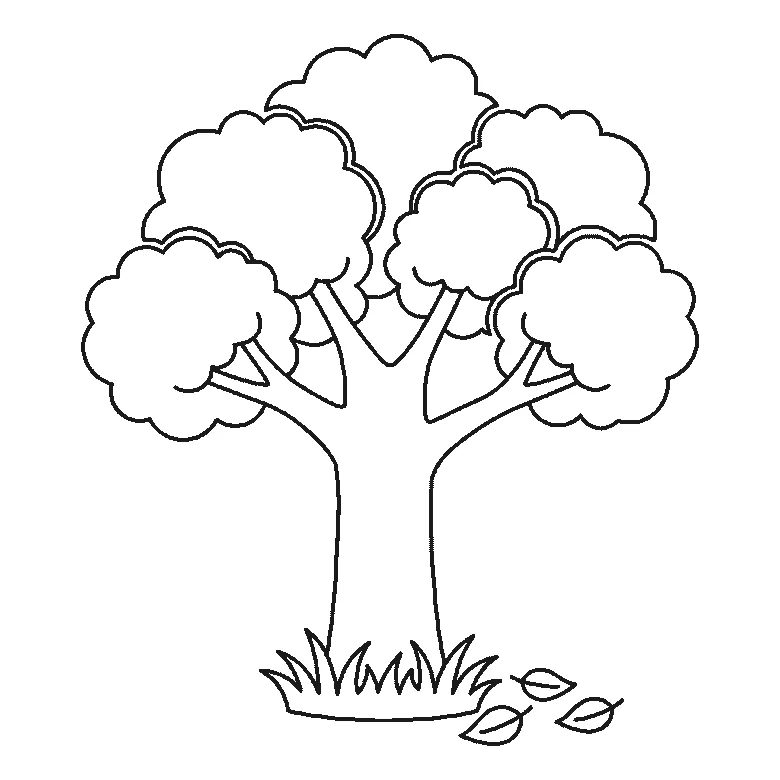
How to draw a tree
Six frames, one broad-leaved tree. Trunk first, then the branches, then the foliage in separate clumps.
Step sequence made by us from a single drawing: each step keeps the lines of the one before it and adds to them.
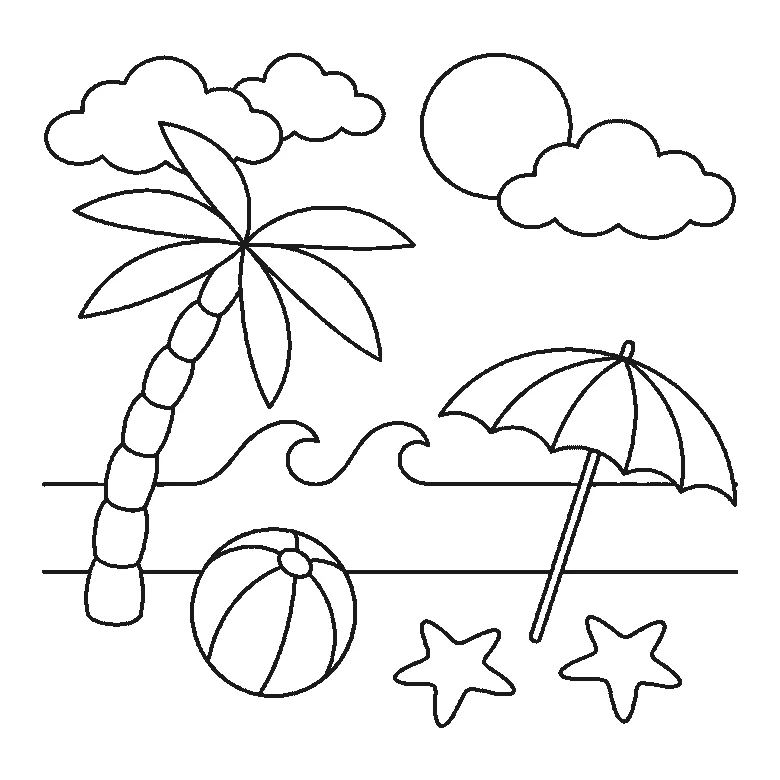
How to draw a beach
Six frames, one beach scene. The sea and its three waves first, then the sun and clouds — and the palm trunk and the parasol pole right at the end.
Step sequence made by us from a single drawing: each step keeps the lines of the one before it and adds to them.
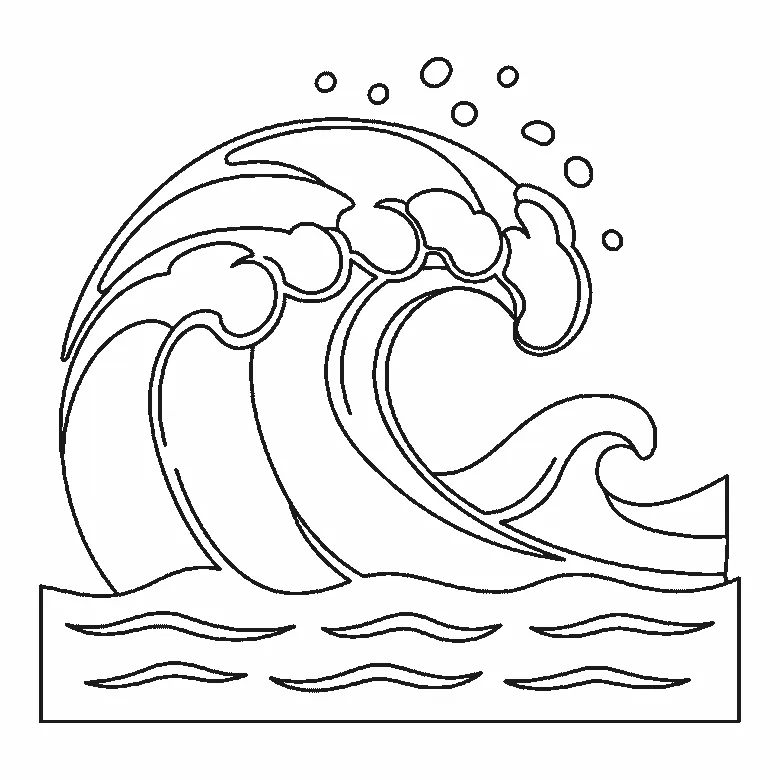
How to draw a wave
Six frames, one big breaking wave. The inside of the curl first, not the outline — and all the spray droplets in the very last frame.
Step sequence made by us from a single drawing: each step keeps the lines of the one before it and adds to them.
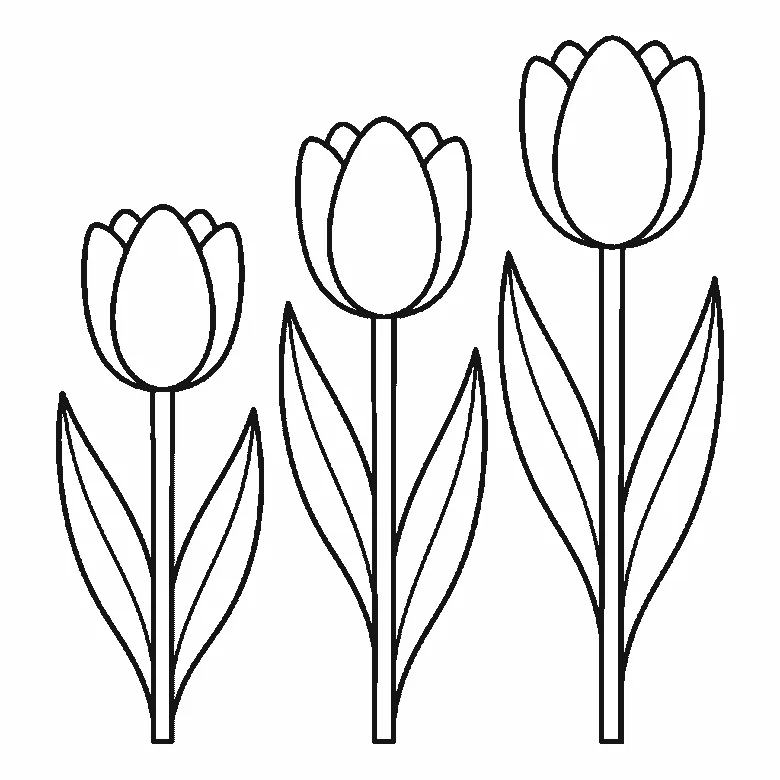
How to draw tulips
Six frames, three tulips of different heights. All three flower cups arrive together in the first frame — and the lines that split each cup into petals come last.
Step sequence made by us from a single drawing: each step keeps the lines of the one before it and adds to them.
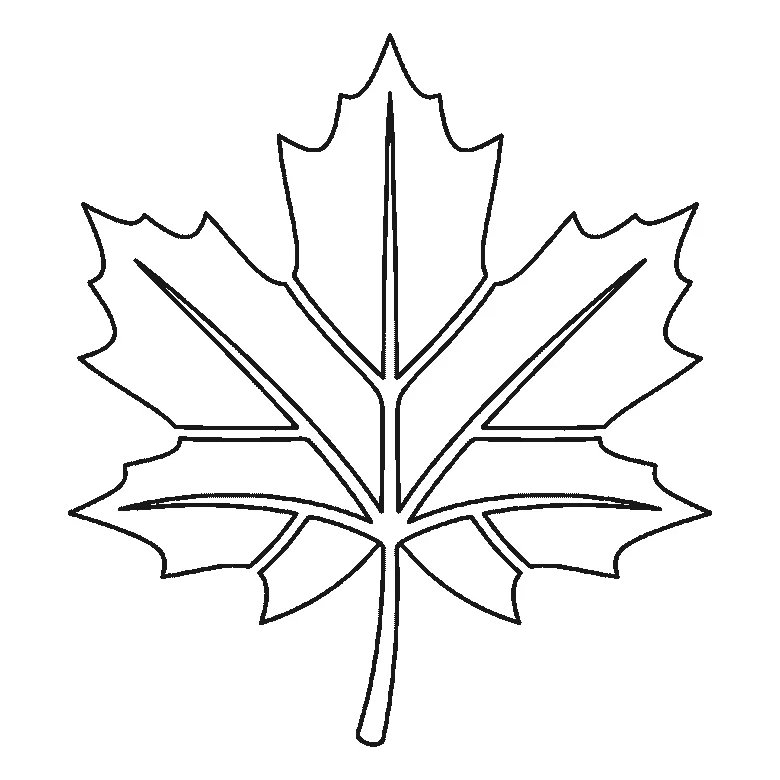
How to draw a leaf
Six frames, one maple leaf — and this sheet is the tidiest on the site: one lobe per frame, each with its own vein, and the stem last.
Step sequence made by us from a single drawing: each step keeps the lines of the one before it and adds to them.
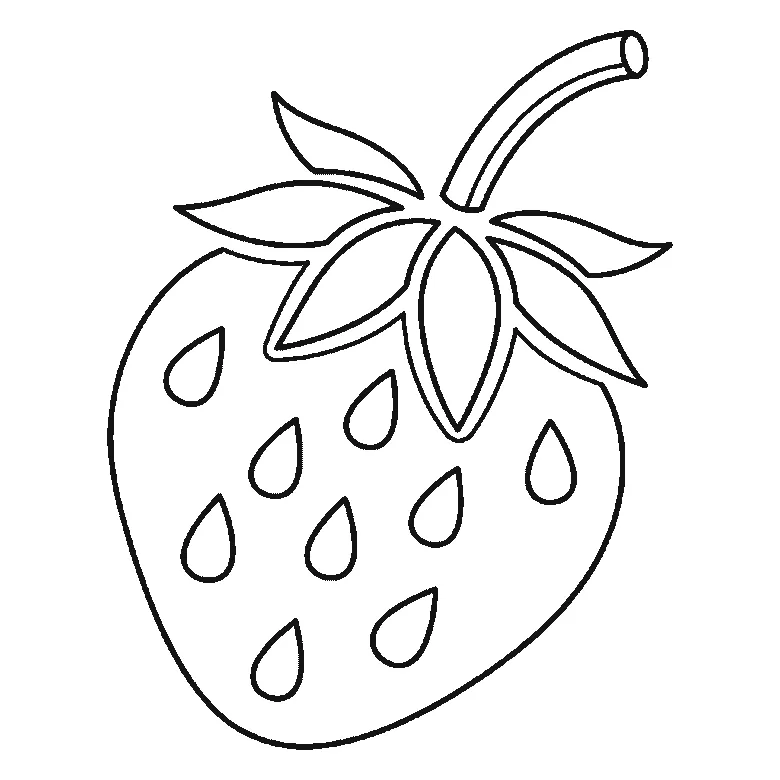
How to draw a strawberry
Six frames, one strawberry. The whole berry outline arrives in the first frame — a big first step — then a calyx leaf at a time, with all eleven seeds at the end.
Step sequence made by us from a single drawing: each step keeps the lines of the one before it and adds to them.
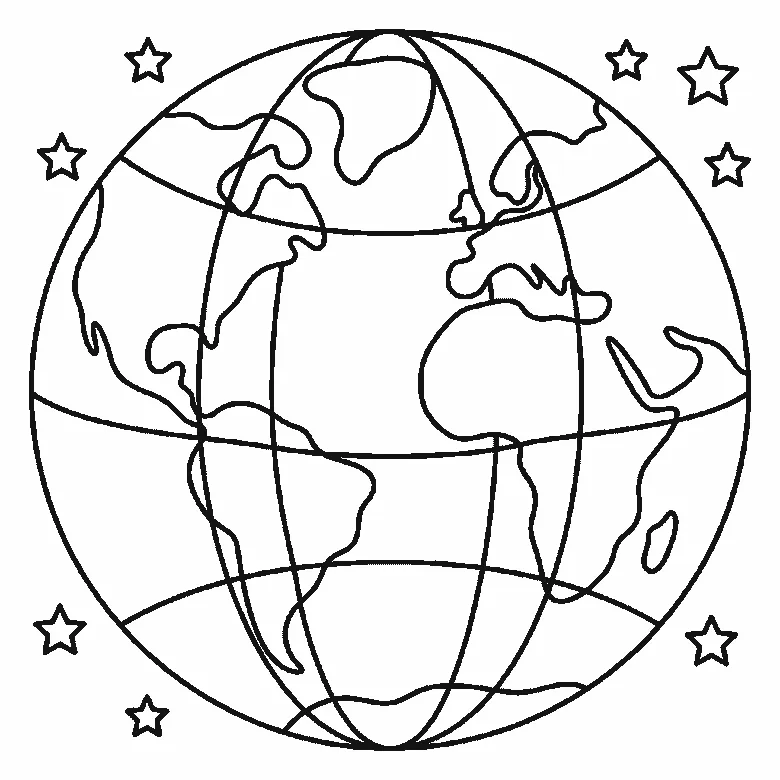
How to draw Earth
Six frames, one globe, revealed ocean-panel by ocean-panel rather than continent by continent. The land emerges as the white left behind, and the stars come last.
Step sequence made by us from a single drawing: each step keeps the lines of the one before it and adds to them.


