
PDF · A4 · 44 KB · Free, no sign-up. For home and classroom use.
How to draw a leaf
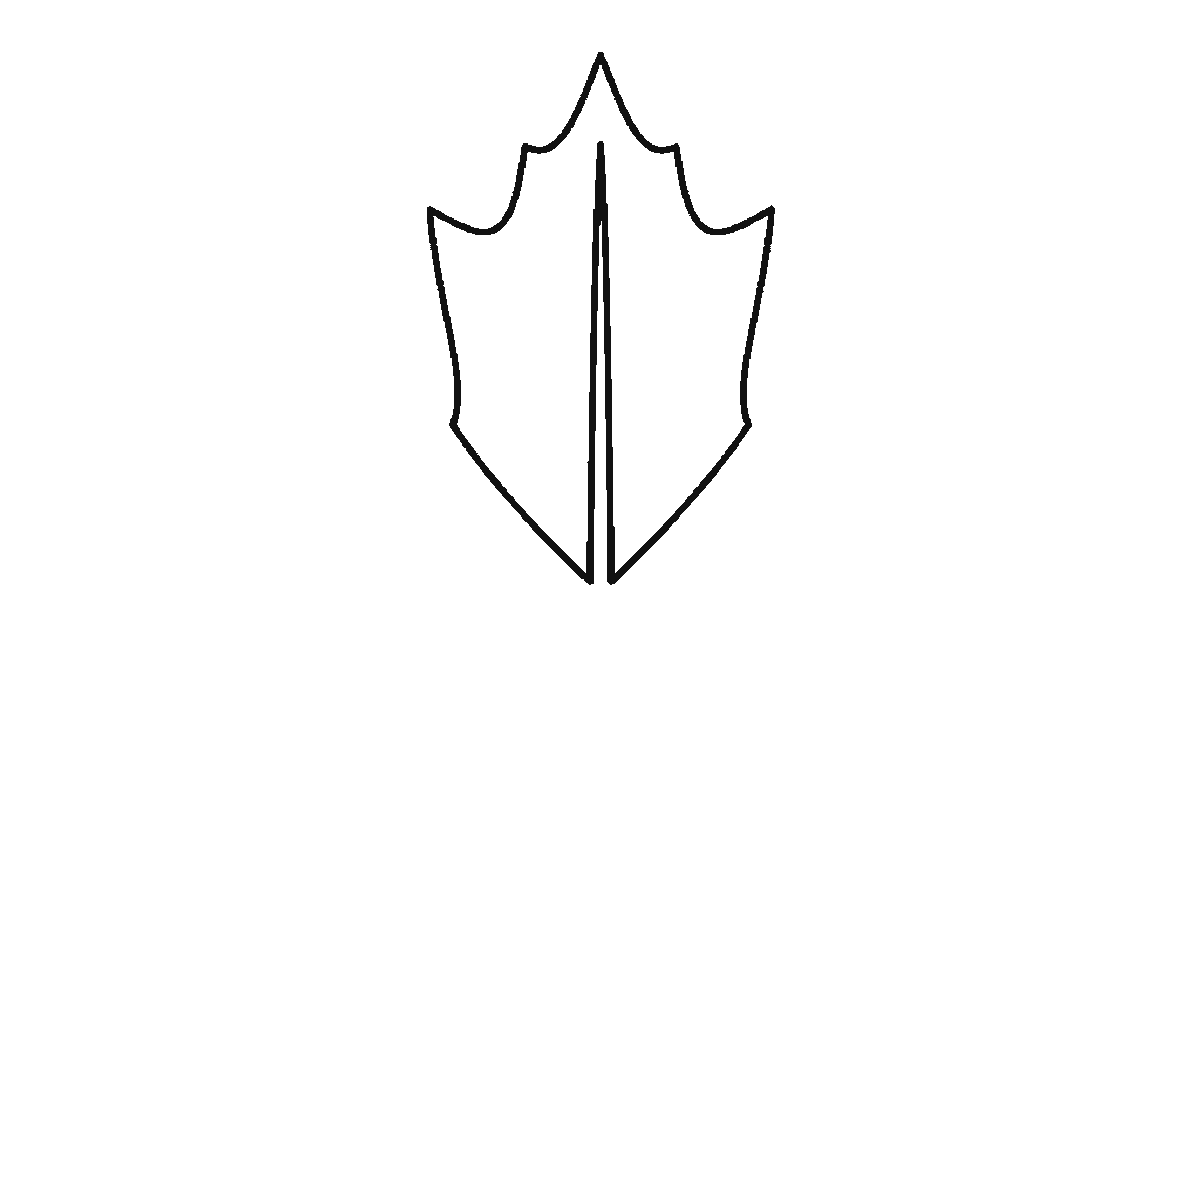
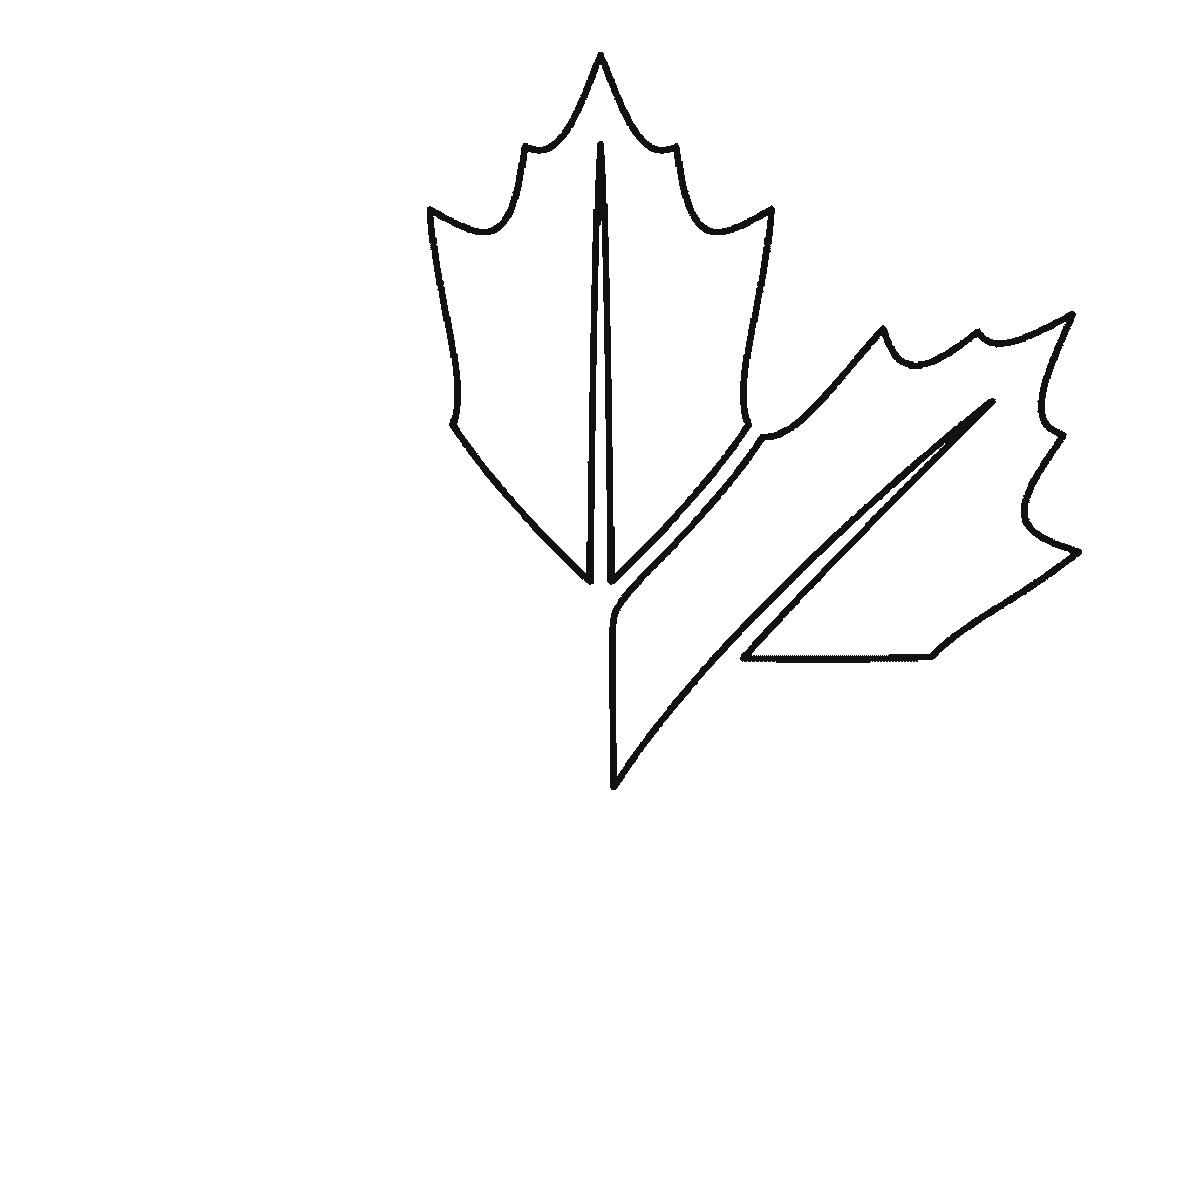
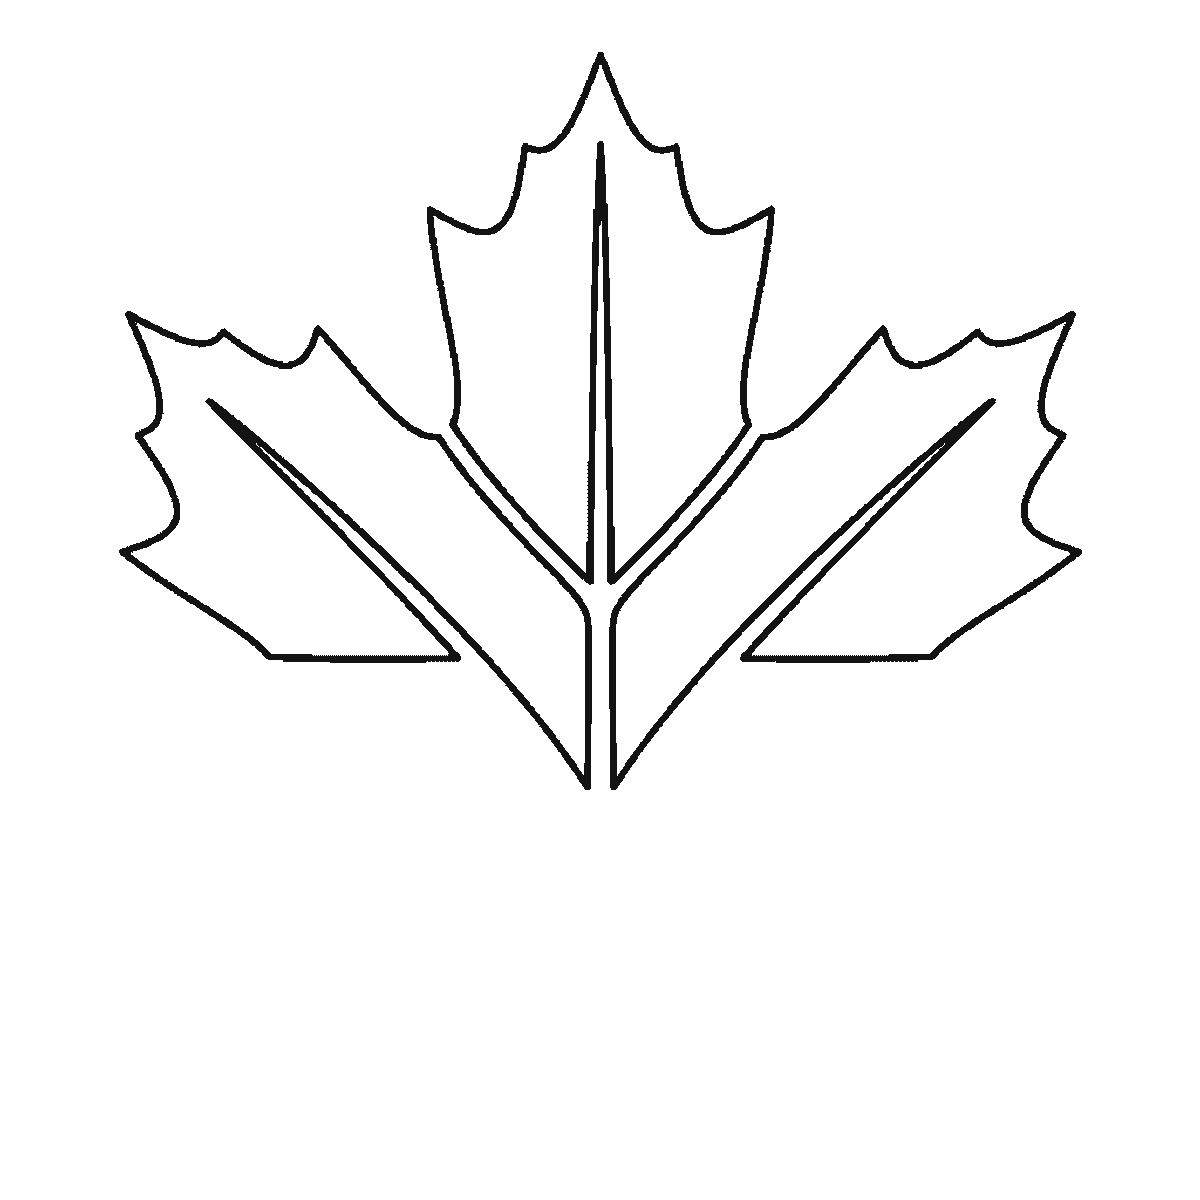
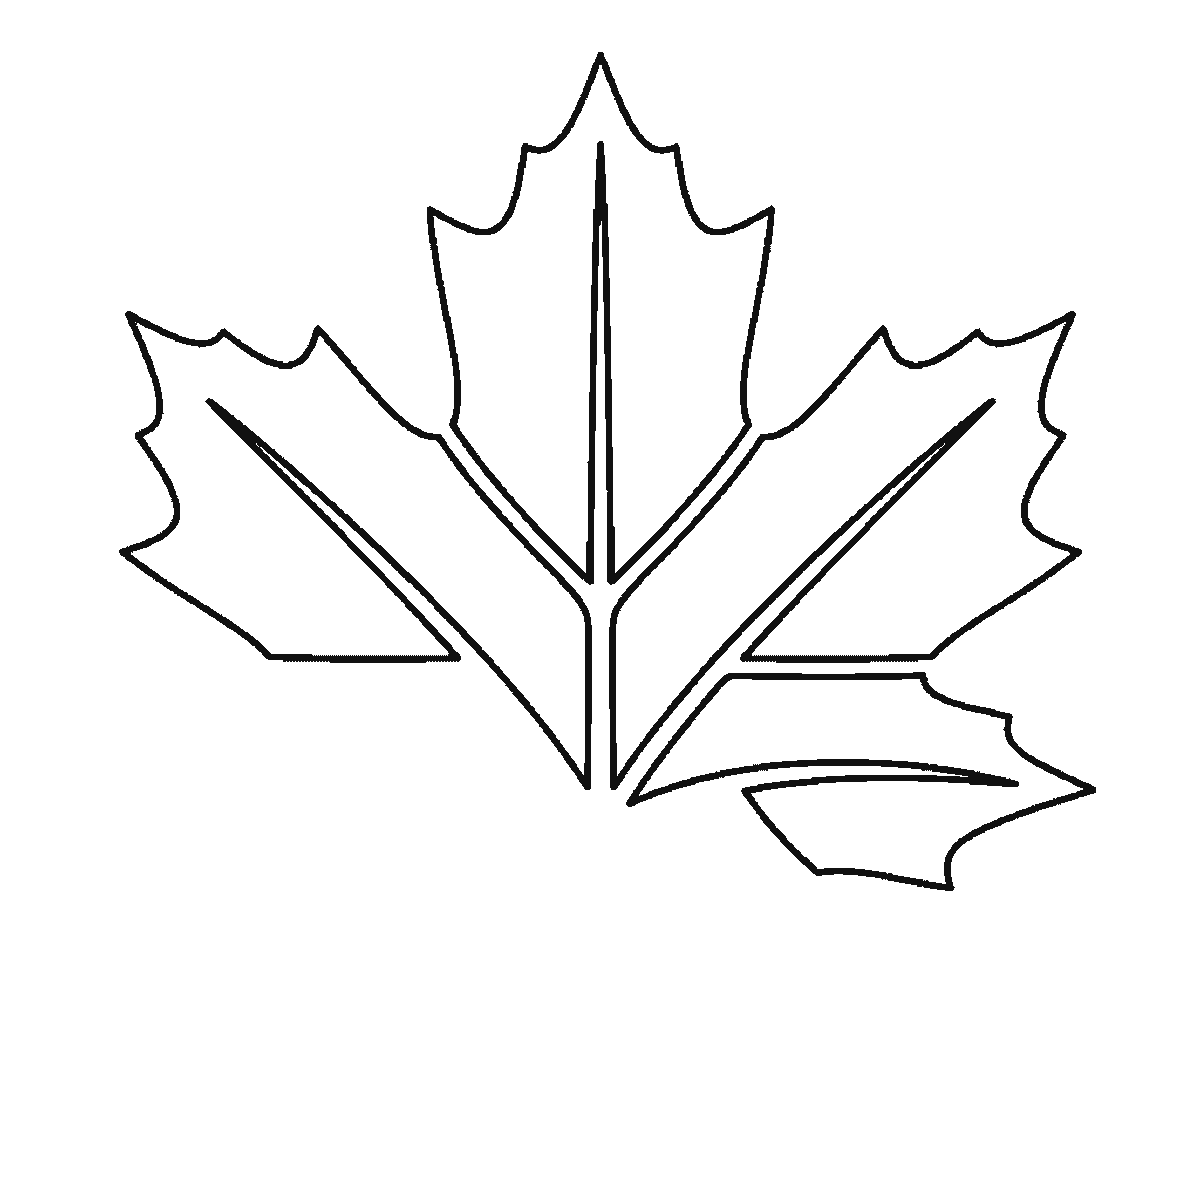
Six frames, one maple leaf — and this sheet is the tidiest on the site: one lobe per frame, each with its own vein, and the stem last.
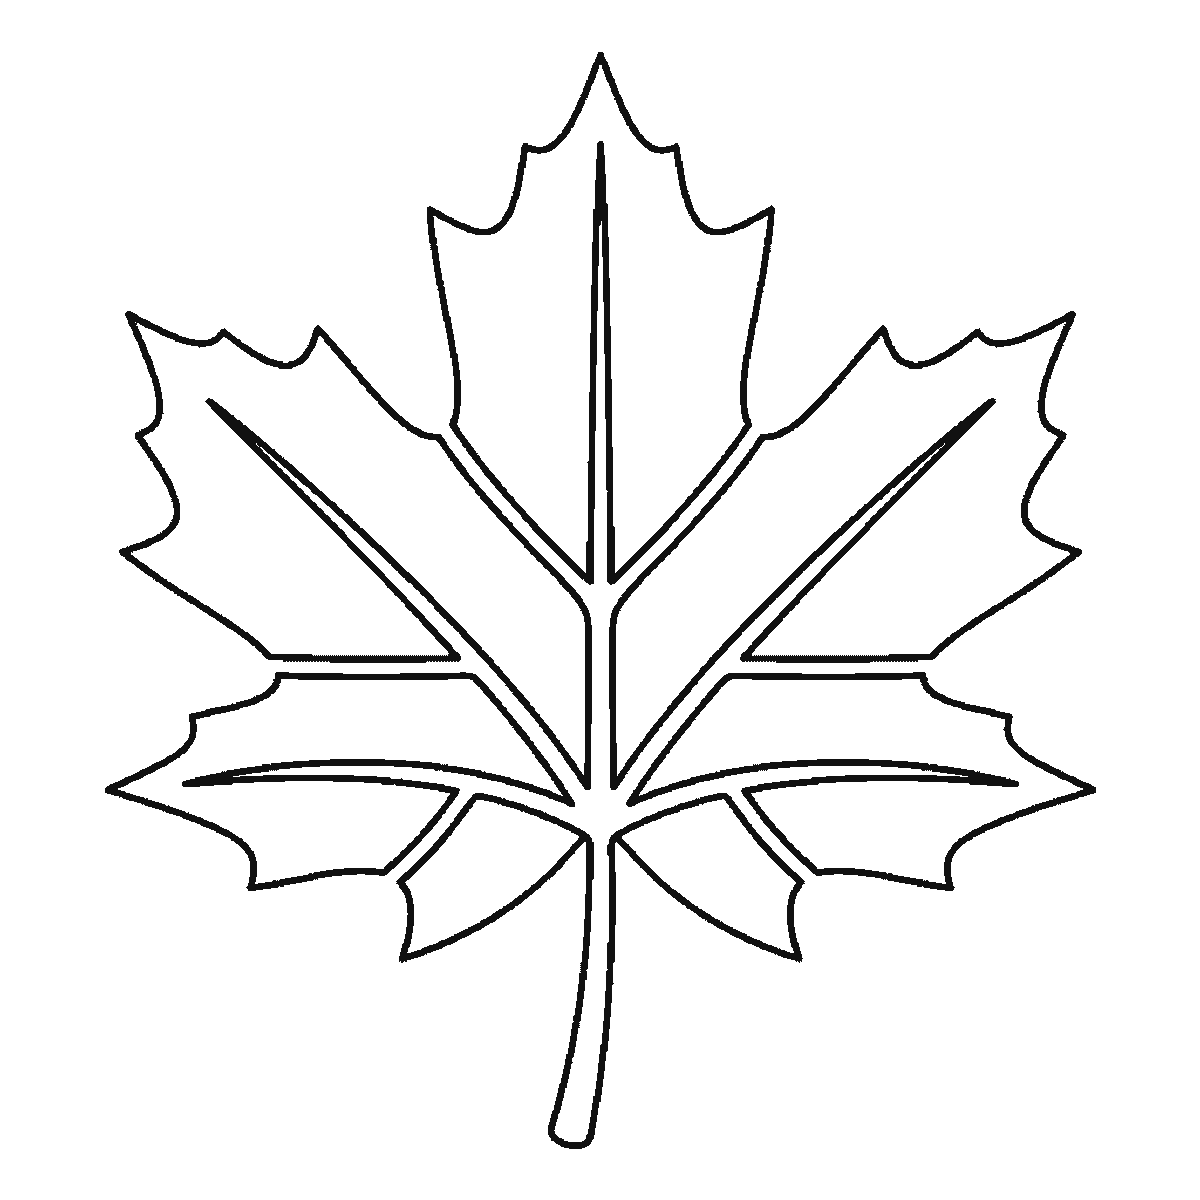
This sheet takes one drawing of a five-lobed maple leaf and shows it six times, each frame adding to the last. Of all the sheets on this site it is the one whose order most closely matches how a person would actually draw the subject, and that is worth saying because it is a coincidence rather than a design.
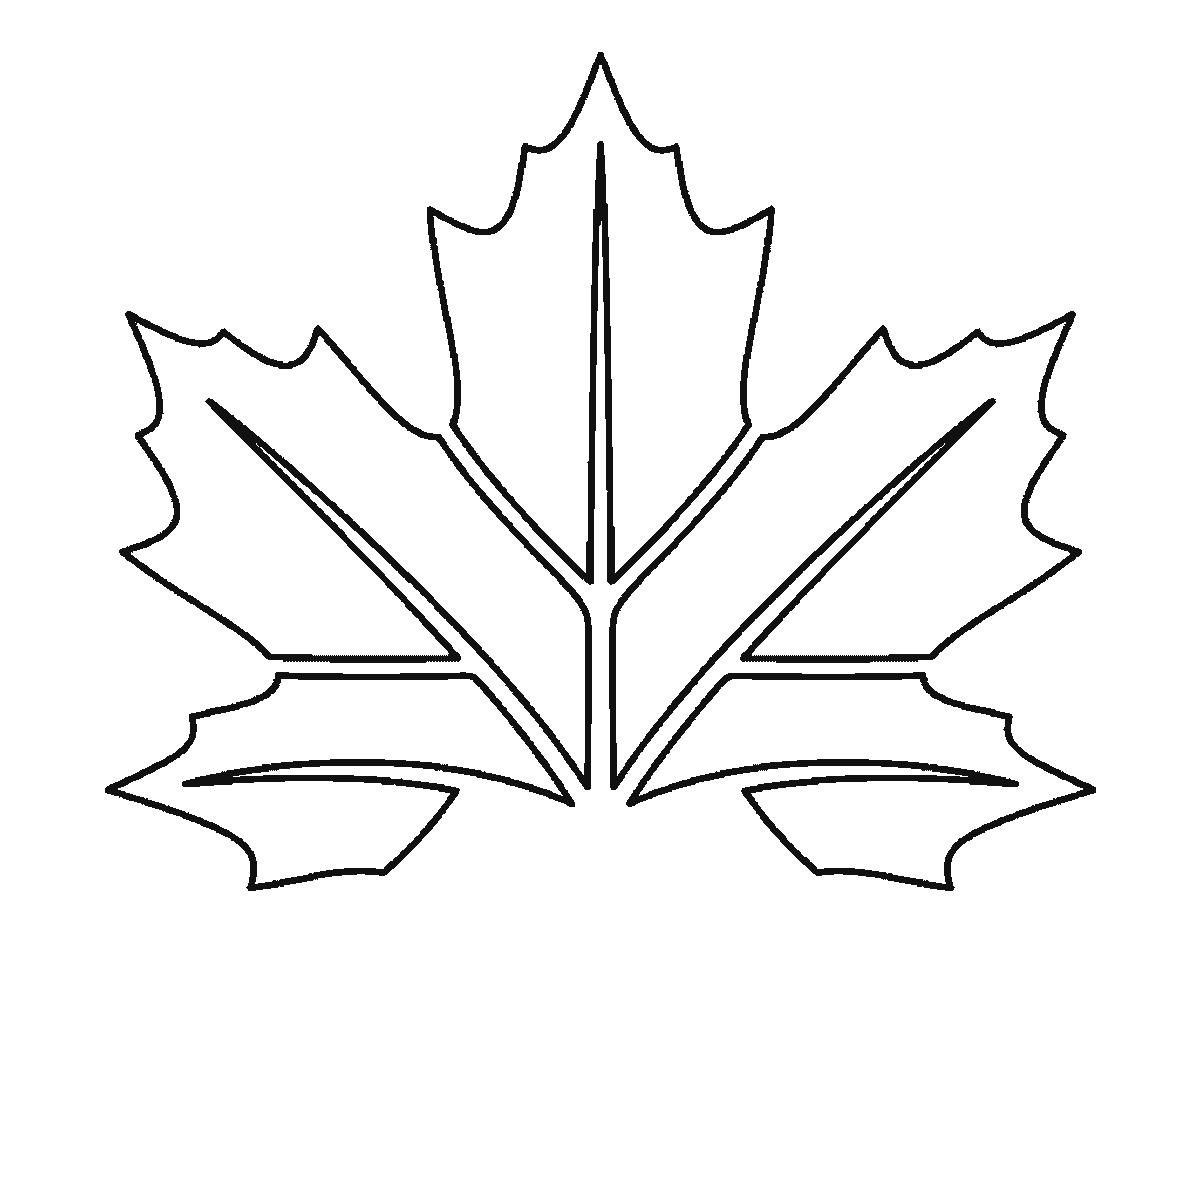
The sequence is one lobe per frame. Frame one is the top lobe with its centre vein. Frame two is the upper right lobe with its vein, frame three the upper left, frame four the lower right, frame five the lower left. Frame six closes the drawing with the two small lobes either side of the base and the stem. So the leaf grows outwards from the top, alternating right and left, and by the fifth frame it is complete apart from the stalk.
Each lobe is drawn as its own closed shape, and the veins are what close them: a maple leaf drawn as a single jagged outline with lines scratched inside it is a much weaker drawing than one where each lobe is bounded by the vein on either side of it. That is why this sheet decomposes so cleanly, and it is also the single most useful thing you can take from it to any other leaf you ever draw.
The veins should be drawn as narrow wedges rather than as single lines — thick where they leave the base, tapering to nothing at the tip of each lobe. Drawn as plain lines they look scored on; drawn as wedges they look structural, which is what a vein is.
The edges are the other half of it. A maple lobe is not a smooth triangle; it has two or three shallow notches down each side, and the notches on one side do not mirror the notches on the other. If you draw the outline as a series of neat symmetrical points you get a heraldic maple leaf, which is a fine thing but not a drawing of a leaf. Uneven notches, and one lobe slightly larger than its opposite number, is what makes it look like something that fell off a tree.
The order here runs from the largest closed shape to the smallest, and on a leaf that happens to be very close to a sensible drawing order too. It is still not a claim that this is how a leaf must be drawn: anyone who draws the stem and the main vein first, and hangs the lobes off them, is using the method every botanical illustrator uses, and it produces a more accurate leaf than working outside-in does.
The download is one A4 page carrying all six frames as plain black outline on white with no shading, so it prints on any printer and the finished frame colours in cleanly — a leaf being one of the very few subjects where you can reasonably use three or four colours on one shape.
When the maple works, the same construction gives you almost any leaf. Reduce it to three lobes and lengthen them and you have a sycamore. Take the notches out entirely, make the outline a single smooth oval and keep the veins exactly as they are, and you have a beech. The veins do not change in any of those, which is the point: on a leaf drawing it is the vein pattern that carries the structure and the outline that carries the species, and they can be learned separately.
Before you start
- Draw the veins as narrow tapering wedges, not single lines. It is what makes each lobe read as a closed shape.
- Make the notches along each edge uneven, and do not mirror the left side onto the right.
- Let one lobe be slightly larger than its opposite number — perfect symmetry is what makes a leaf look like a flag.
- Start the stem thick where it meets the leaf and taper it. A parallel-sided stem looks like a nail.
Published Updated 585 words
The six steps
The steps go from the largest shape to the smallest, which is an easy order to copy. It is not the only order, and it is not a rule — if you would rather start somewhere else on the sheet, do.
Step 1
Step 2
Step 3
Step 4
Step 5
Step 6
More in this section
How to draw a strawberry
Six frames, one strawberry. The whole berry outline arrives in the first frame — a big first step — then a calyx leaf at a time, with all eleven seeds at the end.
Step sequence made by us from a single drawing: each step keeps the lines of the one before it and adds to them.
How to draw Earth
Six frames, one globe, revealed ocean-panel by ocean-panel rather than continent by continent. The land emerges as the white left behind, and the stars come last.
Step sequence made by us from a single drawing: each step keeps the lines of the one before it and adds to them.
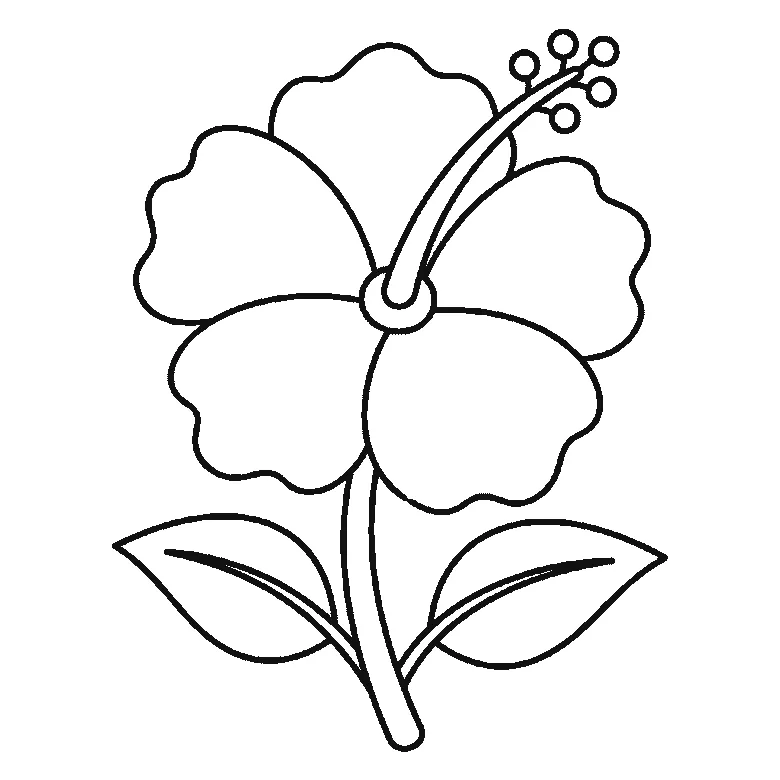
How to draw a hibiscus flower
Six frames, one open hibiscus. Three petals first and the other two next, so the flower head is done by frame two — and the stamen column arrives at frame five.
Step sequence made by us from a single drawing: each step keeps the lines of the one before it and adds to them.
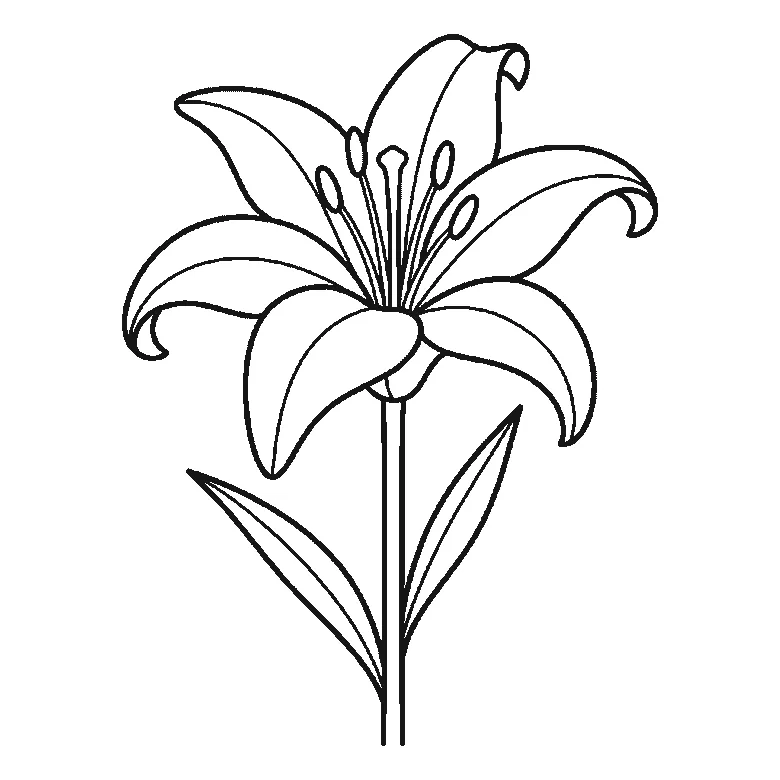
How to draw a lily
Six frames, one open lily. Three petals in the first frame, the rest two at a time — and the stem, the leaves and the central stamens right at the end.
Step sequence made by us from a single drawing: each step keeps the lines of the one before it and adds to them.
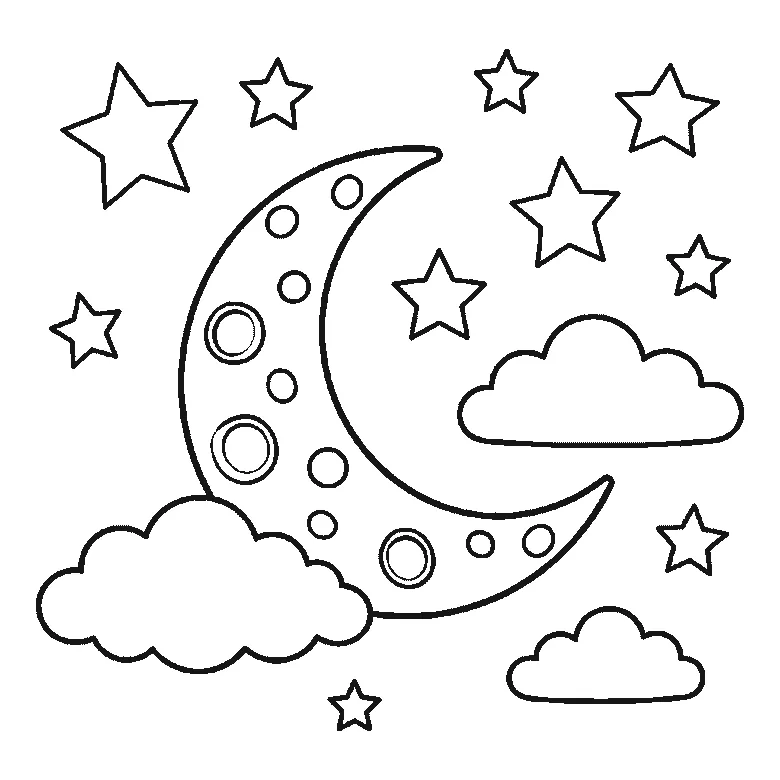
How to draw the moon
Six frames, a crescent moon in a night sky. The whole moon and every crater arrive in frame one; the five frames after it are clouds and stars.
Step sequence made by us from a single drawing: each step keeps the lines of the one before it and adds to them.
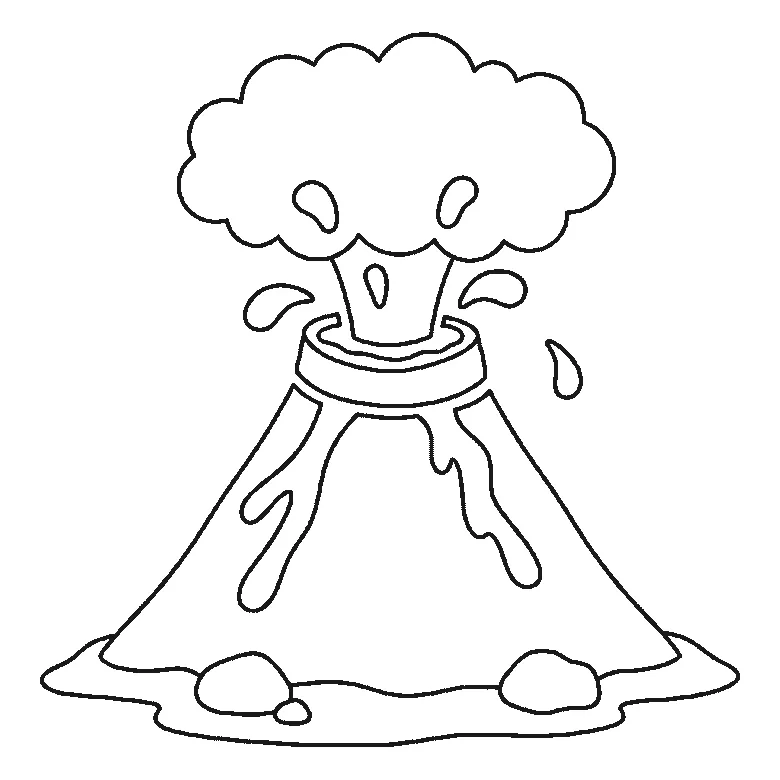
How to draw a volcano
Six frames, one erupting volcano. The whole cone with its lava streams arrives in frame one; the smoke, the ground and the flying lava come after it.
Step sequence made by us from a single drawing: each step keeps the lines of the one before it and adds to them.
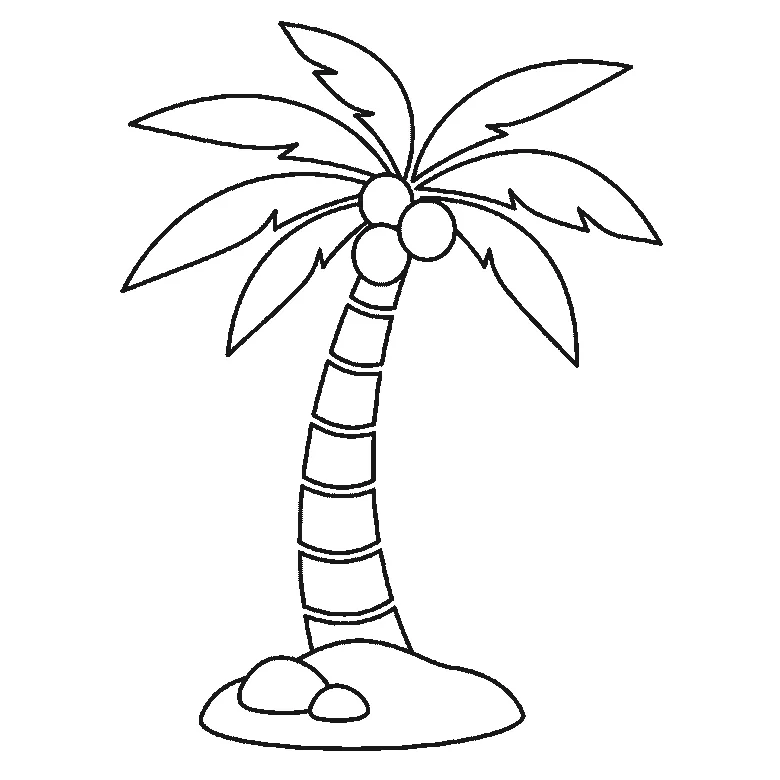
How to draw a palm tree
Six frames, one palm tree on a mound of sand. The fronds come first, two at a time; the trunk is not drawn until frame five.
Step sequence made by us from a single drawing: each step keeps the lines of the one before it and adds to them.
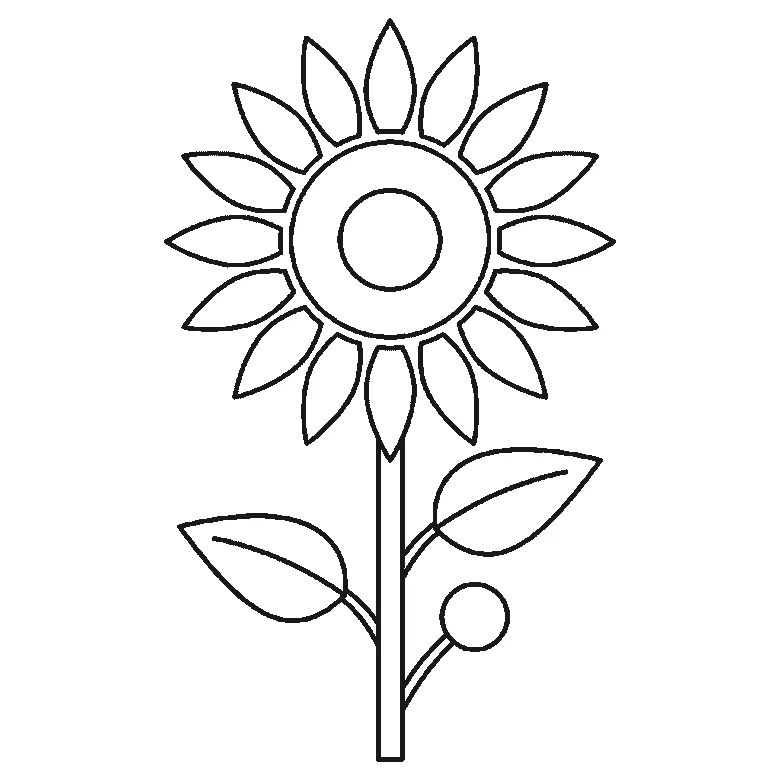
How to draw a sunflower
Six frames, one tall sunflower with two leaves and a bud. The seed head and one leaf first — and no petals at all until frame three.
Step sequence made by us from a single drawing: each step keeps the lines of the one before it and adds to them.
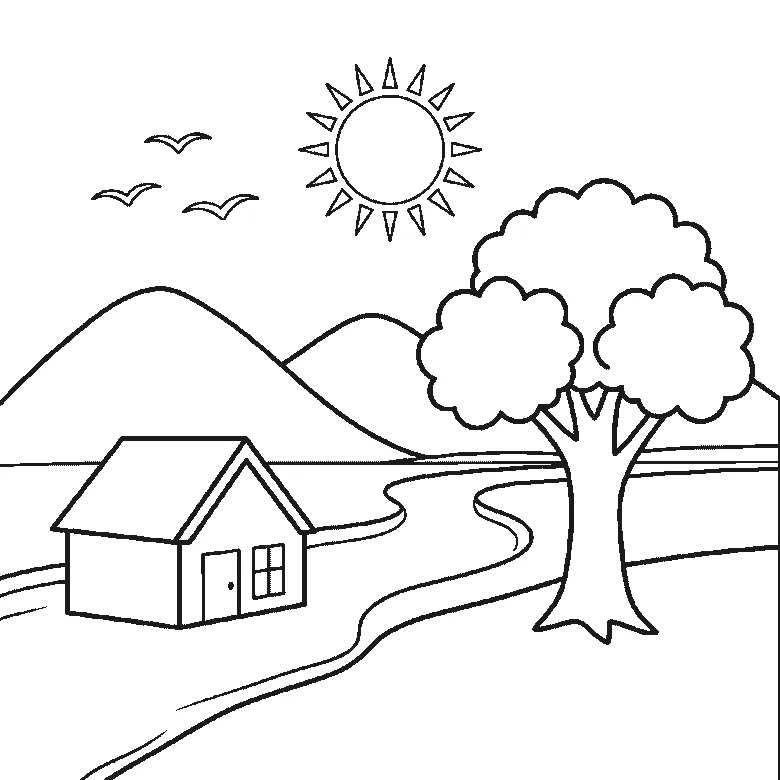
How to draw a landscape
Six frames, one countryside scene with hills, a river, a tree, a house and a sun. The leaves come first and the birds last.
Step sequence made by us from a single drawing: each step keeps the lines of the one before it and adds to them.
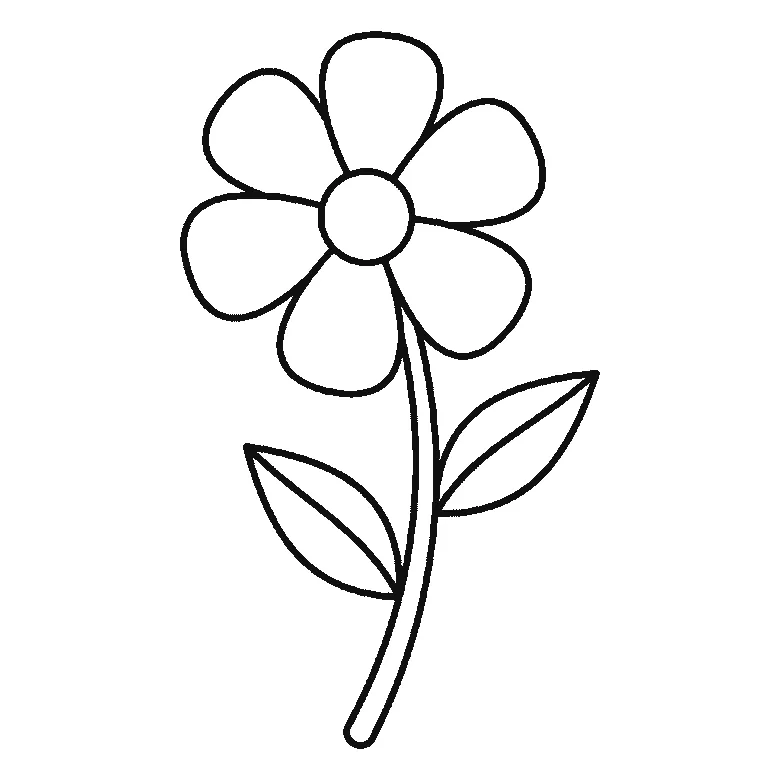
How to draw a flower
Six frames, one open flower on a stem. Three petals first, then the other three and the stem, the two leaves, and the centre near the end.
Step sequence made by us from a single drawing: each step keeps the lines of the one before it and adds to them.
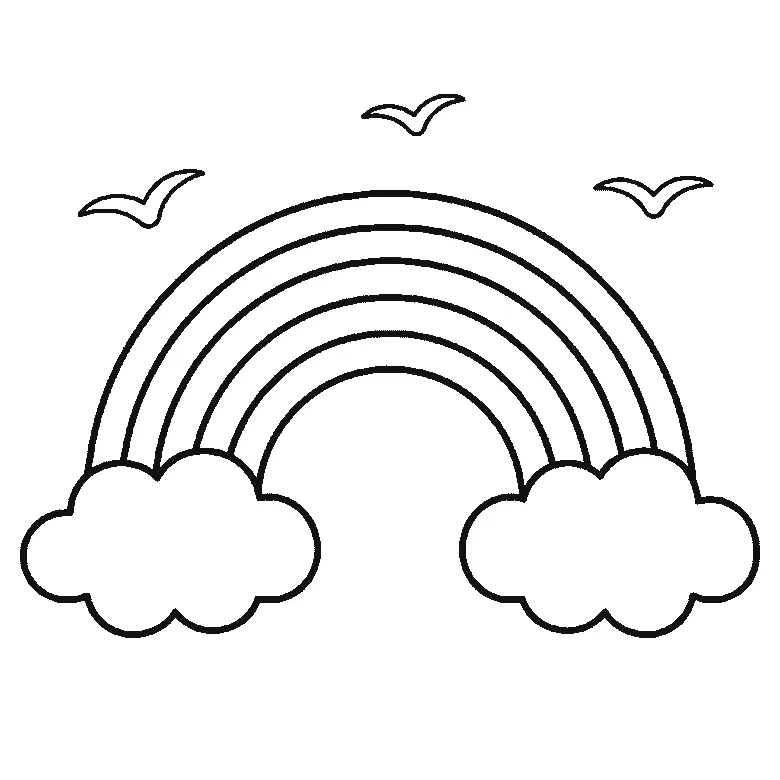
How to draw a rainbow
Six frames, a rainbow with a cloud at each end and three birds. The clouds first, then the bands from the outside in, and the birds last.
Step sequence made by us from a single drawing: each step keeps the lines of the one before it and adds to them.
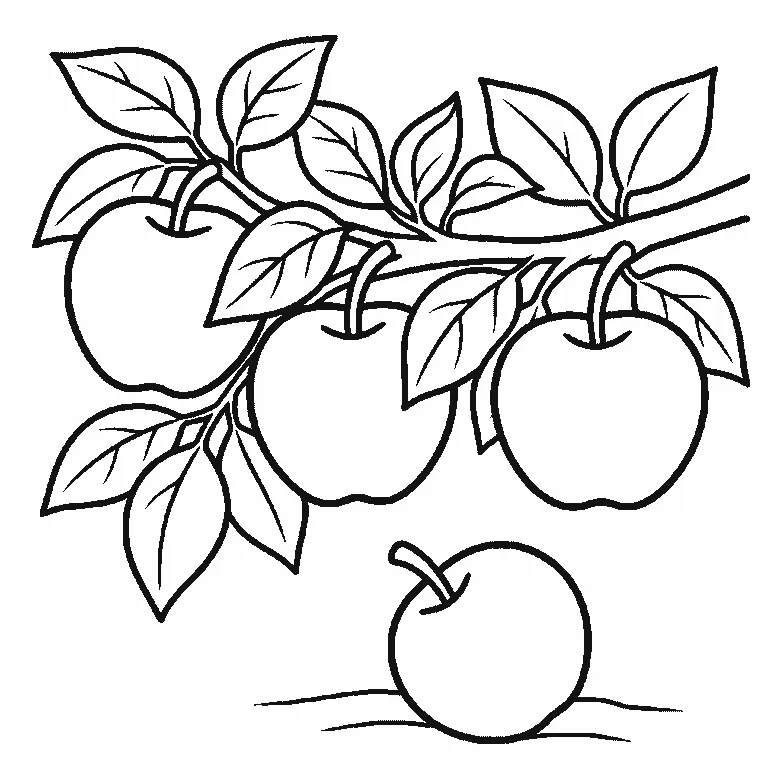
How to draw an apple
Six frames, four apples on a leafy branch — three hanging and one on the ground. Two apples first, then the other two, then leaf after leaf.
Step sequence made by us from a single drawing: each step keeps the lines of the one before it and adds to them.


