
PDF · A4 · 54 KB · Free, no sign-up. For home and classroom use.
How to draw the moon
Six frames, a crescent moon in a night sky. The whole moon and every crater arrive in frame one; the five frames after it are clouds and stars.
This sheet takes one drawing of a crescent moon with clouds and stars around it and shows it six times, each frame carrying everything the frame before it had and adding a little more. Print it, put it beside your paper, and copy one frame at a time.
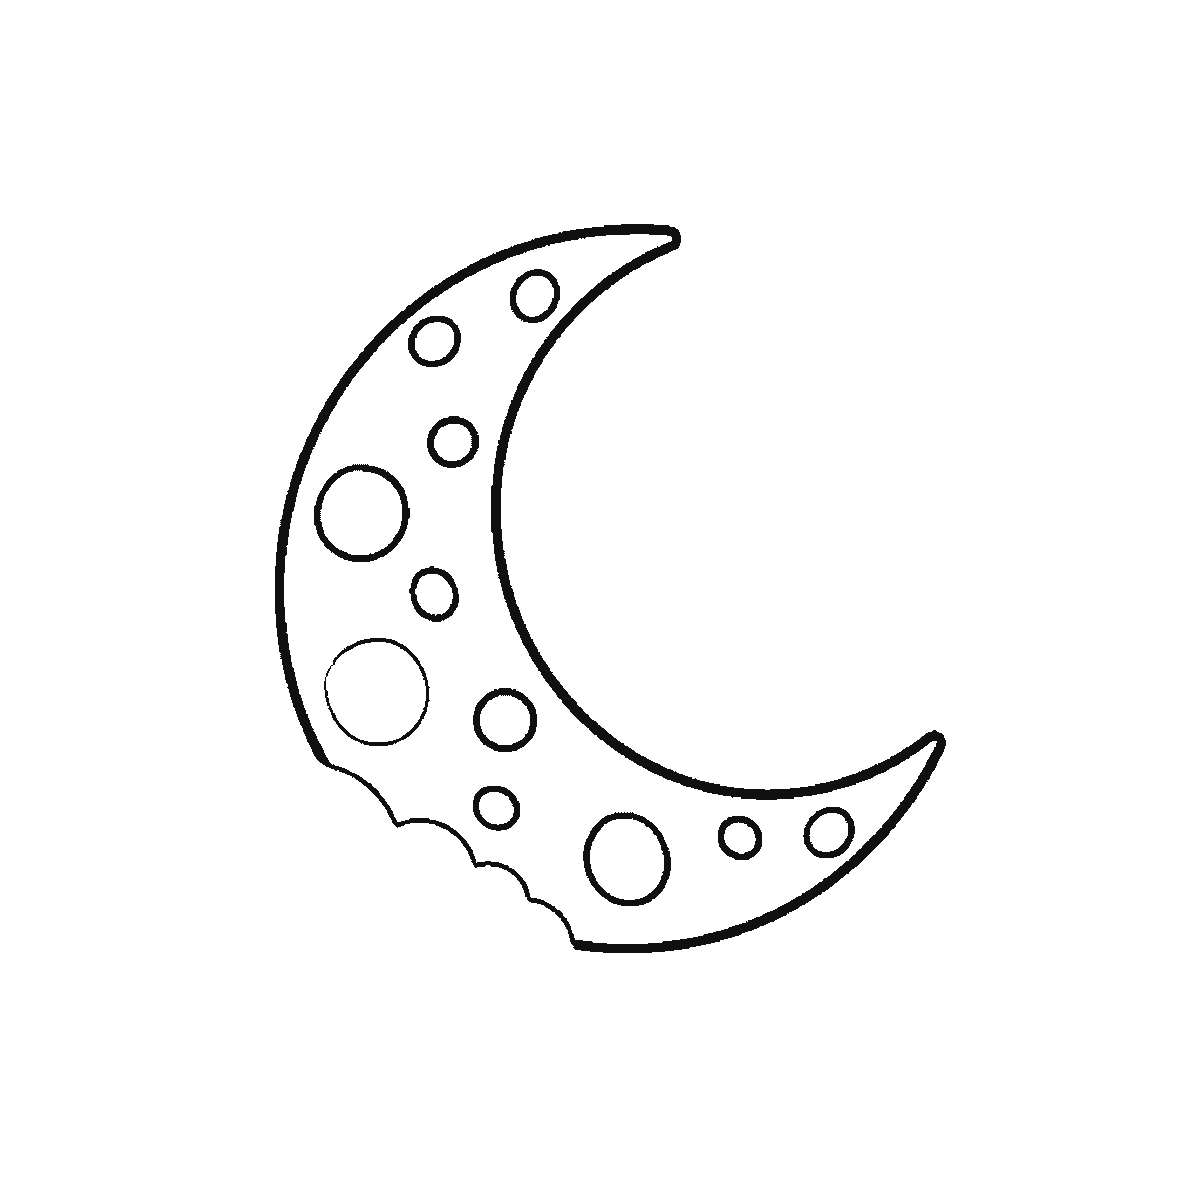
It is only fair to say at the top what this particular sheet does, because it is not the same shape as most of the others here: the moon itself is finished in frame one. The crescent and every crater on it arrive together in the first step, and the five frames after it build the sky — three clouds and a scatter of stars. If you only want to draw the moon, frame one is the whole lesson, and the rest of the sheet is a night sky to put it in.
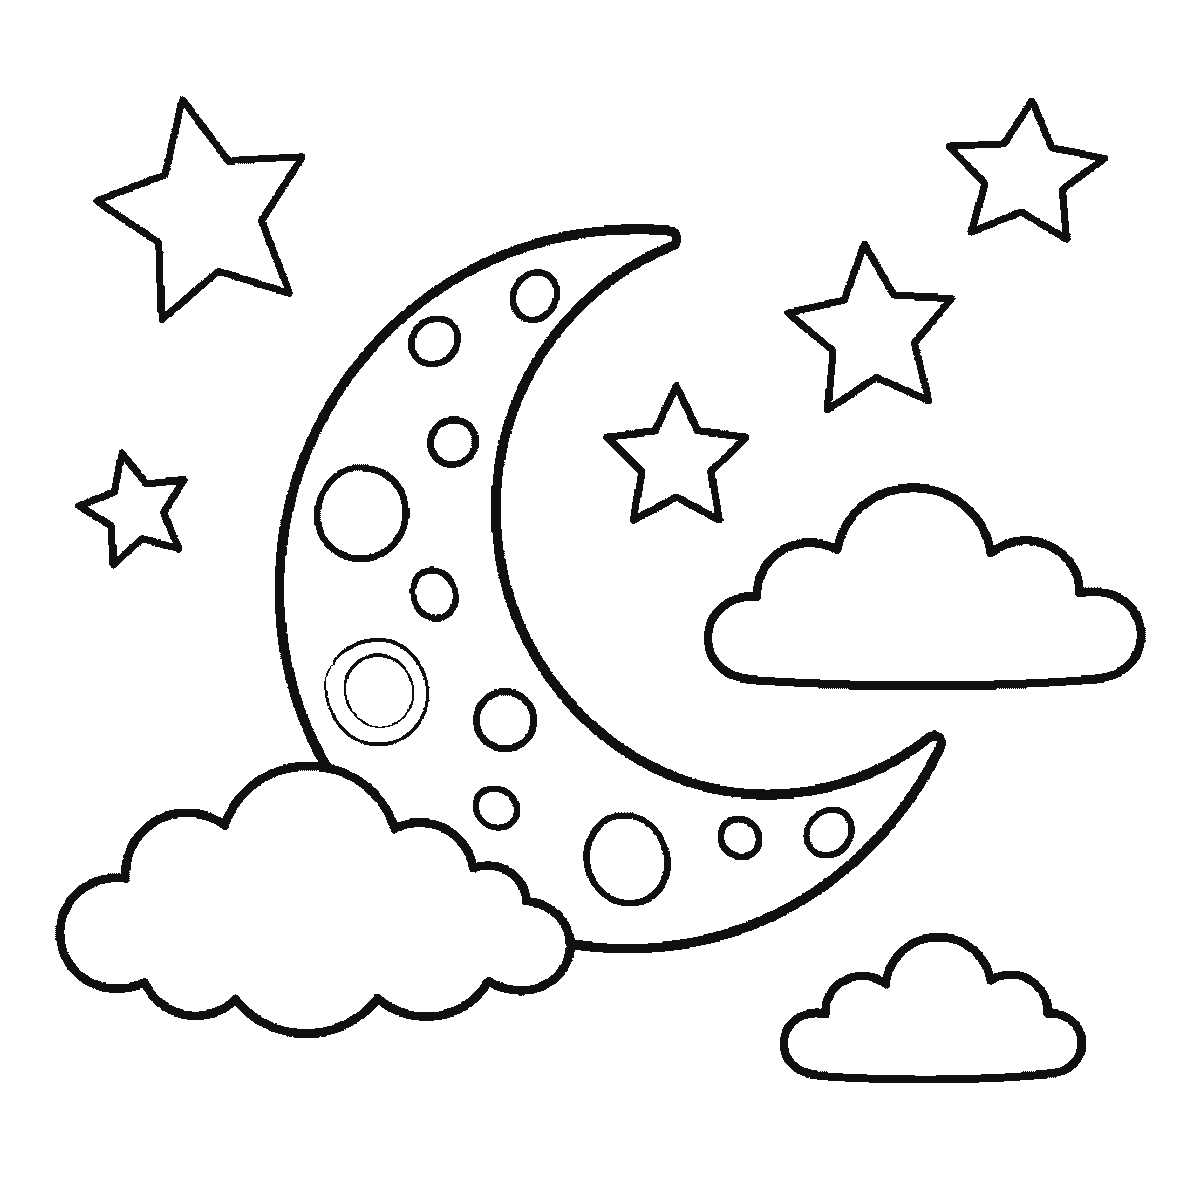
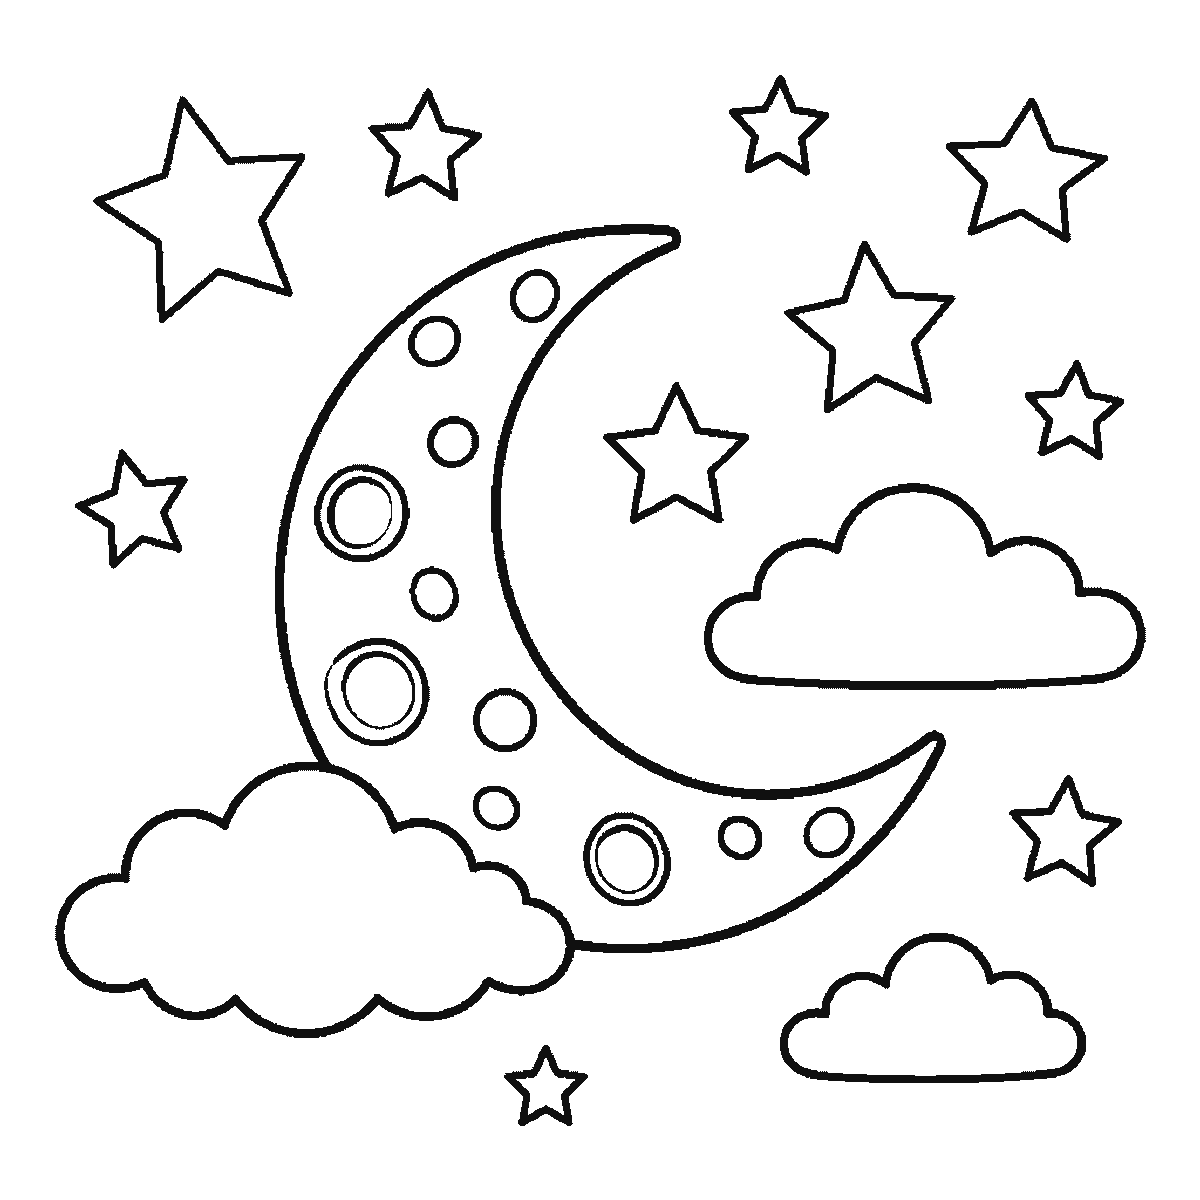
That first frame is a generous one to copy. The crescent is drawn as a thick curved band, wider in the middle than at the two horns, and the craters are simple open circles of clearly different sizes spread unevenly across it. Uneven is the important word. Craters spaced regularly look like buttons; craters of three or four different sizes scattered without a pattern look like a moon. Three of them are drawn as double rings, a circle inside a circle, and those inner rings are the one part of the moon that is not in frame one — they are brought up to full weight in frames five and six.
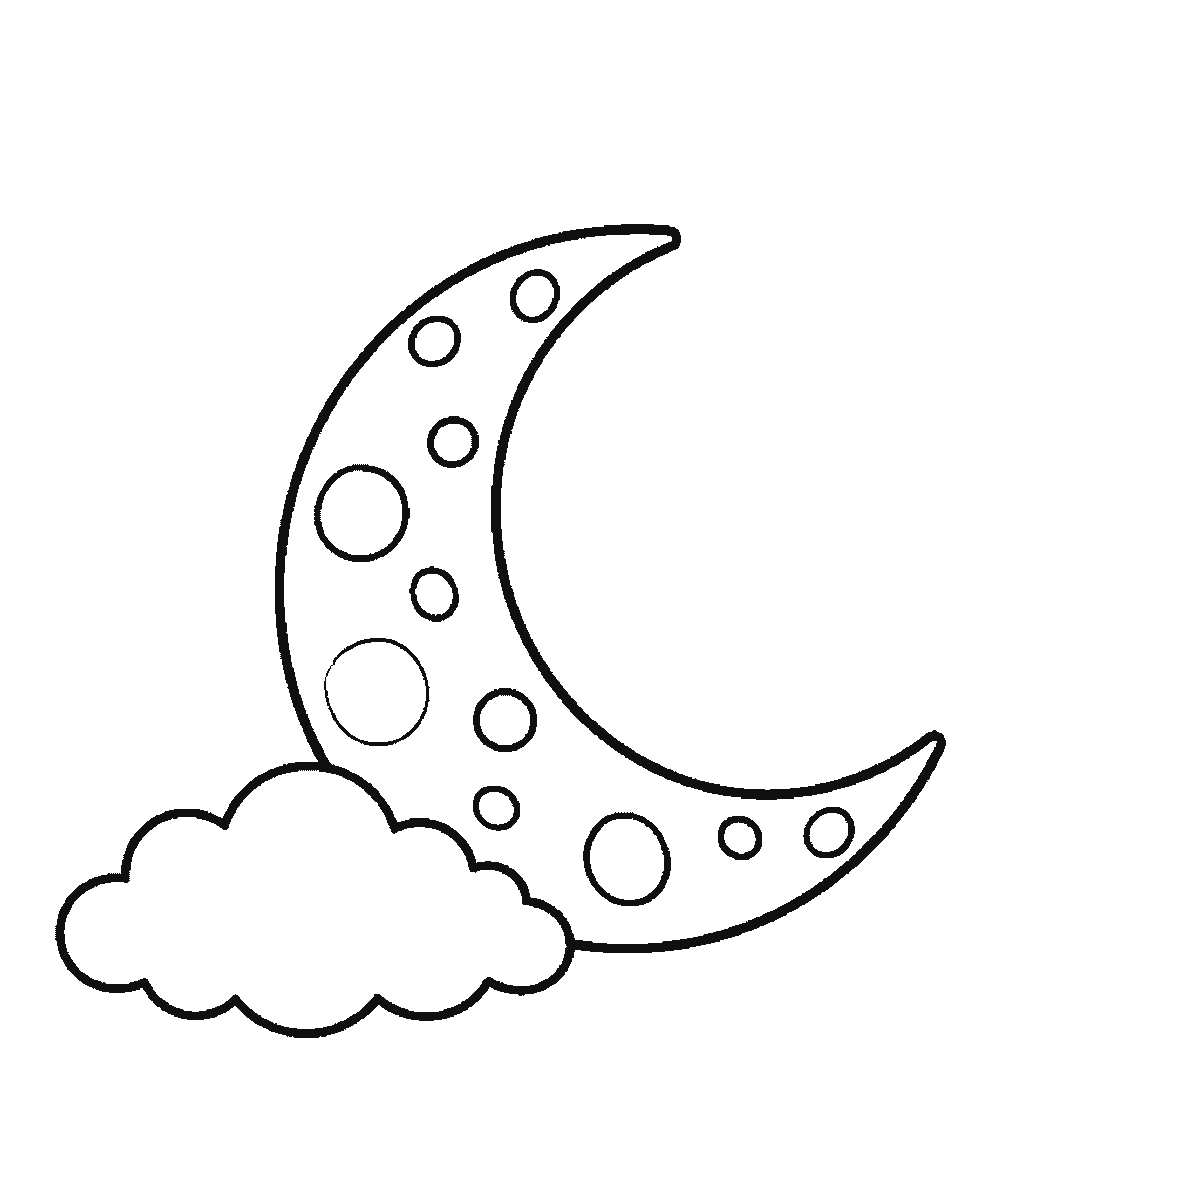
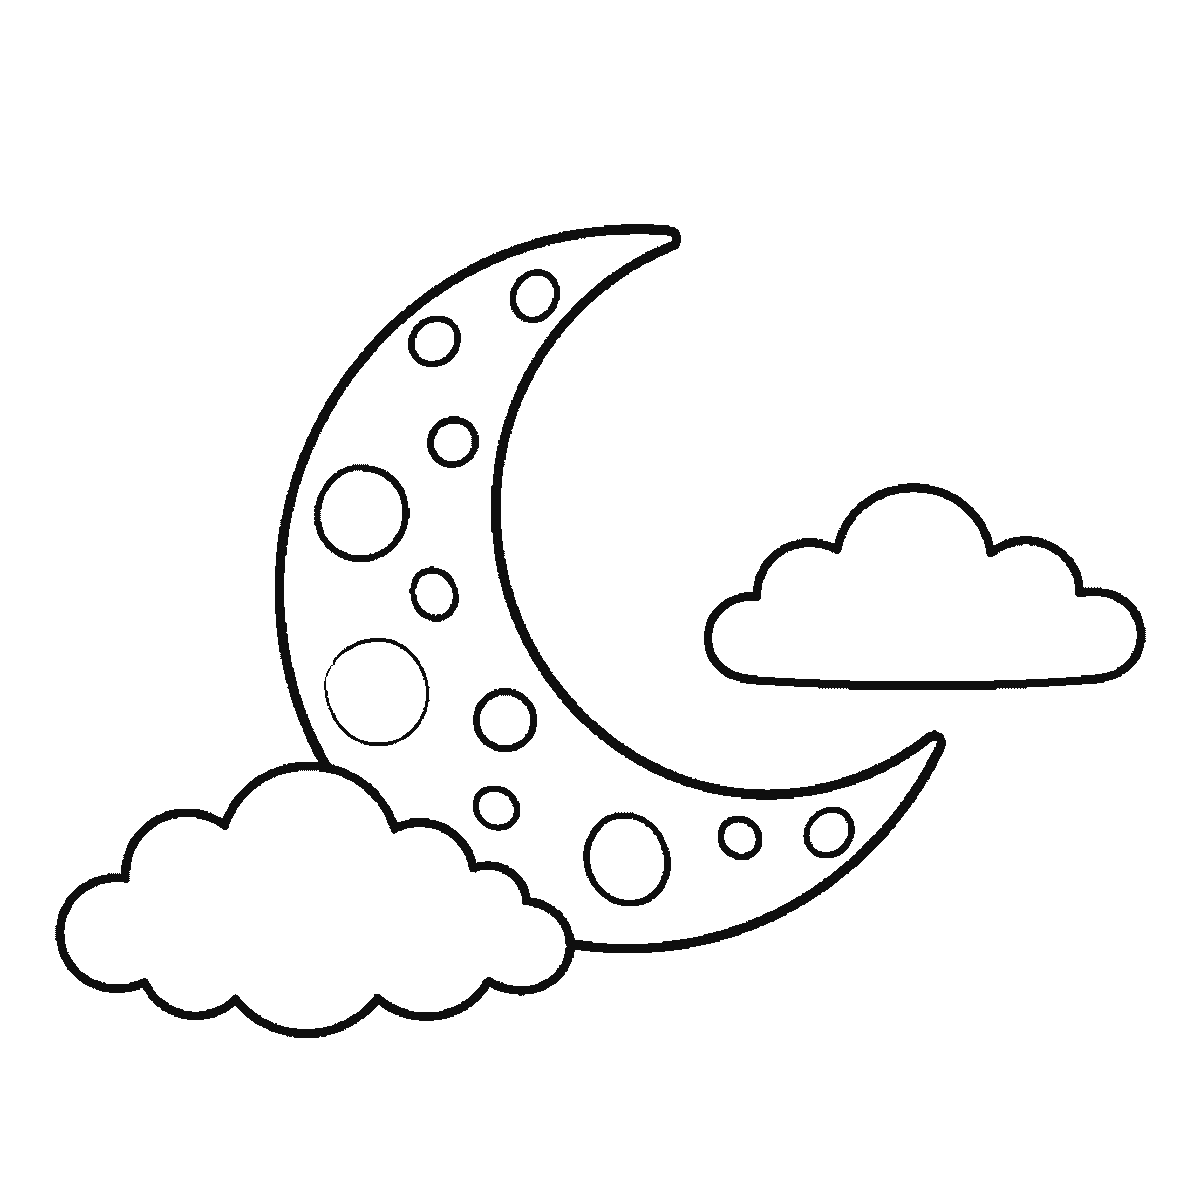
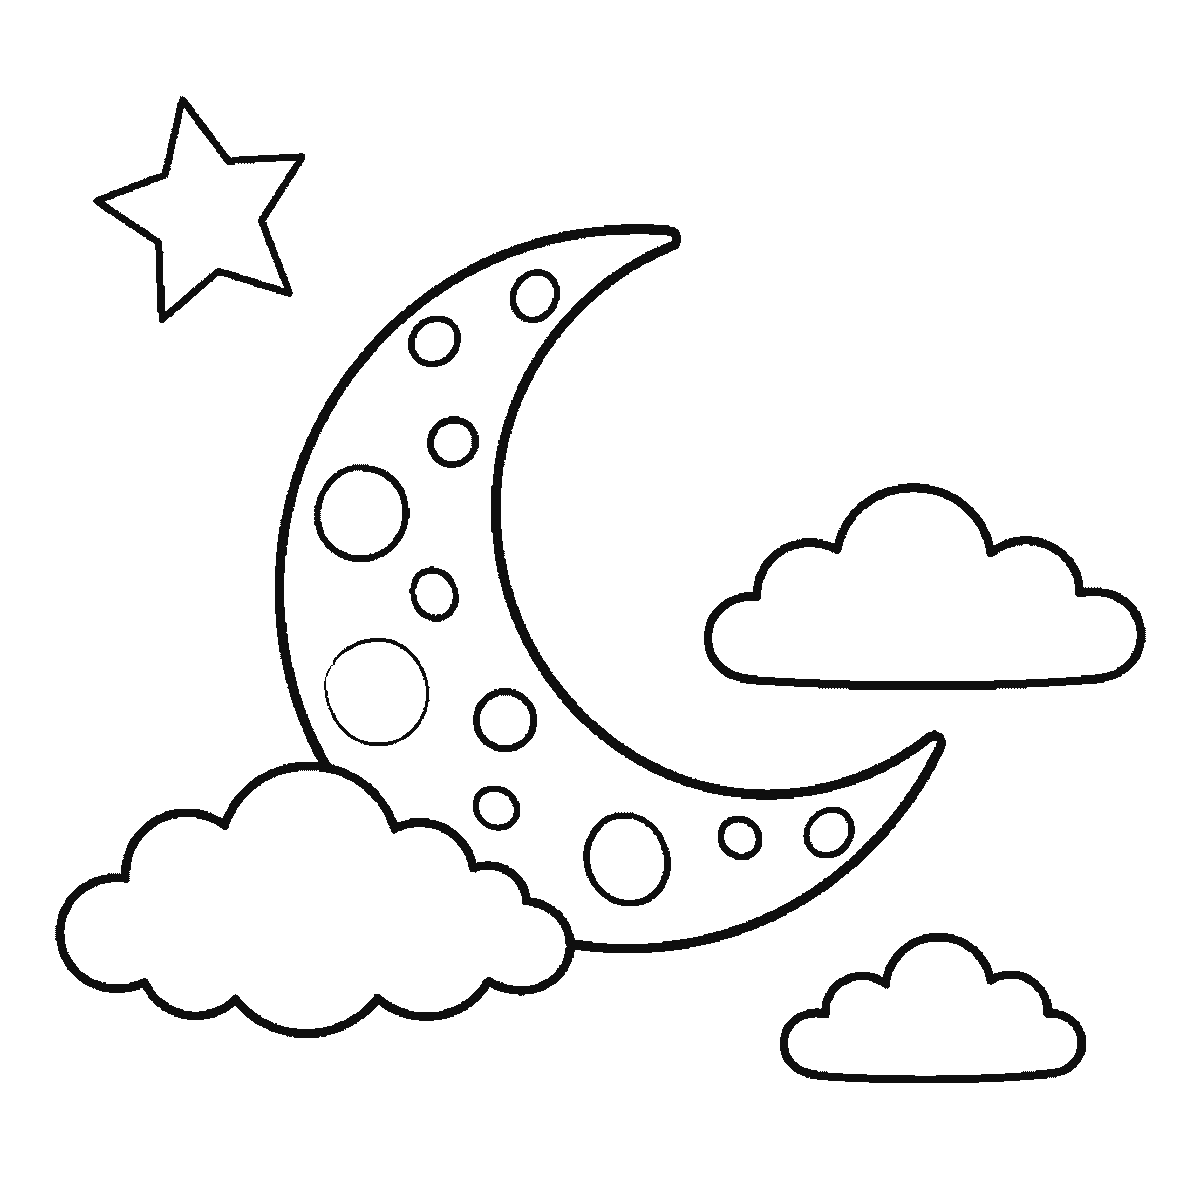
The clouds arrive one per frame: the big one that crosses the moon's lower horn in frame two, the one to the right in frame three, and a small one at the bottom right in frame four. Drawing a cloud is mostly a matter of nerve — a row of overlapping bumps along the top and one long flat line along the bottom — and the sheet gives you three at different sizes so you can see that the recipe is the same each time.
The stars are the last thing and they come in a rush: one large one in frame four, four more in frame five, and the rest in frame six. They are five-pointed stars of noticeably different sizes, and the sheet scatters them rather than ringing them neatly around the moon. If you want the drawing to look like a night sky rather than a diagram, copy that: vary the sizes more than feels comfortable and let a couple of them sit close together.
A crescent is harder to draw than it looks, and the usual mistake is to make both curves the same. The outer curve is a big gentle arc; the inner curve is a tighter one, and the two meet at sharp points. If your moon is coming out looking like a banana, the inner curve is not tight enough. Draw the outer arc first, then bring the inner one in until the crescent is about as thick as you want, and only then close the points.
The six frames are ordered by which closed shape is largest, biggest first and smallest last. That is why the moon is the first step and the small stars are the last, and it is not a claim that this is the right order for a person to draw in. If you would rather start with a star and work up to the moon, the finished drawing is the same drawing.
The download is one A4 page with all six frames on it. It is a plain black outline on white and prints on any printer, because there is no shading anywhere on the page. This one colours in particularly well: the craters give you somewhere to put a second shade of grey, and leaving the sky white makes the moon read as bright rather than pale.
Before you start
- Draw the outer arc of the crescent in one movement rather than in short strokes. A crescent with a wobbly outer edge never quite recovers.
- Space the craters unevenly and vary their sizes. Evenly spaced dots of the same size read as a pattern, not as a surface.
- Give the clouds flat bottoms and bumpy tops. It is the single detail that stops a cloud looking like a sheep.
- If you are colouring this in, leave the sky white and colour only the moon and clouds — a filled-in sky swallows the stars.
Published Updated 643 words
The six steps
The steps go from the largest shape to the smallest, which is an easy order to copy. It is not the only order, and it is not a rule — if you would rather start somewhere else on the sheet, do.
Step 1
Step 2
Step 3
Step 4
Step 5
Step 6
More in this section
How to draw a volcano
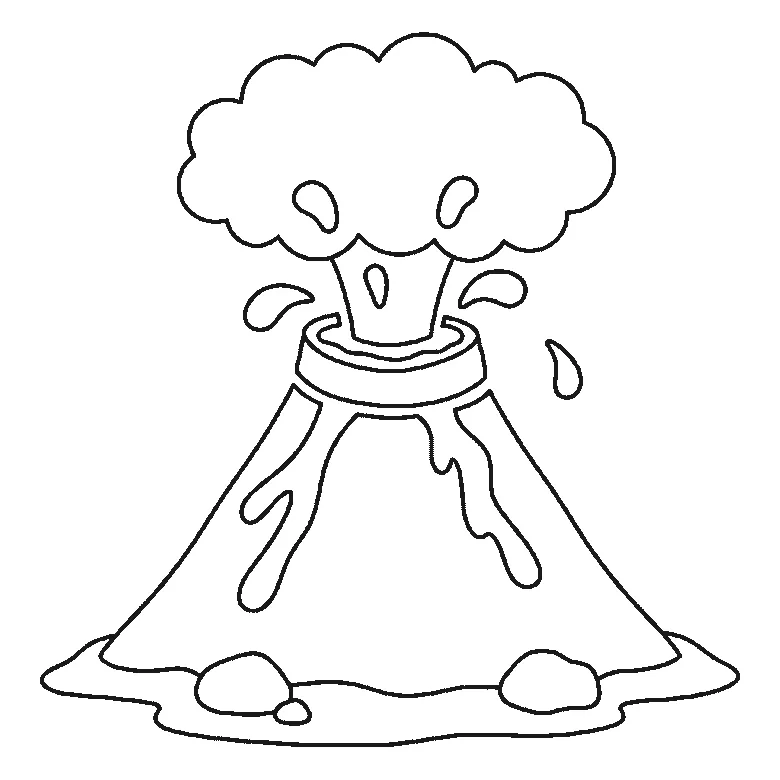
Six frames, one erupting volcano. The whole cone with its lava streams arrives in frame one; the smoke, the ground and the flying lava come after it.
Step sequence made by us from a single drawing: each step keeps the lines of the one before it and adds to them.
How to draw a palm tree
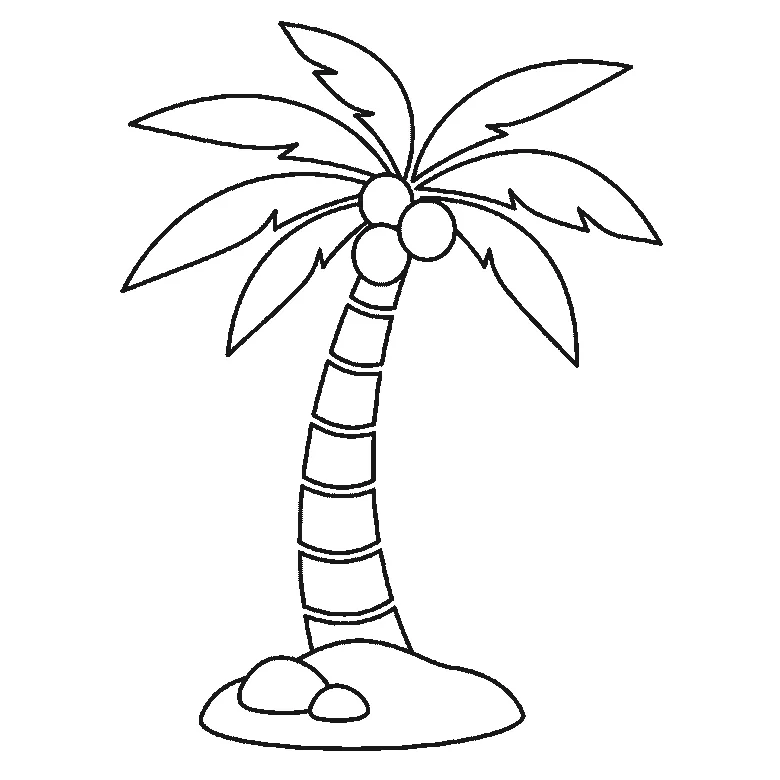
Six frames, one palm tree on a mound of sand. The fronds come first, two at a time; the trunk is not drawn until frame five.
Step sequence made by us from a single drawing: each step keeps the lines of the one before it and adds to them.
How to draw a sunflower
Six frames, one tall sunflower with two leaves and a bud. The seed head and one leaf first — and no petals at all until frame three.
Step sequence made by us from a single drawing: each step keeps the lines of the one before it and adds to them.
How to draw a landscape
Six frames, one countryside scene with hills, a river, a tree, a house and a sun. The leaves come first and the birds last.
Step sequence made by us from a single drawing: each step keeps the lines of the one before it and adds to them.
How to draw a flower
Six frames, one open flower on a stem. Three petals first, then the other three and the stem, the two leaves, and the centre near the end.
Step sequence made by us from a single drawing: each step keeps the lines of the one before it and adds to them.
How to draw a rainbow
Six frames, a rainbow with a cloud at each end and three birds. The clouds first, then the bands from the outside in, and the birds last.
Step sequence made by us from a single drawing: each step keeps the lines of the one before it and adds to them.
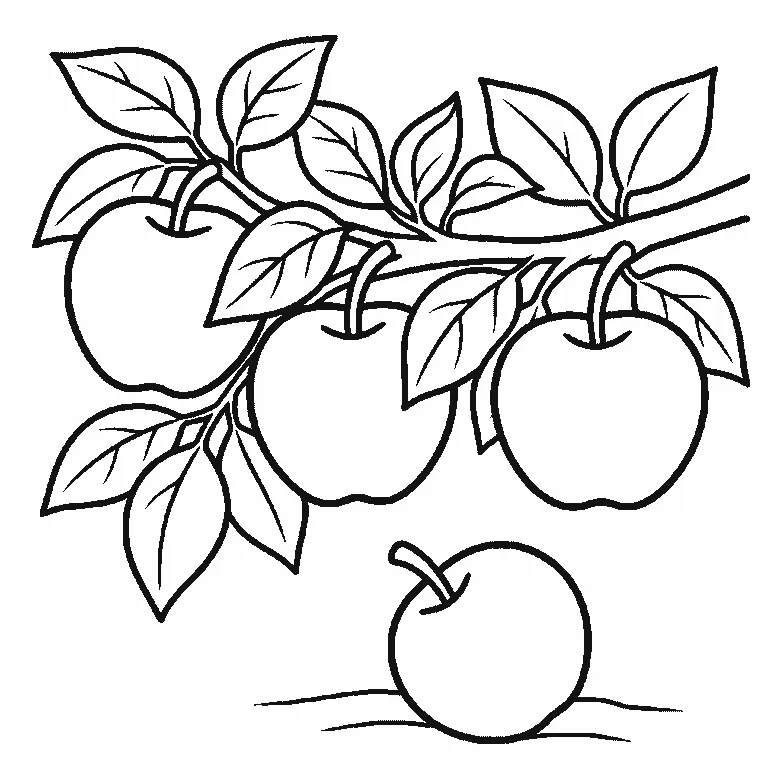
How to draw an apple
Six frames, four apples on a leafy branch — three hanging and one on the ground. Two apples first, then the other two, then leaf after leaf.
Step sequence made by us from a single drawing: each step keeps the lines of the one before it and adds to them.
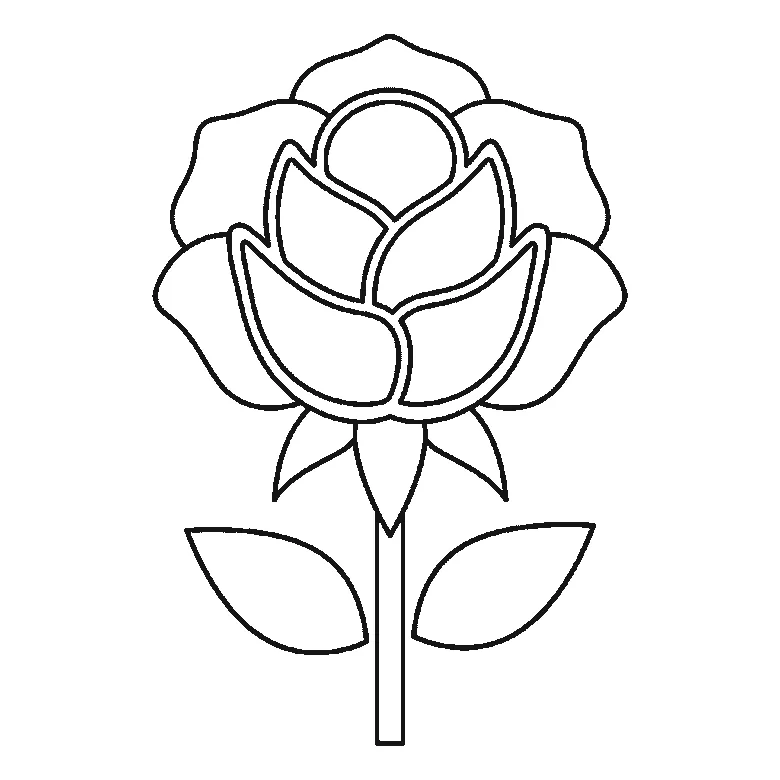
How to draw a rose
Six frames, one open rose. The centre cluster first, then the leaves, the outer petals and the stem.
Step sequence made by us from a single drawing: each step keeps the lines of the one before it and adds to them.
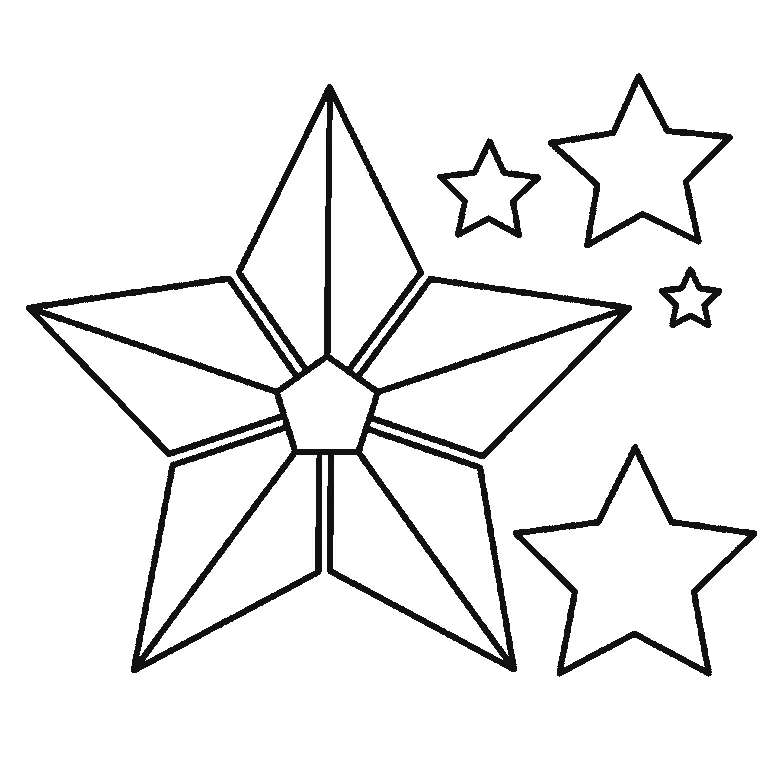
How to draw a star
Six frames, one faceted five-pointed star and four smaller ones, built one facet panel at a time.
Step sequence made by us from a single drawing: each step keeps the lines of the one before it and adds to them.
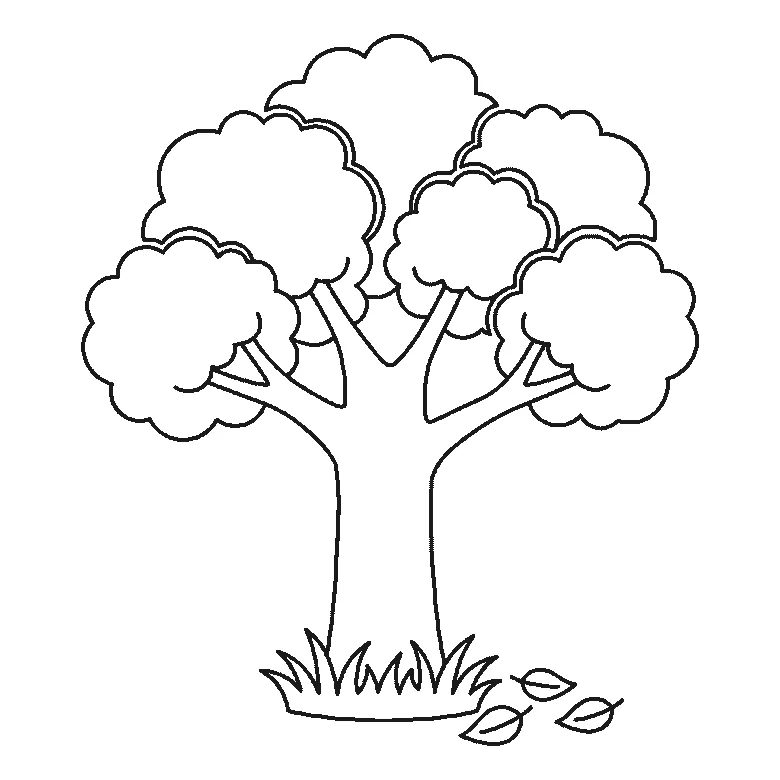
How to draw a tree
Six frames, one broad-leaved tree. Trunk first, then the branches, then the foliage in separate clumps.
Step sequence made by us from a single drawing: each step keeps the lines of the one before it and adds to them.
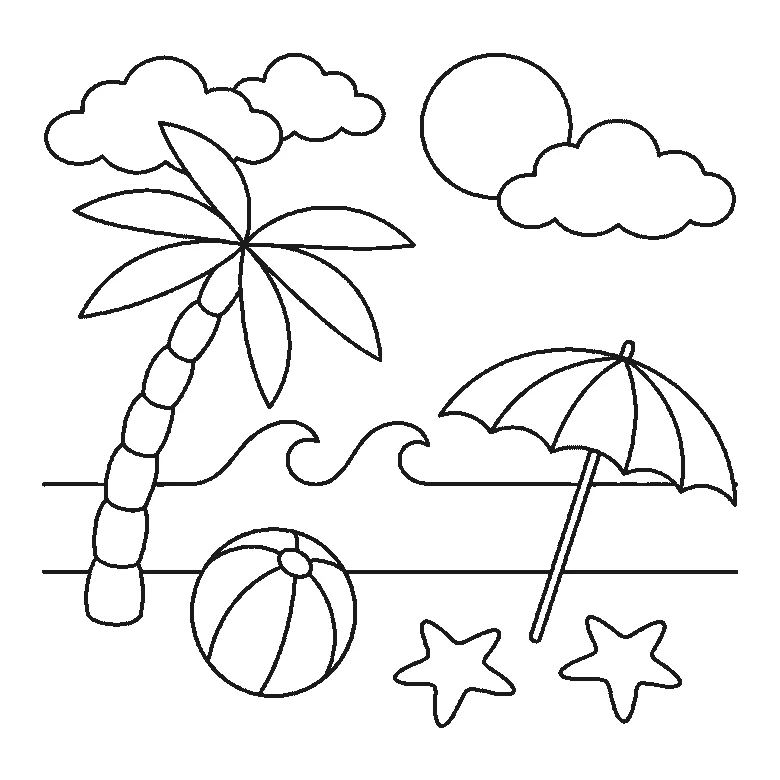
How to draw a beach
Six frames, one beach scene. The sea and its three waves first, then the sun and clouds — and the palm trunk and the parasol pole right at the end.
Step sequence made by us from a single drawing: each step keeps the lines of the one before it and adds to them.
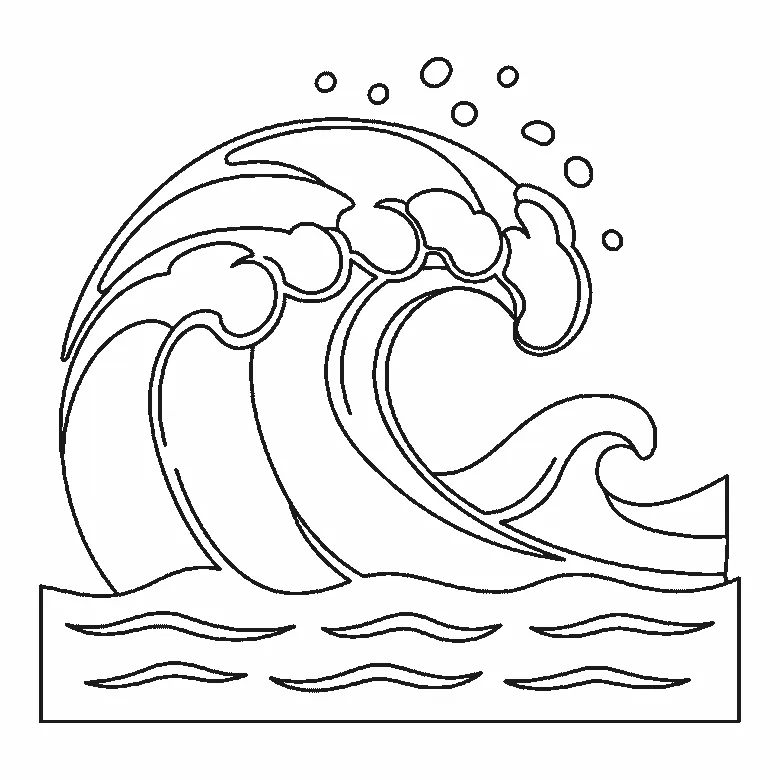
How to draw a wave
Six frames, one big breaking wave. The inside of the curl first, not the outline — and all the spray droplets in the very last frame.
Step sequence made by us from a single drawing: each step keeps the lines of the one before it and adds to them.


