
PDF · A4 · 59 KB · Free, no sign-up. For home and classroom use.
How to draw a wave
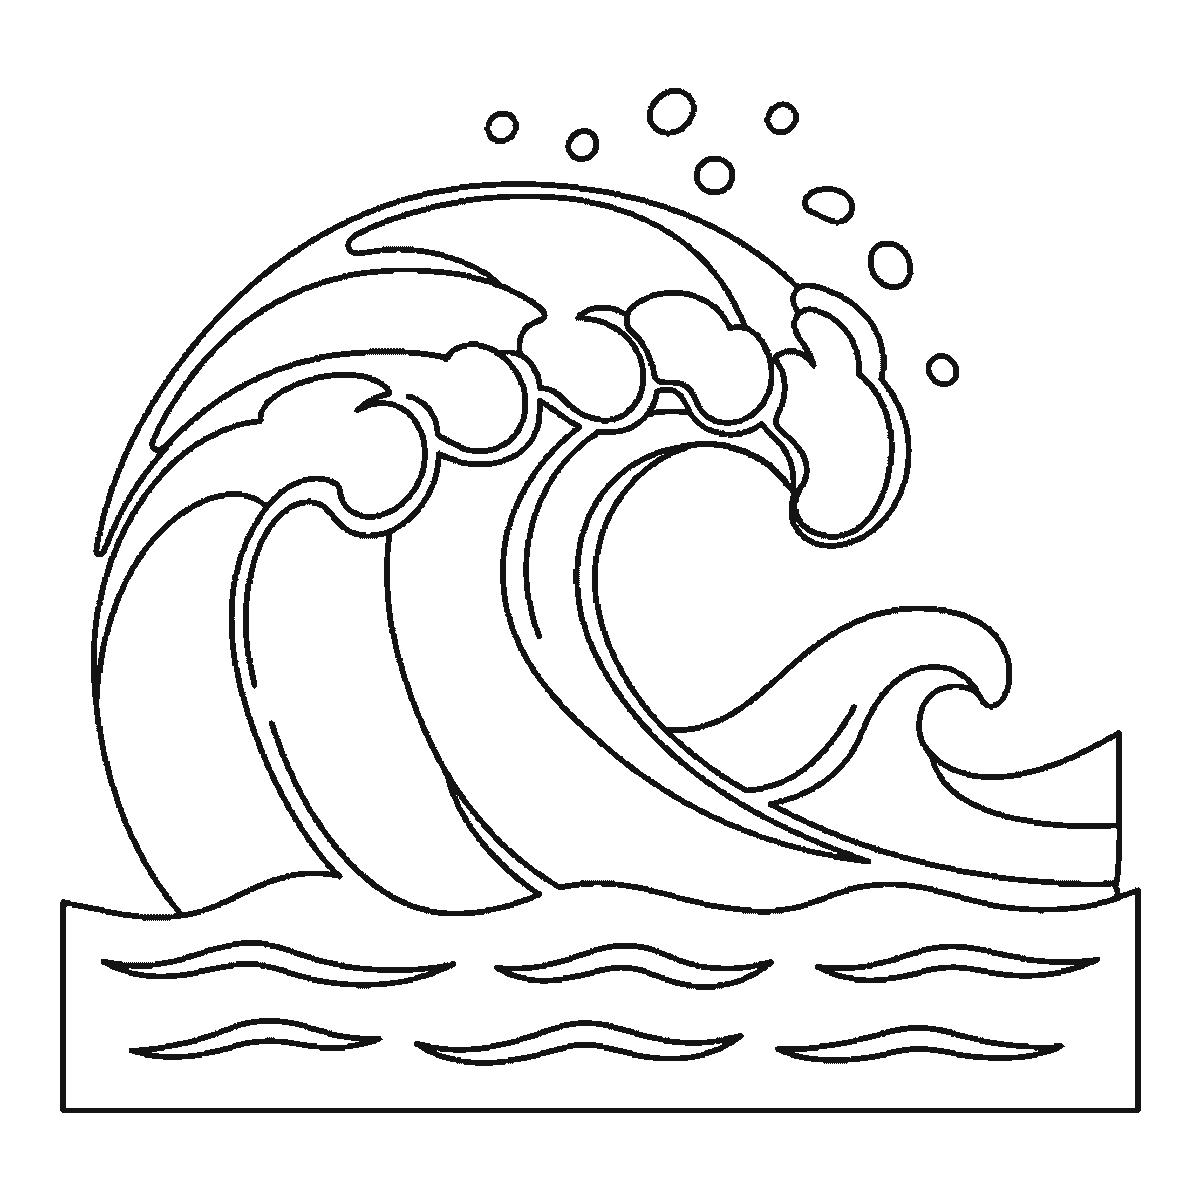
Six frames, one big breaking wave. The inside of the curl first, not the outline — and all the spray droplets in the very last frame.
This sheet takes one drawing of a large ocean wave curling over, with foam along the crest, spray in the air above it, a smaller wave behind and a band of rippled water below, and shows it six times. Each frame keeps everything the last one had and adds more.
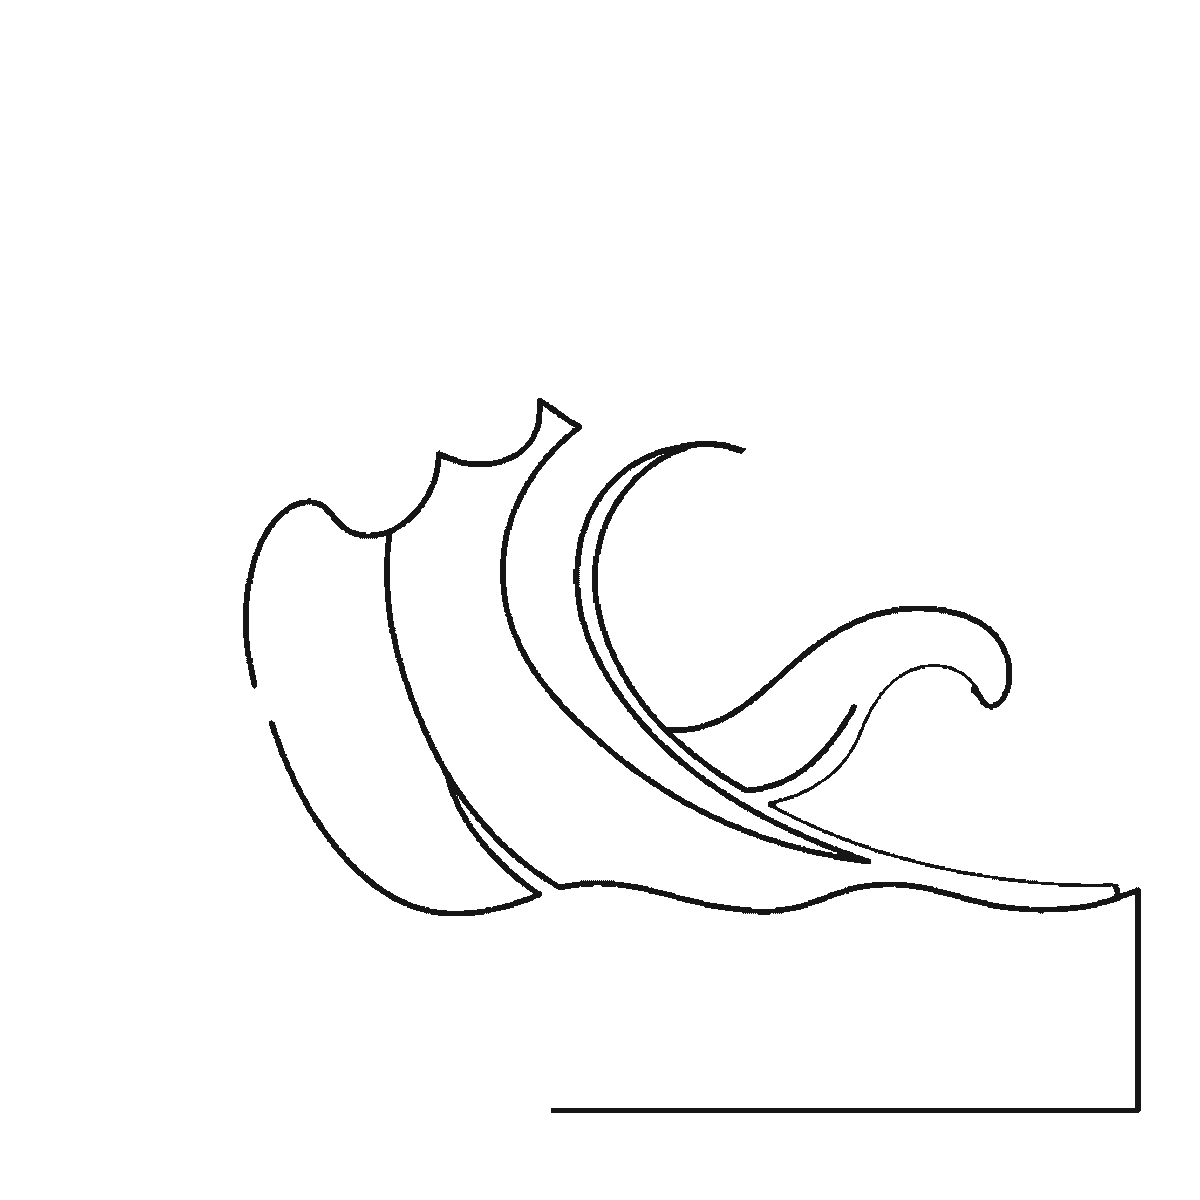
Frame one is the inside of the wave. The long curved panels that make up the face of the curl arrive first, along with the bottom edge of the water below. The wave's outer arc — the sweeping line that everyone thinks of as the shape of a wave — is not in frame one. It does not turn up until frame four. That is the most counter-intuitive thing on this sheet and it is worth knowing at the start, because for three frames the drawing is a set of nested curves that do not obviously add up to anything.
It is also, once you get used to it, a genuinely useful way to think about a breaking wave. The face of a wave is a curved sheet of water and the curl is that sheet folding over on itself, so the concentric curves down the face are the actual structure and the outline is only where the structure stops. Drawing them first is closer to how the water works than drawing the silhouette and filling it in.
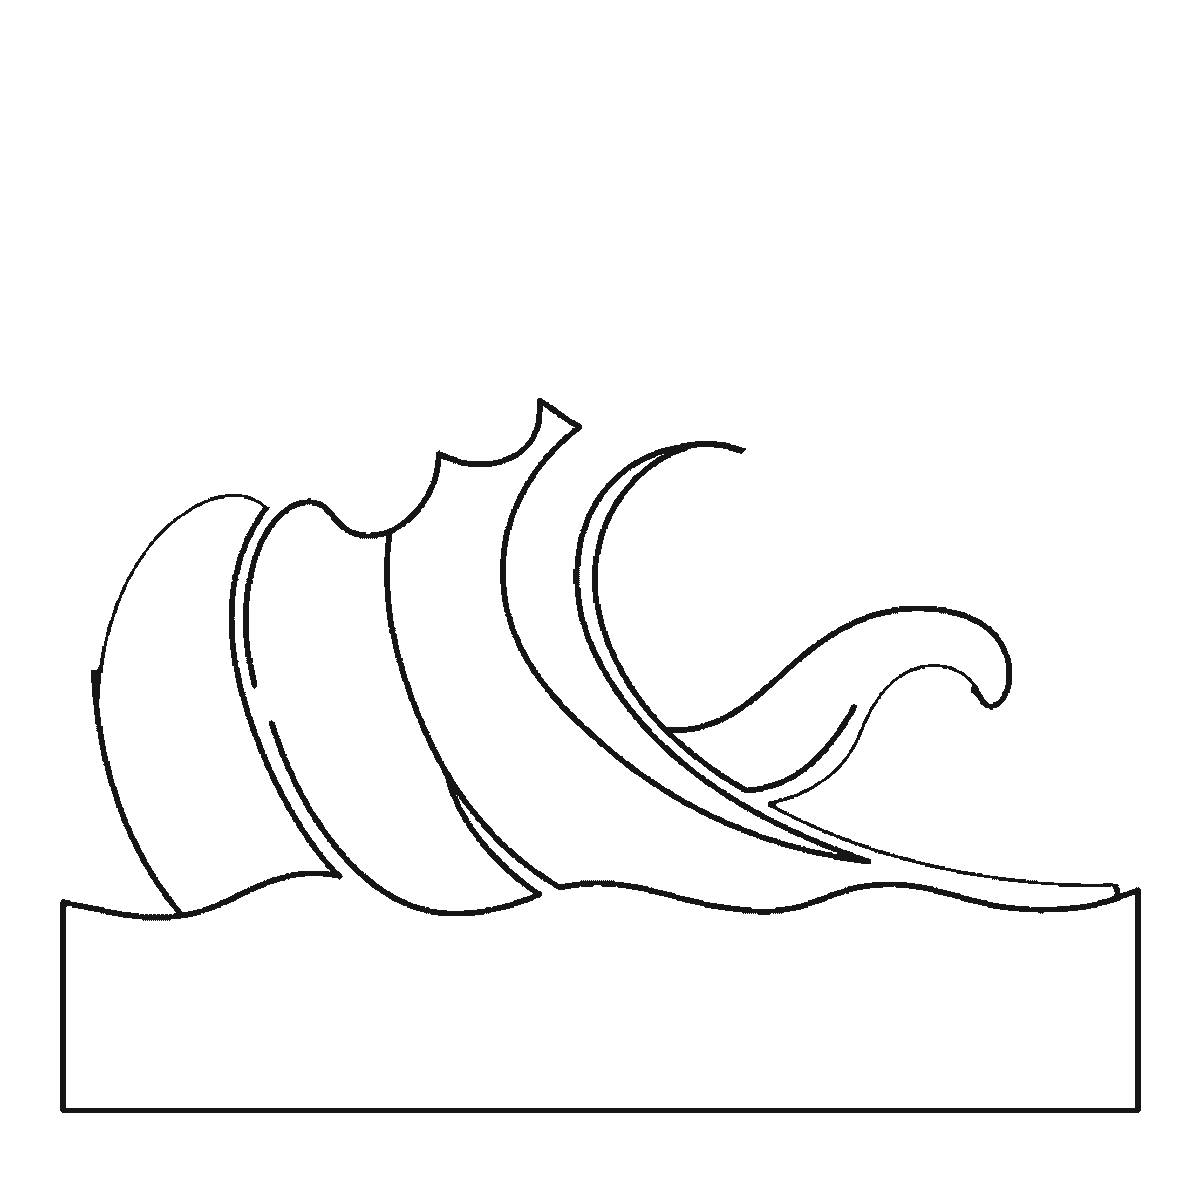
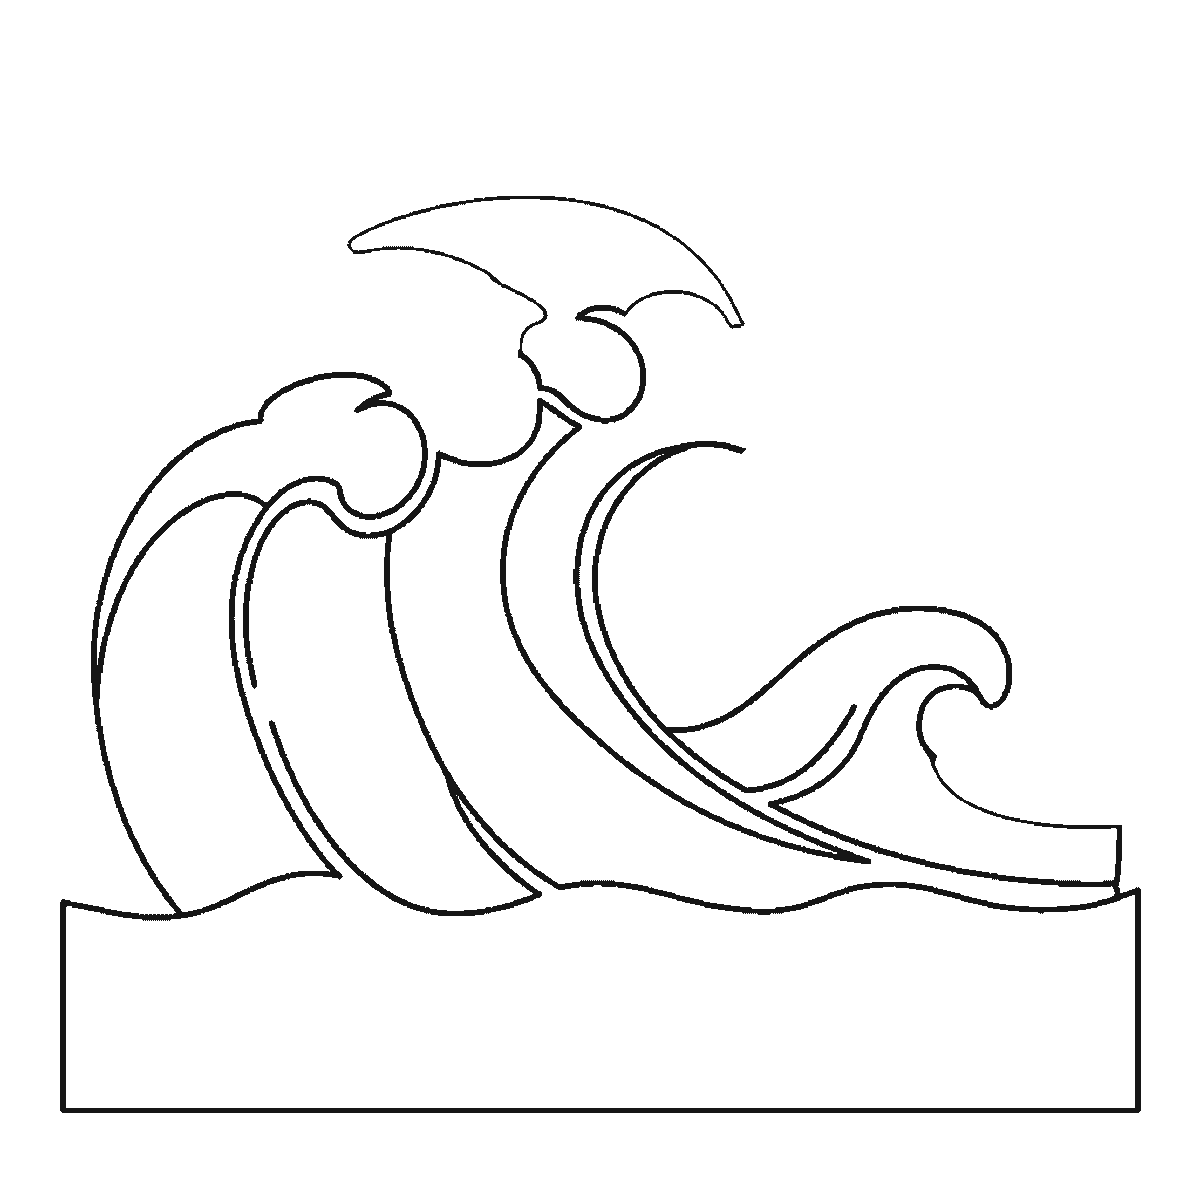
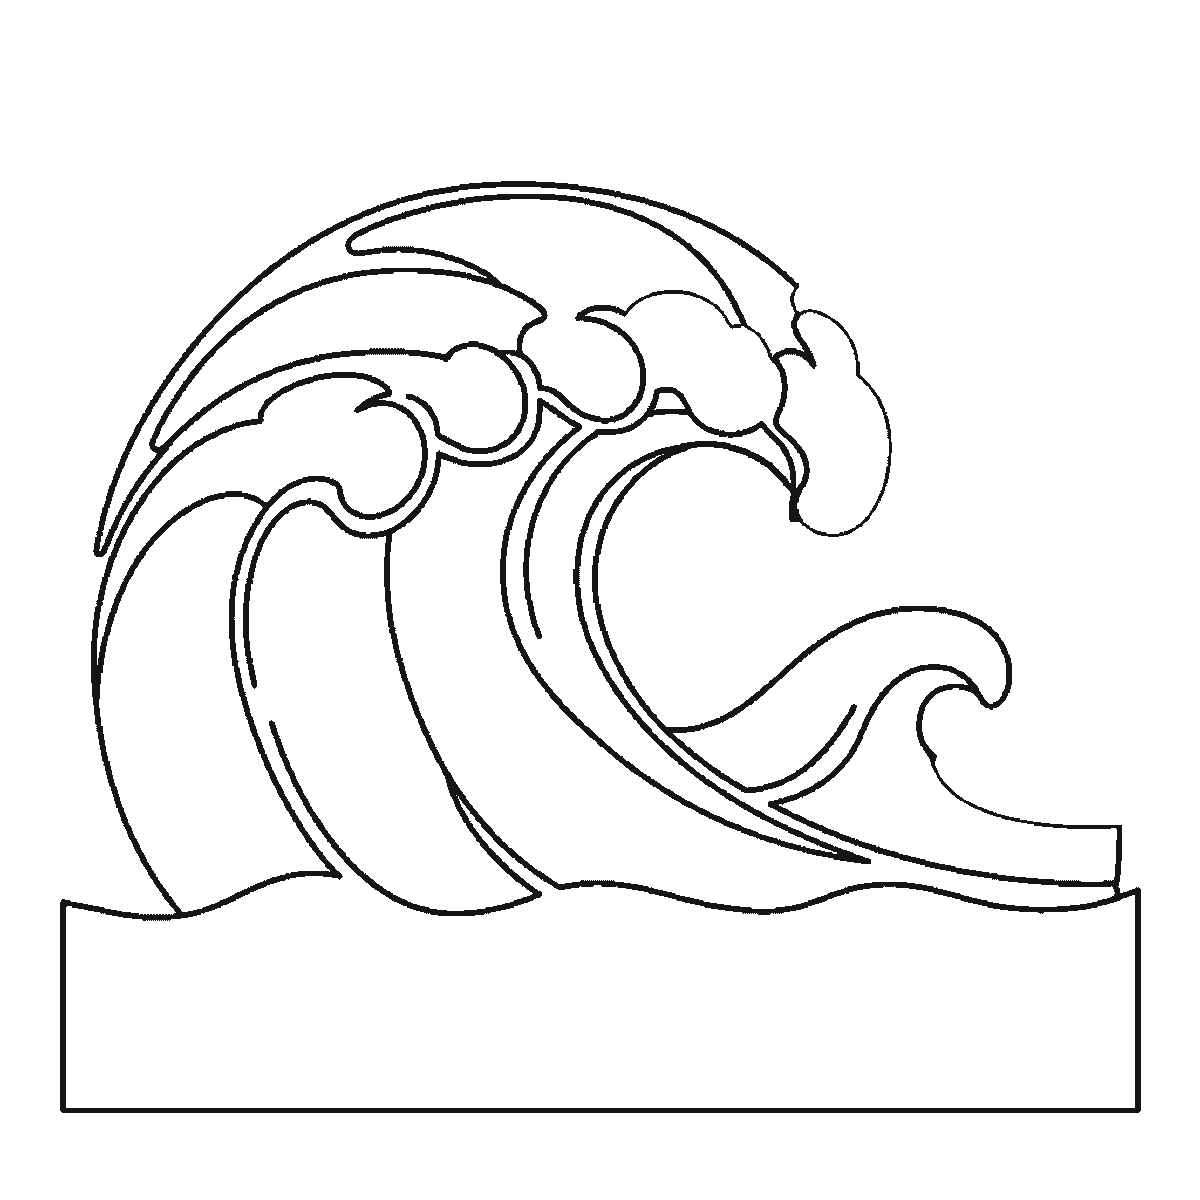
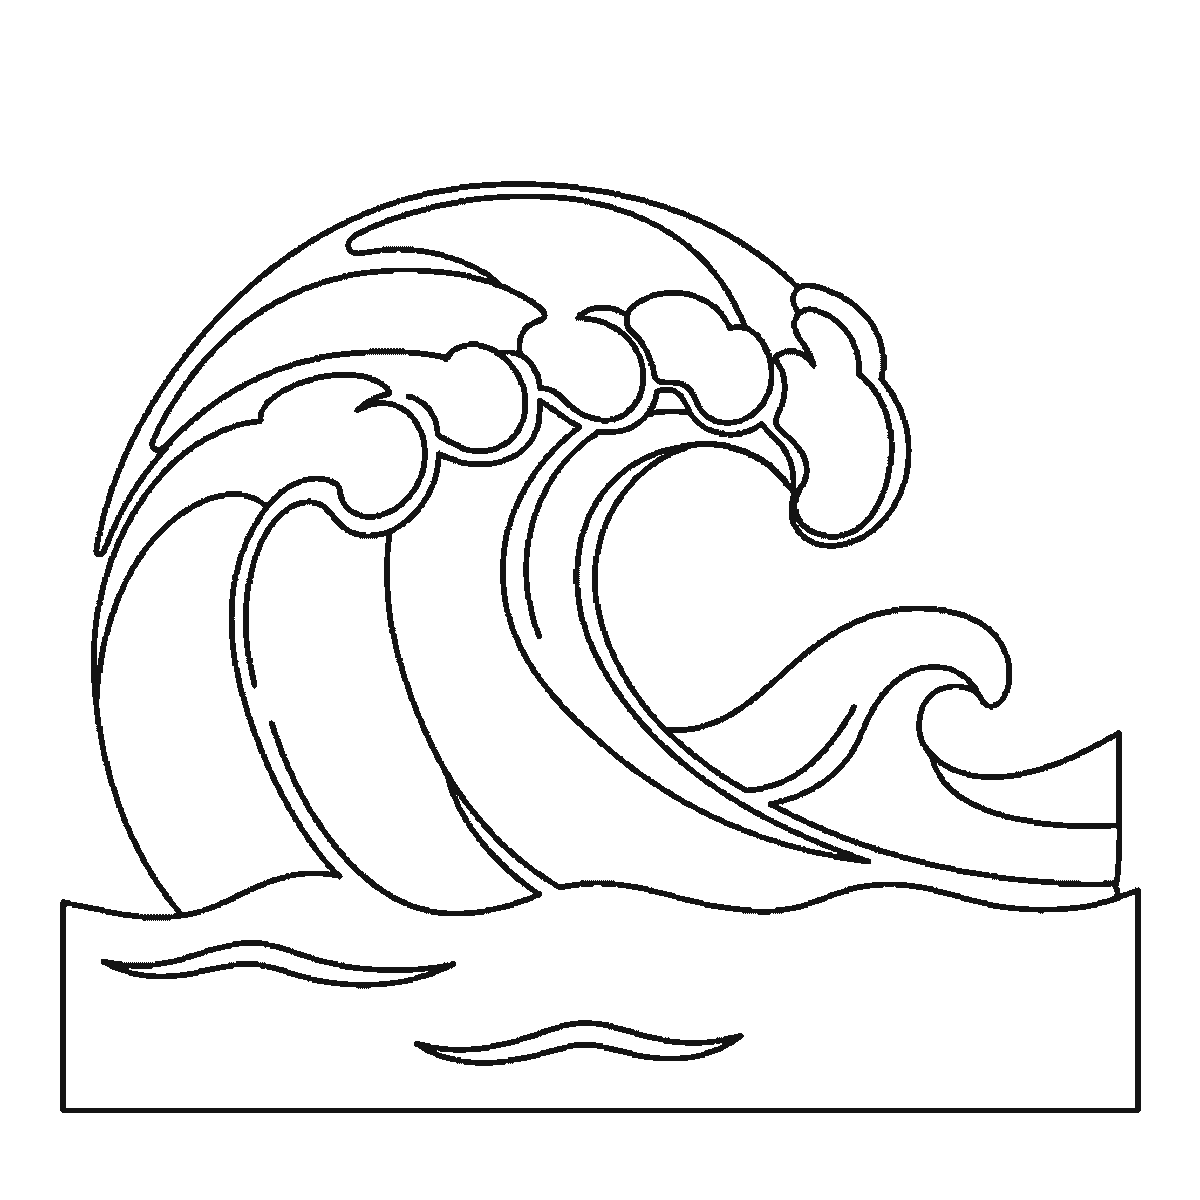
Frames two and three add the far-left face panel, the sides of the water below, one of the upper foam lobes, the left-hand curl and the small wave over on the right. Frame four brings the long outer arc of the crest and the foam lobes in the middle. Frame five adds two more foam blobs, the face of the small wave and a couple of ripple lines.
The last frame is the spray: every one of the round droplets flying above the crest arrives at once, together with the remaining ripple marks on the flat water. That means the drawing looks static right up to the final step and then suddenly has movement in it. Do not be tempted to sprinkle the droplets in early — they are the easiest thing on the page to overdo, and adding them last, when you can see how much white space is actually left above the crest, is the best protection against covering the sky in dots.
The reveal order runs from the largest closed shape to the smallest, which is why the inside of the curl comes before its outline and why the spray comes last. It is easy to copy from and it is not a claim that this is how a wave ought to be drawn. Most people would draw the outer arc first and work inwards, which is a perfectly good approach and reaches the same picture.
The download is one A4 page holding the six frames in plain black outline, no shading, so it prints on anything and the last frame takes colour well.
The detail that separates a convincing wave from a flat one is the foam. On this drawing the foam sits along the top of the crest as a row of overlapping rounded lobes rather than as a jagged line, and the lobes are different sizes. Drawn as a zigzag, foam reads as a saw blade; drawn as rounded lumps of uneven size, it reads as water. If you draw only one part of this sheet twice, make it that row.
Before you start
- Draw the curves down the face of the wave first, as the sheet does, and let the outline be where they stop.
- Make the foam a row of rounded lobes of uneven size, never a zigzag. A zigzag reads as a saw.
- Keep the spray droplets few and varied. Six or eight of different sizes look like water; twenty identical ones look like snow.
- Give the flat water below only two or three ripple marks. Over-ripple it and the wave loses its height.
Published Updated 575 words
The six steps
The steps go from the largest shape to the smallest, which is an easy order to copy. It is not the only order, and it is not a rule — if you would rather start somewhere else on the sheet, do.
Step 1
Step 2
Step 3
Step 4
Step 5
Step 6
More in this section
How to draw tulips
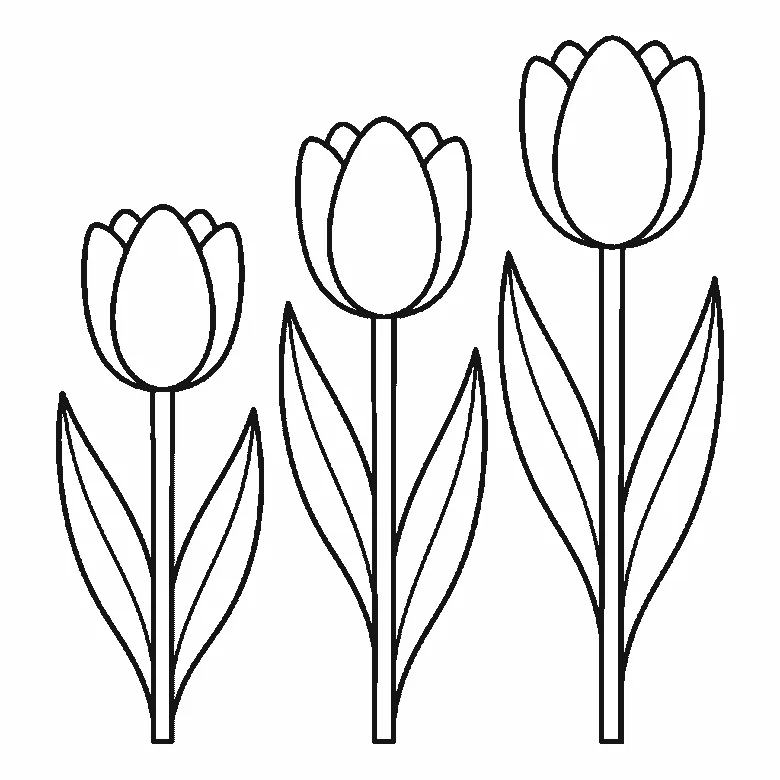
Six frames, three tulips of different heights. All three flower cups arrive together in the first frame — and the lines that split each cup into petals come last.
Step sequence made by us from a single drawing: each step keeps the lines of the one before it and adds to them.
How to draw a leaf
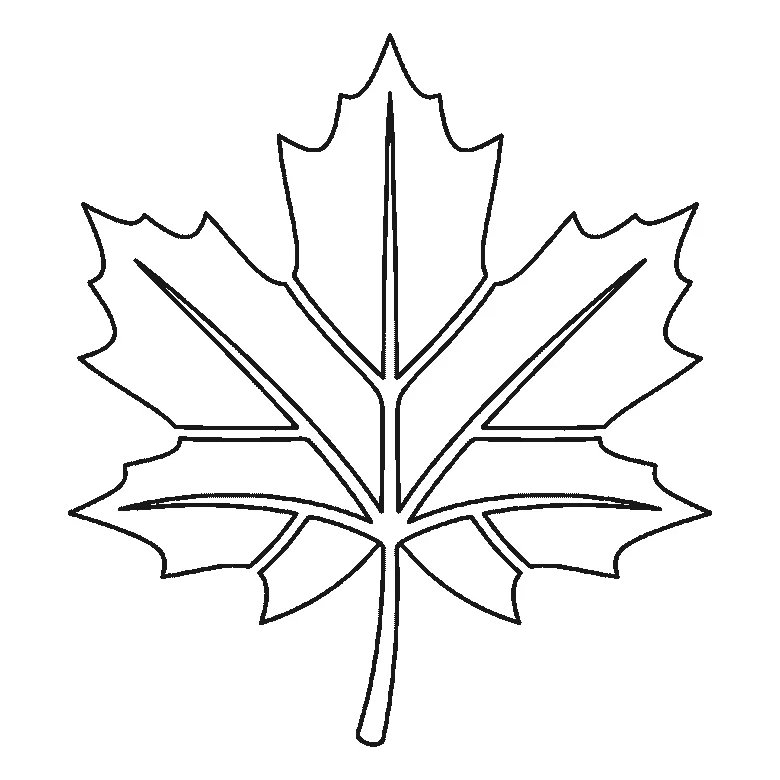
Six frames, one maple leaf — and this sheet is the tidiest on the site: one lobe per frame, each with its own vein, and the stem last.
Step sequence made by us from a single drawing: each step keeps the lines of the one before it and adds to them.
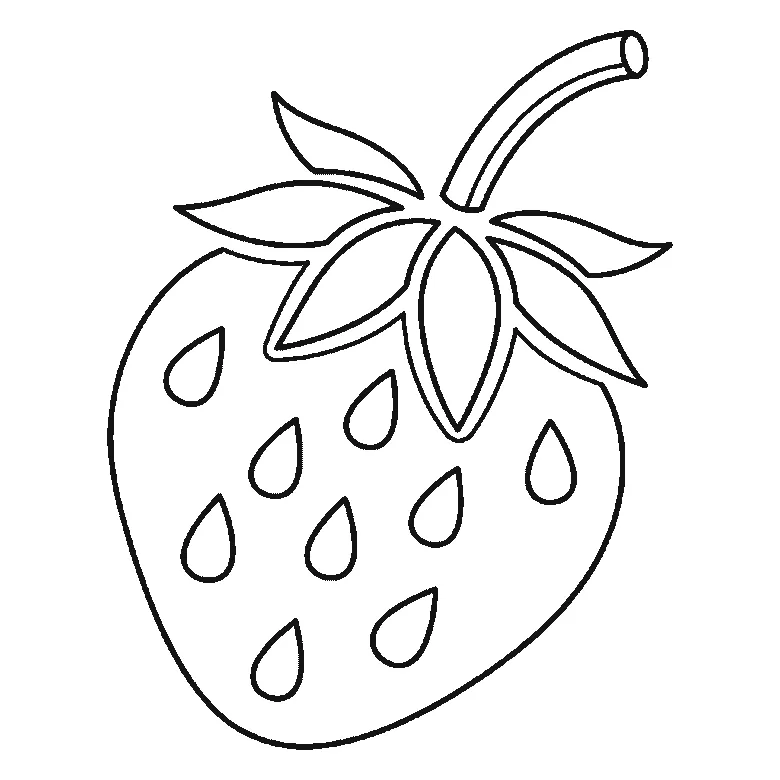
How to draw a strawberry
Six frames, one strawberry. The whole berry outline arrives in the first frame — a big first step — then a calyx leaf at a time, with all eleven seeds at the end.
Step sequence made by us from a single drawing: each step keeps the lines of the one before it and adds to them.
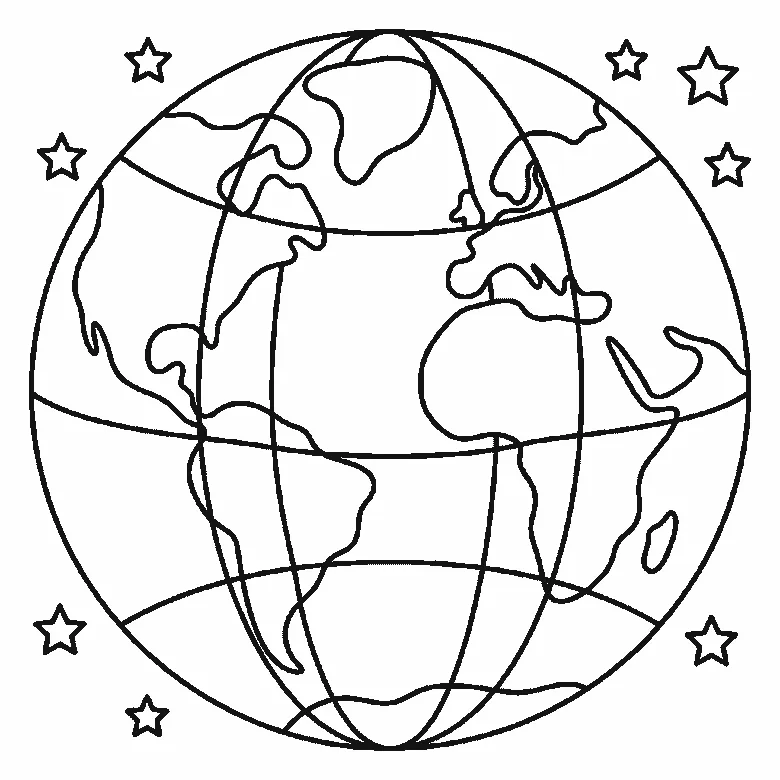
How to draw Earth
Six frames, one globe, revealed ocean-panel by ocean-panel rather than continent by continent. The land emerges as the white left behind, and the stars come last.
Step sequence made by us from a single drawing: each step keeps the lines of the one before it and adds to them.
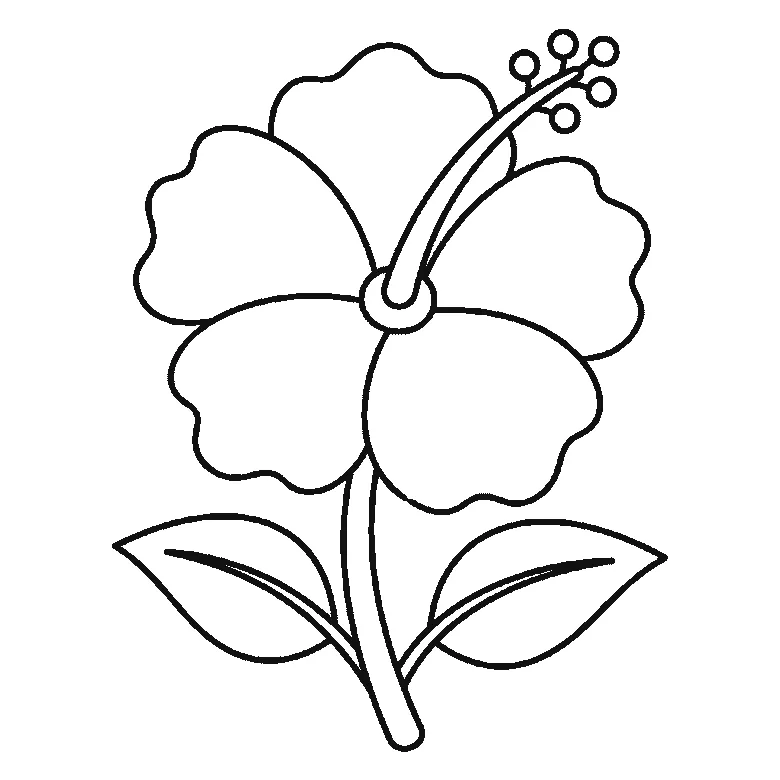
How to draw a hibiscus flower
Six frames, one open hibiscus. Three petals first and the other two next, so the flower head is done by frame two — and the stamen column arrives at frame five.
Step sequence made by us from a single drawing: each step keeps the lines of the one before it and adds to them.
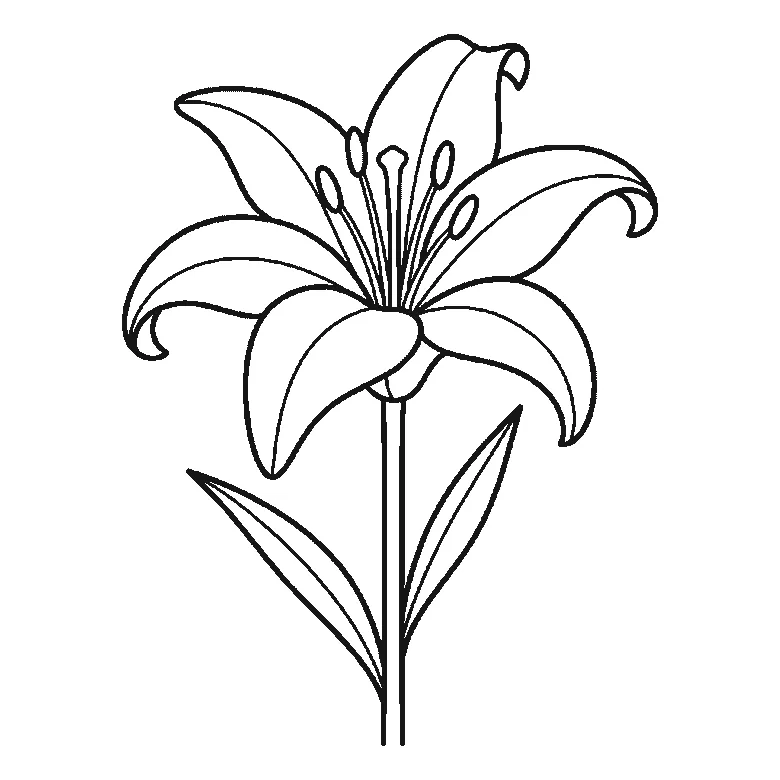
How to draw a lily
Six frames, one open lily. Three petals in the first frame, the rest two at a time — and the stem, the leaves and the central stamens right at the end.
Step sequence made by us from a single drawing: each step keeps the lines of the one before it and adds to them.
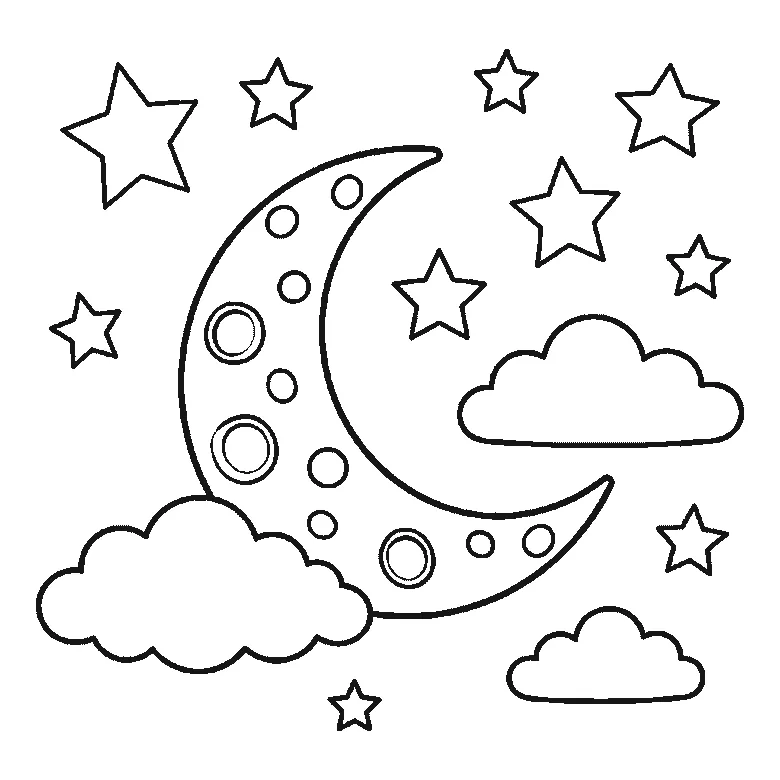
How to draw the moon
Six frames, a crescent moon in a night sky. The whole moon and every crater arrive in frame one; the five frames after it are clouds and stars.
Step sequence made by us from a single drawing: each step keeps the lines of the one before it and adds to them.
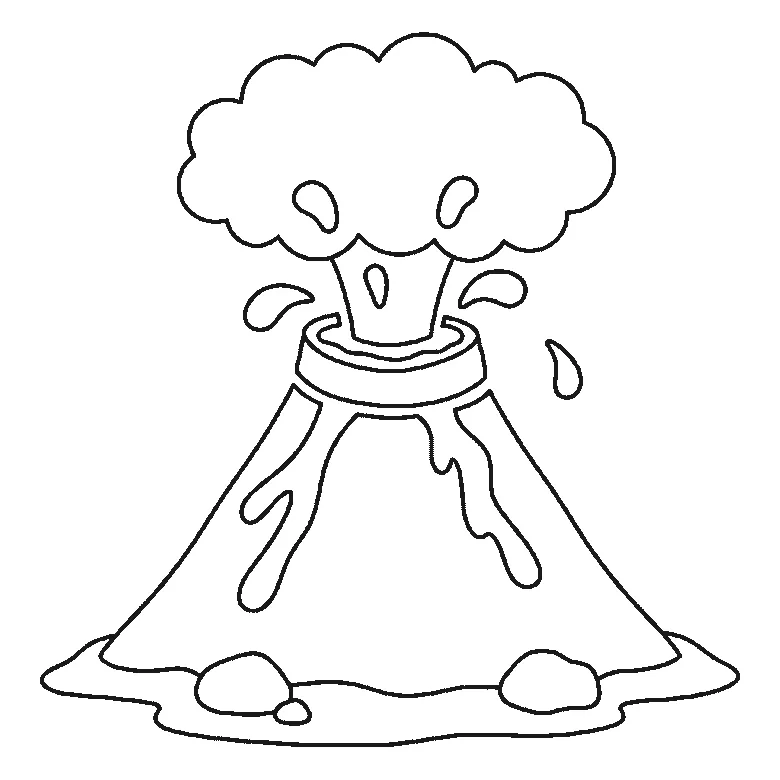
How to draw a volcano
Six frames, one erupting volcano. The whole cone with its lava streams arrives in frame one; the smoke, the ground and the flying lava come after it.
Step sequence made by us from a single drawing: each step keeps the lines of the one before it and adds to them.
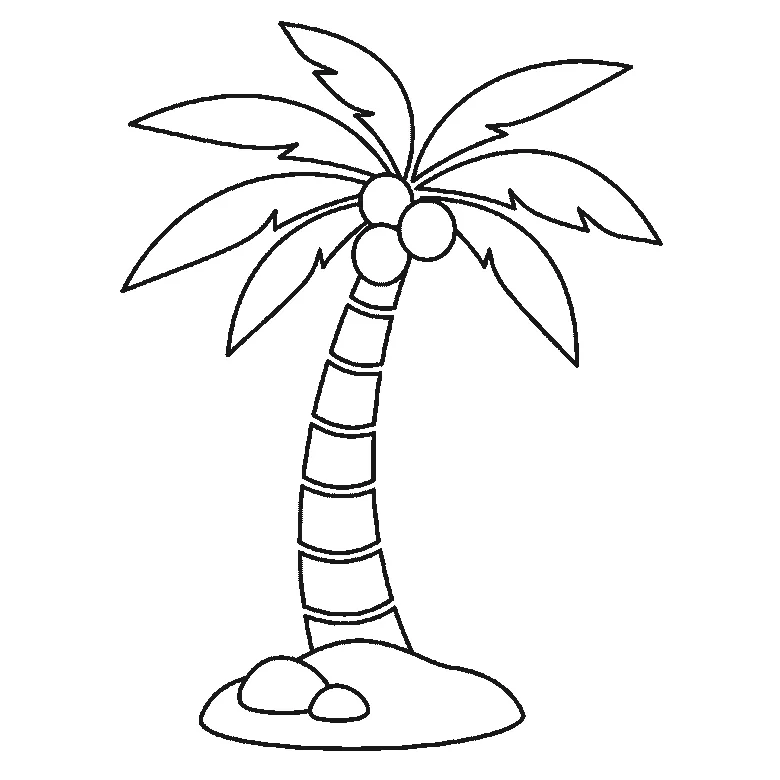
How to draw a palm tree
Six frames, one palm tree on a mound of sand. The fronds come first, two at a time; the trunk is not drawn until frame five.
Step sequence made by us from a single drawing: each step keeps the lines of the one before it and adds to them.
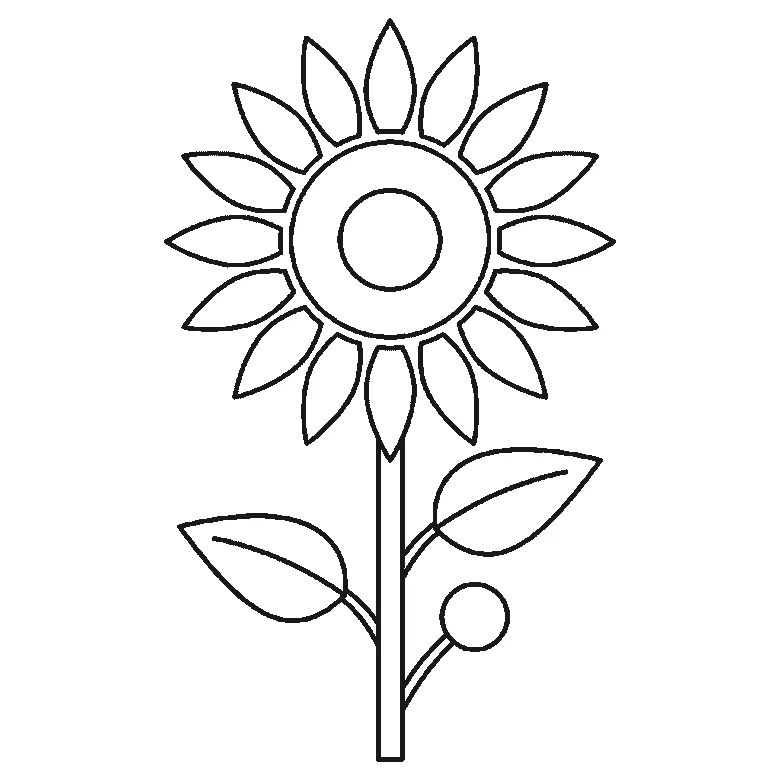
How to draw a sunflower
Six frames, one tall sunflower with two leaves and a bud. The seed head and one leaf first — and no petals at all until frame three.
Step sequence made by us from a single drawing: each step keeps the lines of the one before it and adds to them.
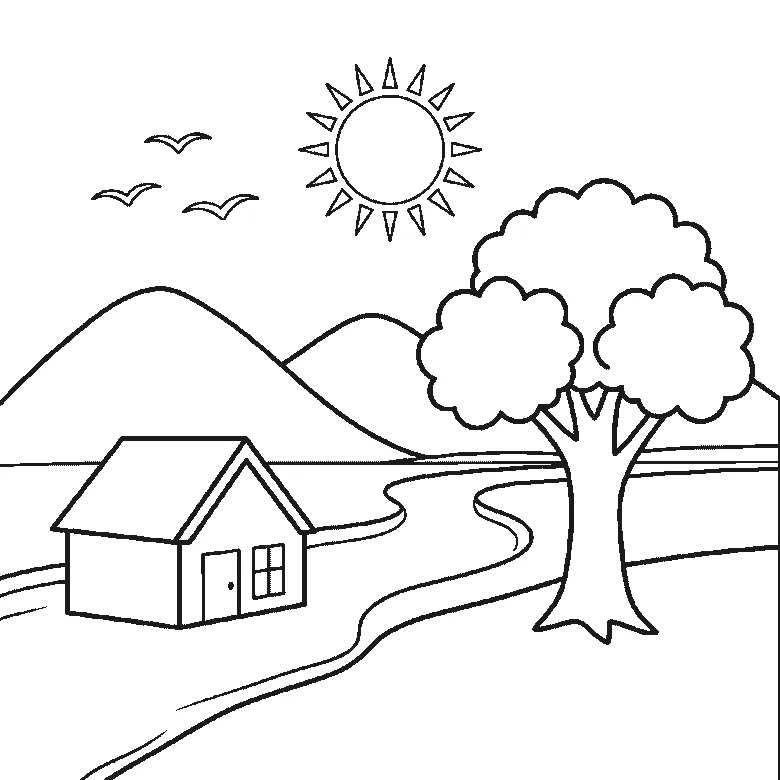
How to draw a landscape
Six frames, one countryside scene with hills, a river, a tree, a house and a sun. The leaves come first and the birds last.
Step sequence made by us from a single drawing: each step keeps the lines of the one before it and adds to them.
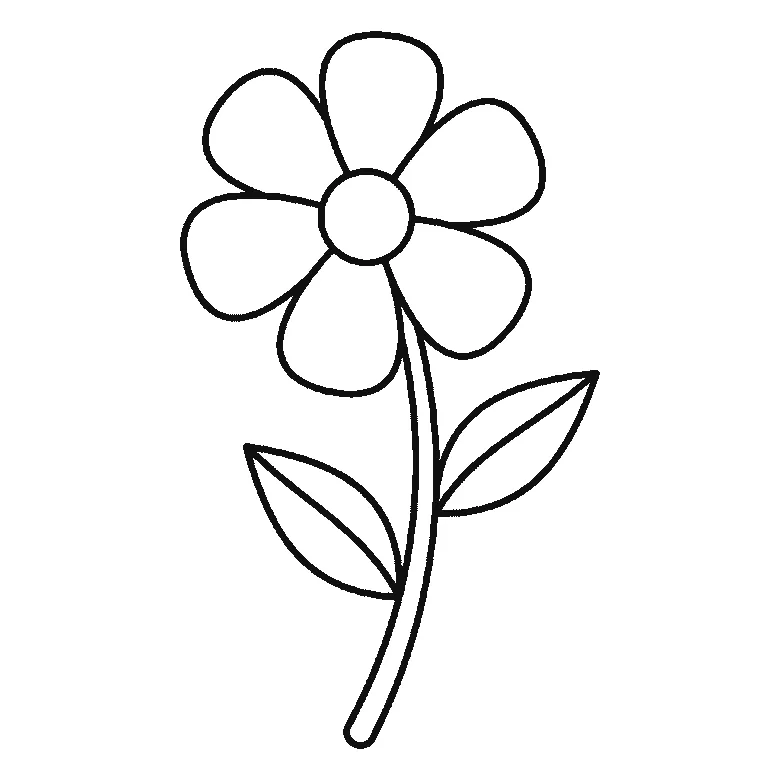
How to draw a flower
Six frames, one open flower on a stem. Three petals first, then the other three and the stem, the two leaves, and the centre near the end.
Step sequence made by us from a single drawing: each step keeps the lines of the one before it and adds to them.


