
PDF · A4 · 57 KB · Free, no sign-up. For home and classroom use.
How to draw tulips
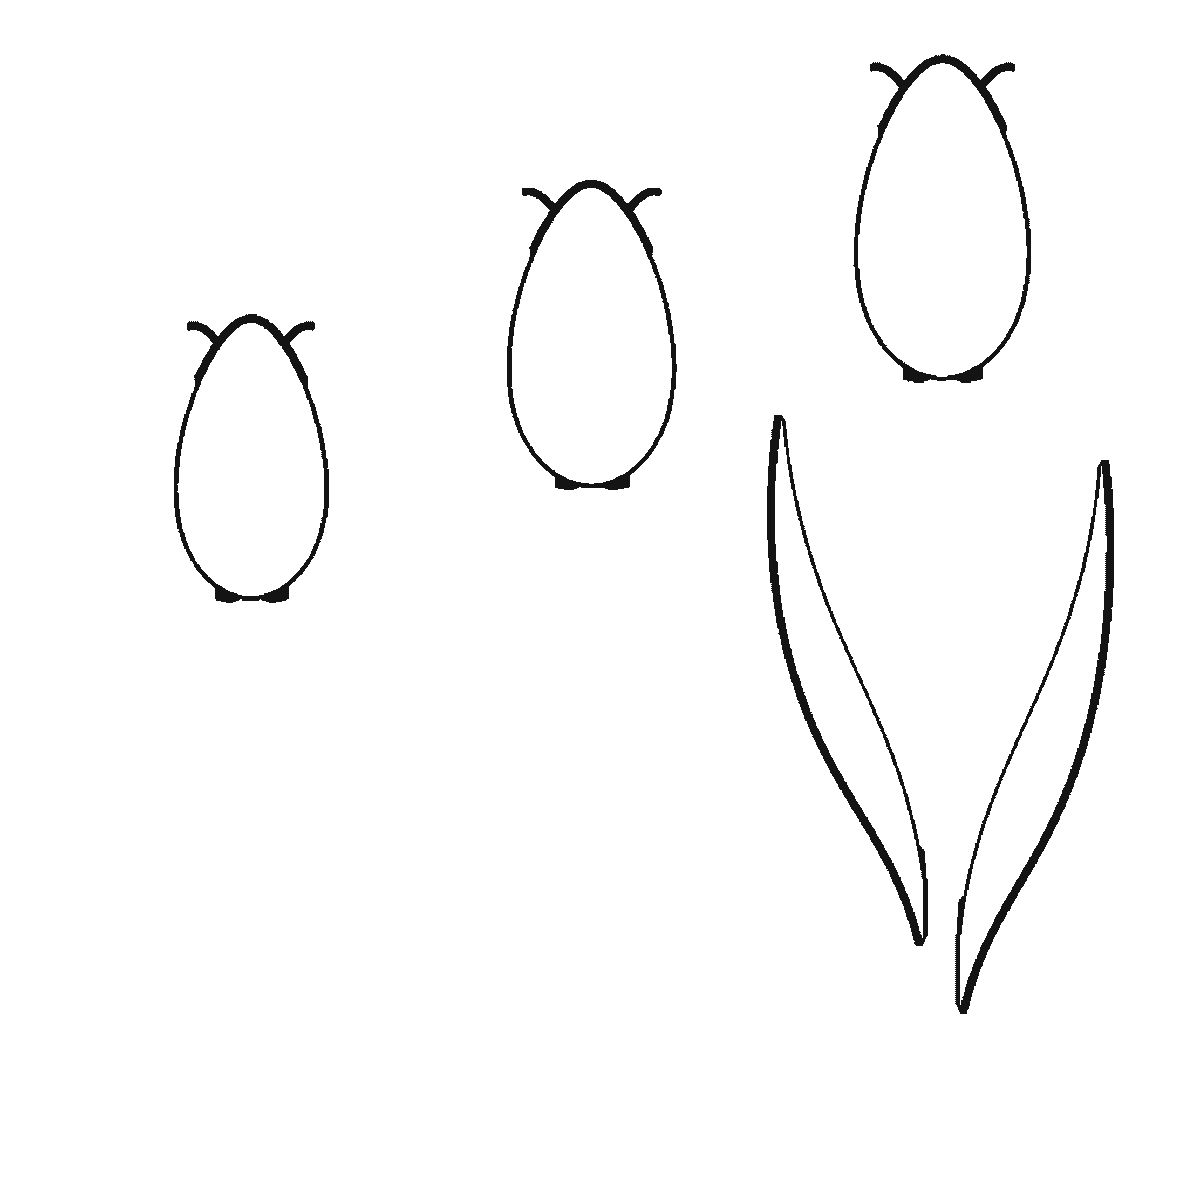
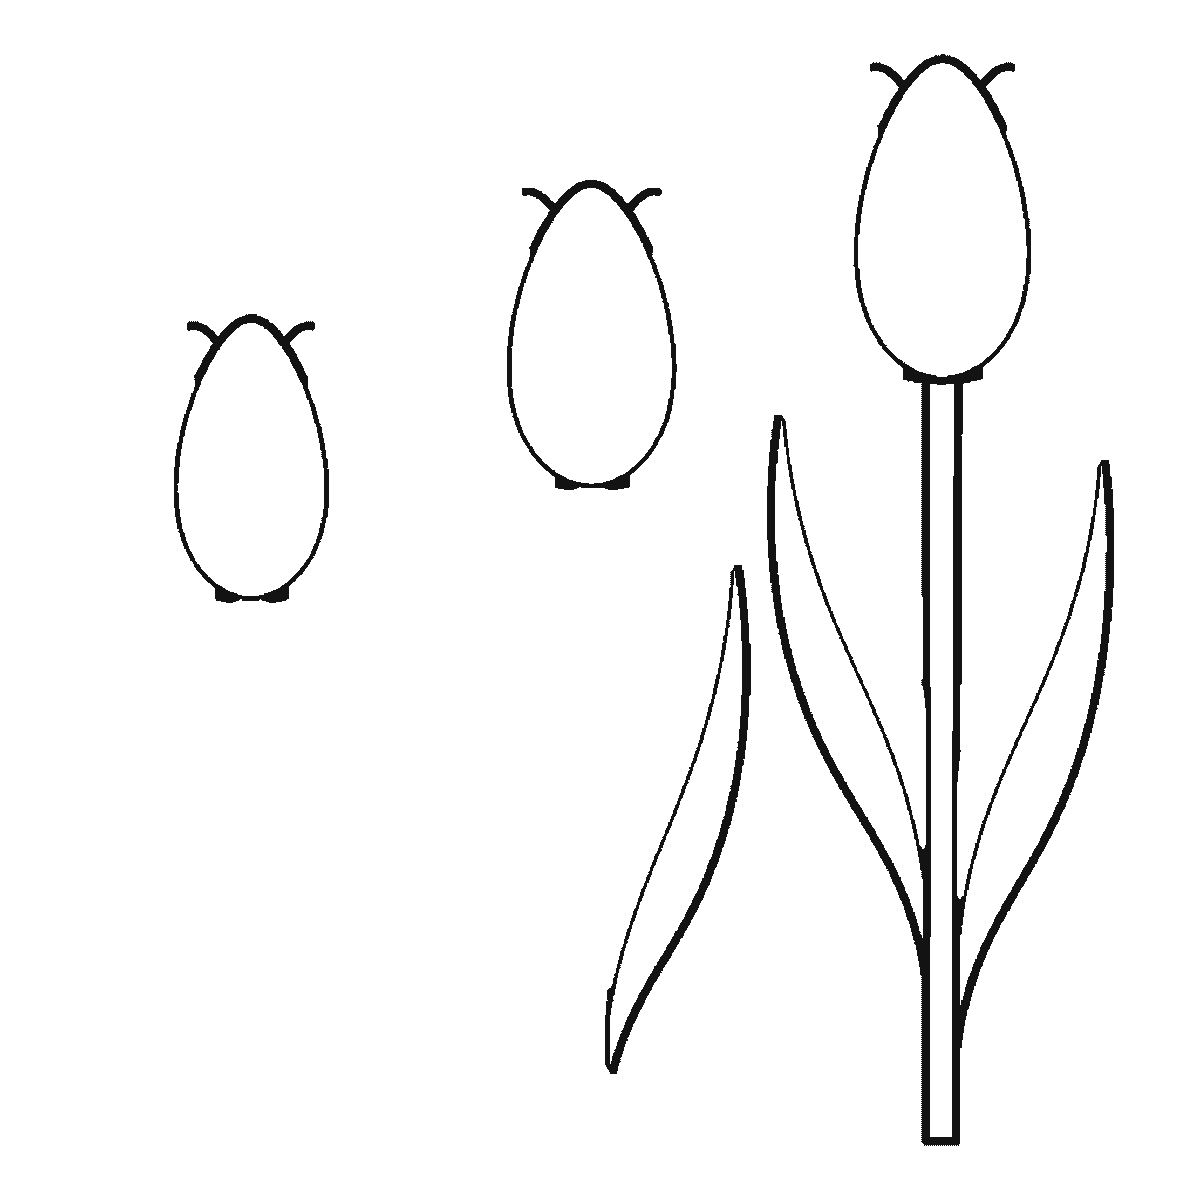
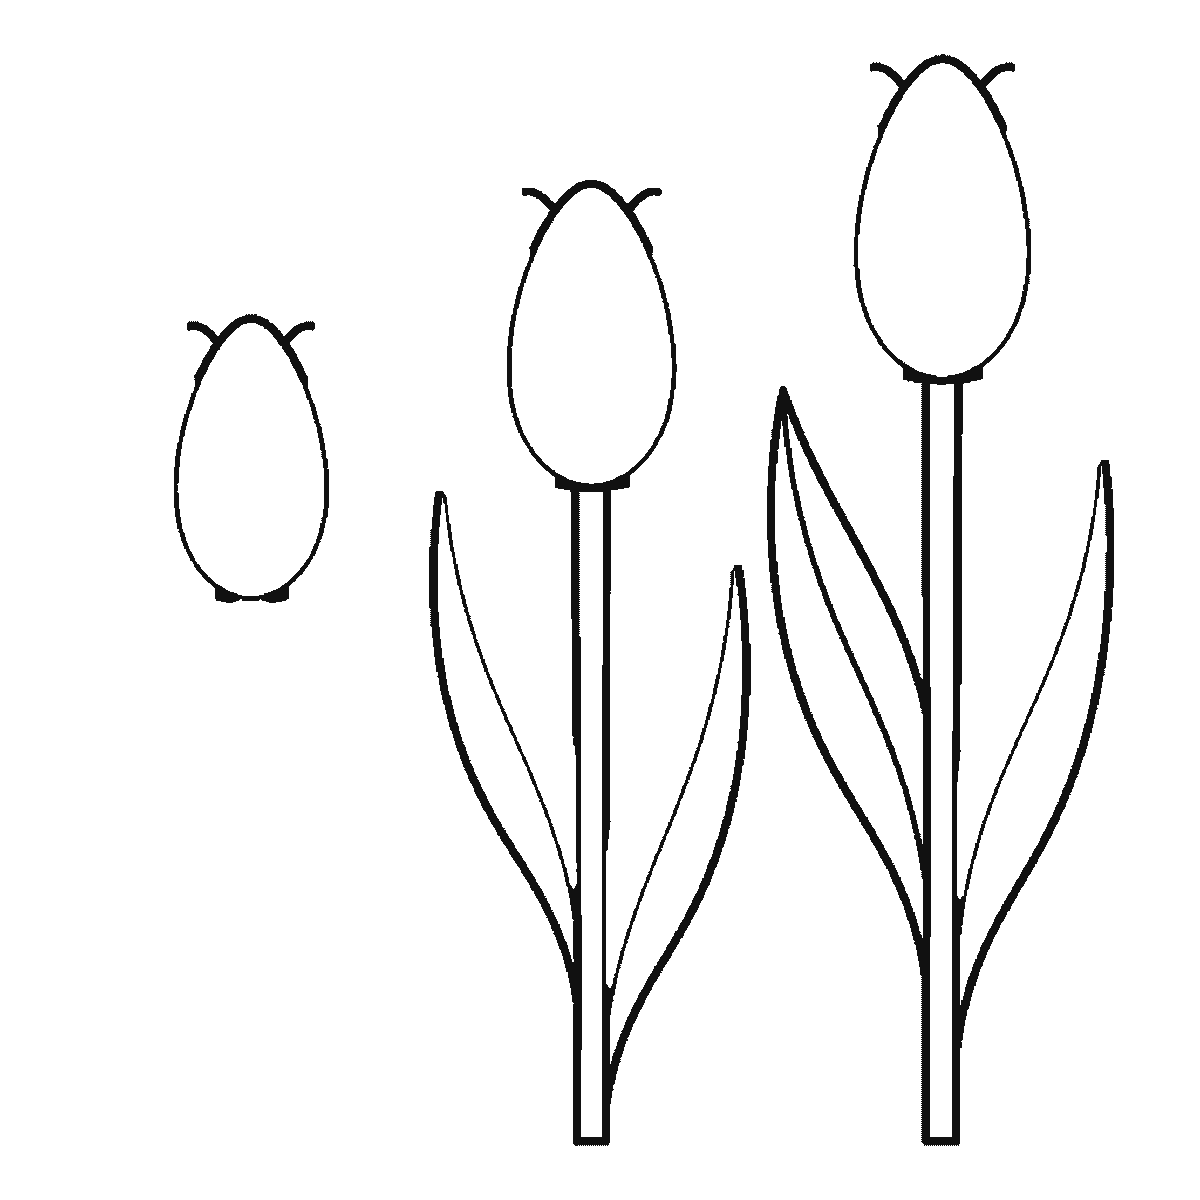
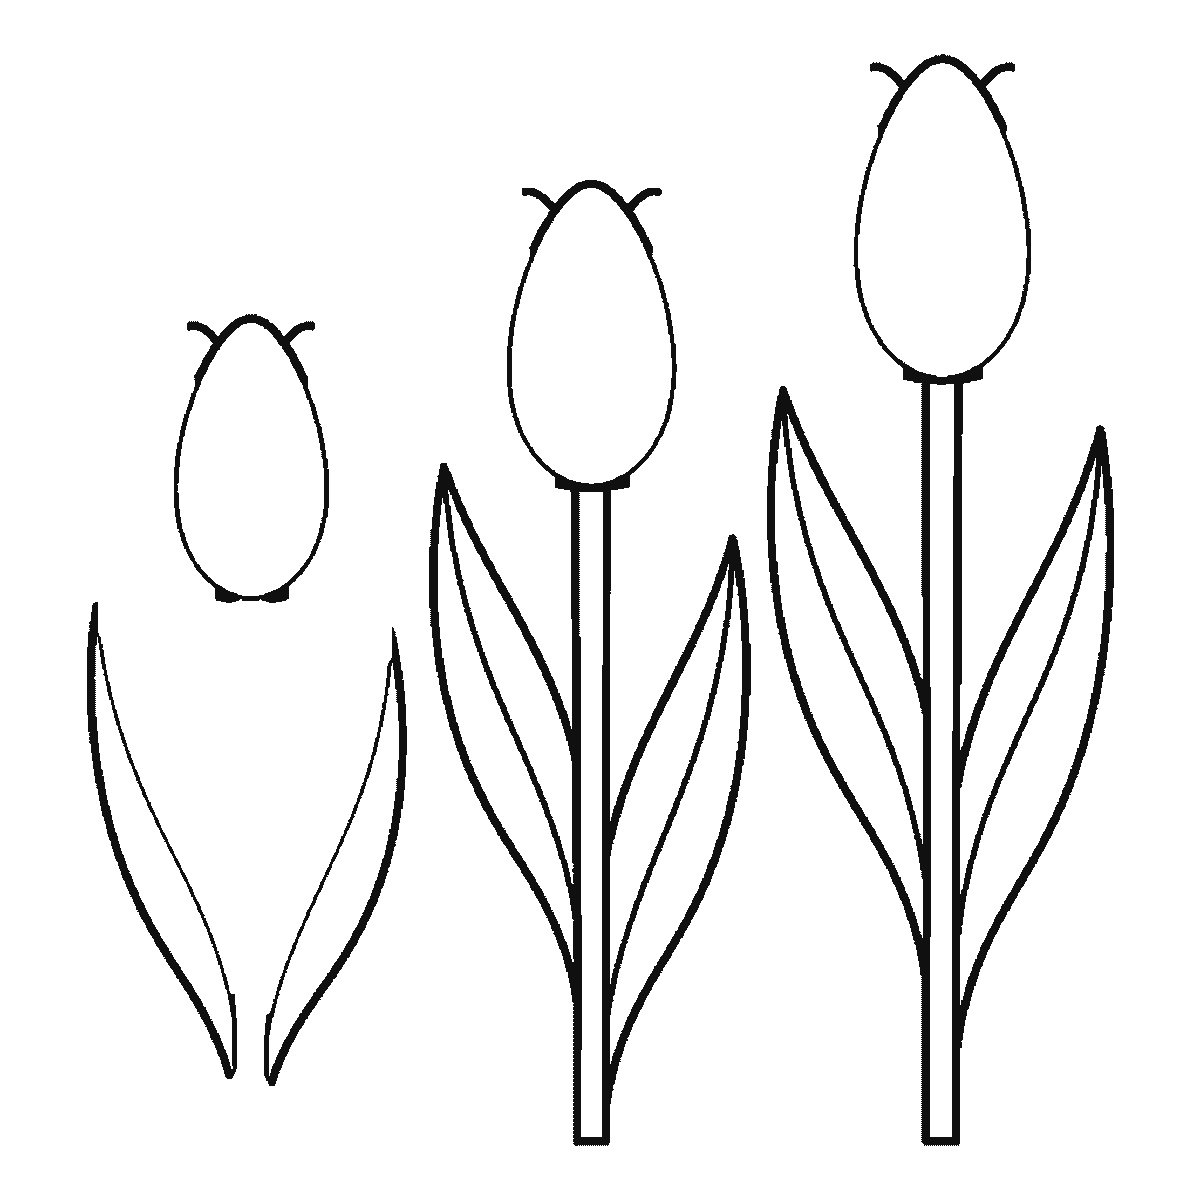
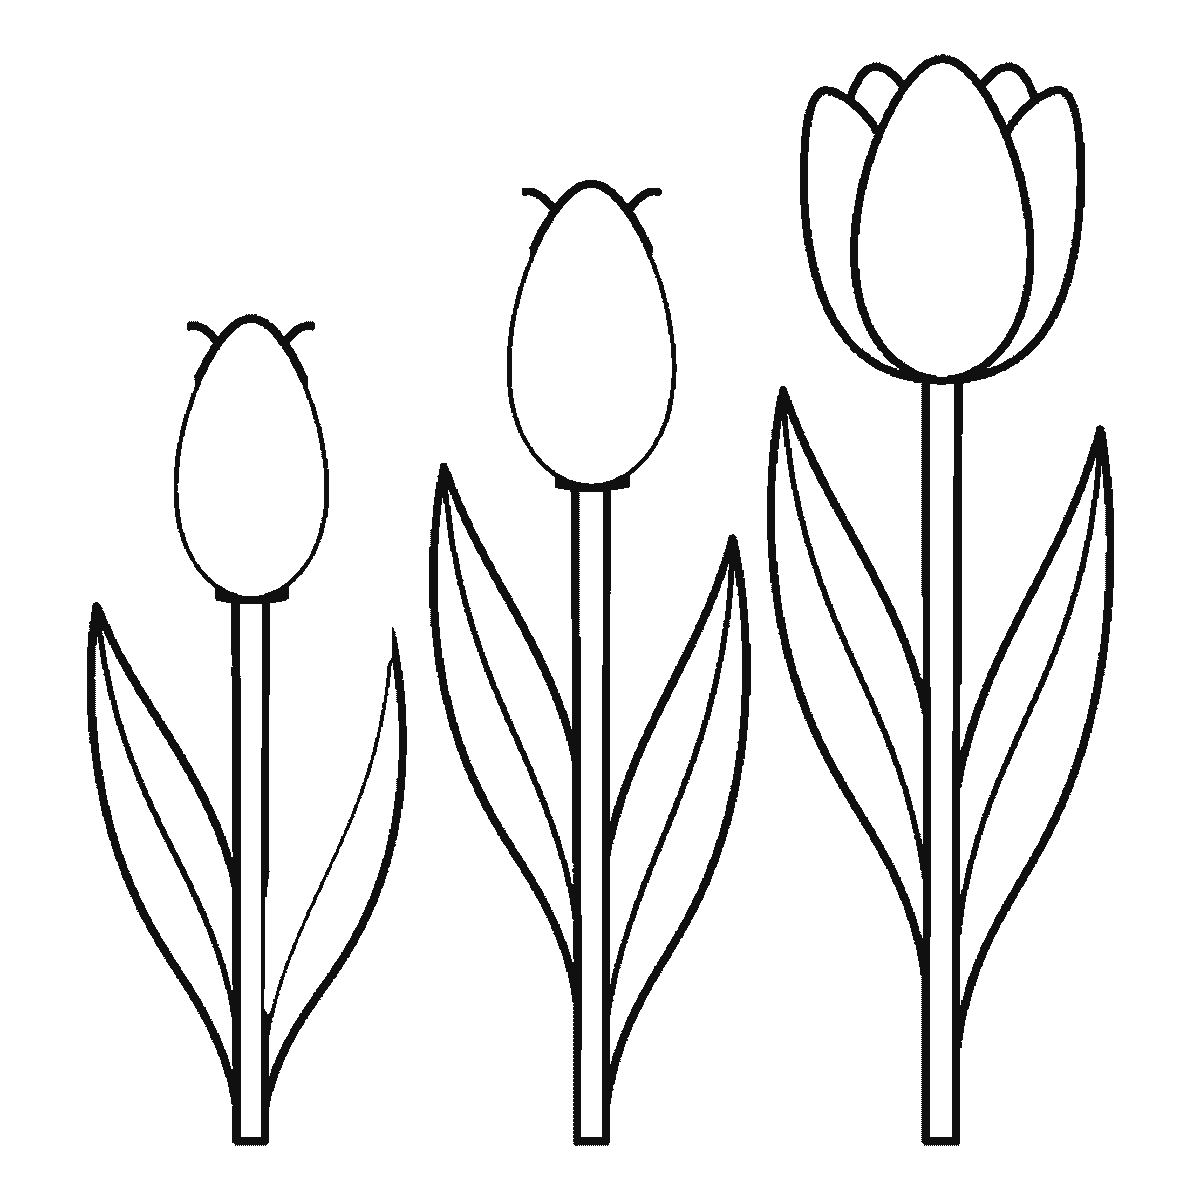
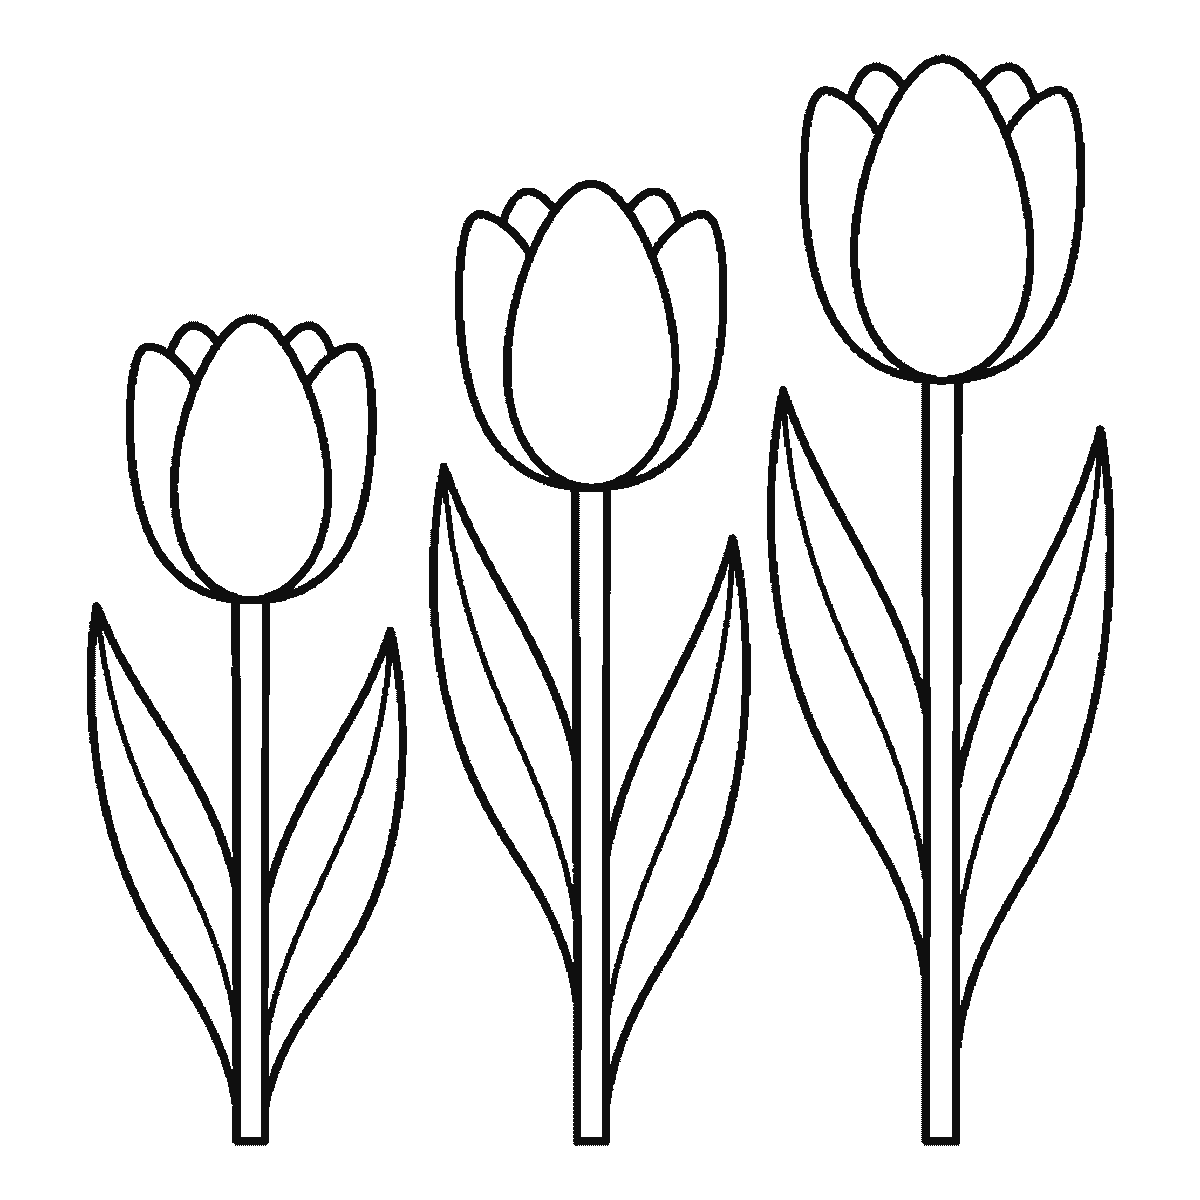
Six frames, three tulips of different heights. All three flower cups arrive together in the first frame — and the lines that split each cup into petals come last.
This sheet is one drawing of three tulips standing side by side at different heights, shown six times, each frame carrying the previous one's lines and adding to them. Three flowers rather than one is deliberate: a single tulip is a very easy shape and three of them at different heights is a composition, which is the more useful thing to practise.
Frame one gives you all three flower cups at once, as plain closed bells with a small notch at the top of each, plus the two leaves of the tallest tulip. That is a lot in one step, but it is the right lot: the three heads set the whole drawing. Place them before anything else and space them unevenly — the gaps between the three should not be equal, and the heights should not step up in a regular staircase.
The stems and leaves then fill in from the tallest flower down. Frame two is the tall stem and one of the middle tulip's leaves, frame three the middle stem and two more leaves, frame four the short tulip's two leaves, and frame five its stem. Every stem is drawn as two lines with a real width between them rather than as a single stroke, which is what makes them colourable and also what stops them looking like wire.
The last thing to arrive is the detail that turns a bell into a tulip: the two curved lines inside each cup that divide it into three overlapping petals. Those come in frame five for the tall flower and frame six for the other two. Until then all three heads are plain closed shapes, and the drawing reads more like three eggs on sticks than like tulips.
That is worth dwelling on because it is the whole lesson of this sheet. A tulip is recognised by a very small amount of information — three overlapping petal edges at the top of a cup — and everything else about the drawing is generic plant. If you get those six short curves right, the flowers work; if you get them wrong, no amount of care spent on the leaves will rescue them.
The leaves are worth a moment too. Each is long, pointed, and curves away from the stem before dropping, and each has a single vein down its centre. They should not be symmetrical about the stem: on every one of these three plants the two leaves leave the stem at different heights and lean in different directions, and that asymmetry is doing a great deal of the work of making the drawing look like something that grew.
The order on the sheet runs from the largest closed shape to the smallest, which is why three flower heads outrank any stem and why the petal divisions come last. It copies easily and this page is not claiming it is the correct method. Somebody who draws one complete tulip and then the second and third would be working the way most people naturally do, and would end up with the same picture.
One A4 page carries all six frames in plain black outline, no shading. Print it, copy it, and then try the version worth trying: the same three tulips with the cups opened out, the petal tips curving outward instead of closing inward. It is a two-minute change and it takes the flowers from budding to fully open, which is as close as a line drawing gets to showing time passing.
Before you start
- Space the three flowers unevenly and vary the heights irregularly. Even spacing and a neat staircase read as a diagram.
- Draw each stem as two lines with width between them, never as a single stroke.
- Leave the petal division lines until last, as the sheet does — they are much easier to place on a cup that is already the right shape.
- Start the two leaves of each plant at different heights on the stem and lean them different ways.
Published Updated 582 words
The six steps
The steps go from the largest shape to the smallest, which is an easy order to copy. It is not the only order, and it is not a rule — if you would rather start somewhere else on the sheet, do.
Step 1
Step 2
Step 3
Step 4
Step 5
Step 6
More in this section
How to draw a leaf
Six frames, one maple leaf — and this sheet is the tidiest on the site: one lobe per frame, each with its own vein, and the stem last.
Step sequence made by us from a single drawing: each step keeps the lines of the one before it and adds to them.
How to draw a strawberry
Six frames, one strawberry. The whole berry outline arrives in the first frame — a big first step — then a calyx leaf at a time, with all eleven seeds at the end.
Step sequence made by us from a single drawing: each step keeps the lines of the one before it and adds to them.

How to draw Earth
Six frames, one globe, revealed ocean-panel by ocean-panel rather than continent by continent. The land emerges as the white left behind, and the stars come last.
Step sequence made by us from a single drawing: each step keeps the lines of the one before it and adds to them.
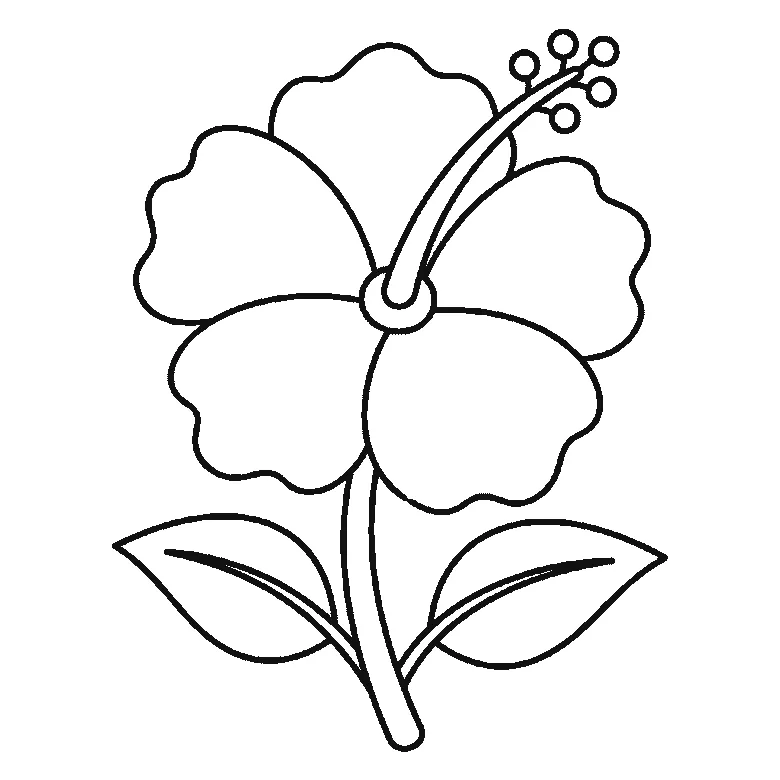
How to draw a hibiscus flower
Six frames, one open hibiscus. Three petals first and the other two next, so the flower head is done by frame two — and the stamen column arrives at frame five.
Step sequence made by us from a single drawing: each step keeps the lines of the one before it and adds to them.
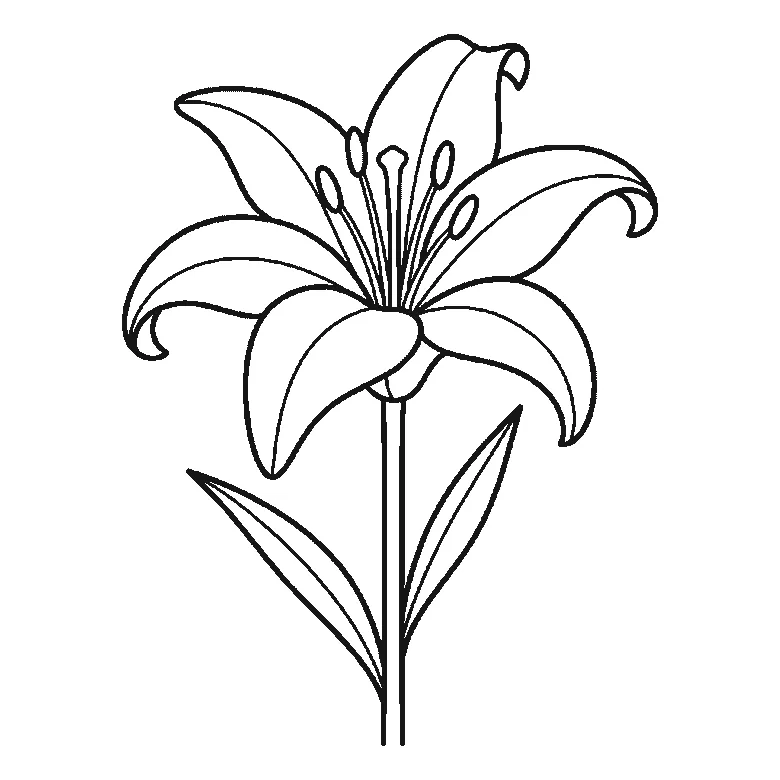
How to draw a lily
Six frames, one open lily. Three petals in the first frame, the rest two at a time — and the stem, the leaves and the central stamens right at the end.
Step sequence made by us from a single drawing: each step keeps the lines of the one before it and adds to them.
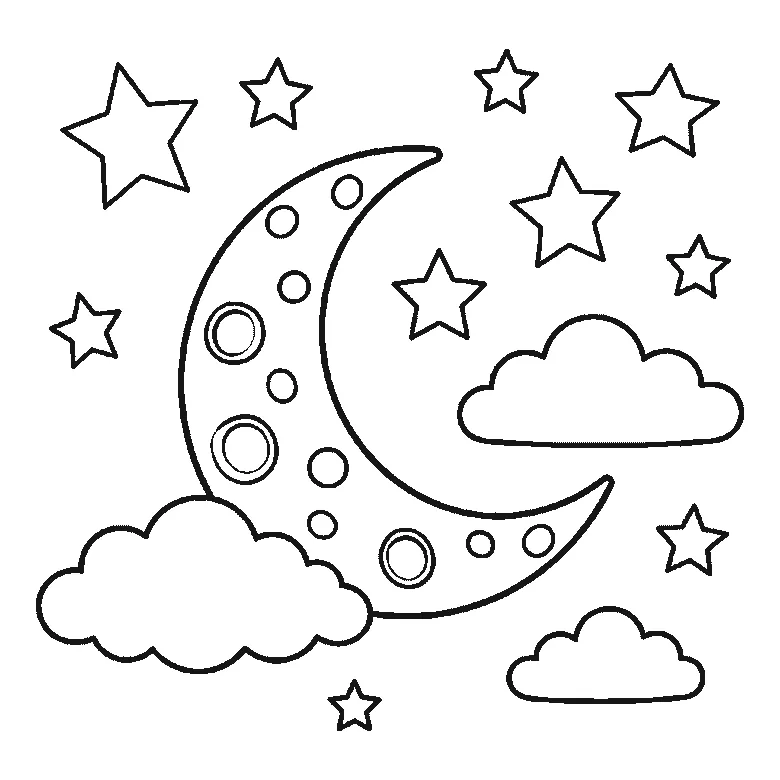
How to draw the moon
Six frames, a crescent moon in a night sky. The whole moon and every crater arrive in frame one; the five frames after it are clouds and stars.
Step sequence made by us from a single drawing: each step keeps the lines of the one before it and adds to them.
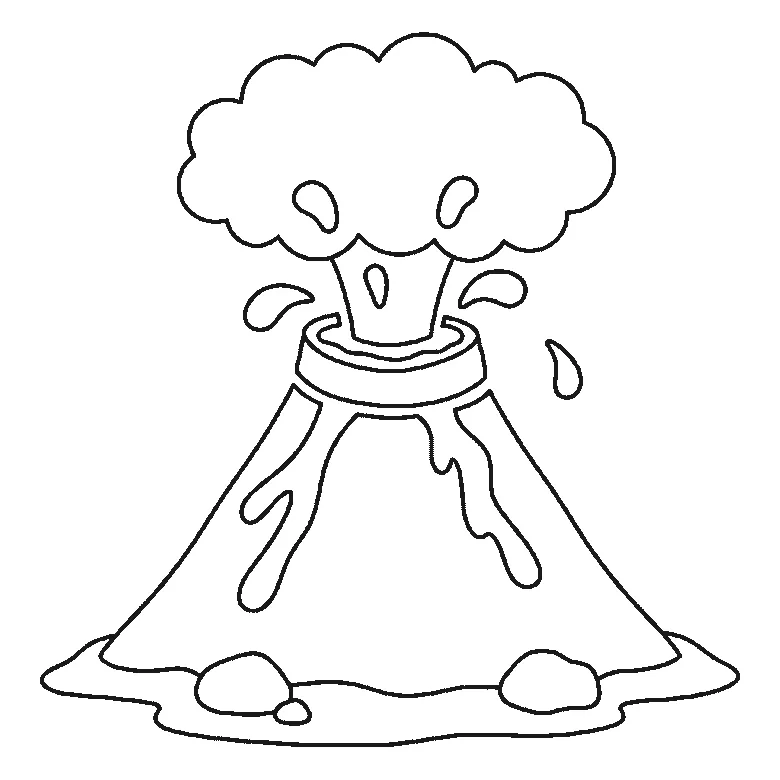
How to draw a volcano
Six frames, one erupting volcano. The whole cone with its lava streams arrives in frame one; the smoke, the ground and the flying lava come after it.
Step sequence made by us from a single drawing: each step keeps the lines of the one before it and adds to them.
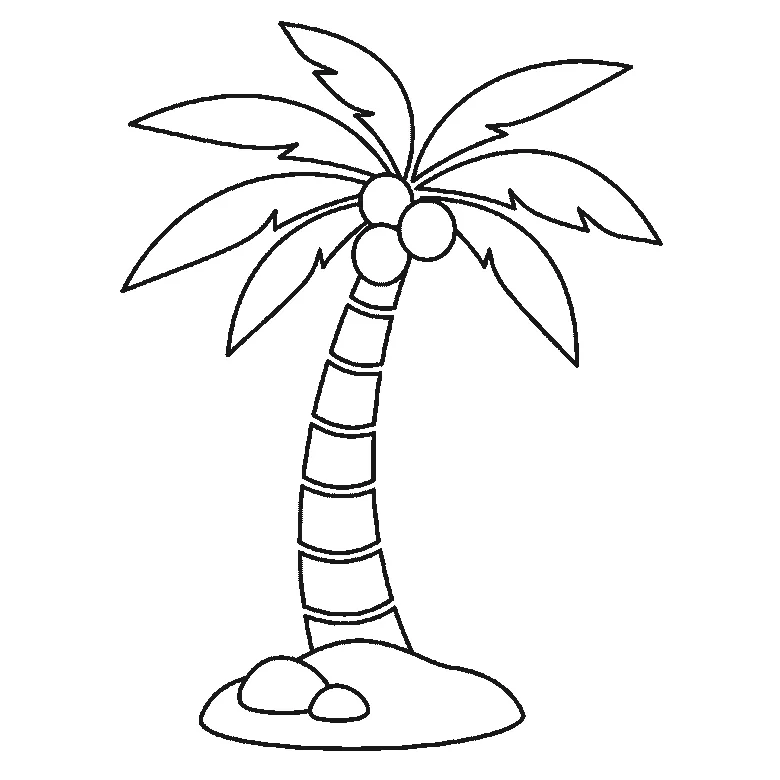
How to draw a palm tree
Six frames, one palm tree on a mound of sand. The fronds come first, two at a time; the trunk is not drawn until frame five.
Step sequence made by us from a single drawing: each step keeps the lines of the one before it and adds to them.
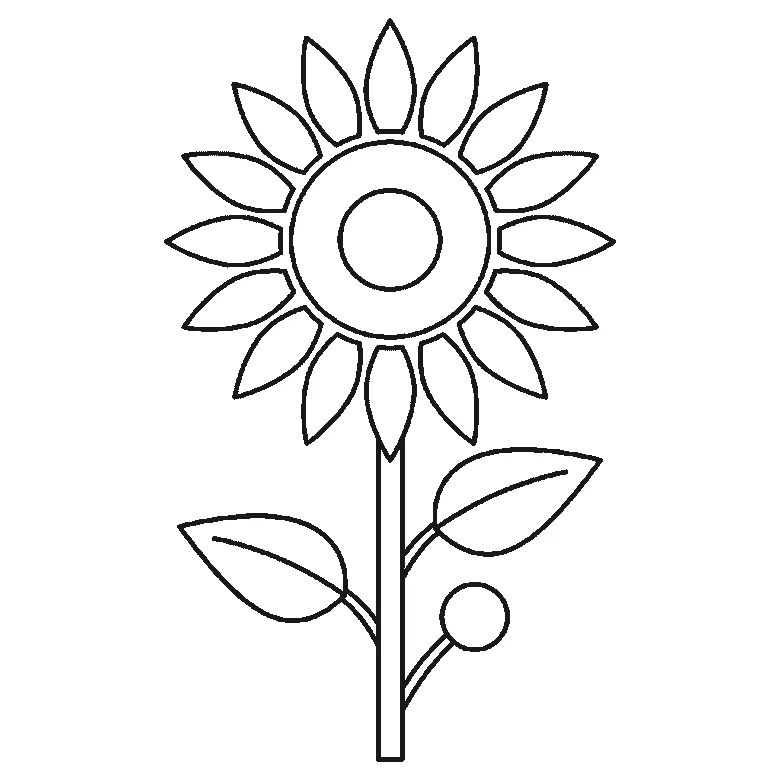
How to draw a sunflower
Six frames, one tall sunflower with two leaves and a bud. The seed head and one leaf first — and no petals at all until frame three.
Step sequence made by us from a single drawing: each step keeps the lines of the one before it and adds to them.
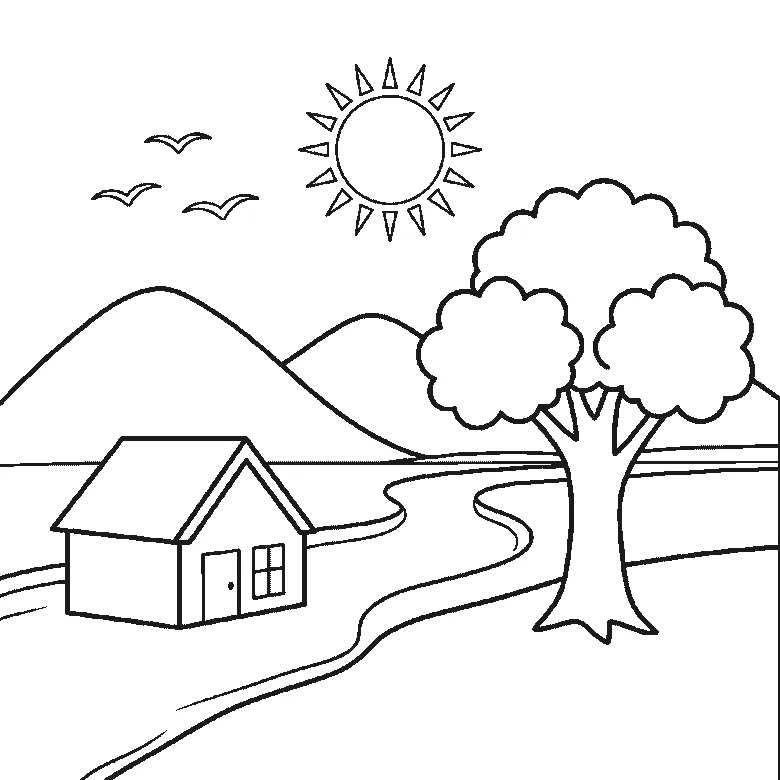
How to draw a landscape
Six frames, one countryside scene with hills, a river, a tree, a house and a sun. The leaves come first and the birds last.
Step sequence made by us from a single drawing: each step keeps the lines of the one before it and adds to them.
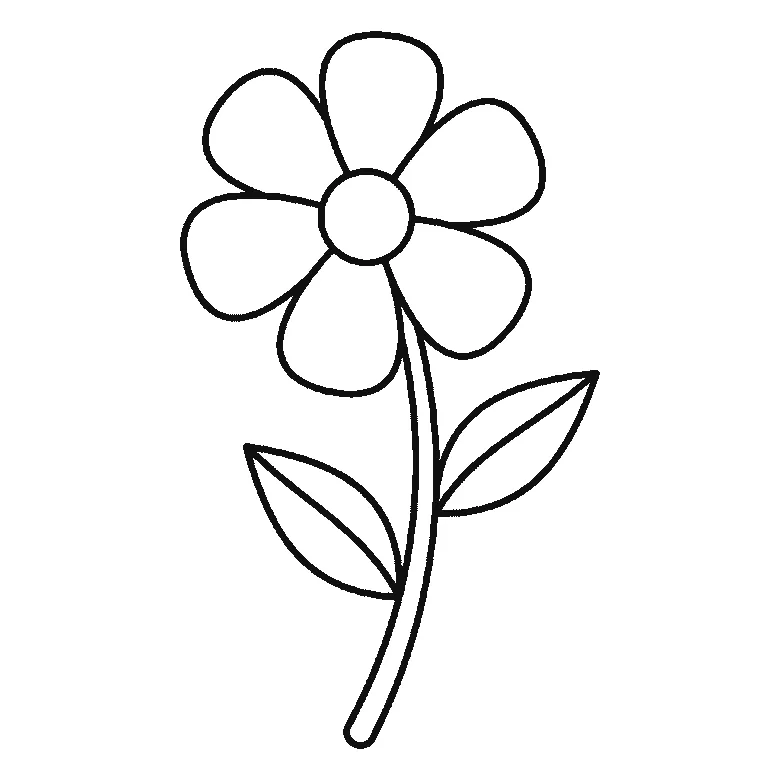
How to draw a flower
Six frames, one open flower on a stem. Three petals first, then the other three and the stem, the two leaves, and the centre near the end.
Step sequence made by us from a single drawing: each step keeps the lines of the one before it and adds to them.
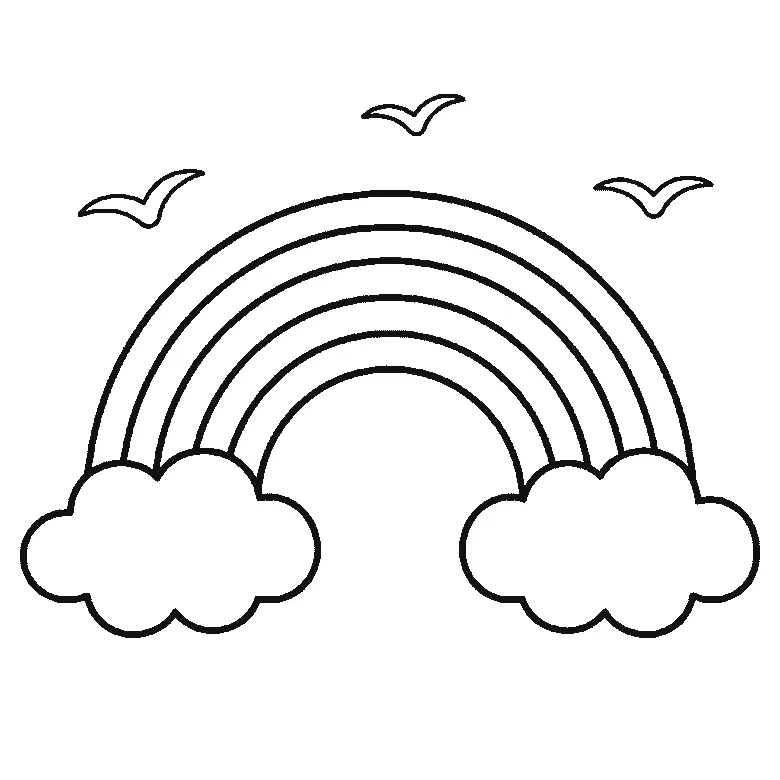
How to draw a rainbow
Six frames, a rainbow with a cloud at each end and three birds. The clouds first, then the bands from the outside in, and the birds last.
Step sequence made by us from a single drawing: each step keeps the lines of the one before it and adds to them.


