
PDF · A4 · 48 KB · Free, no sign-up. For home and classroom use.
How to draw a hibiscus flower
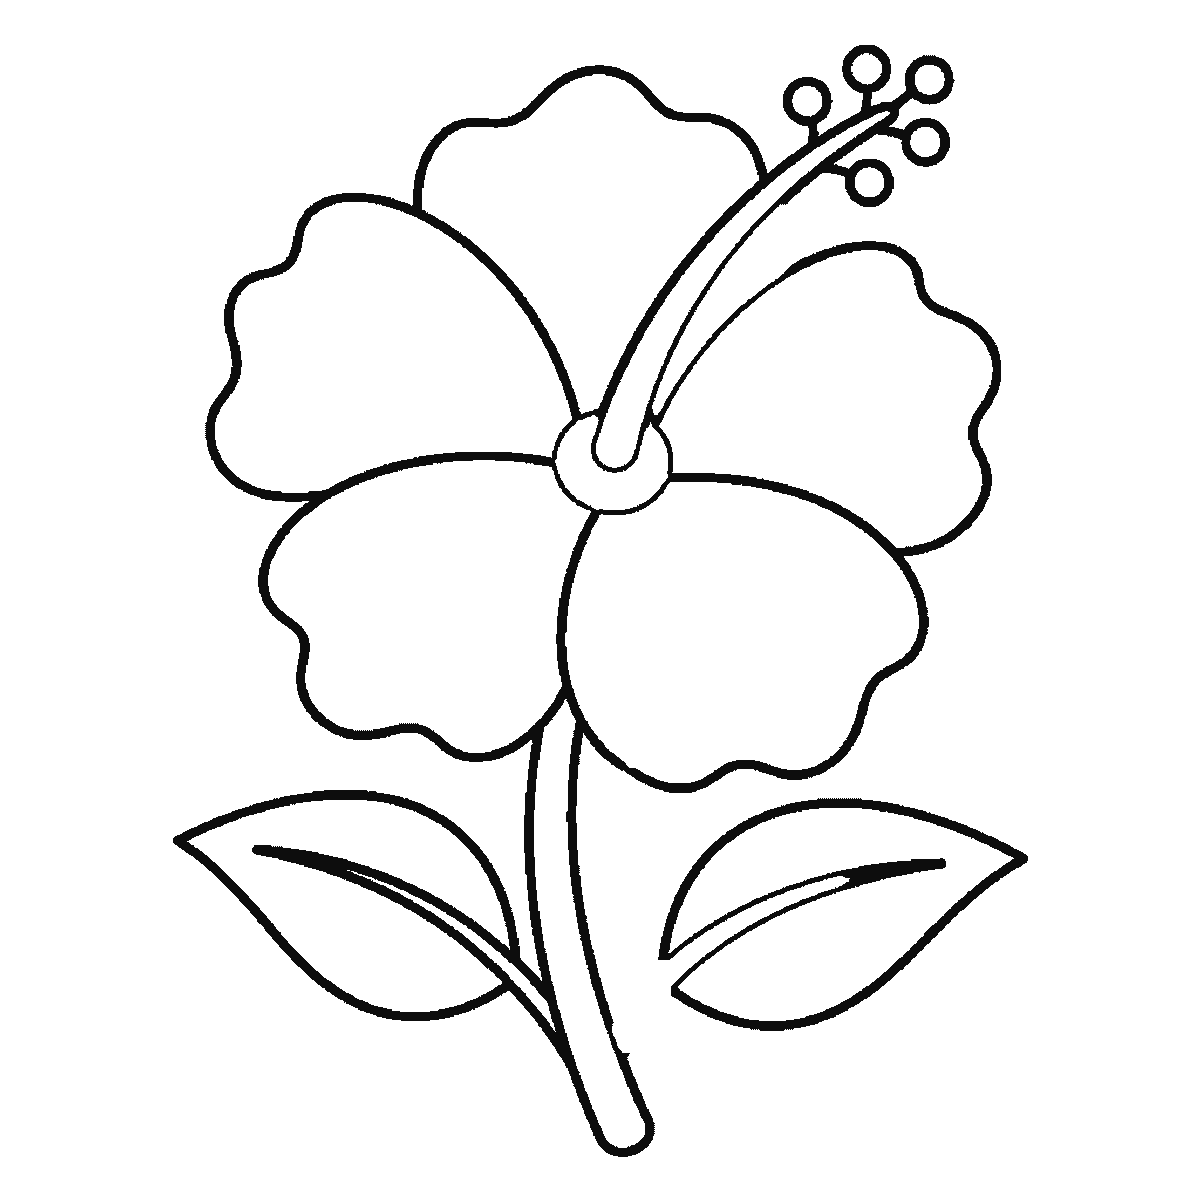
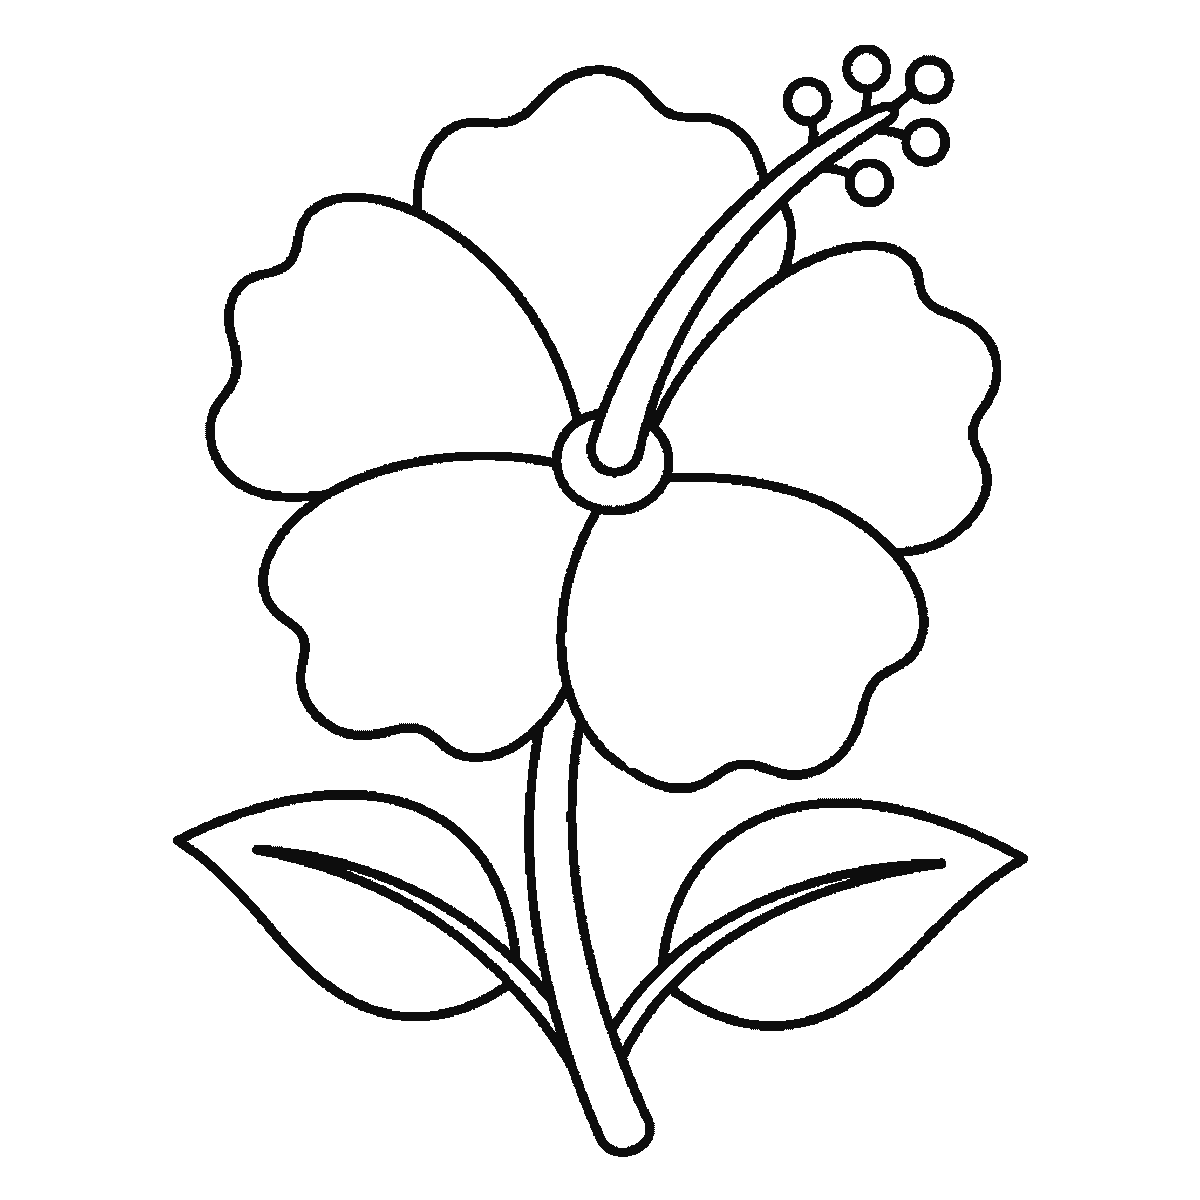
Six frames, one open hibiscus. Three petals first and the other two next, so the flower head is done by frame two — and the stamen column arrives at frame five.
This sheet takes one drawing of a fully open hibiscus flower with two leaves and shows it six times, each frame keeping everything the last had and adding more. A hibiscus is the most forgiving of the flowers on this site because it has only five petals and they are large, so there is very little small work in it.
Frame one gives you three of the five petals — the upper left, the lower left and the lower right. Frame two adds the other two. So unlike almost every other sheet here, the main subject is essentially complete by the second frame, and the remaining four frames are leaves, stem and the flower's centre. That is a genuinely easy way in: the hard part is over before you have properly started.
The petals are wide, they overlap, and each has a distinctly wavy outer edge. That waviness is what makes a hibiscus a hibiscus rather than a generic five-petal flower, and it is worth doing deliberately rather than as an accident of a shaky hand. Two or three clear scallops along the outer edge of each petal, of uneven size, is about right. A smooth-edged petal reads as a periwinkle; a heavily frilled one reads as a carnation.
They should also overlap in one consistent direction, each petal tucking behind the one to its left or its right all the way round. Petals drawn as five separate shapes meeting neatly at a centre point look like a paper cut-out. Overlapping them makes the flower look like it has depth, and it costs nothing but deciding which way round to go before you start.
The two leaves arrive one per frame, the right one in frame three and the left in frame four. Frame five is the piece that identifies the plant beyond any doubt: the long stamen column arcing up and out of the centre of the flower, ending in a cluster of small round anthers, along with the stem. Nothing else in this section has that shape, and if you draw only one part of the sheet carefully it should be this one. The column should leave the centre of the flower and curve well outside the outline of the petals — a short stubby column tucked inside the flower loses the whole effect.
The last frame is the small ring where the column meets the petals and the centre veins on the two leaves. Small marks, but the ring in particular does a lot: without it the column looks stuck on rather than growing out.
The frames run largest closed shape first, smallest last, which is why petals come before leaves and the stamen column comes near the end. That is easy to copy and it is not a claim about the right way to draw a flower. Anybody who starts with the stamen column and arranges the petals around it is working from the centre out, which is how the plant is built, and will finish with this same picture.
One A4 page holds all six frames, plain black outline, no shading, ready to print and to colour. If you draw it a second time, the change worth making is to turn the whole flower three-quarters away from you so that the petals foreshorten and the stamen column crosses in front of them. It is much harder, and it is the fastest way to find out whether you understood the shape or were copying it.
Before you start
- Give each petal two or three uneven scallops along its outer edge. Smooth edges lose the hibiscus immediately.
- Overlap the petals consistently in one direction. Five shapes meeting neatly at a point look like a paper cut-out.
- Let the stamen column curve well outside the petals. Tucked inside the flower it stops doing its job.
- Draw the small ring where the column meets the flower — without it the column looks glued on.
Published Updated 579 words
The six steps
The steps go from the largest shape to the smallest, which is an easy order to copy. It is not the only order, and it is not a rule — if you would rather start somewhere else on the sheet, do.
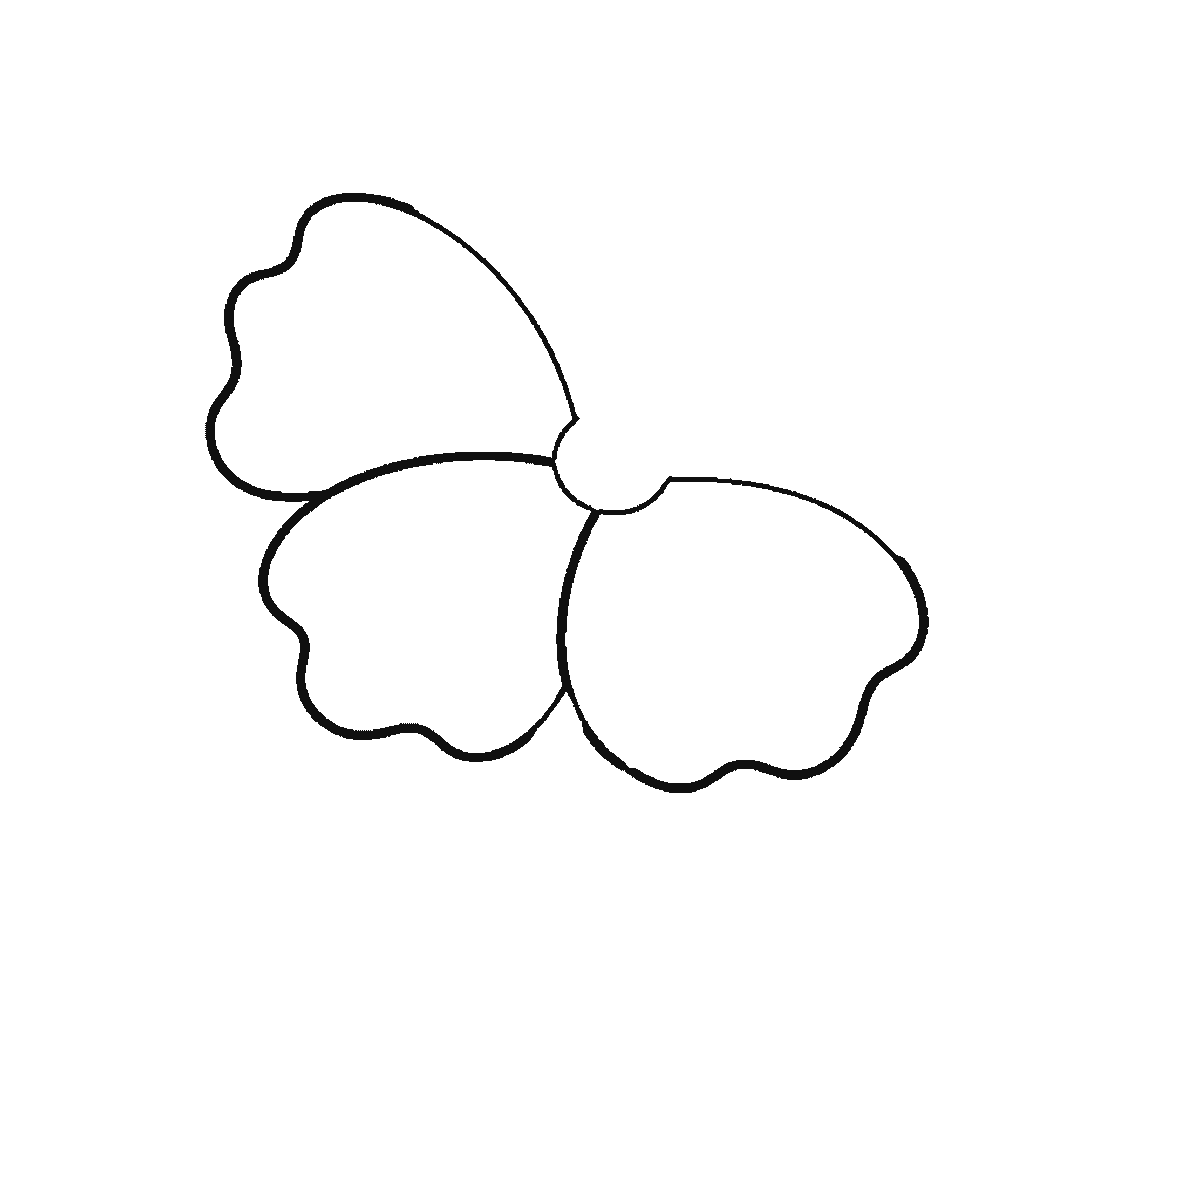
Step 1
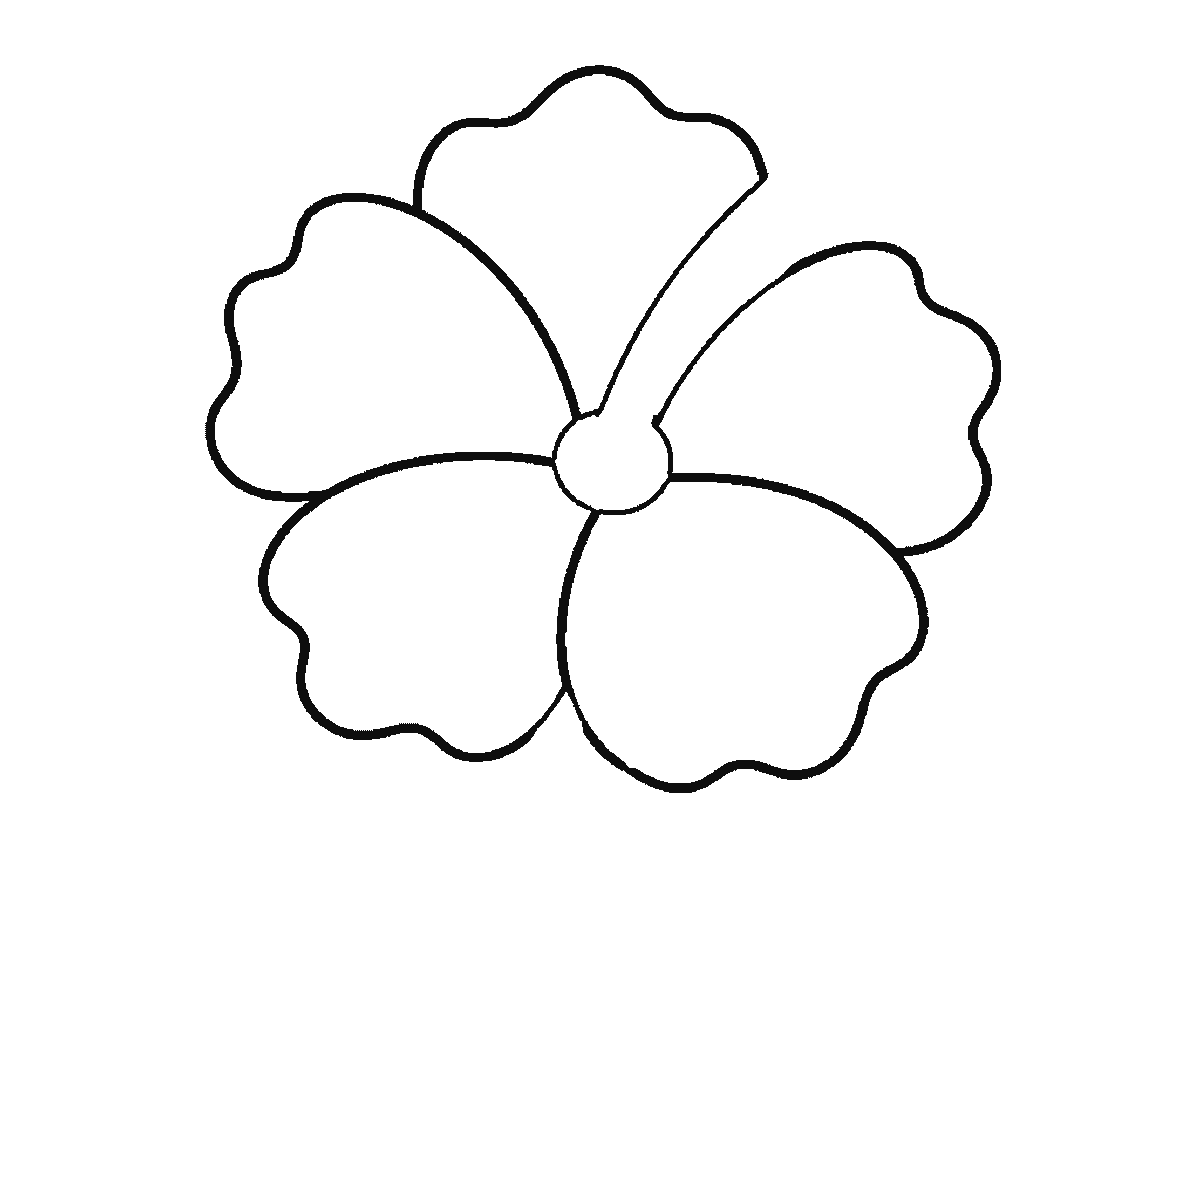
Step 2
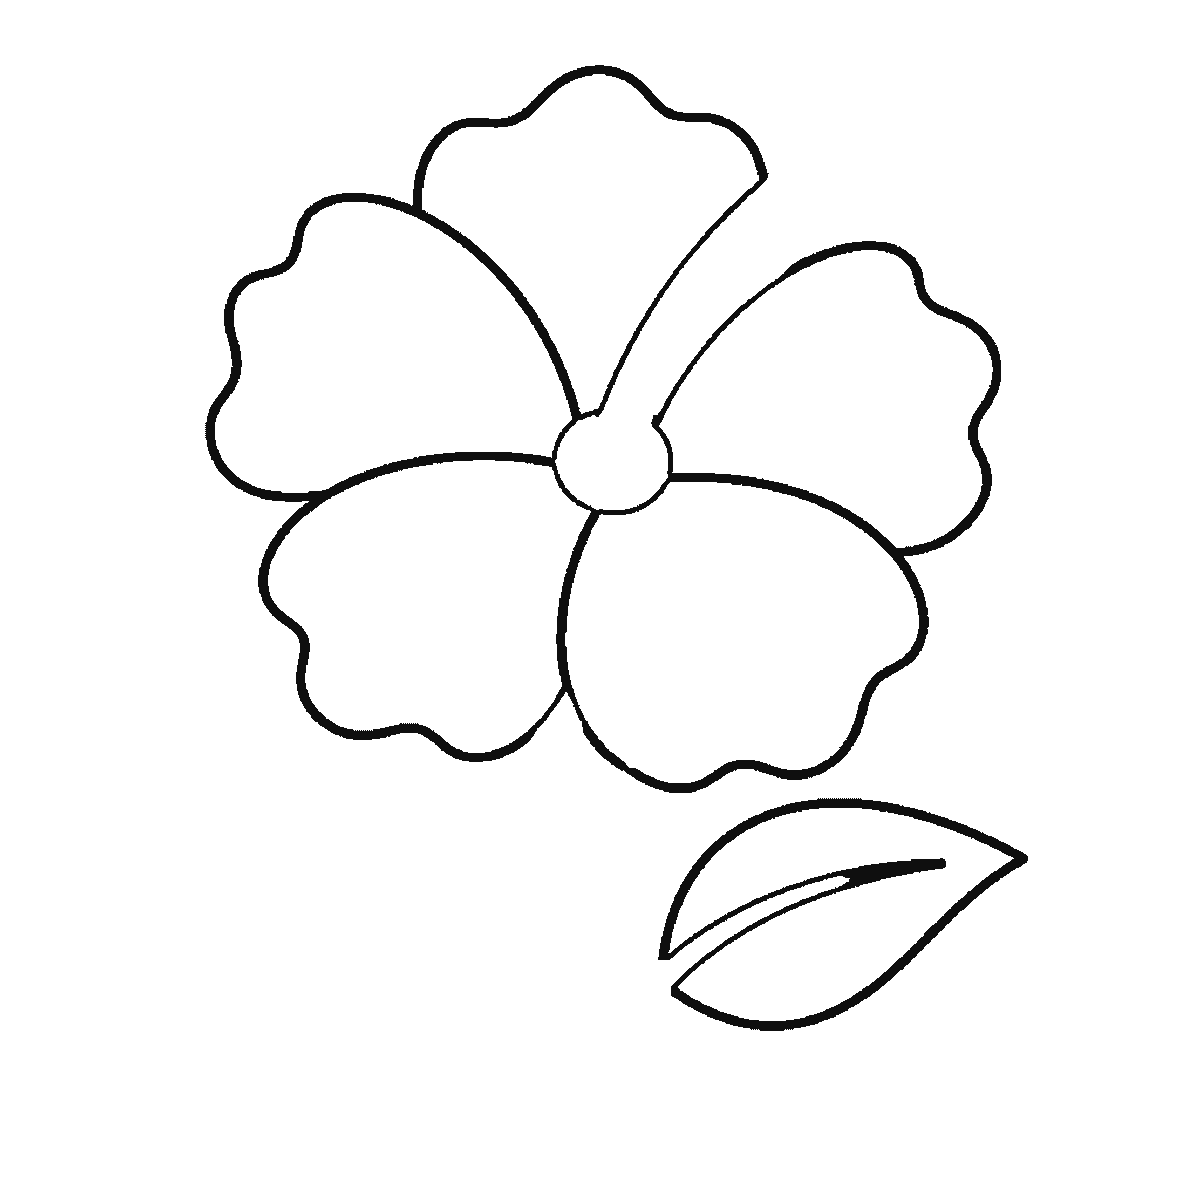
Step 3
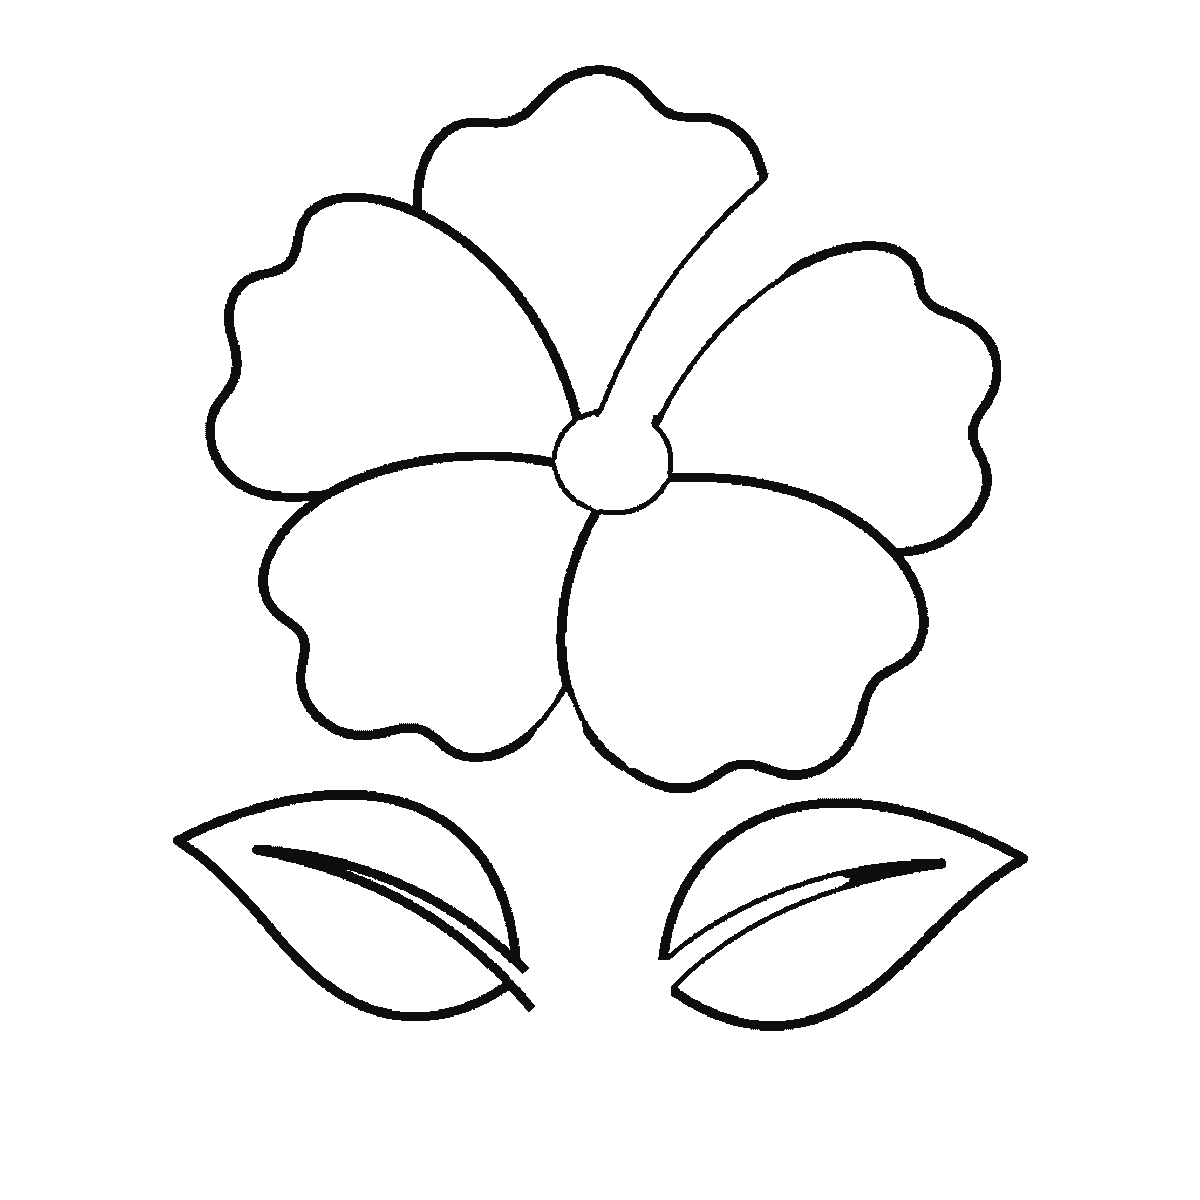
Step 4
Step 5
Step 6
More in this section
How to draw a lily
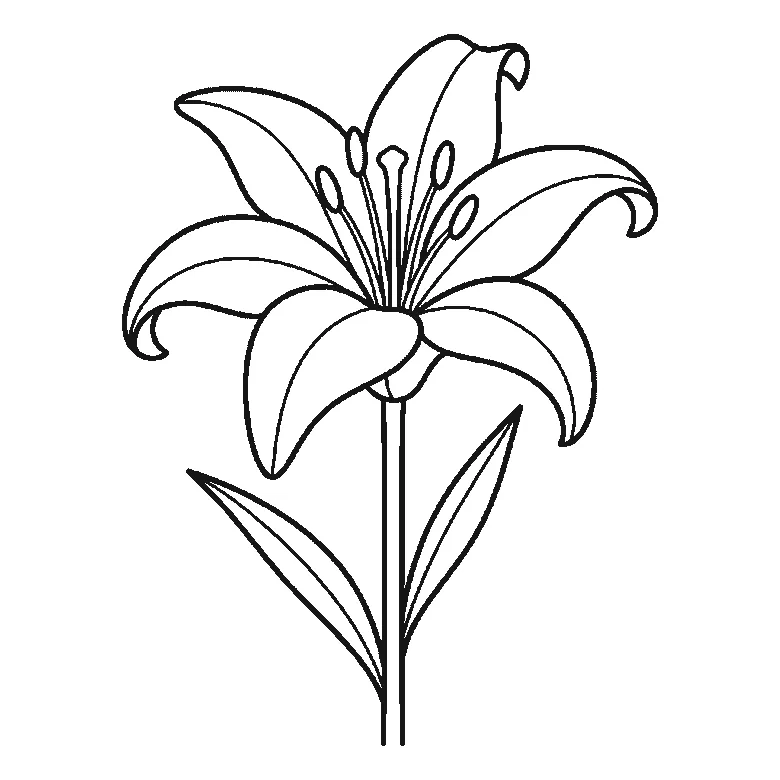
Six frames, one open lily. Three petals in the first frame, the rest two at a time — and the stem, the leaves and the central stamens right at the end.
Step sequence made by us from a single drawing: each step keeps the lines of the one before it and adds to them.

How to draw the moon
Six frames, a crescent moon in a night sky. The whole moon and every crater arrive in frame one; the five frames after it are clouds and stars.
Step sequence made by us from a single drawing: each step keeps the lines of the one before it and adds to them.
How to draw a volcano
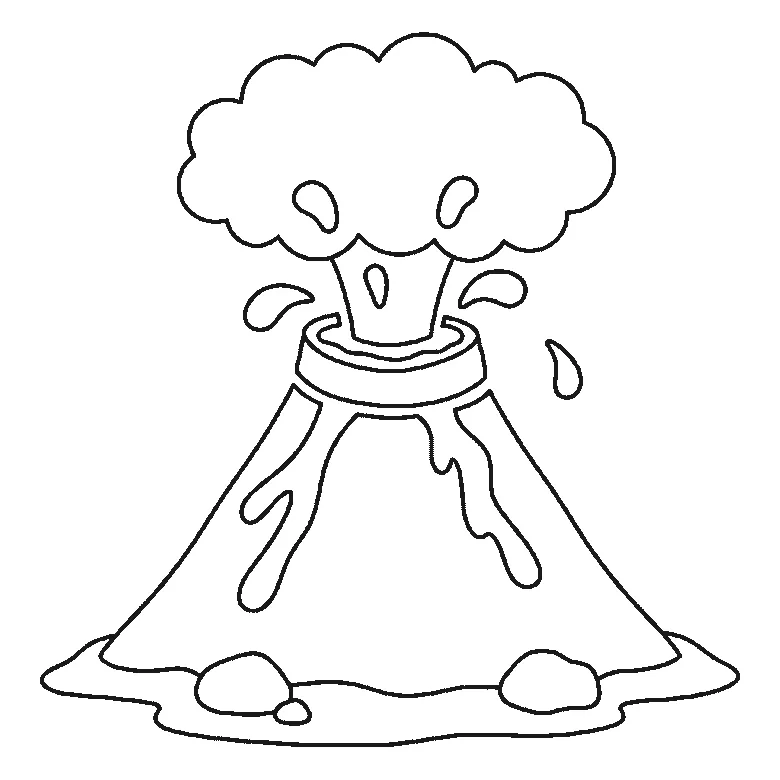
Six frames, one erupting volcano. The whole cone with its lava streams arrives in frame one; the smoke, the ground and the flying lava come after it.
Step sequence made by us from a single drawing: each step keeps the lines of the one before it and adds to them.
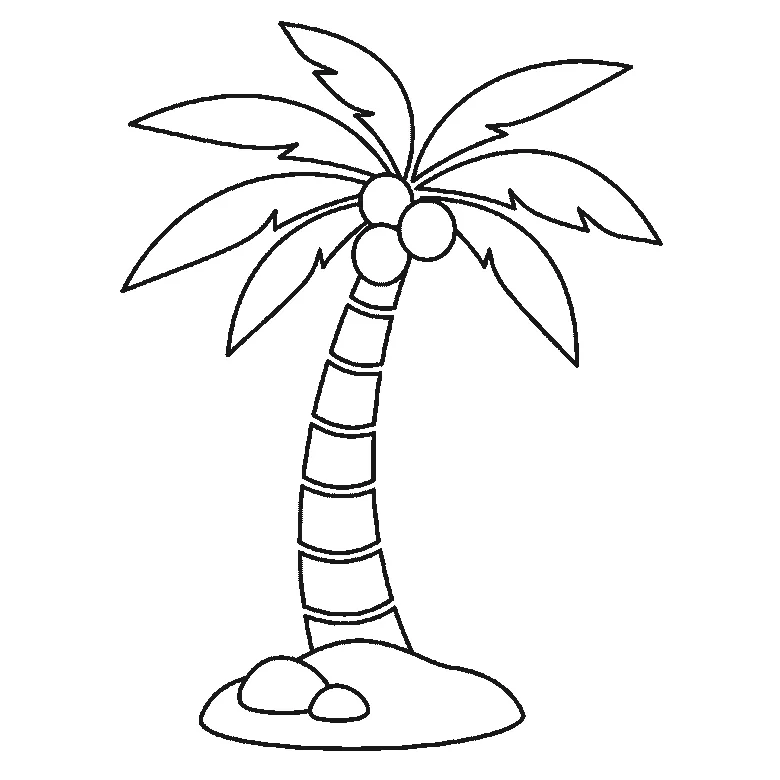
How to draw a palm tree
Six frames, one palm tree on a mound of sand. The fronds come first, two at a time; the trunk is not drawn until frame five.
Step sequence made by us from a single drawing: each step keeps the lines of the one before it and adds to them.
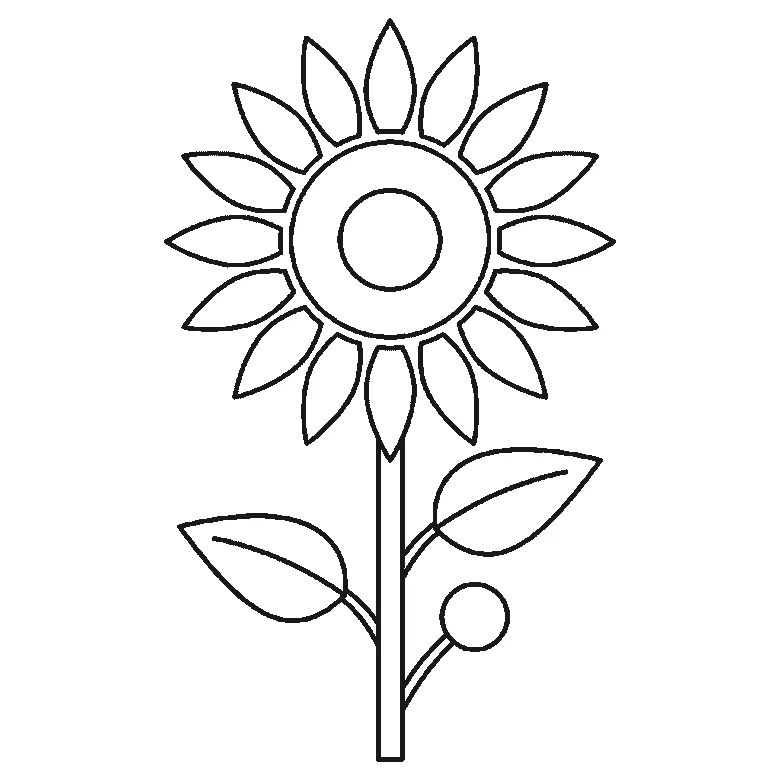
How to draw a sunflower
Six frames, one tall sunflower with two leaves and a bud. The seed head and one leaf first — and no petals at all until frame three.
Step sequence made by us from a single drawing: each step keeps the lines of the one before it and adds to them.
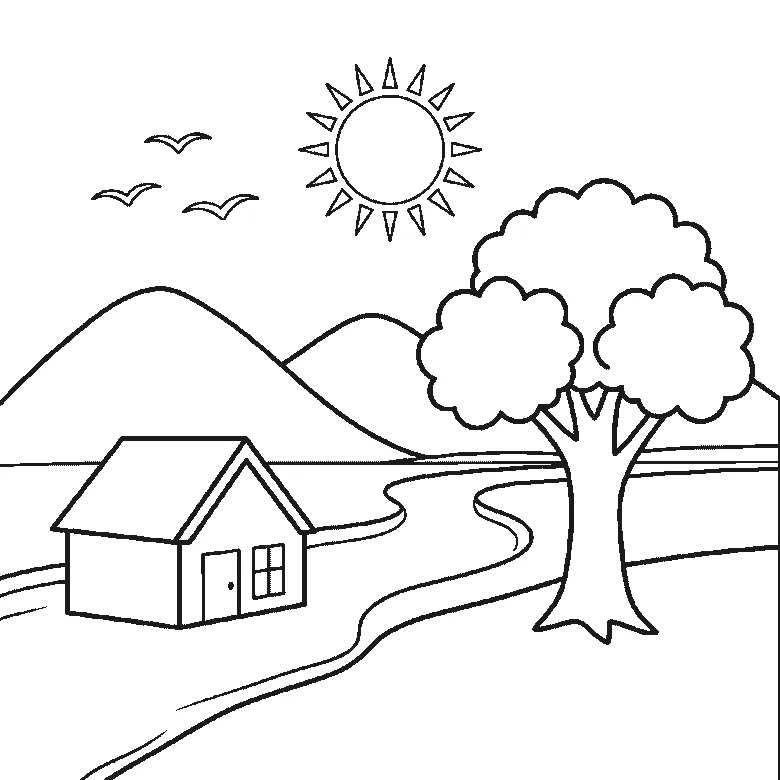
How to draw a landscape
Six frames, one countryside scene with hills, a river, a tree, a house and a sun. The leaves come first and the birds last.
Step sequence made by us from a single drawing: each step keeps the lines of the one before it and adds to them.
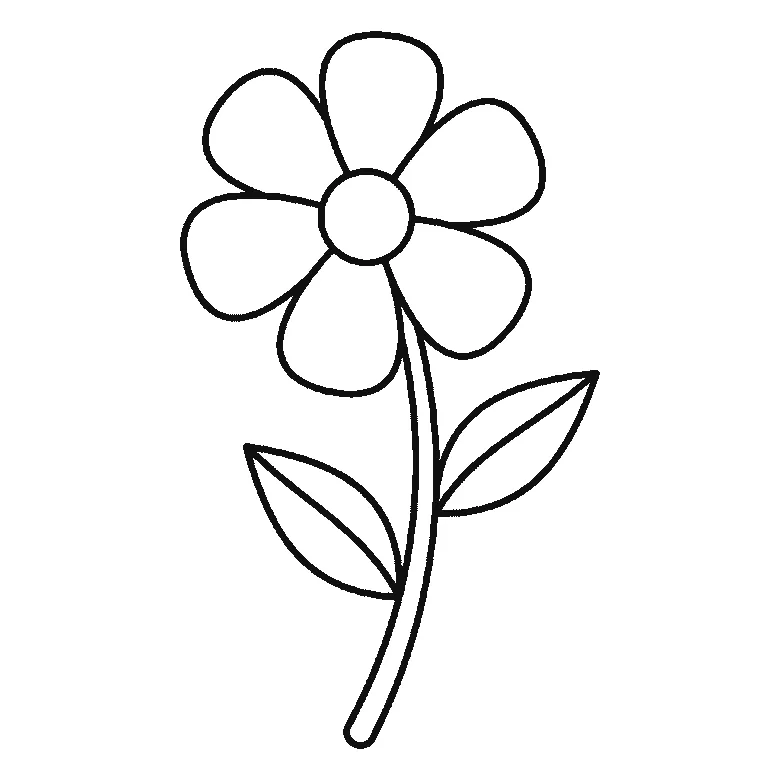
How to draw a flower
Six frames, one open flower on a stem. Three petals first, then the other three and the stem, the two leaves, and the centre near the end.
Step sequence made by us from a single drawing: each step keeps the lines of the one before it and adds to them.
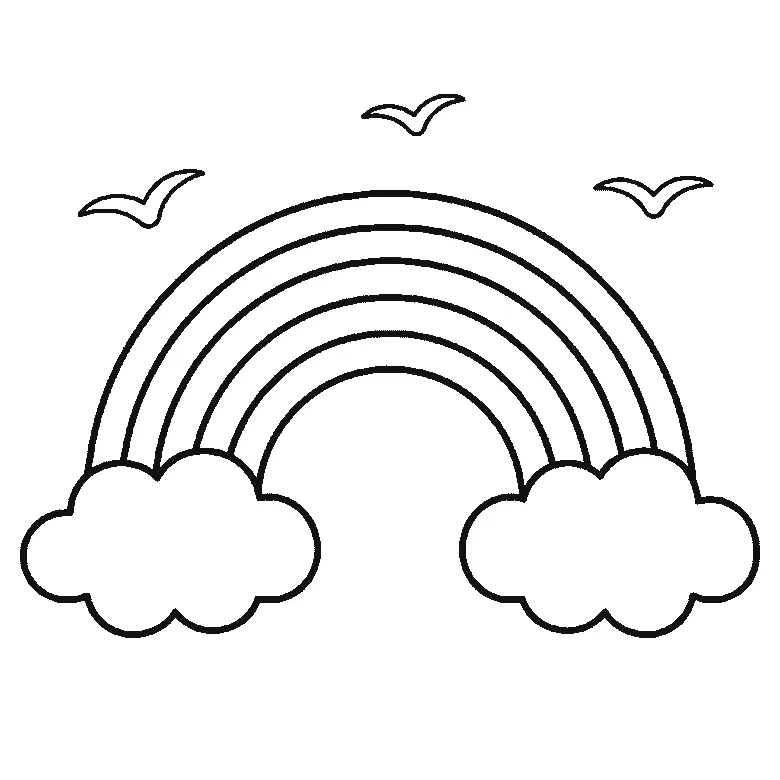
How to draw a rainbow
Six frames, a rainbow with a cloud at each end and three birds. The clouds first, then the bands from the outside in, and the birds last.
Step sequence made by us from a single drawing: each step keeps the lines of the one before it and adds to them.
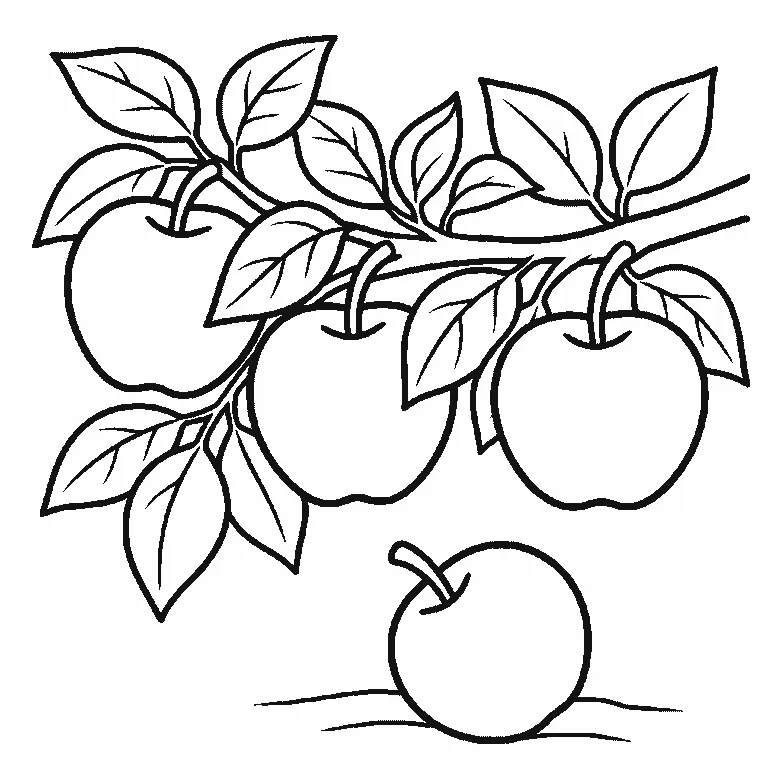
How to draw an apple
Six frames, four apples on a leafy branch — three hanging and one on the ground. Two apples first, then the other two, then leaf after leaf.
Step sequence made by us from a single drawing: each step keeps the lines of the one before it and adds to them.
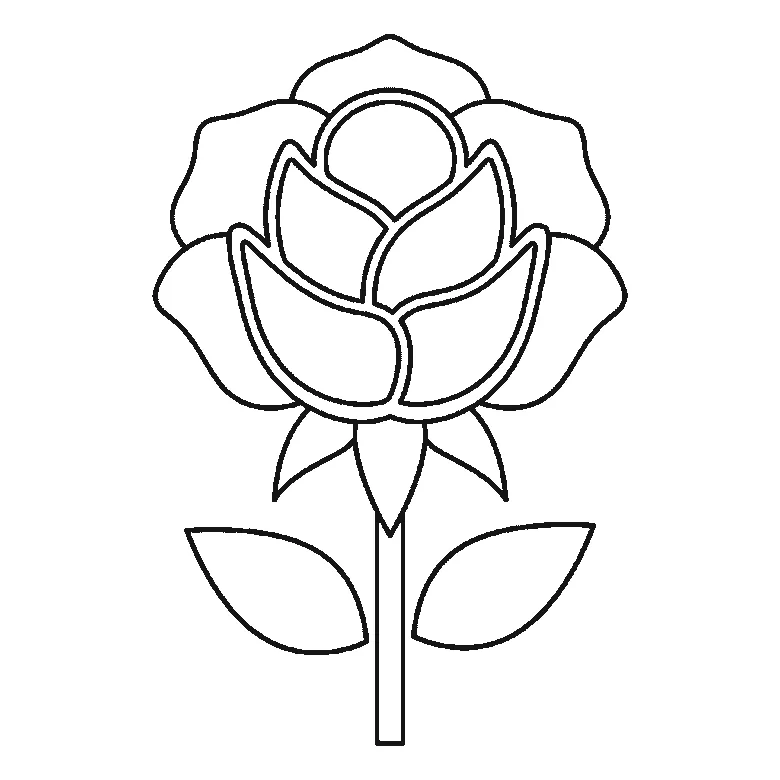
How to draw a rose
Six frames, one open rose. The centre cluster first, then the leaves, the outer petals and the stem.
Step sequence made by us from a single drawing: each step keeps the lines of the one before it and adds to them.
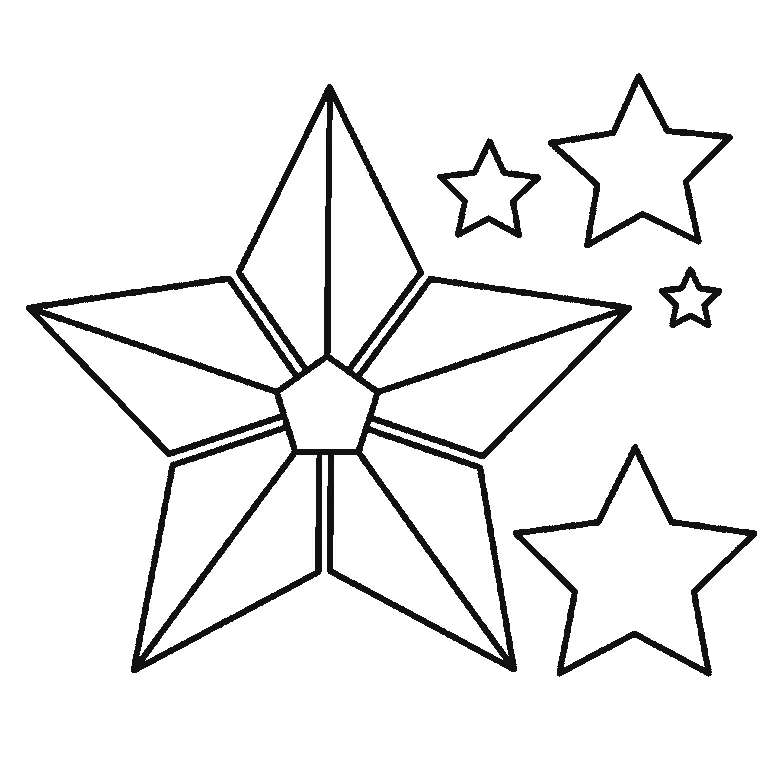
How to draw a star
Six frames, one faceted five-pointed star and four smaller ones, built one facet panel at a time.
Step sequence made by us from a single drawing: each step keeps the lines of the one before it and adds to them.
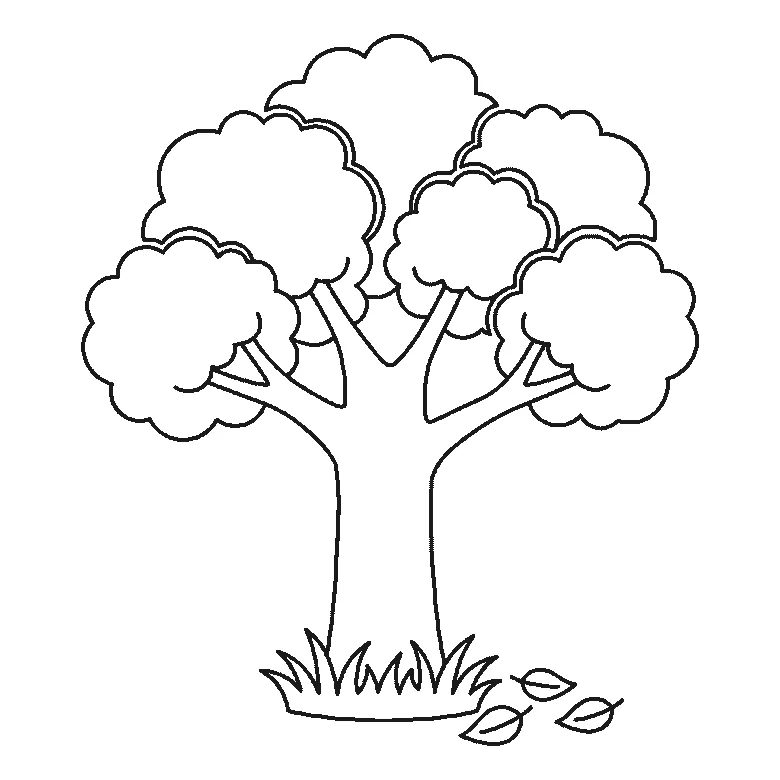
How to draw a tree
Six frames, one broad-leaved tree. Trunk first, then the branches, then the foliage in separate clumps.
Step sequence made by us from a single drawing: each step keeps the lines of the one before it and adds to them.


