
PDF · A4 · 42 KB · Free, no sign-up. For home and classroom use.
How to draw a rainbow
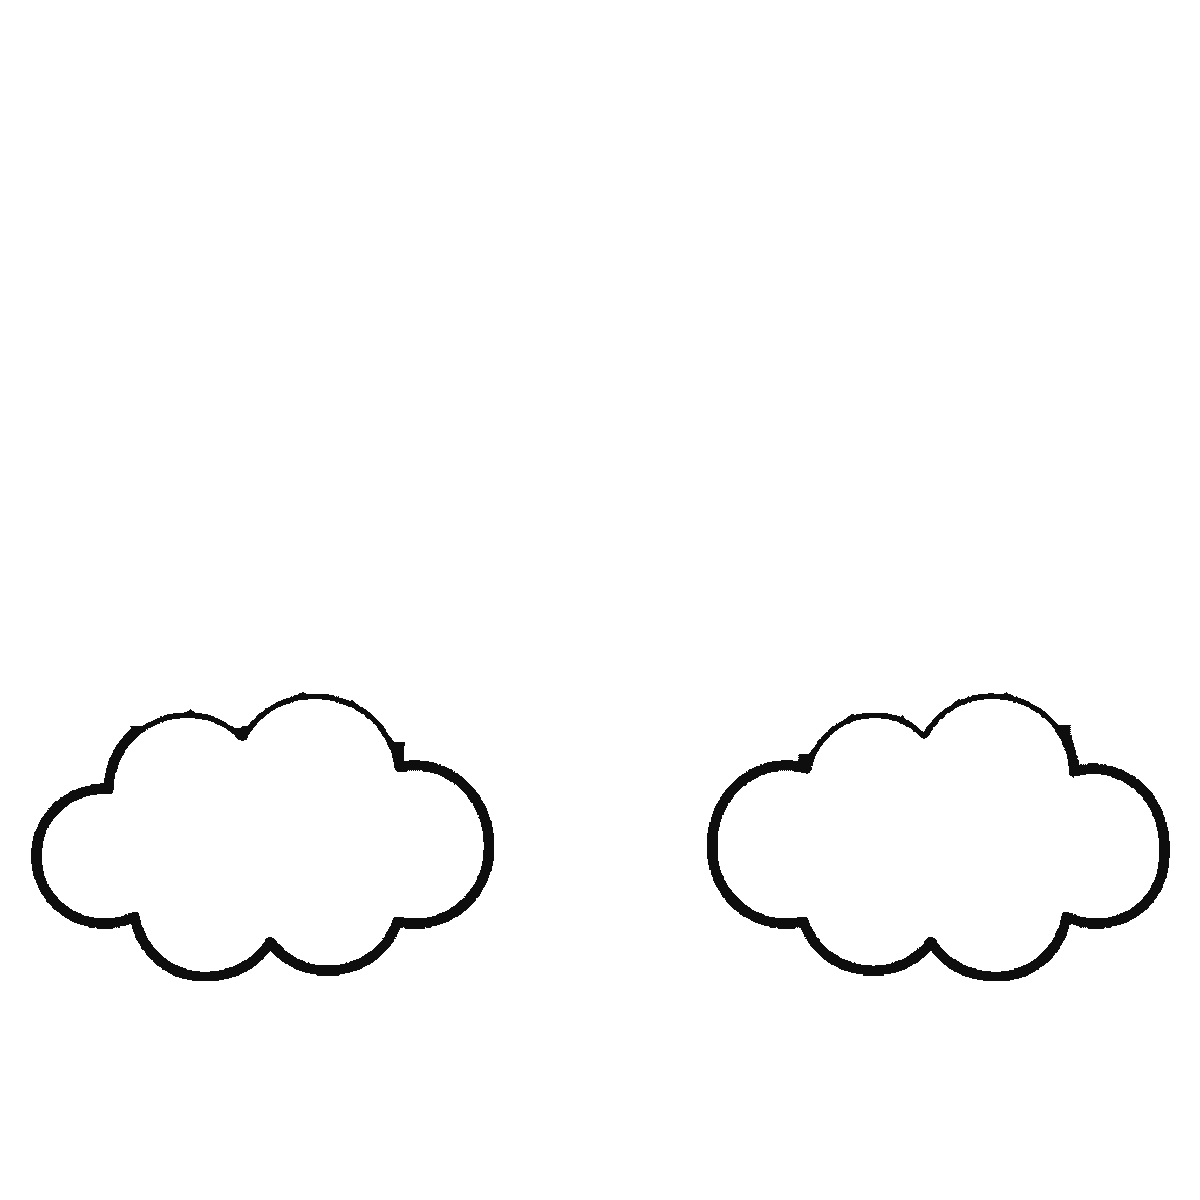
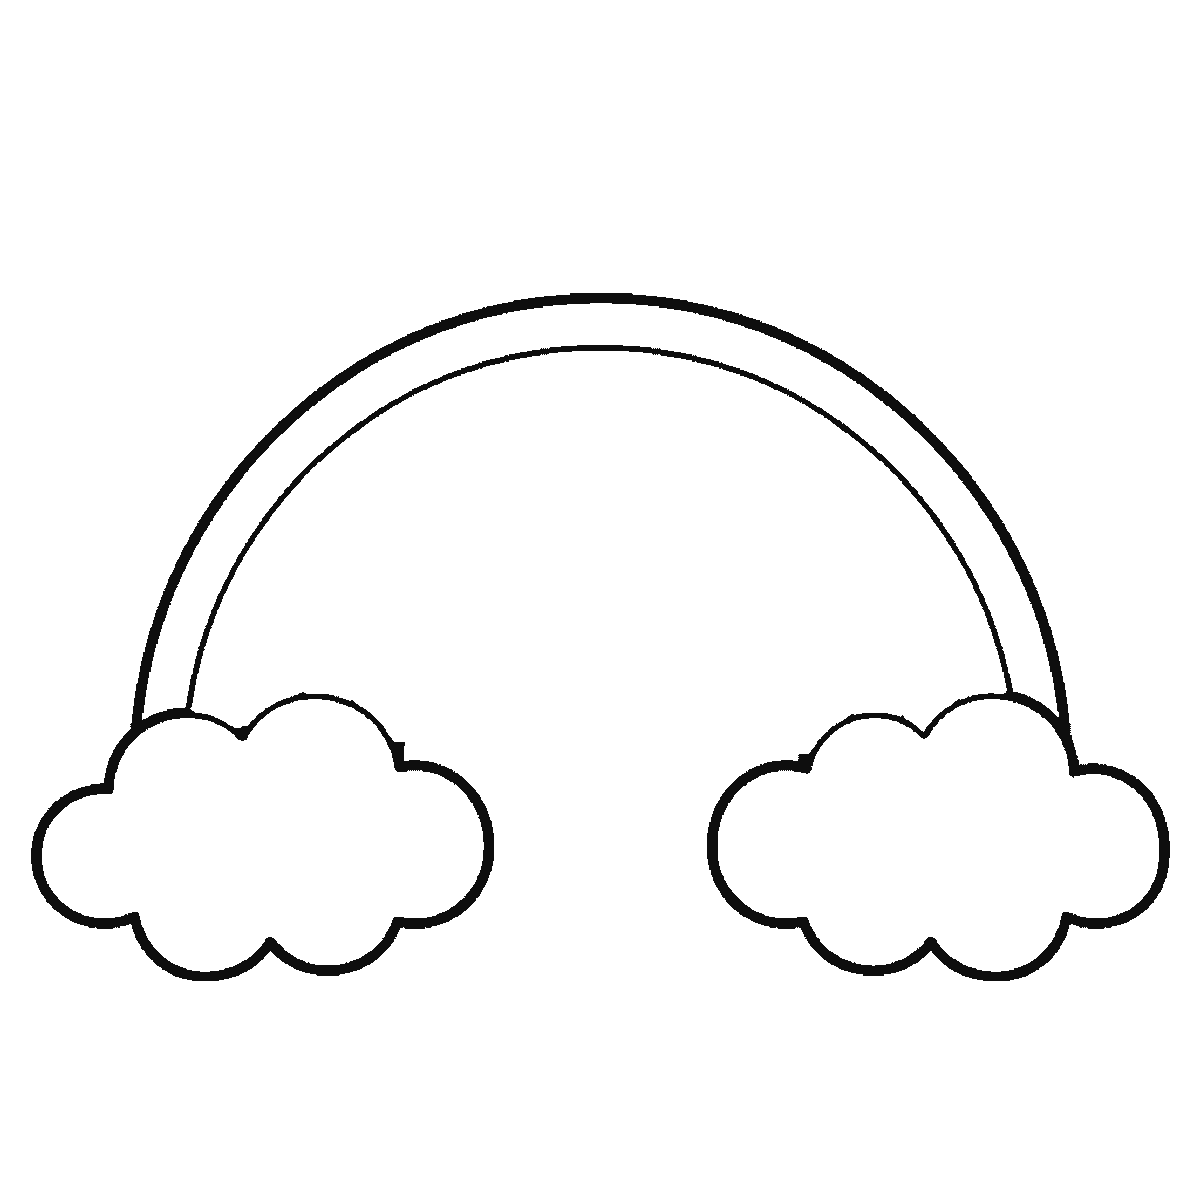
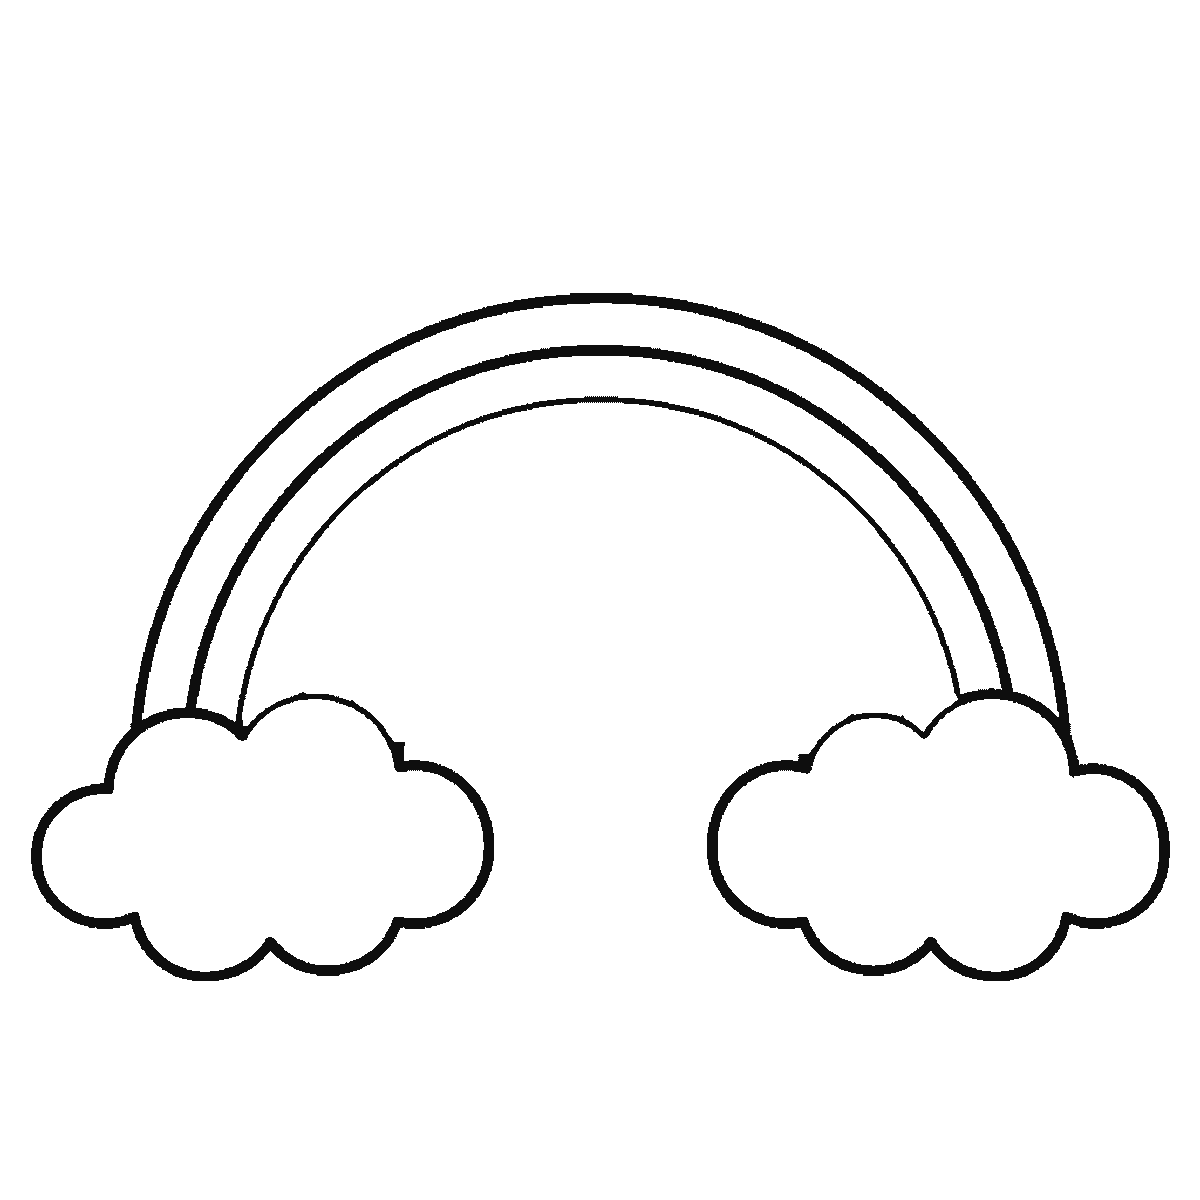
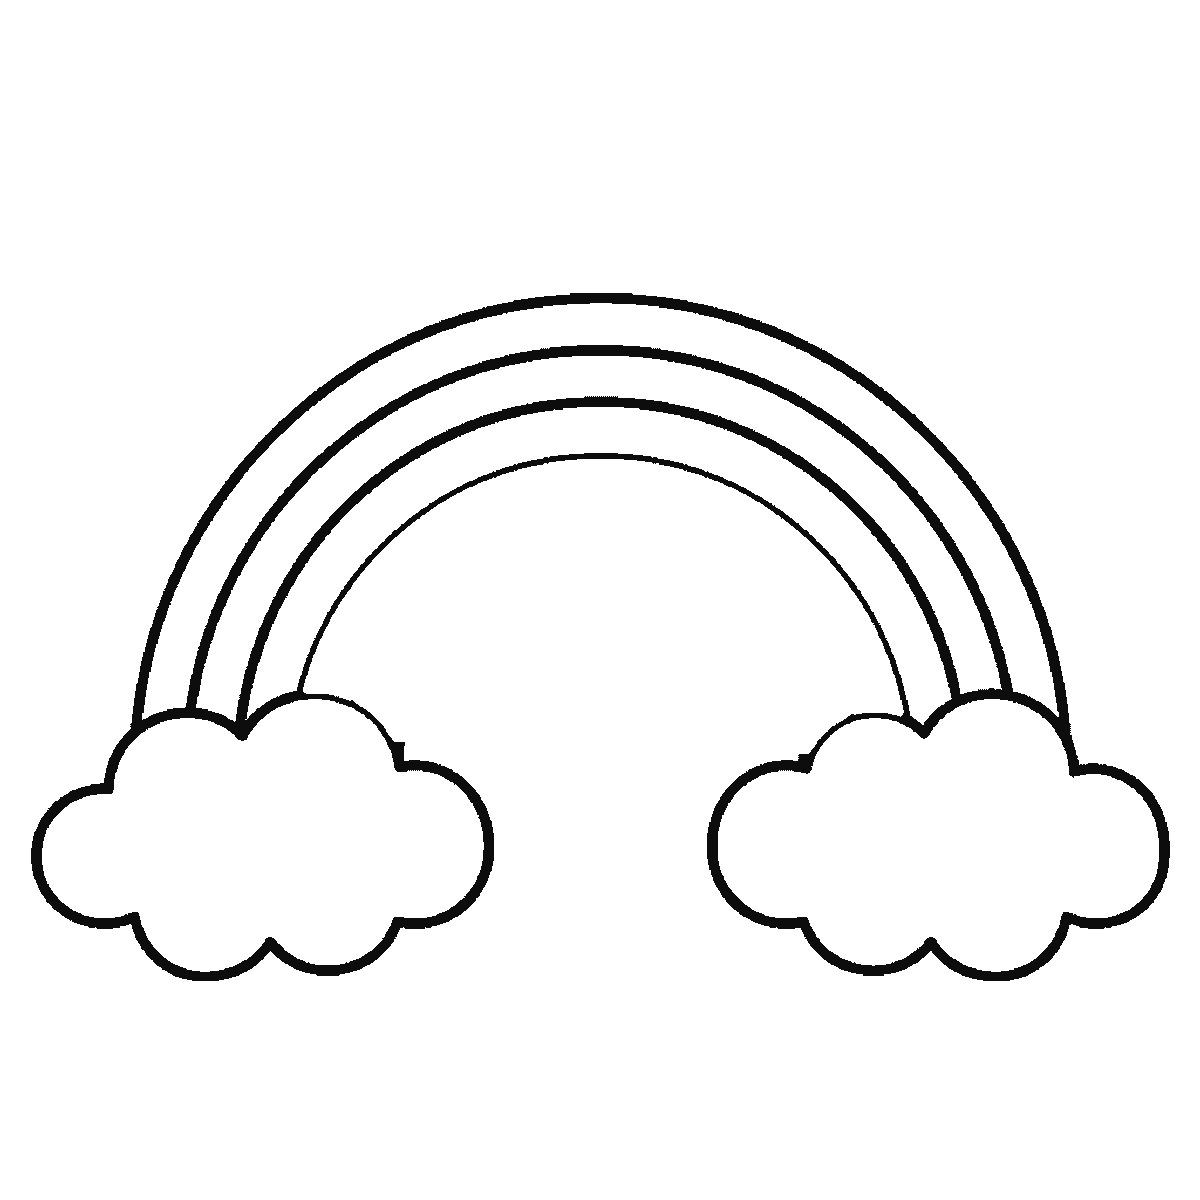
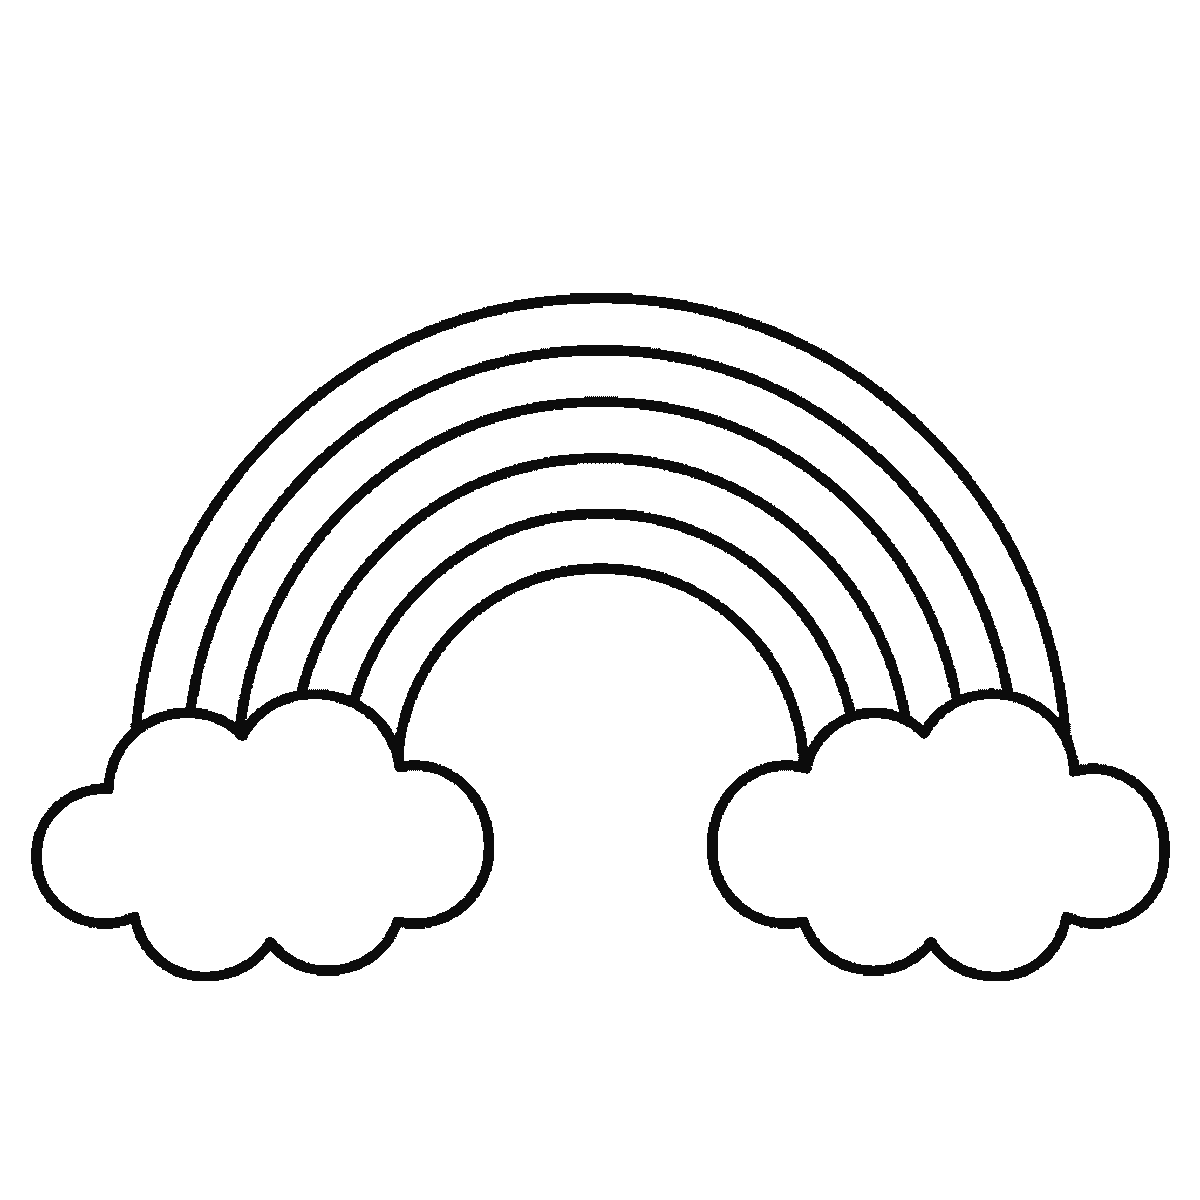
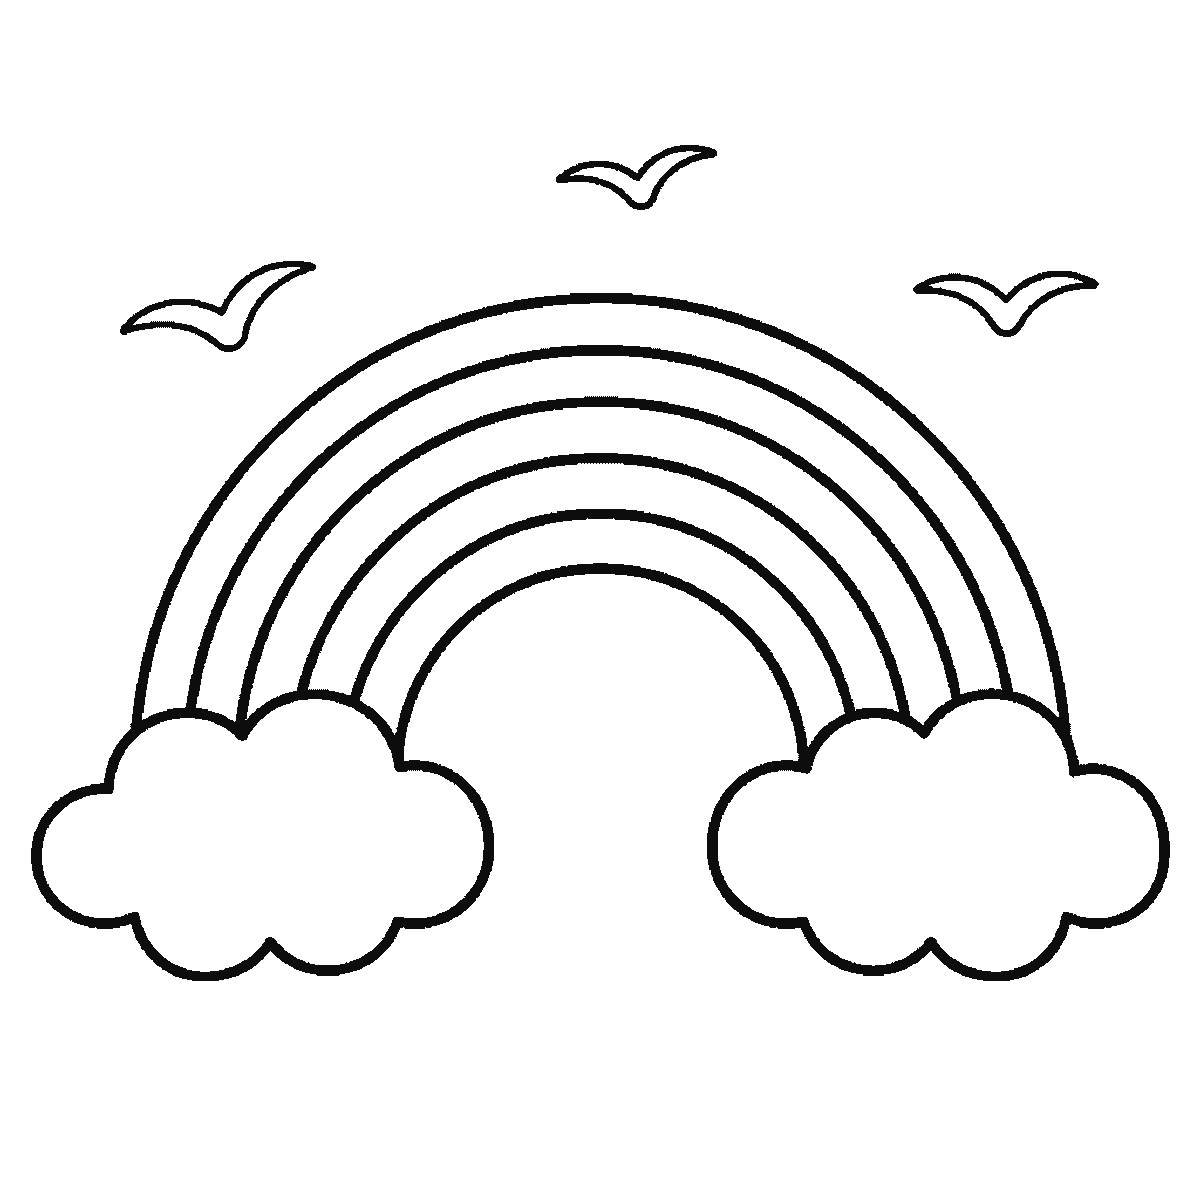
Six frames, a rainbow with a cloud at each end and three birds. The clouds first, then the bands from the outside in, and the birds last.
A rainbow looks like the easiest possible thing to draw and is quietly one of the fiddliest, because it is made of concentric arcs and concentric arcs are unforgiving. If any one of them wobbles, the whole band structure comes apart. This sheet builds the arc from the outside in, which is the order that makes the problem manageable.
The reason to work outside-in is simple: each new arc has the previous one to follow. If you start with the innermost band you are drawing every subsequent arc into open space with nothing to measure against, and by the fourth one the spacing has usually drifted. Starting from the largest gives you a guide for everything after it.
Frame one is not an arc at all: it is the two clouds, one at each end, marking where the rainbow will land. The outer edge of the arc comes in frame two, drawn as one continuous curve. Draw it from the wrist and elbow rather than the fingers, in a single sweep, and accept the first attempt only if it looks smooth. A wobble here is inherited by every band that follows.
Frames three and four add one band each and frame five adds two at once — five bands in all, drawn as six concentric arcs. The discipline is to keep the gap between them constant. Real bands are of roughly even width, and an arc that narrows towards one end is the most visible fault this drawing can have. Checking the gap at the top and at both ends before committing is worth the pause.
The clouds are the first thing on the sheet rather than the last, and they do more than decorate. They give the arc somewhere to begin and end, which stops the rainbow from looking as if it has been cut off by the edge of the paper. Draw each as a group of overlapping rounded bumps with a flattish base, not as a single scalloped outline.
The two clouds on this sheet are near enough identical, and that is the one thing worth changing as you copy it. Matching clouds at both ends turn the drawing into a logo. Different sizes, different numbers of bumps, and one slightly higher than the other is all it takes to make the composition look observed rather than laid out.
The classic band order runs red on the outside through to violet on the inside. This arc has five bands rather than the seven a spectrum is usually named with, so pick five and keep them in that order. It is the one part of this subject where there is a right answer, and getting it backwards is the kind of thing people notice immediately.
The bands are also not sharply divided in life; each colour fades into the next. If you are colouring the sheet, letting the edges of adjacent bands blend slightly produces something much closer to a rainbow than five crisply bounded stripes do.
For a more interesting drawing, try an arc that runs off both edges of the paper rather than sitting neatly inside it. A rainbow you cannot see the ends of is closer to the experience of seeing one, and it removes the two clouds and their placement problem entirely.
The six frames go from the largest closed shape to the smallest, which puts the two clouds first — they are closed shapes and an open arc is not — then the bands from the outside in, and the three birds last of all. It is easy to copy and, as everywhere on this site, it is not a rule about how it must be done.
Before you start
- Work from the outside in. Each arc then has the previous one to follow.
- Draw the outer curve from the elbow in one sweep, and redraw it if it wobbles.
- Keep the gap between arcs constant, and check it at the top and both ends.
- Make the two clouds different from each other, or the drawing looks like a logo.
Published Updated 614 words
The six steps
The steps go from the largest shape to the smallest, which is an easy order to copy. It is not the only order, and it is not a rule — if you would rather start somewhere else on the sheet, do.
Step 1
Step 2
Step 3
Step 4
Step 5
Step 6
More in this section
How to draw an apple
Six frames, four apples on a leafy branch — three hanging and one on the ground. Two apples first, then the other two, then leaf after leaf.
Step sequence made by us from a single drawing: each step keeps the lines of the one before it and adds to them.
How to draw a rose
Six frames, one open rose. The centre cluster first, then the leaves, the outer petals and the stem.
Step sequence made by us from a single drawing: each step keeps the lines of the one before it and adds to them.
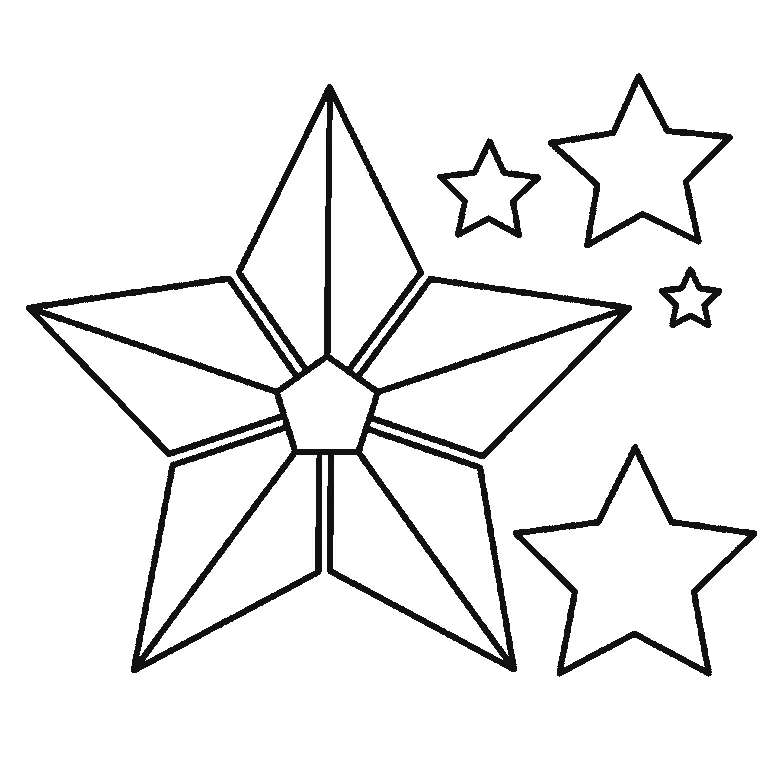
How to draw a star
Six frames, one faceted five-pointed star and four smaller ones, built one facet panel at a time.
Step sequence made by us from a single drawing: each step keeps the lines of the one before it and adds to them.
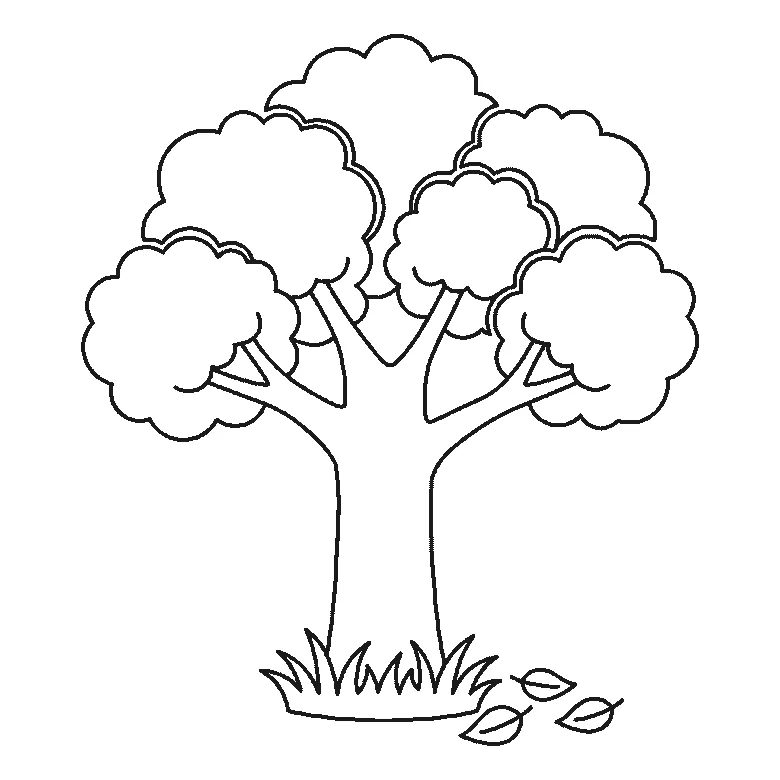
How to draw a tree
Six frames, one broad-leaved tree. Trunk first, then the branches, then the foliage in separate clumps.
Step sequence made by us from a single drawing: each step keeps the lines of the one before it and adds to them.
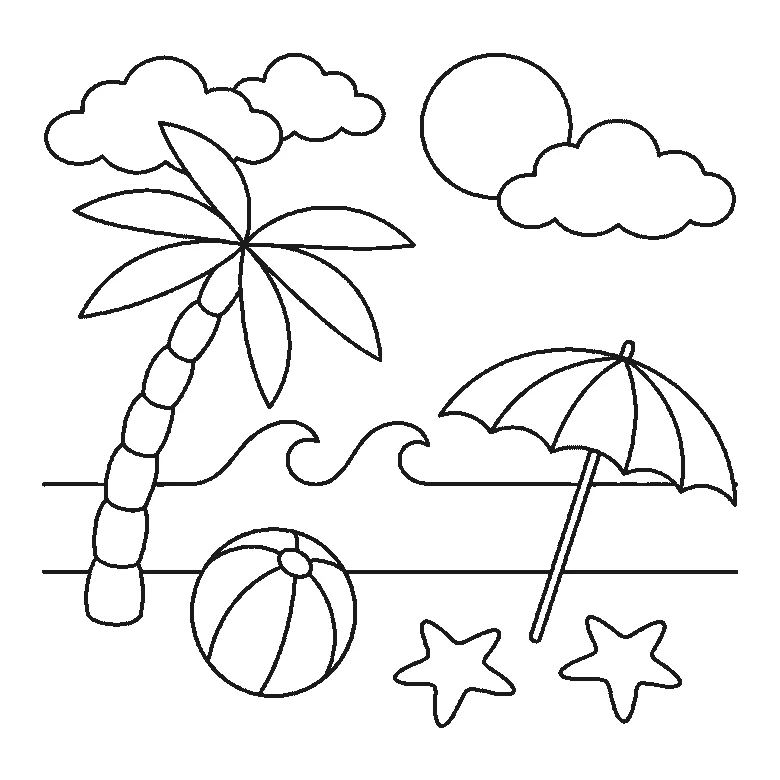
How to draw a beach
Six frames, one beach scene. The sea and its three waves first, then the sun and clouds — and the palm trunk and the parasol pole right at the end.
Step sequence made by us from a single drawing: each step keeps the lines of the one before it and adds to them.
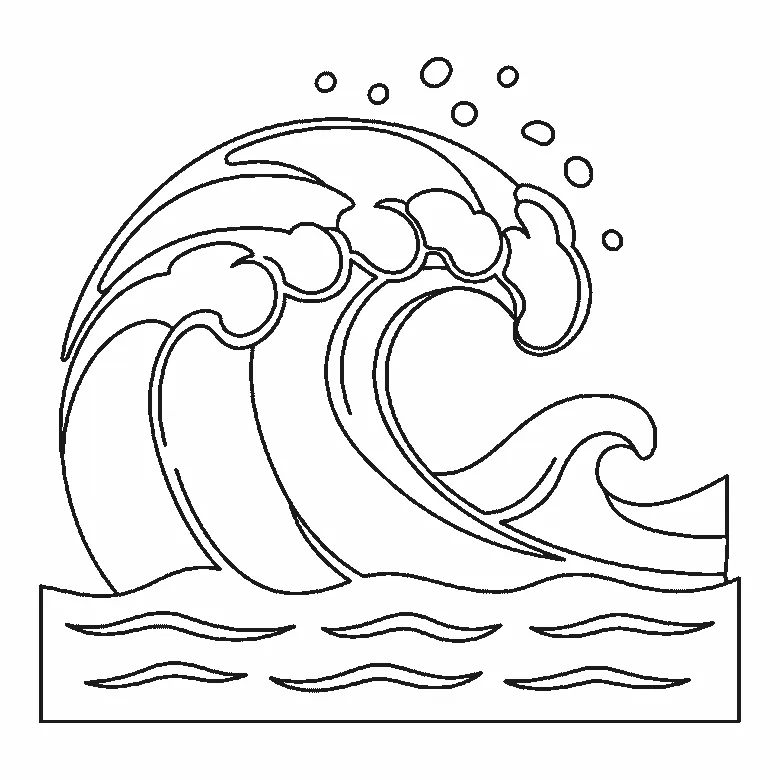
How to draw a wave
Six frames, one big breaking wave. The inside of the curl first, not the outline — and all the spray droplets in the very last frame.
Step sequence made by us from a single drawing: each step keeps the lines of the one before it and adds to them.
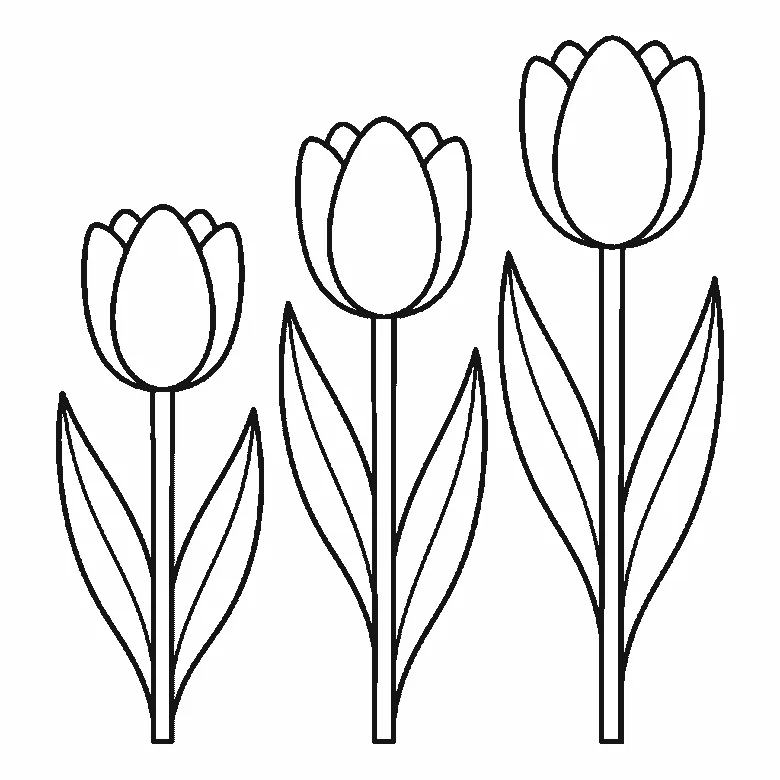
How to draw tulips
Six frames, three tulips of different heights. All three flower cups arrive together in the first frame — and the lines that split each cup into petals come last.
Step sequence made by us from a single drawing: each step keeps the lines of the one before it and adds to them.
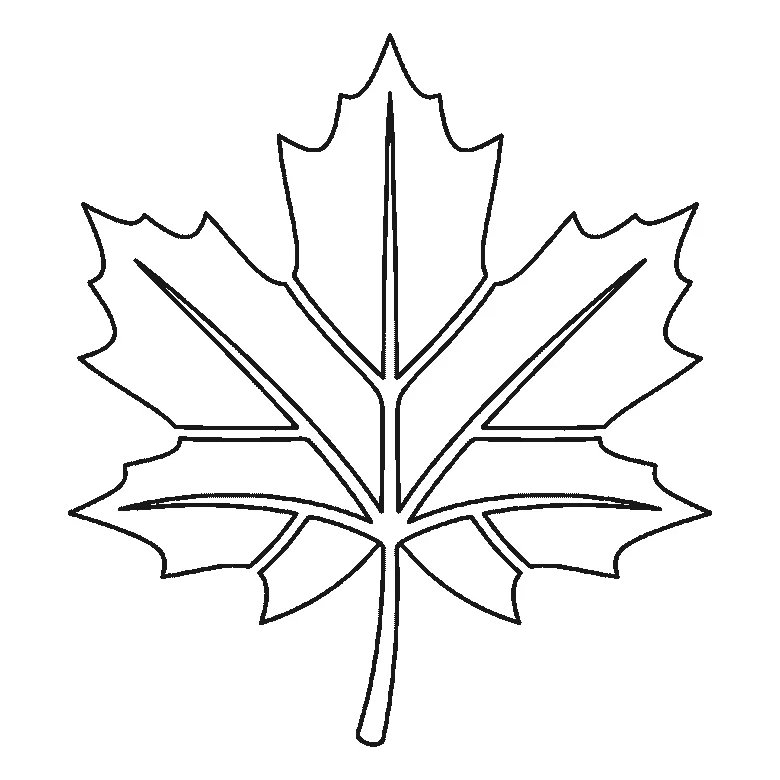
How to draw a leaf
Six frames, one maple leaf — and this sheet is the tidiest on the site: one lobe per frame, each with its own vein, and the stem last.
Step sequence made by us from a single drawing: each step keeps the lines of the one before it and adds to them.
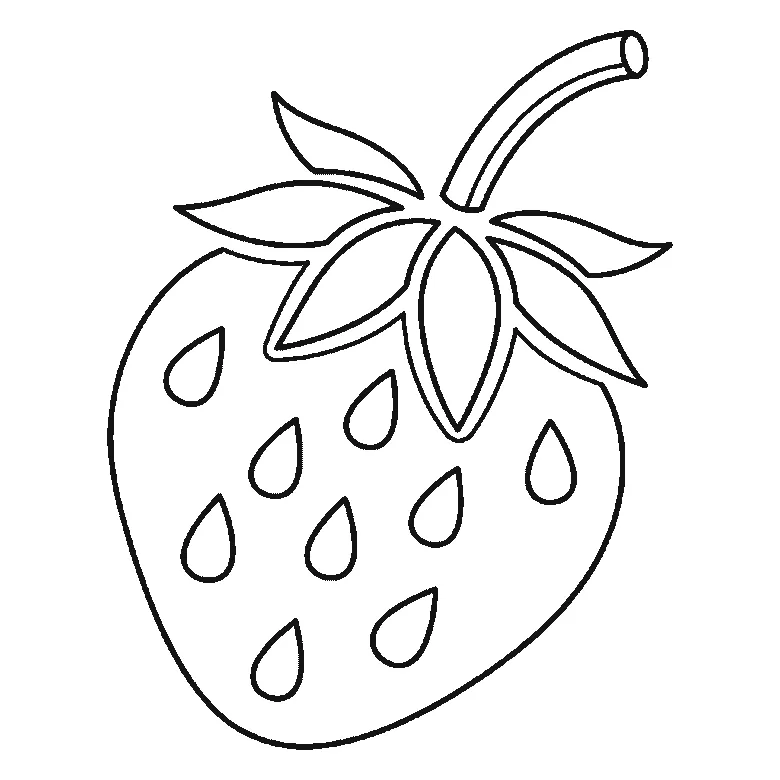
How to draw a strawberry
Six frames, one strawberry. The whole berry outline arrives in the first frame — a big first step — then a calyx leaf at a time, with all eleven seeds at the end.
Step sequence made by us from a single drawing: each step keeps the lines of the one before it and adds to them.
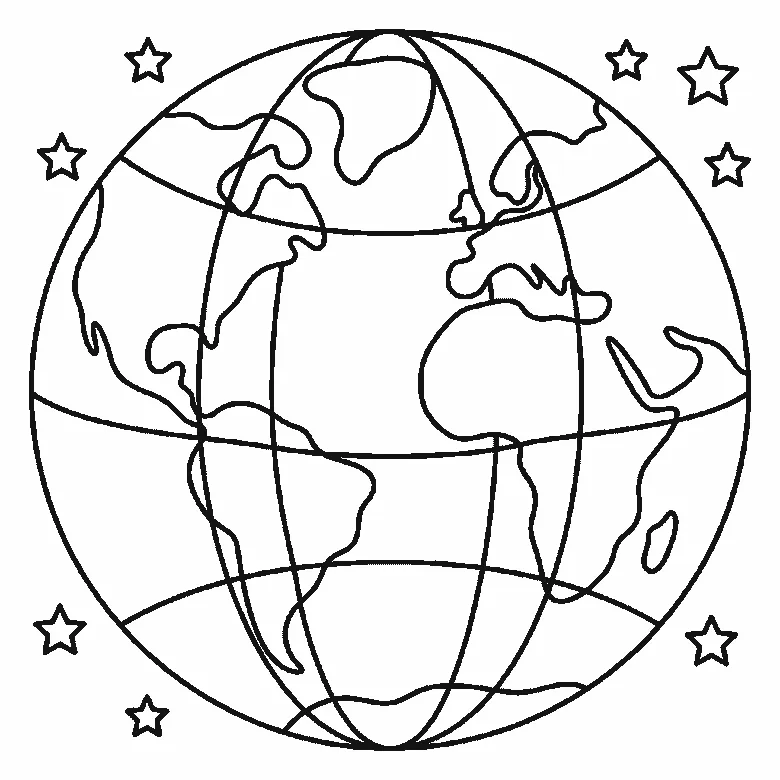
How to draw Earth
Six frames, one globe, revealed ocean-panel by ocean-panel rather than continent by continent. The land emerges as the white left behind, and the stars come last.
Step sequence made by us from a single drawing: each step keeps the lines of the one before it and adds to them.
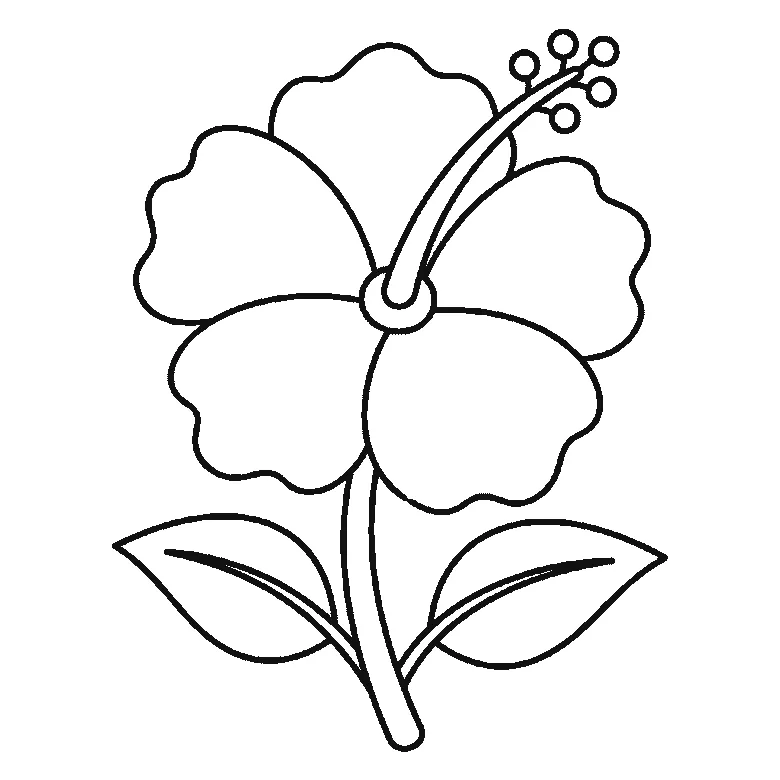
How to draw a hibiscus flower
Six frames, one open hibiscus. Three petals first and the other two next, so the flower head is done by frame two — and the stamen column arrives at frame five.
Step sequence made by us from a single drawing: each step keeps the lines of the one before it and adds to them.
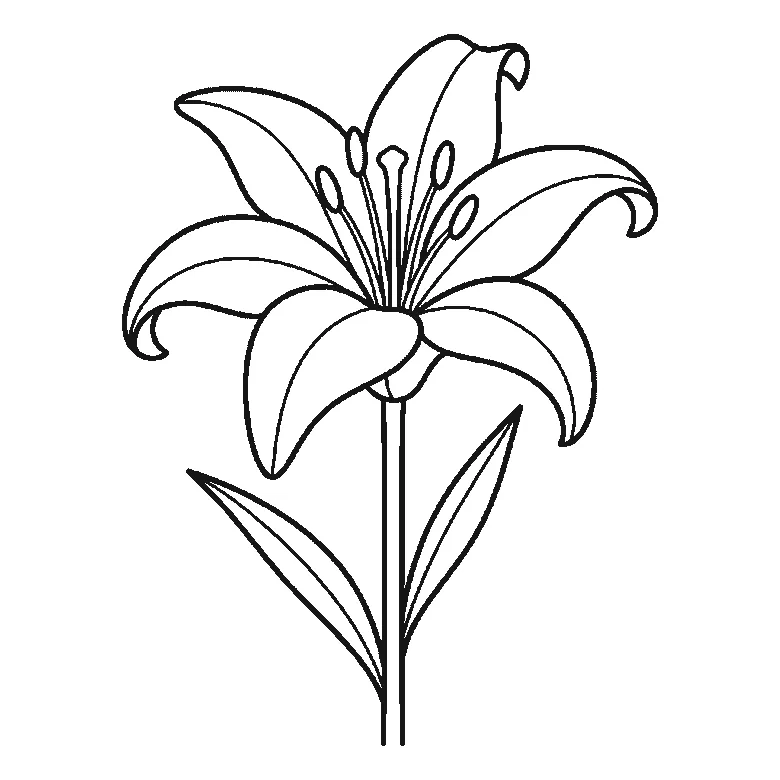
How to draw a lily
Six frames, one open lily. Three petals in the first frame, the rest two at a time — and the stem, the leaves and the central stamens right at the end.
Step sequence made by us from a single drawing: each step keeps the lines of the one before it and adds to them.


