
PDF · A4 · 47 KB · Free, no sign-up. For home and classroom use.
How to draw a star
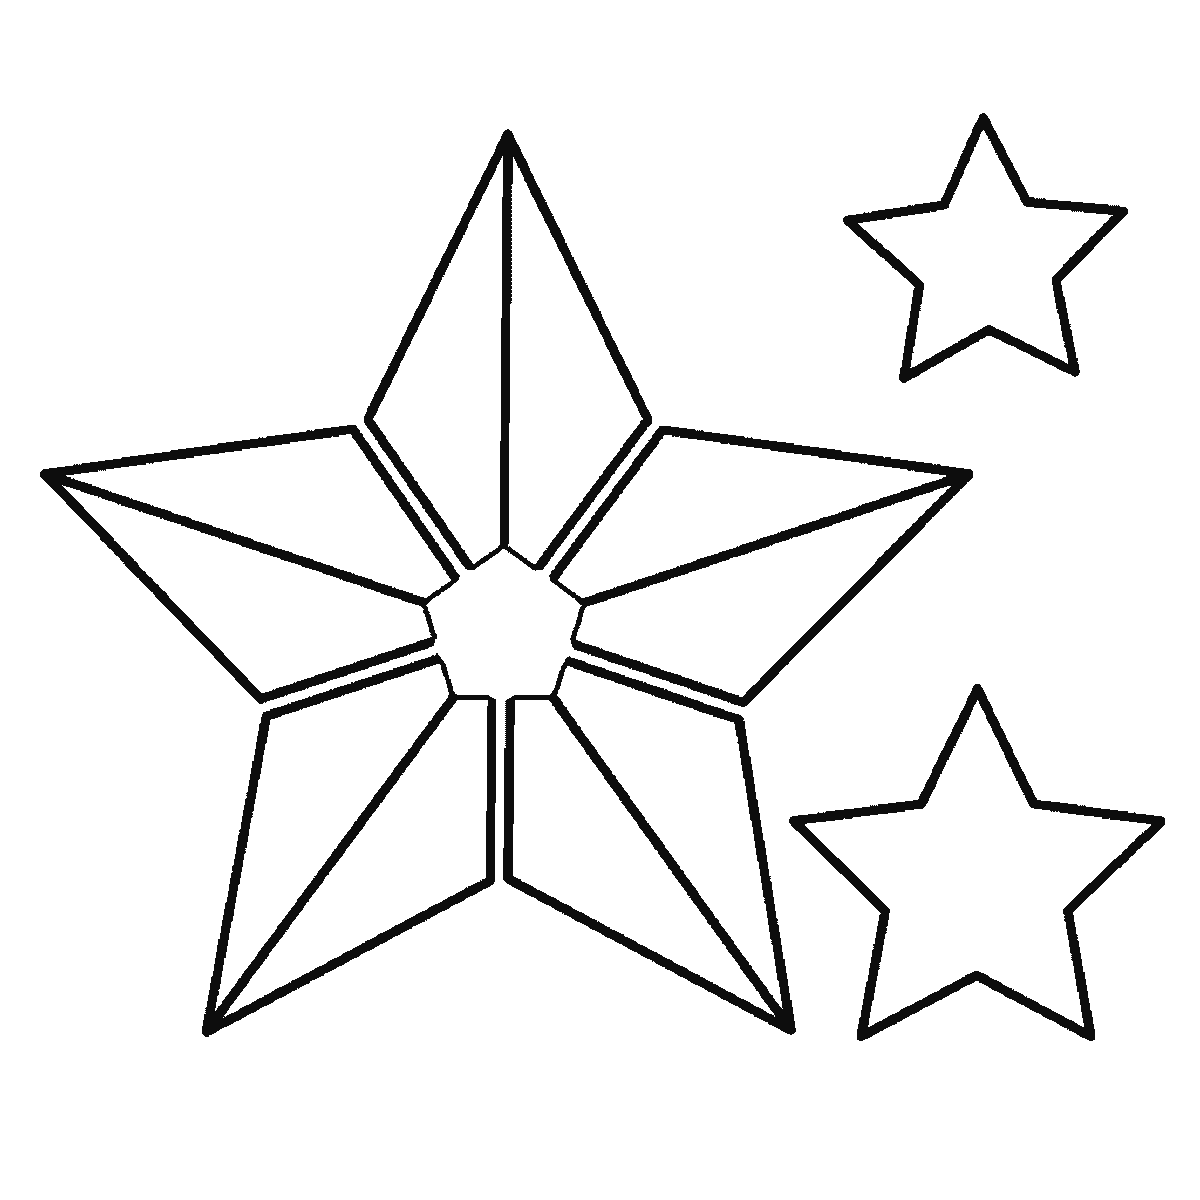
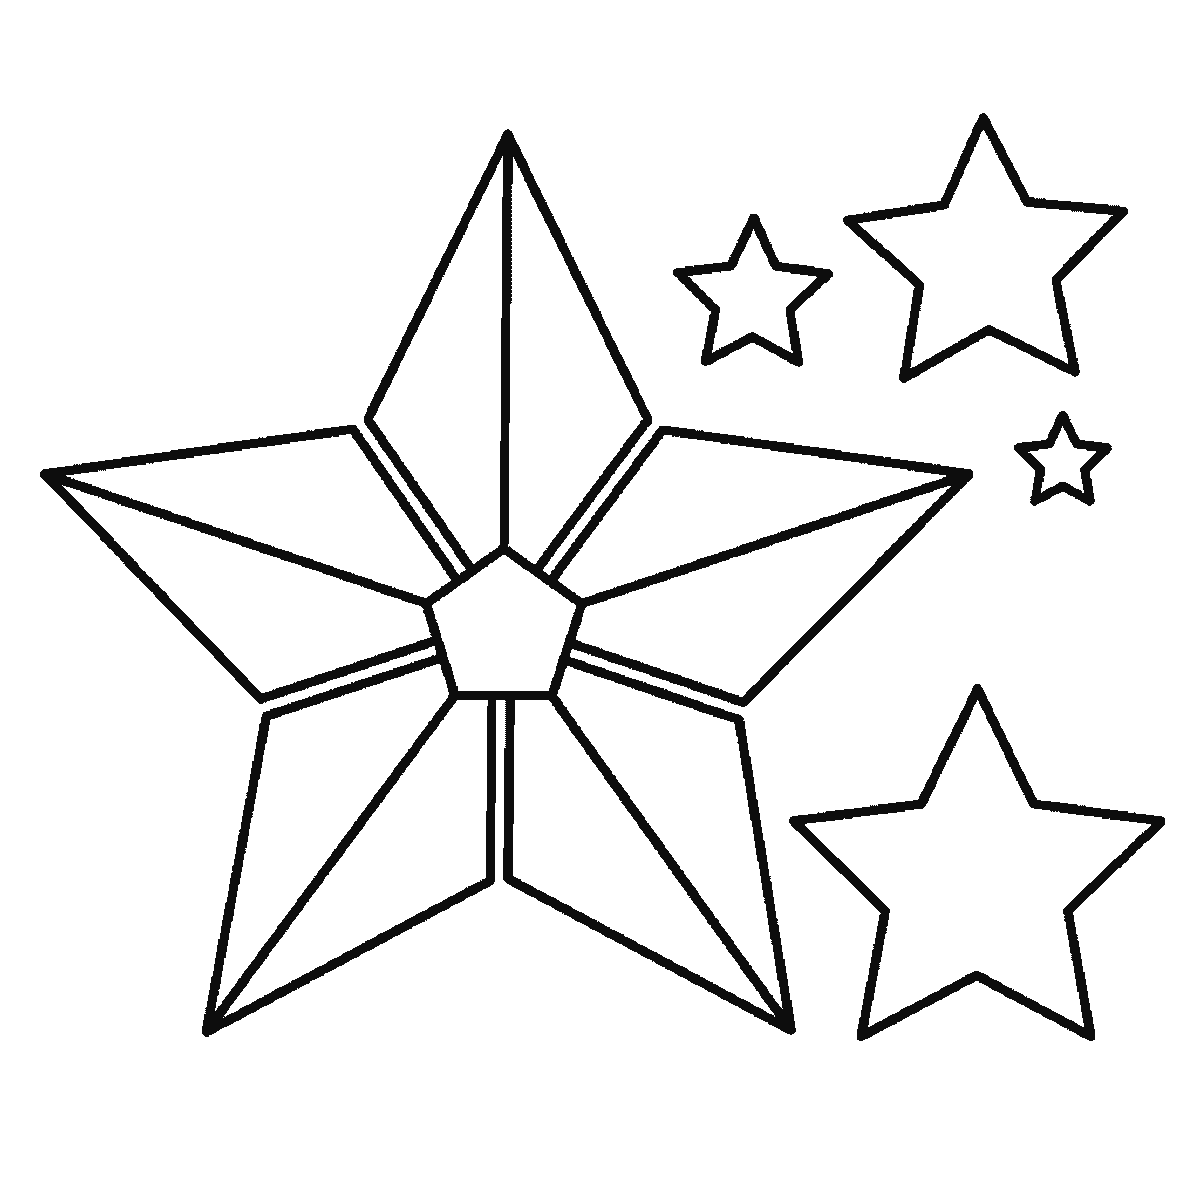
Six frames, one faceted five-pointed star and four smaller ones, built one facet panel at a time.
Everybody can draw a star and almost nobody is happy with the one they draw. The problem is never the idea, it is the geometry: freehanded, a five-pointed star nearly always ends up with one leg shorter than the rest, or with two arms leaning together like they are sharing a secret. This sheet fixes that by giving you the shape as a set of separate panels rather than one continuous zig-zag.
Before you copy frame one, do one thing the sheet cannot show you: mark the five tips. Five dots evenly spaced around an imagined circle, one at the top and the other four spread below it. Frame one then hands you a single arm — one triangular facet panel, plus one of the small stars — and every arm after it is placed against those dots rather than against the arm before it. Working from arm to arm without marking the tips first is exactly what produces the short leg, because by the time you notice the spacing is wrong you have committed four of the five.
The star on this sheet is not the flat outline most people stop at. Each arm is split into two panels by a line running from the tip to the centre, and those panels meet at a small pentagon in the middle — which is why the sheet never gives you an outline step at all. It builds the star arm by arm as solid facets, and the pentagon closes it. That construction is what turns a flat symbol into something that looks folded out of paper, and it is the reason this drawing is worth six frames rather than one.
The panels are what give the star its solidity, and they only work if the dividing lines all converge on the same point. If one line misses the centre the whole shape starts to look dented. Find the middle first, lightly, and run every fold line to it.
The middle frames bring in the smaller stars scattered beside the big one. There are four of them, they are plain outlines with no facets, and they are deliberately four different sizes — the largest about a third the height of the main star, the smallest barely a twentieth of it. Equal-sized stars read as a pattern or a border; unequal ones read as a night sky. It is the same principle as scattering baubles or petals, and it comes up constantly. Only three of the four are large enough to be given a frame of their own: the smallest arrives alongside a larger neighbour, which is why counting the frames does not count the stars.
Placement matters more than shape for those small ones. Put them at clearly different distances from the main star and avoid lining them up. Stars in a row are a decoration; stars at different depths are a scene.
A star is also the best possible subject for practising a clean confident line, because every edge is straight and every wobble shows. If you have a ruler this is one of the few drawings where using it is a fair choice rather than a cheat. If you do not, draw each edge in one movement from tip to inner corner rather than creeping along it.
Once the faceted star is comfortable, the obvious extension is to draw the same star turned slightly, so that it is seen at an angle. The five tips stay where they are but the panels become unequal — the ones facing away narrow sharply — and suddenly you are drawing a three-dimensional object rather than a symbol. It is the same construction and a much harder drawing, which makes it a good next step.
The frames go from the largest closed shape to the smallest, which here means facet panel after facet panel on the big star, with the small stars slotted in among them as their sizes fall due, and the centre pentagon closing the middle. Nothing about that is a claim that this is the correct way to draw a star — it is the order the shapes came out in, and drawing the outline first and dividing it afterwards is the way most people would do it.
The sheet prints on one side of A4 with all six frames on it. Everything is outline, so the finished star doubles as something to colour, and the facets give a colourist five separate areas to work with rather than one flat shape.
Before you start
- Mark the five tips before joining anything. Freehanding the outline is what gives a star its short leg.
- Run every fold line to the same centre point, or the star will look dented.
- Make the four small stars clearly different sizes and set them at different distances.
- Draw each straight edge in one movement rather than creeping along it.
Published Updated 751 words
The six steps
The steps go from the largest shape to the smallest, which is an easy order to copy. It is not the only order, and it is not a rule — if you would rather start somewhere else on the sheet, do.
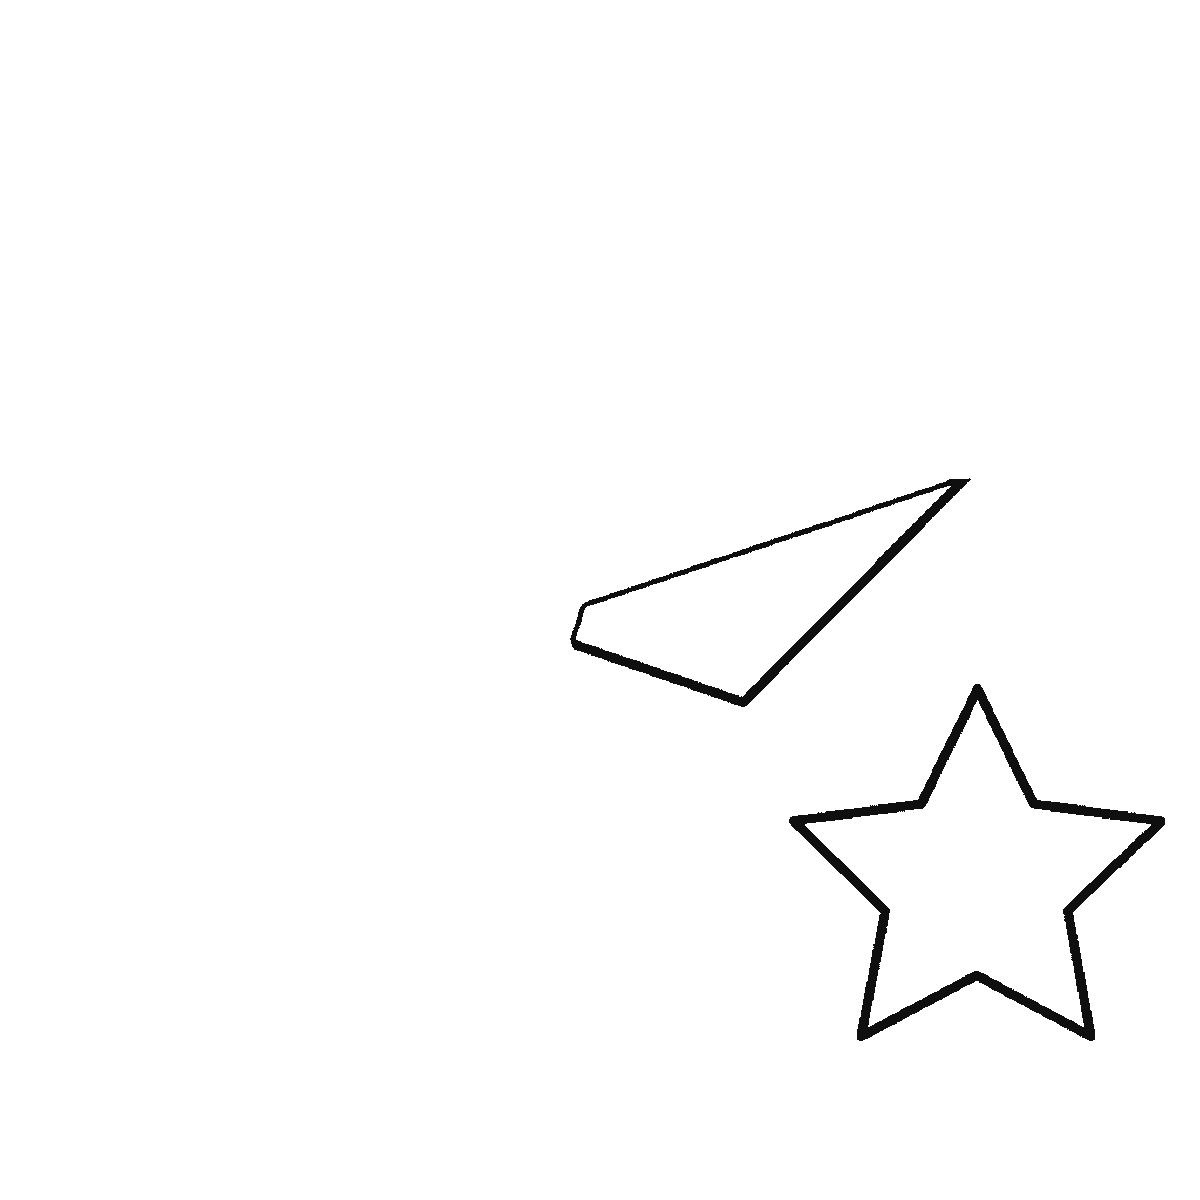
Step 1
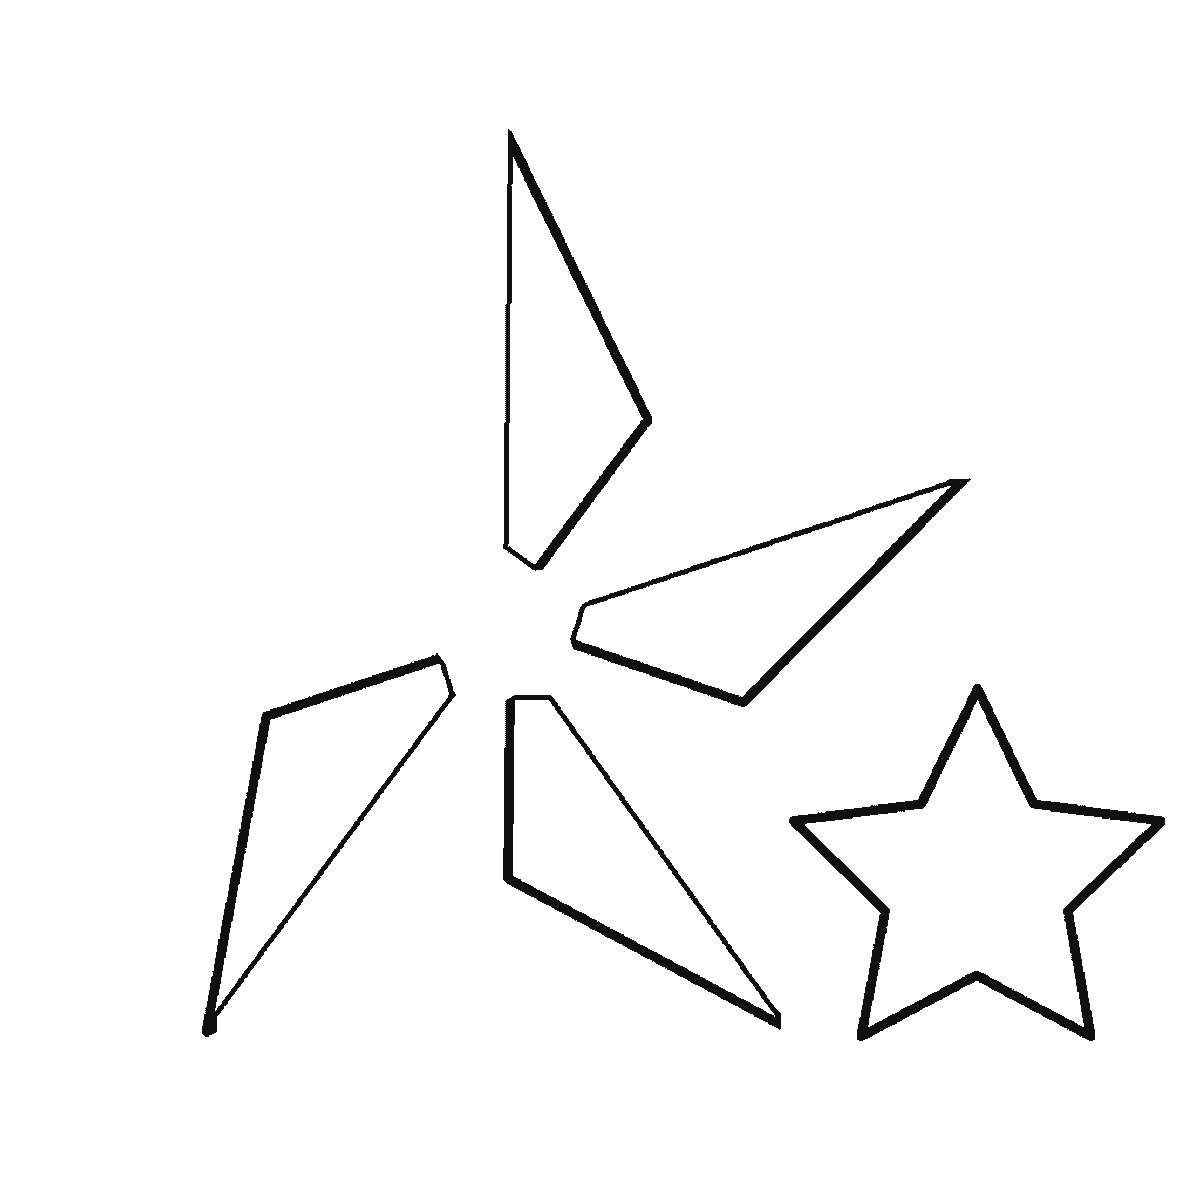
Step 2
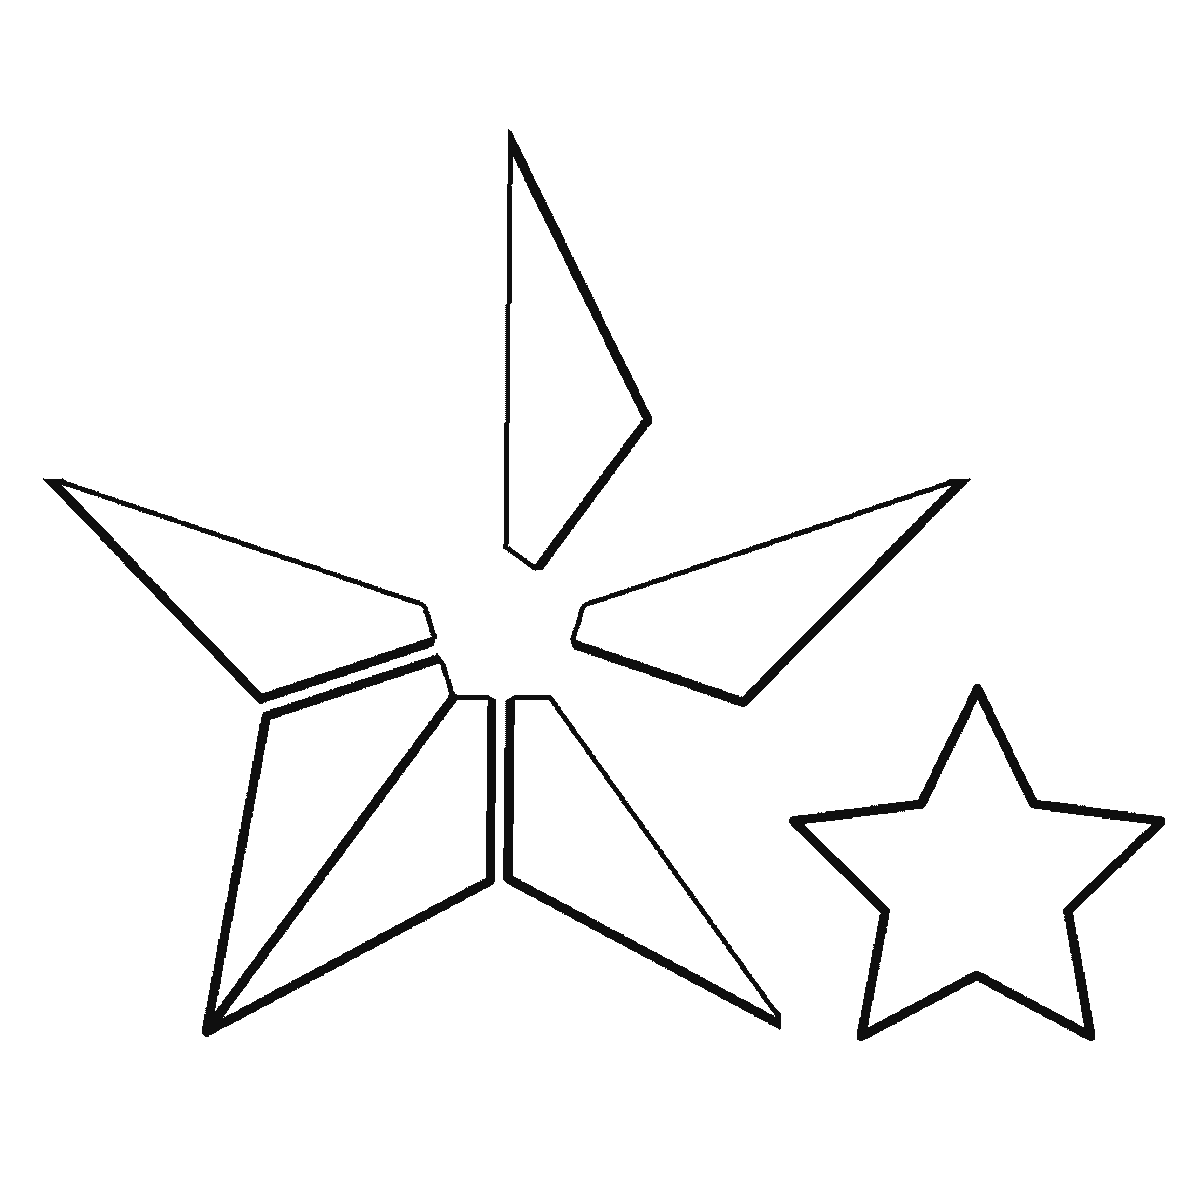
Step 3
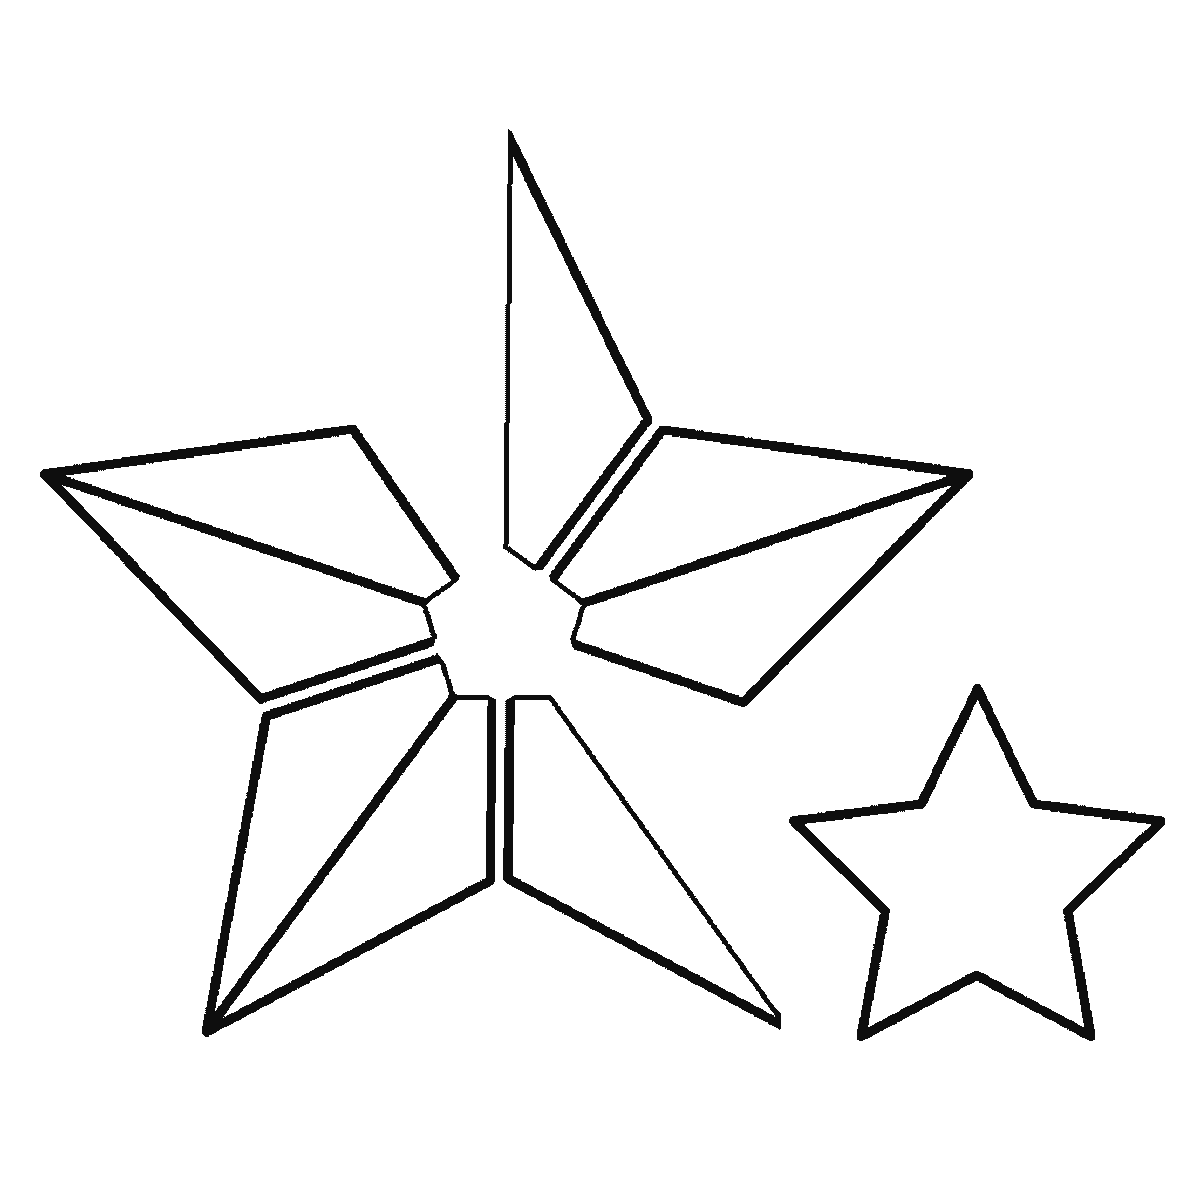
Step 4
Step 5
Step 6
More in this section
How to draw a tree
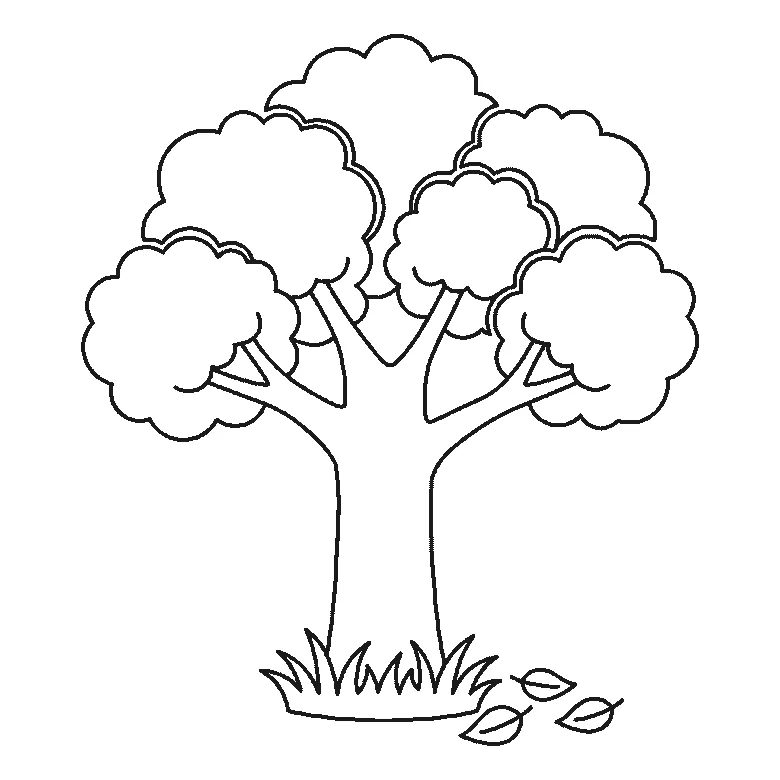
Six frames, one broad-leaved tree. Trunk first, then the branches, then the foliage in separate clumps.
Step sequence made by us from a single drawing: each step keeps the lines of the one before it and adds to them.
How to draw a beach
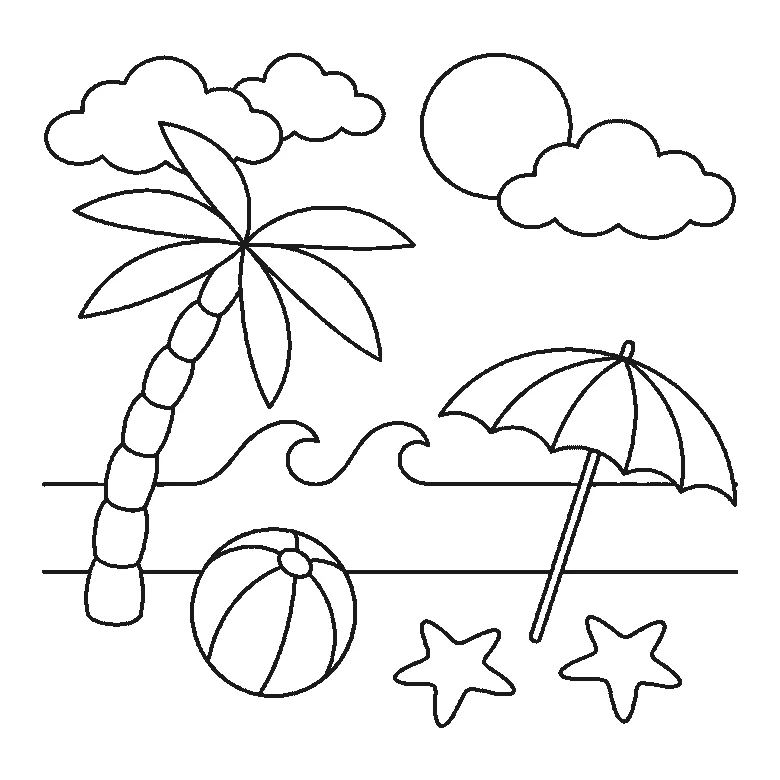
Six frames, one beach scene. The sea and its three waves first, then the sun and clouds — and the palm trunk and the parasol pole right at the end.
Step sequence made by us from a single drawing: each step keeps the lines of the one before it and adds to them.
How to draw a wave
Six frames, one big breaking wave. The inside of the curl first, not the outline — and all the spray droplets in the very last frame.
Step sequence made by us from a single drawing: each step keeps the lines of the one before it and adds to them.
How to draw tulips
Six frames, three tulips of different heights. All three flower cups arrive together in the first frame — and the lines that split each cup into petals come last.
Step sequence made by us from a single drawing: each step keeps the lines of the one before it and adds to them.
How to draw a leaf
Six frames, one maple leaf — and this sheet is the tidiest on the site: one lobe per frame, each with its own vein, and the stem last.
Step sequence made by us from a single drawing: each step keeps the lines of the one before it and adds to them.
How to draw a strawberry
Six frames, one strawberry. The whole berry outline arrives in the first frame — a big first step — then a calyx leaf at a time, with all eleven seeds at the end.
Step sequence made by us from a single drawing: each step keeps the lines of the one before it and adds to them.
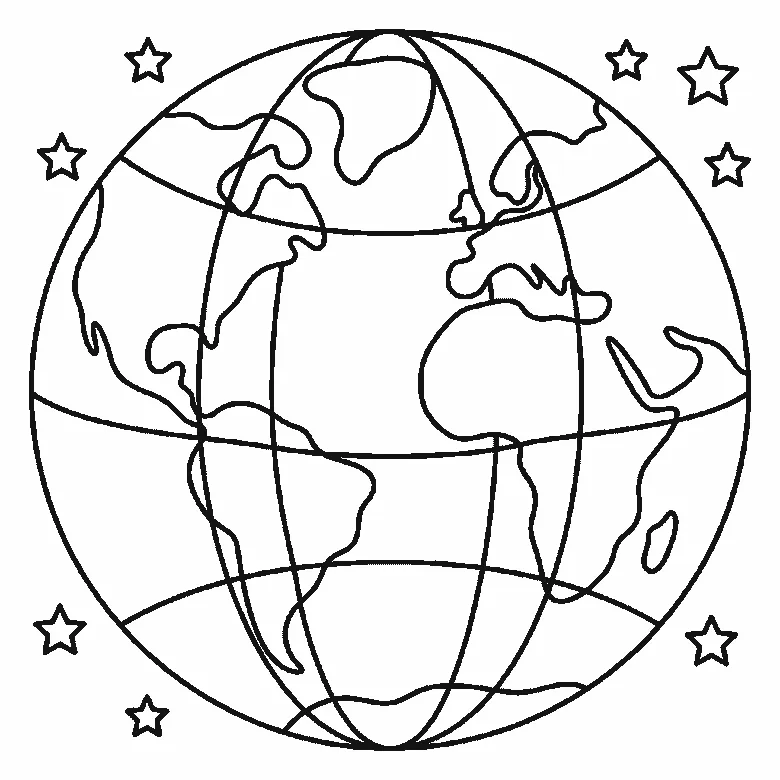
How to draw Earth
Six frames, one globe, revealed ocean-panel by ocean-panel rather than continent by continent. The land emerges as the white left behind, and the stars come last.
Step sequence made by us from a single drawing: each step keeps the lines of the one before it and adds to them.
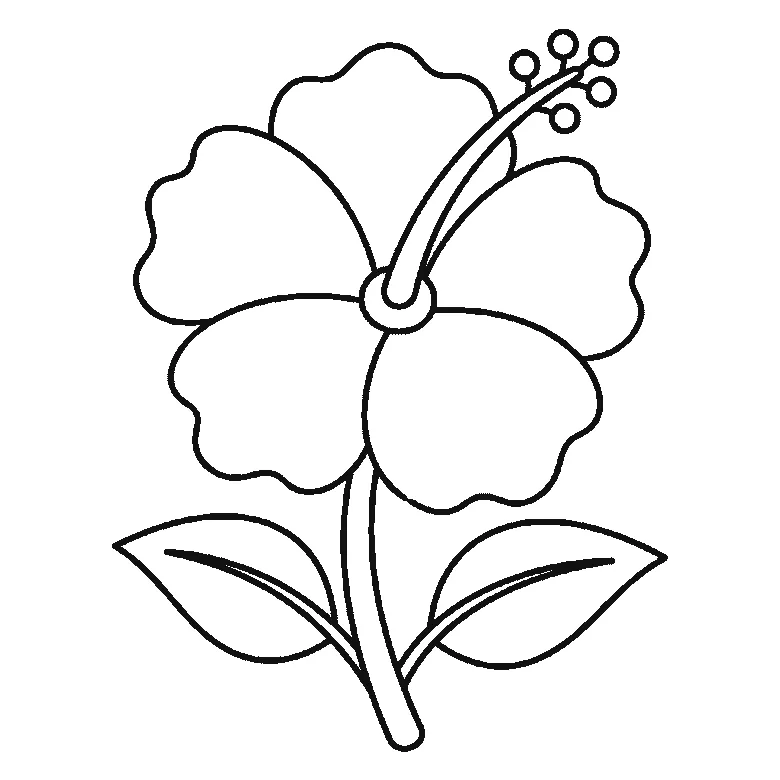
How to draw a hibiscus flower
Six frames, one open hibiscus. Three petals first and the other two next, so the flower head is done by frame two — and the stamen column arrives at frame five.
Step sequence made by us from a single drawing: each step keeps the lines of the one before it and adds to them.
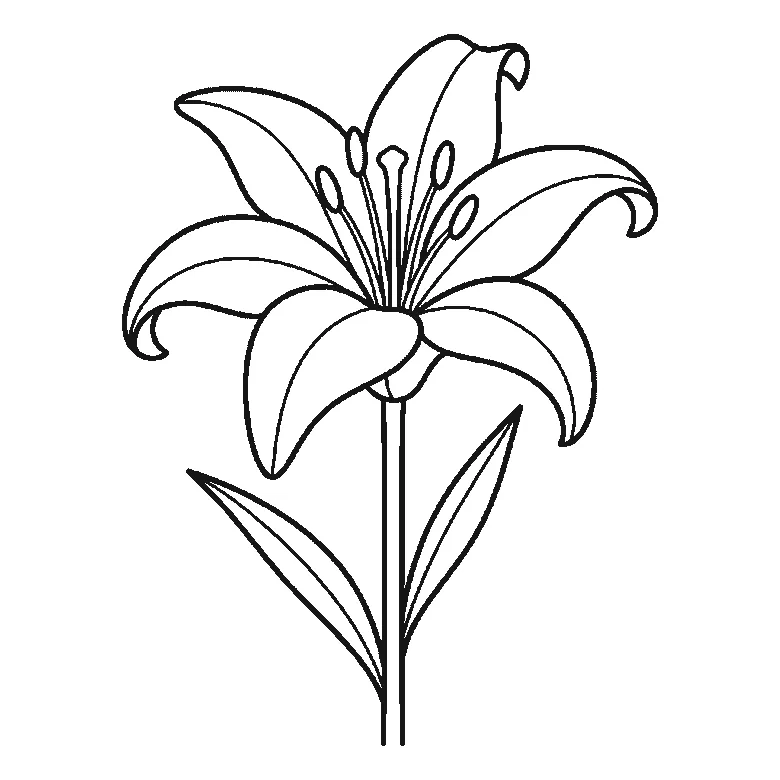
How to draw a lily
Six frames, one open lily. Three petals in the first frame, the rest two at a time — and the stem, the leaves and the central stamens right at the end.
Step sequence made by us from a single drawing: each step keeps the lines of the one before it and adds to them.
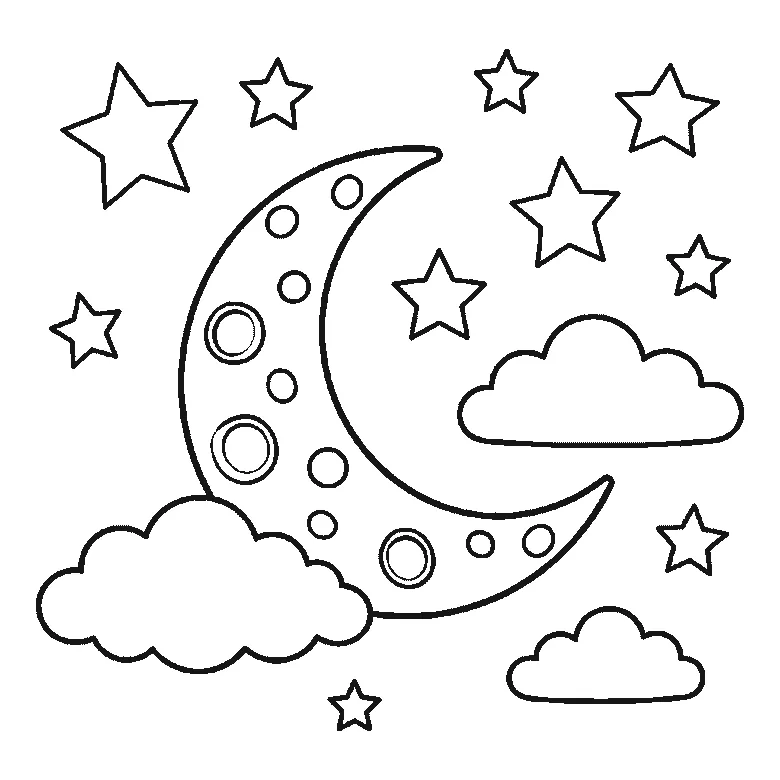
How to draw the moon
Six frames, a crescent moon in a night sky. The whole moon and every crater arrive in frame one; the five frames after it are clouds and stars.
Step sequence made by us from a single drawing: each step keeps the lines of the one before it and adds to them.
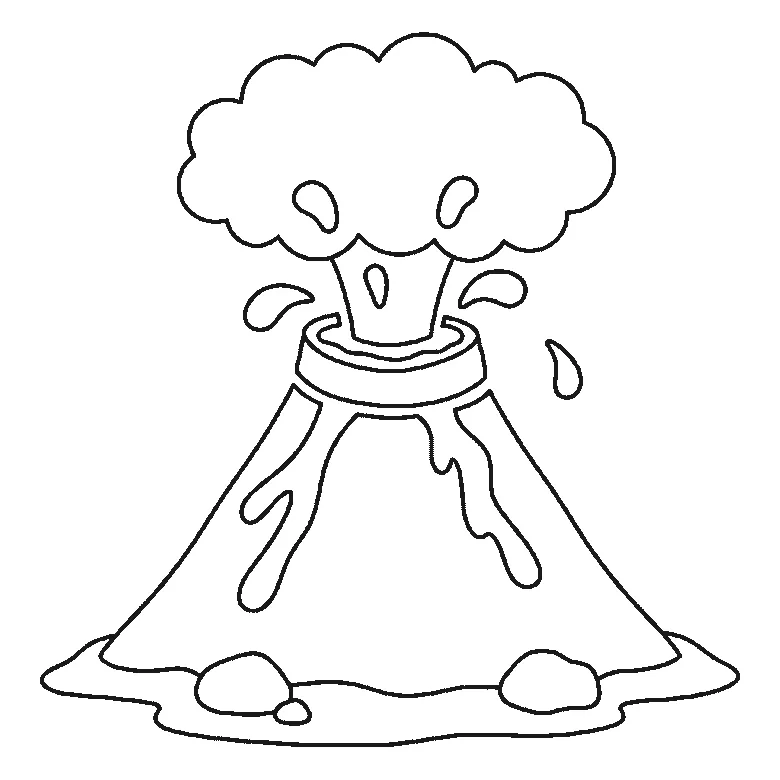
How to draw a volcano
Six frames, one erupting volcano. The whole cone with its lava streams arrives in frame one; the smoke, the ground and the flying lava come after it.
Step sequence made by us from a single drawing: each step keeps the lines of the one before it and adds to them.
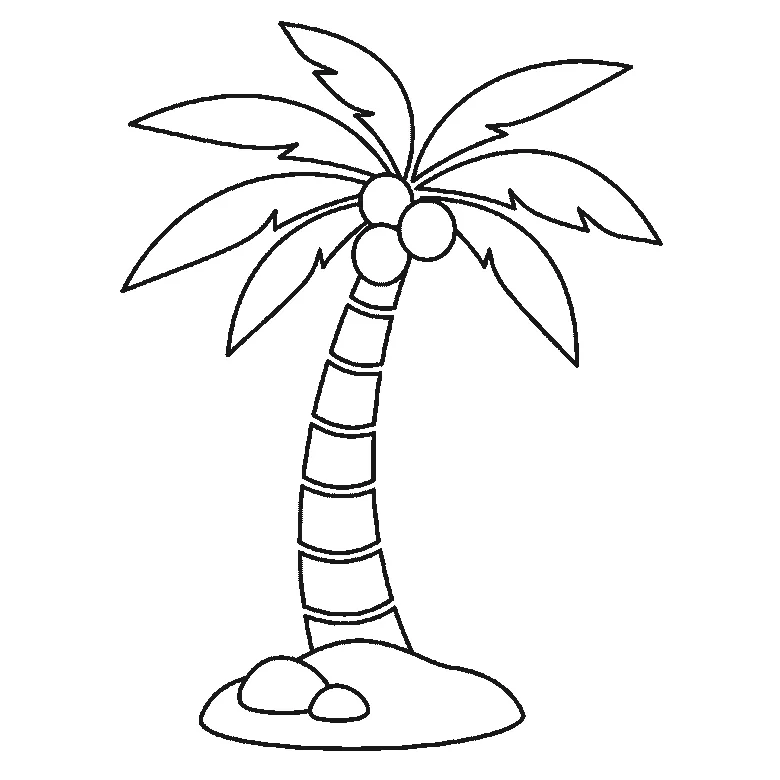
How to draw a palm tree
Six frames, one palm tree on a mound of sand. The fronds come first, two at a time; the trunk is not drawn until frame five.
Step sequence made by us from a single drawing: each step keeps the lines of the one before it and adds to them.


