
PDF · A4 · 55 KB · Free, no sign-up. For home and classroom use.
How to draw a lily
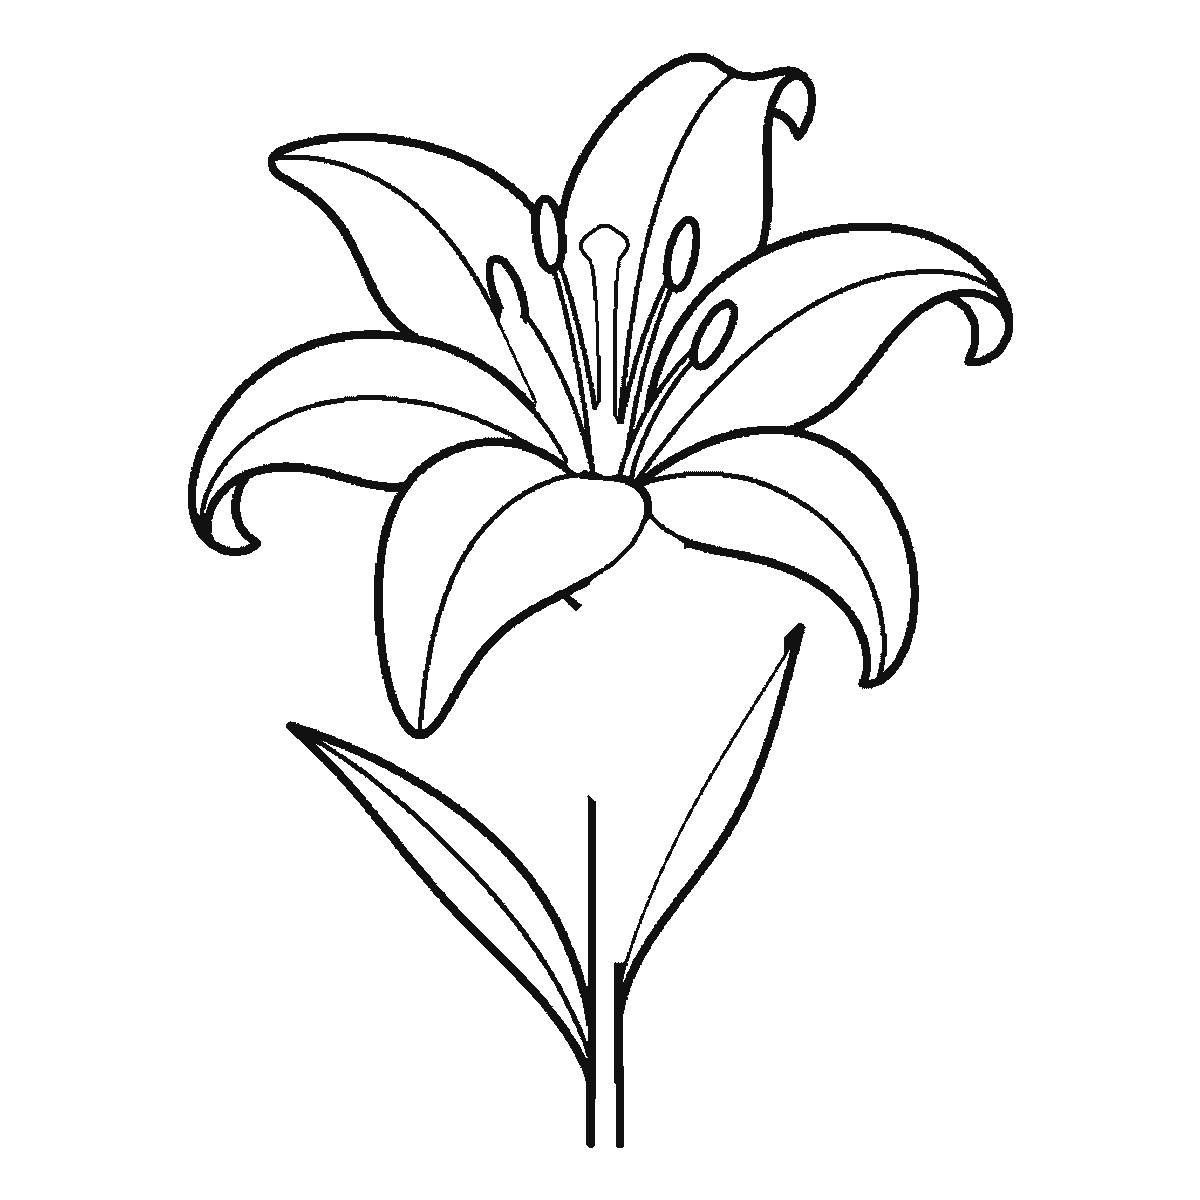
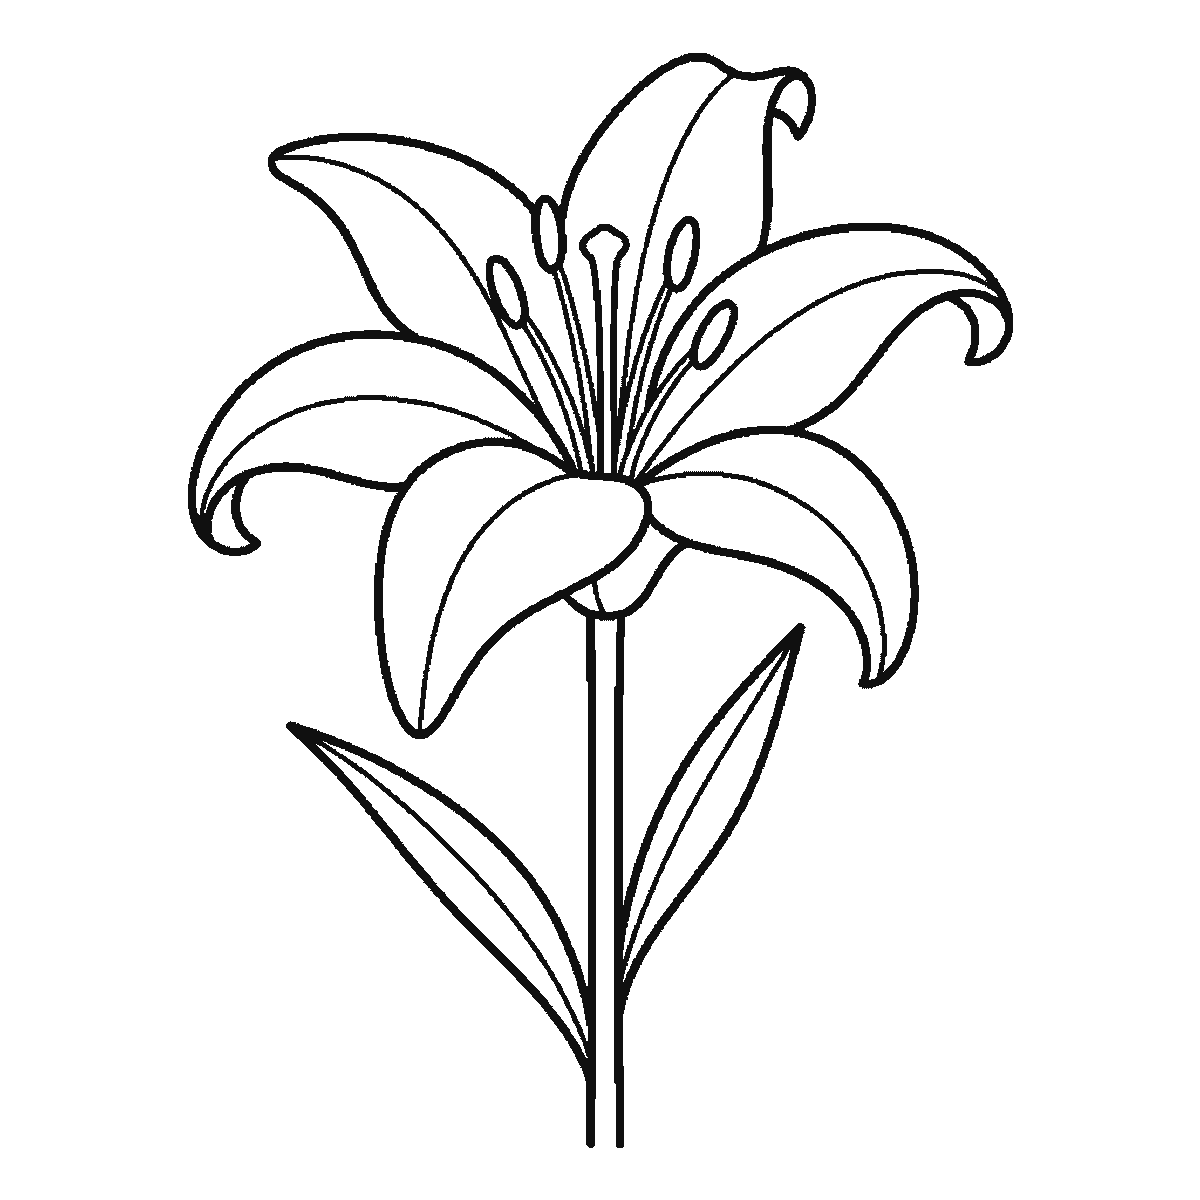
Six frames, one open lily. Three petals in the first frame, the rest two at a time — and the stem, the leaves and the central stamens right at the end.
This sheet shows one drawing of an open lily on a stem, six times over, each frame adding to the last. It is the most elegant of the flowers on this site and also the least forgiving, because a lily is built from six long petals that all have to agree with each other about where the centre of the flower is.
Frame one gives you three of those petals — the lower front one and the two on the right — together with the first of the stamen filaments. Frames two, three and four then bring the remaining petals two at a time, so the flower head is complete by the fourth frame. Each petal is long, tapers to a point, and curls back on itself at the tip, and the curl is the detail that turns the drawing from a star into a lily.
The thing to fix before you draw a single petal is where they all meet. Mark a small point on your paper and make every petal radiate from it. Lilies drawn without that discipline end up with petals attached at four or five different places and the flower reads as a spray rather than as a single bloom. It is worth an actual pencil dot.
The petals should not be evenly spaced around a circle either. On this drawing three point up and back, two spread sideways, and one hangs down at the front, and the gaps between them vary. That irregularity is what makes it look like a flower seen from a particular angle rather than a diagram of one seen head-on.
The stem and the two long narrow leaves come in frames four and five — the left leaf first, then both leaves and the stem together. Like the tulips elsewhere in this section the stem is drawn as two lines with a real width between them, and the leaves leave it at different heights and lean different ways.
The very last frame is the centre: the collar of the flower's throat where the petals join the stem, and the pistil and stamens standing up out of the middle. Those stamens are the signature of the flower — a cluster of long filaments each ending in a fat oval anther, leaning out at slightly different angles. Drawn short and upright they look like pins; drawn long, leaning and uneven they look like a lily. Take your time on the final frame.
The order runs from the largest closed shape to the smallest, which is why petals come before stems and the stamens come last. It copies easily and this page makes no claim that it is how a lily ought to be drawn. Starting with the stamens and building the petals around them is how most botanical drawings are made, and it produces a more accurate flower.
The download is a single A4 sheet with the six frames in plain black outline, no shading anywhere, so it prints on any printer and colours in well. On a second attempt, try drawing the same lily with one petal cut off by the edge of the paper. Letting a subject run off the page is a compositional trick rather than a drawing one, and it makes a single flower look far more deliberate than centring it neatly ever does.
Before you start
- Mark the point where all six petals meet before drawing any of them. It is the one thing that holds the flower together.
- Curl each petal back at the tip. Straight-tipped petals give you a star, not a lily.
- Vary the gaps between petals. Six evenly spaced petals read as a diagram of a flower rather than a flower.
- Make the stamens long, uneven and leaning, each with a fat oval anther. Short upright ones look like pins.
Published Updated 555 words
The six steps
The steps go from the largest shape to the smallest, which is an easy order to copy. It is not the only order, and it is not a rule — if you would rather start somewhere else on the sheet, do.
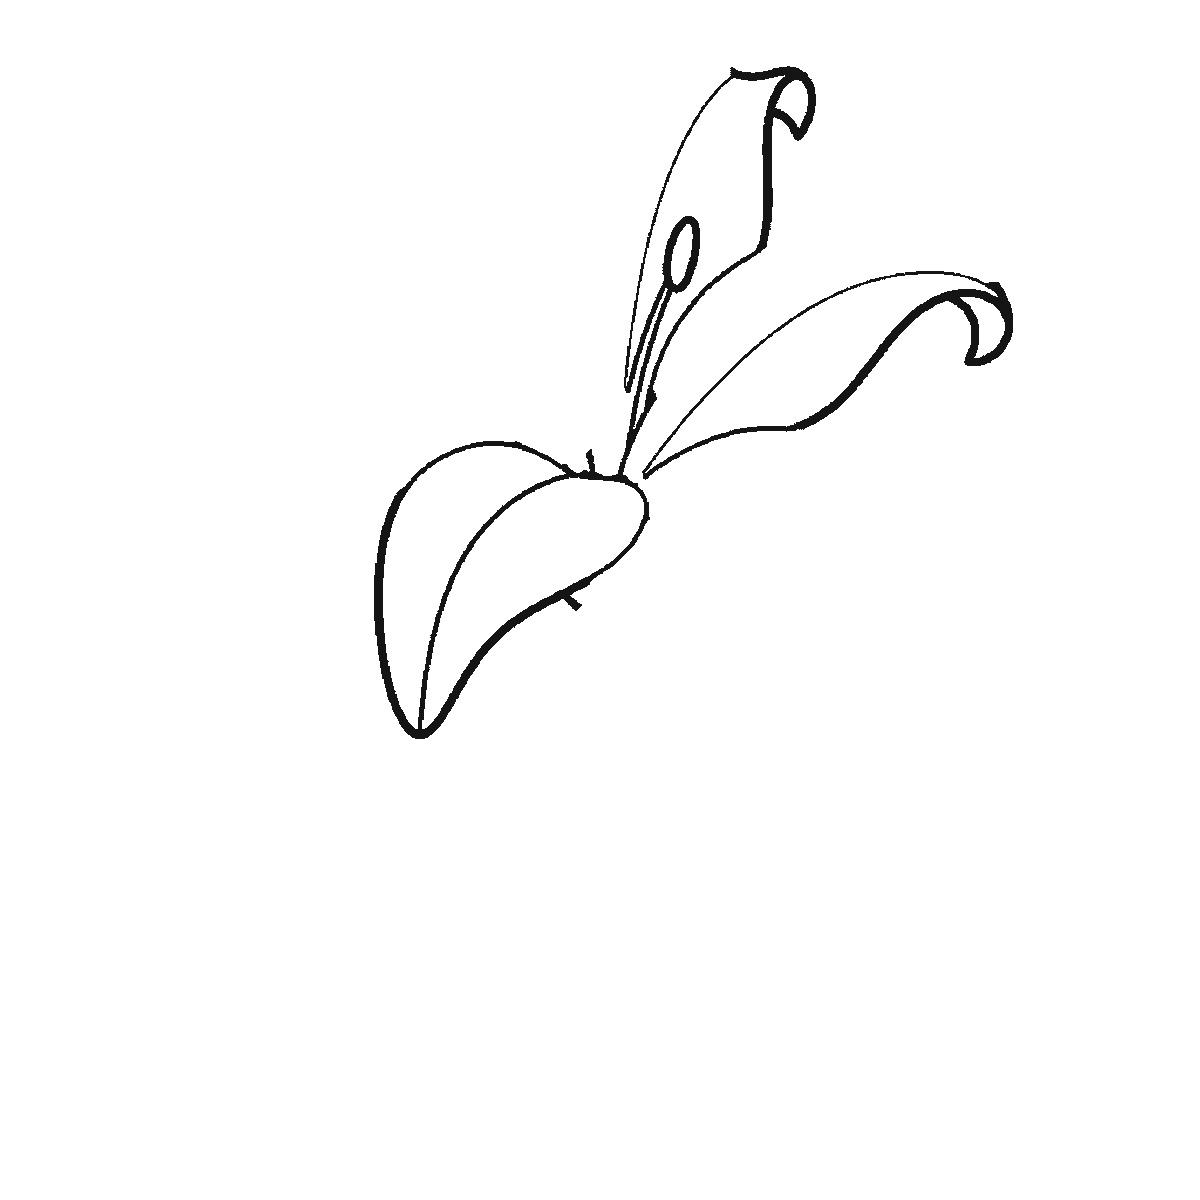
Step 1
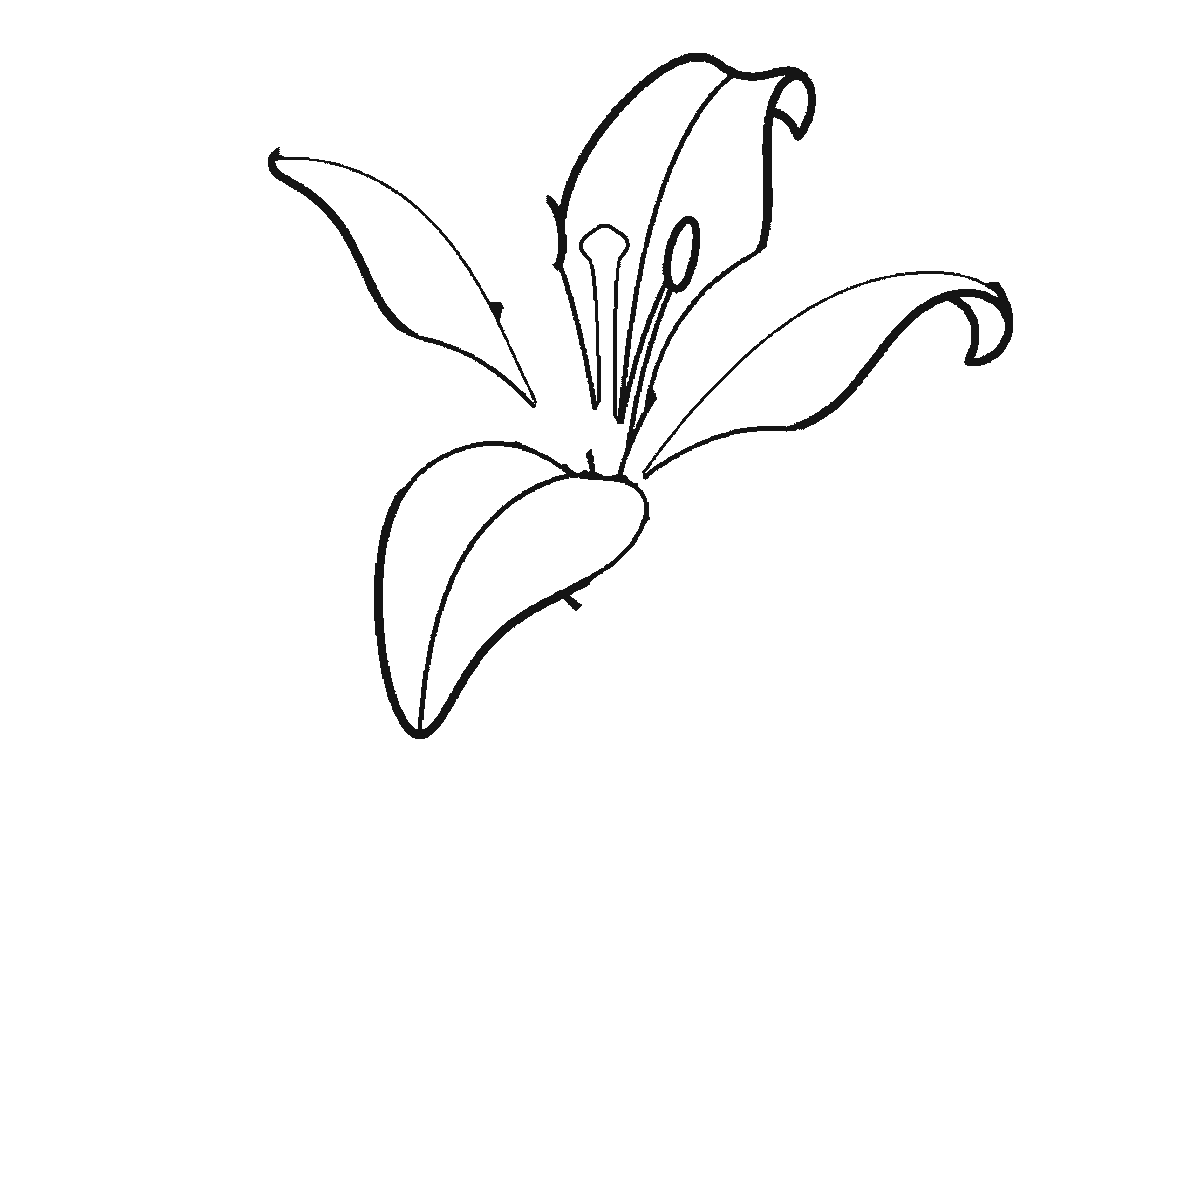
Step 2
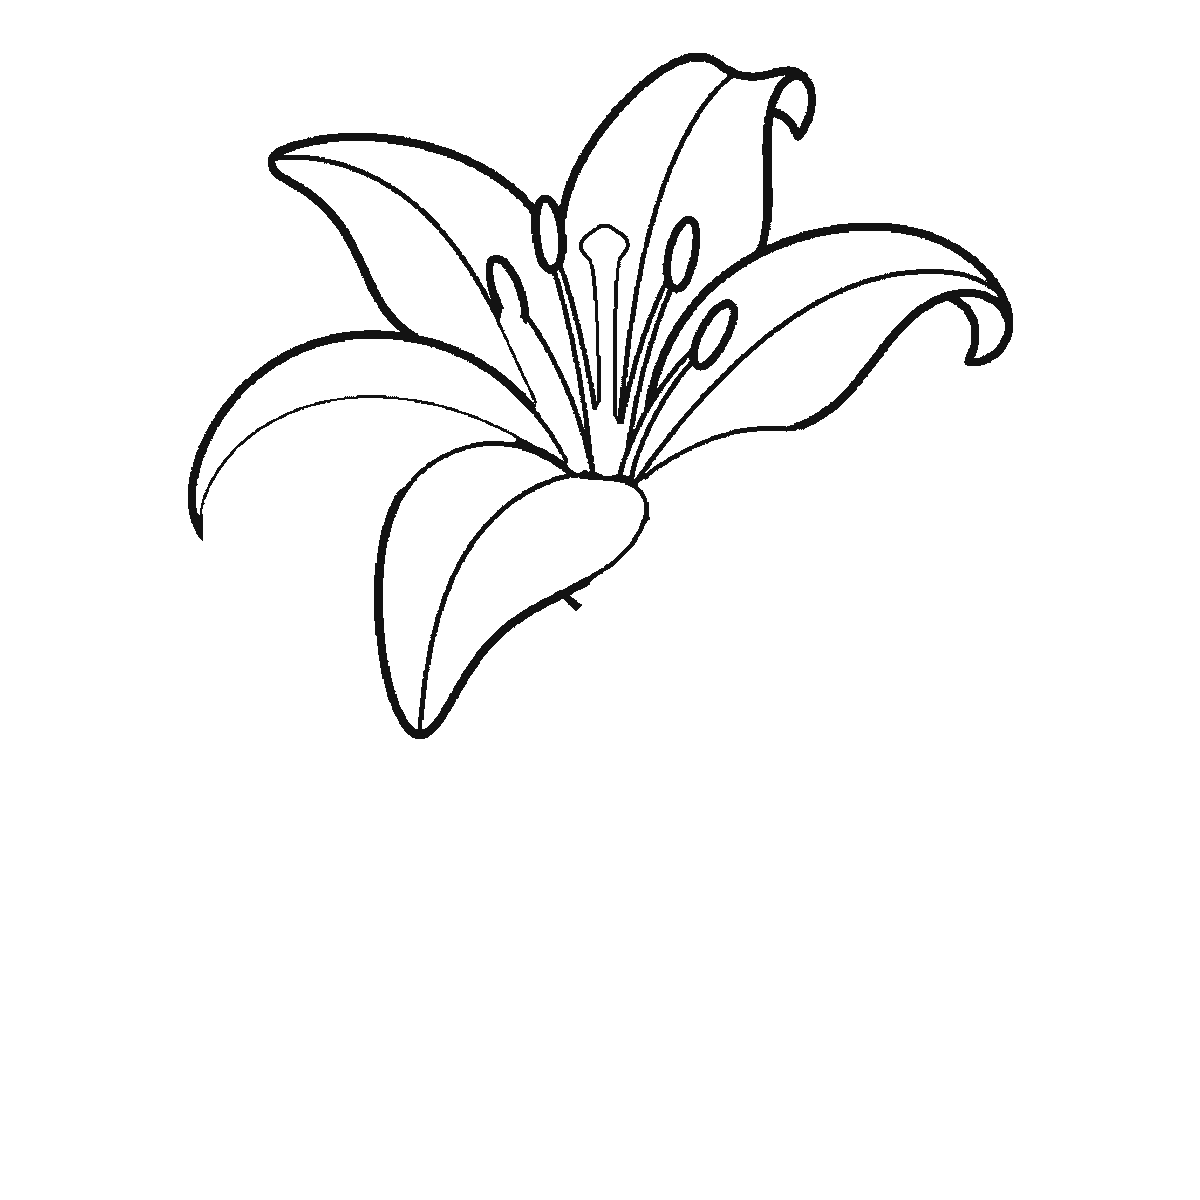
Step 3
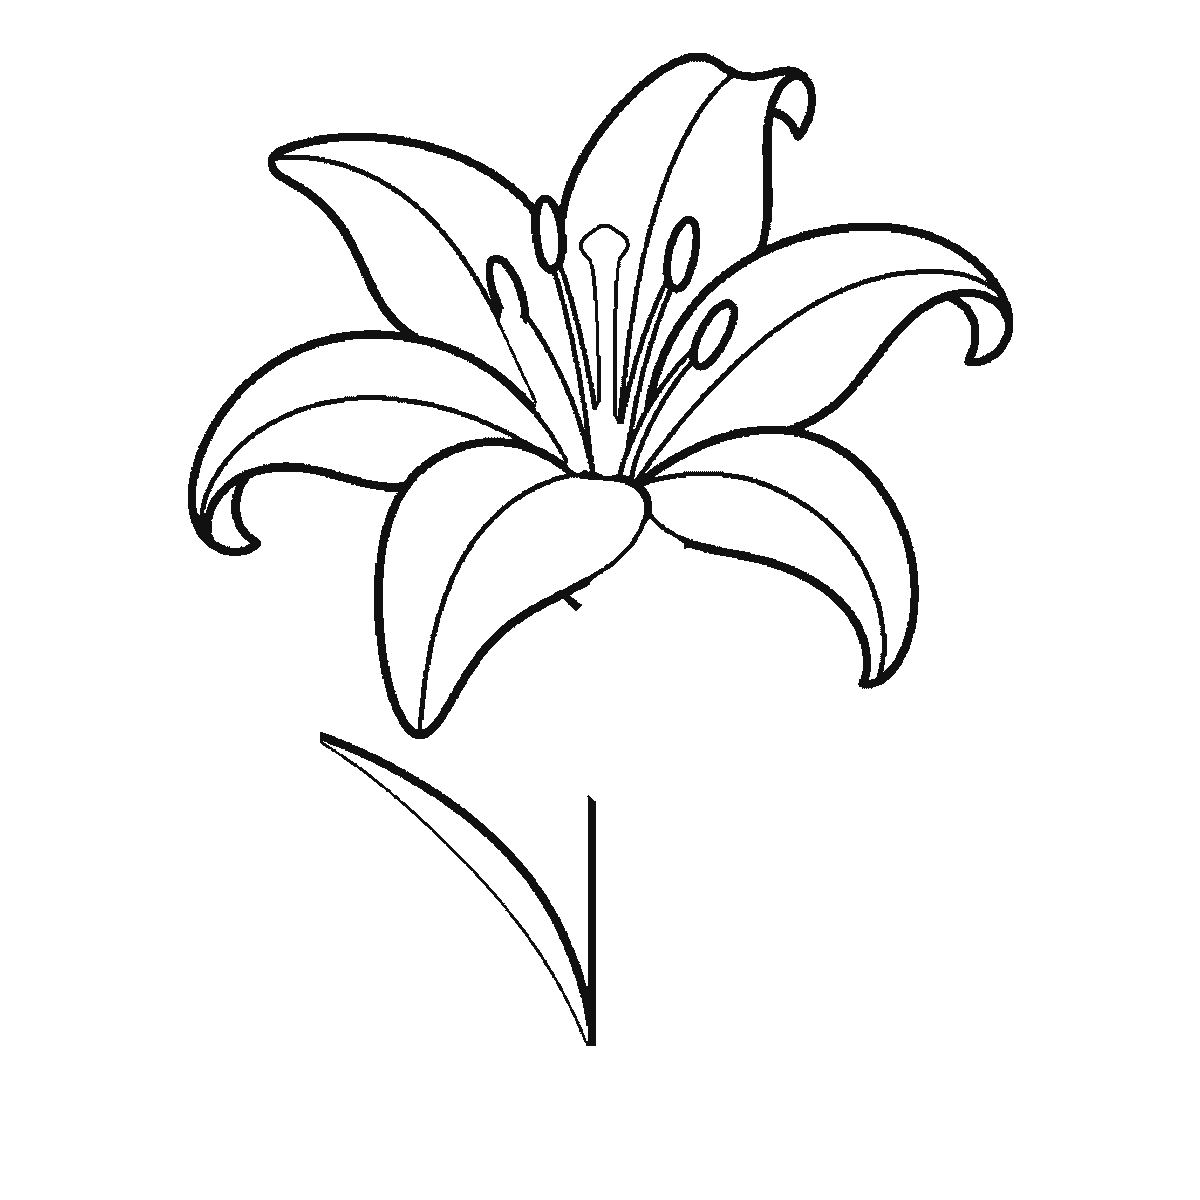
Step 4
Step 5
Step 6
More in this section
How to draw the moon
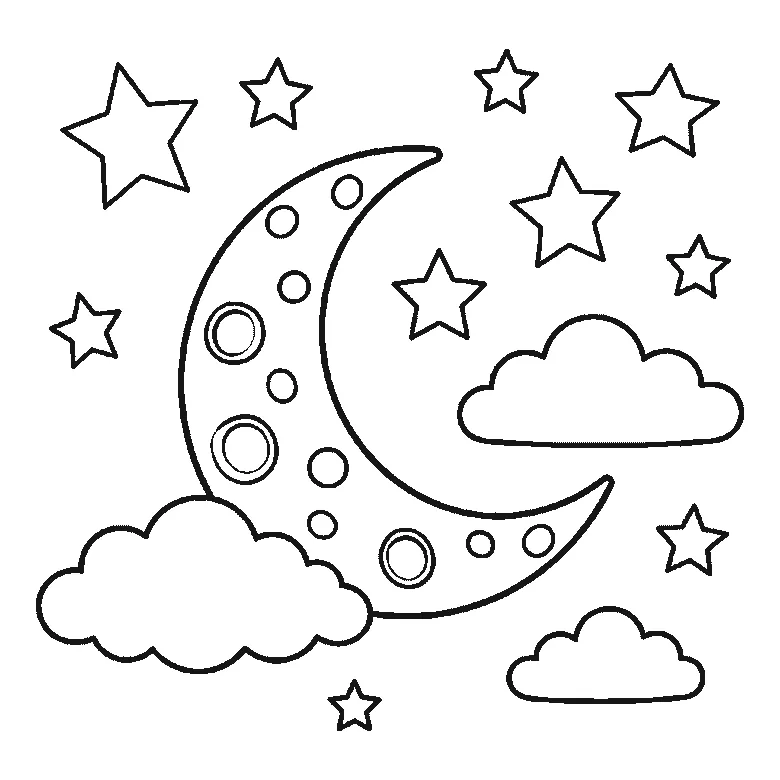
Six frames, a crescent moon in a night sky. The whole moon and every crater arrive in frame one; the five frames after it are clouds and stars.
Step sequence made by us from a single drawing: each step keeps the lines of the one before it and adds to them.
How to draw a volcano
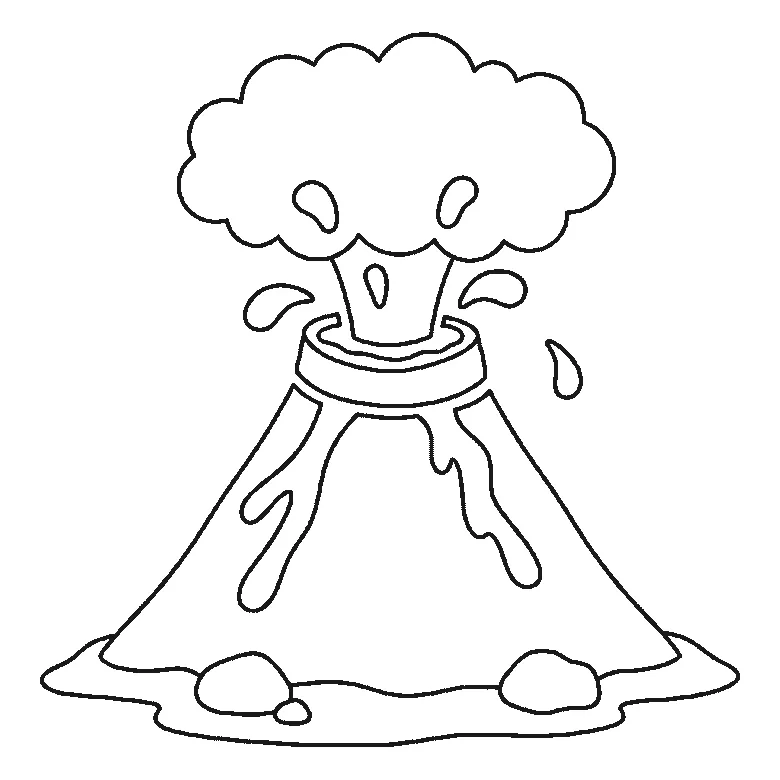
Six frames, one erupting volcano. The whole cone with its lava streams arrives in frame one; the smoke, the ground and the flying lava come after it.
Step sequence made by us from a single drawing: each step keeps the lines of the one before it and adds to them.
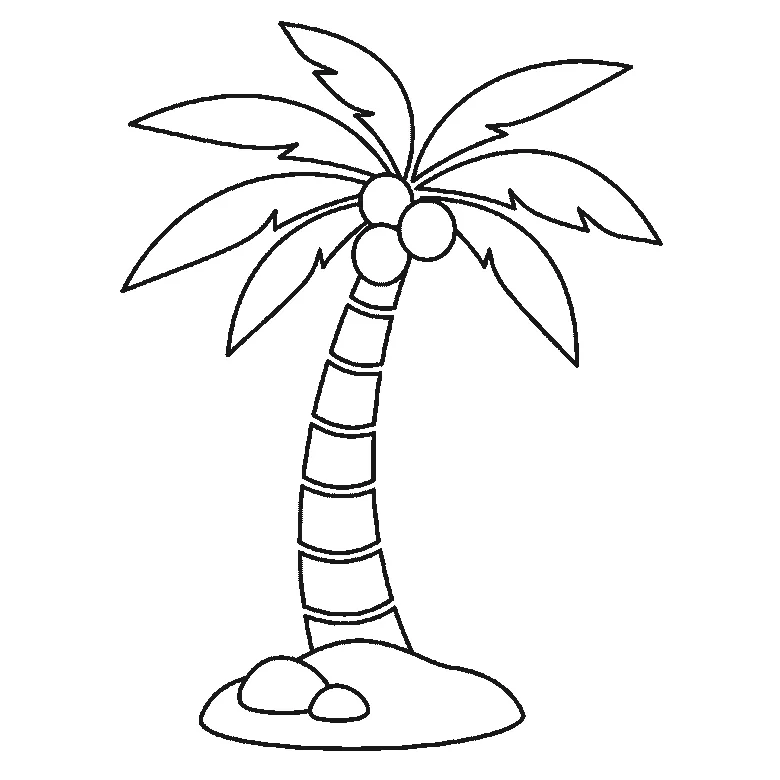
How to draw a palm tree
Six frames, one palm tree on a mound of sand. The fronds come first, two at a time; the trunk is not drawn until frame five.
Step sequence made by us from a single drawing: each step keeps the lines of the one before it and adds to them.
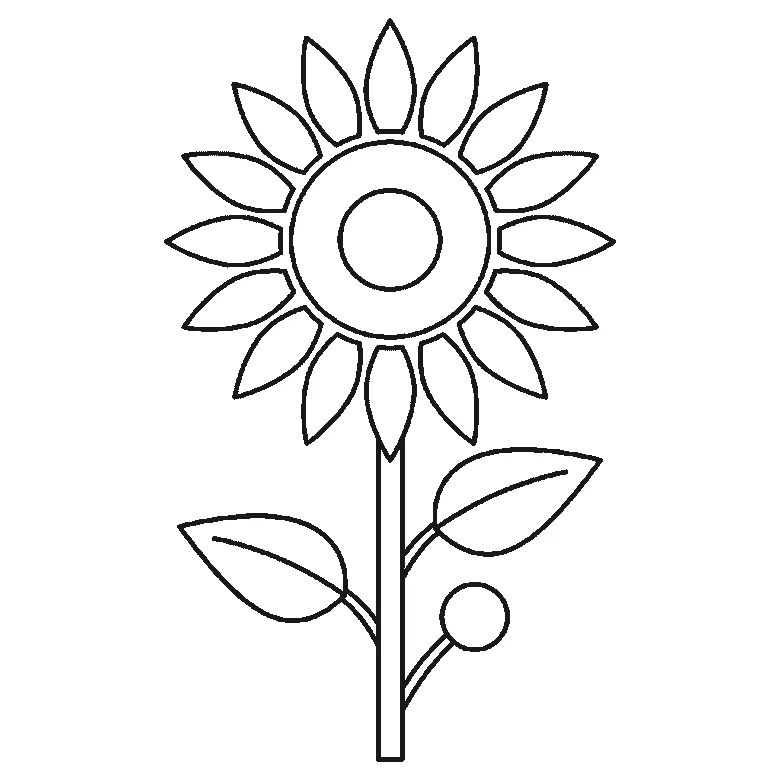
How to draw a sunflower
Six frames, one tall sunflower with two leaves and a bud. The seed head and one leaf first — and no petals at all until frame three.
Step sequence made by us from a single drawing: each step keeps the lines of the one before it and adds to them.
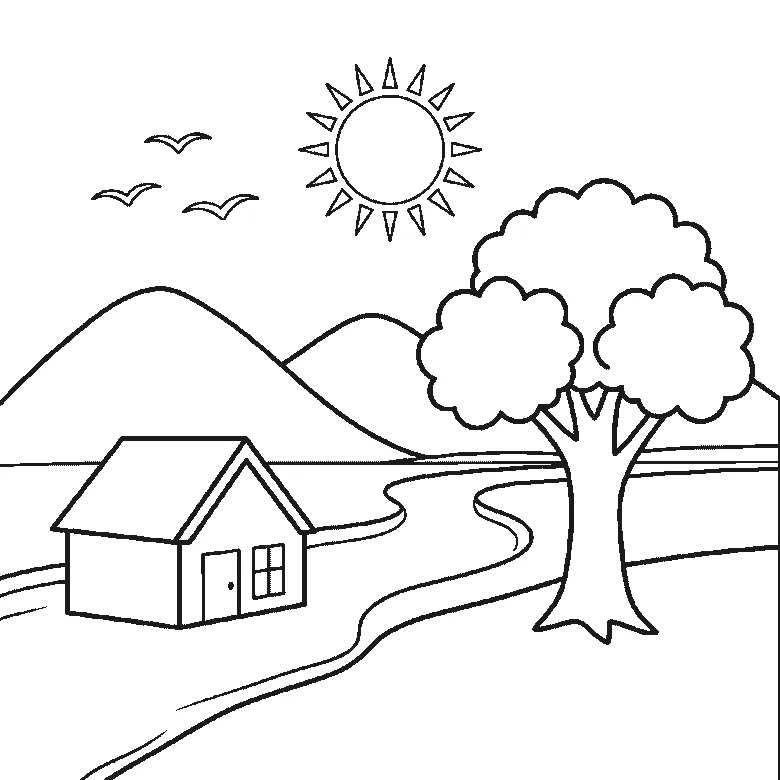
How to draw a landscape
Six frames, one countryside scene with hills, a river, a tree, a house and a sun. The leaves come first and the birds last.
Step sequence made by us from a single drawing: each step keeps the lines of the one before it and adds to them.
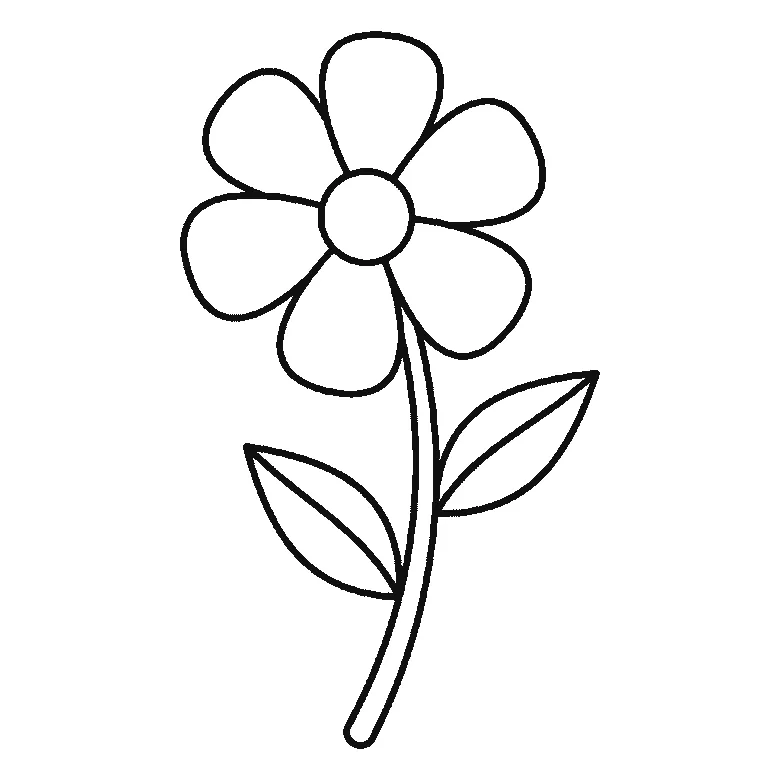
How to draw a flower
Six frames, one open flower on a stem. Three petals first, then the other three and the stem, the two leaves, and the centre near the end.
Step sequence made by us from a single drawing: each step keeps the lines of the one before it and adds to them.
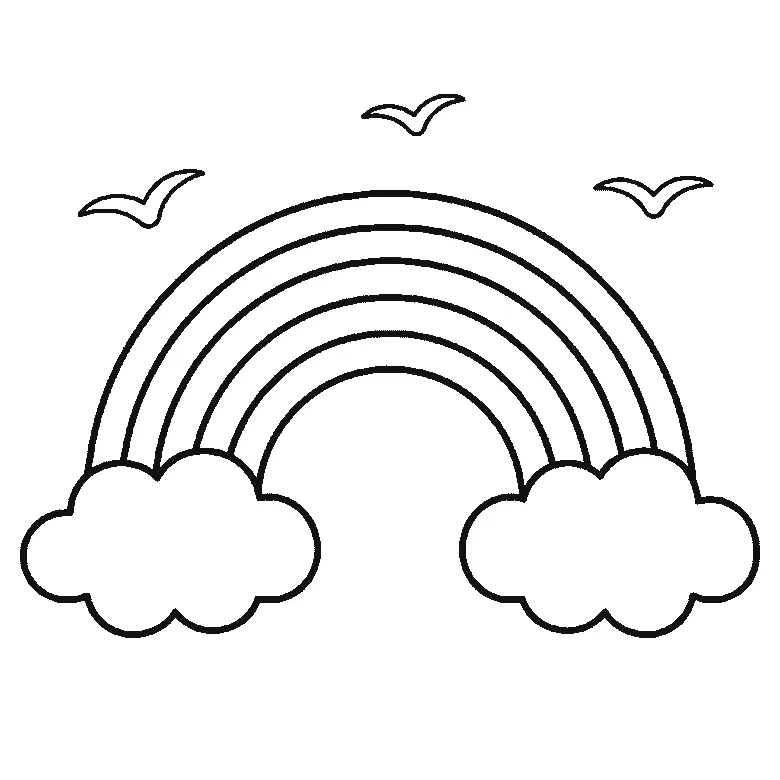
How to draw a rainbow
Six frames, a rainbow with a cloud at each end and three birds. The clouds first, then the bands from the outside in, and the birds last.
Step sequence made by us from a single drawing: each step keeps the lines of the one before it and adds to them.
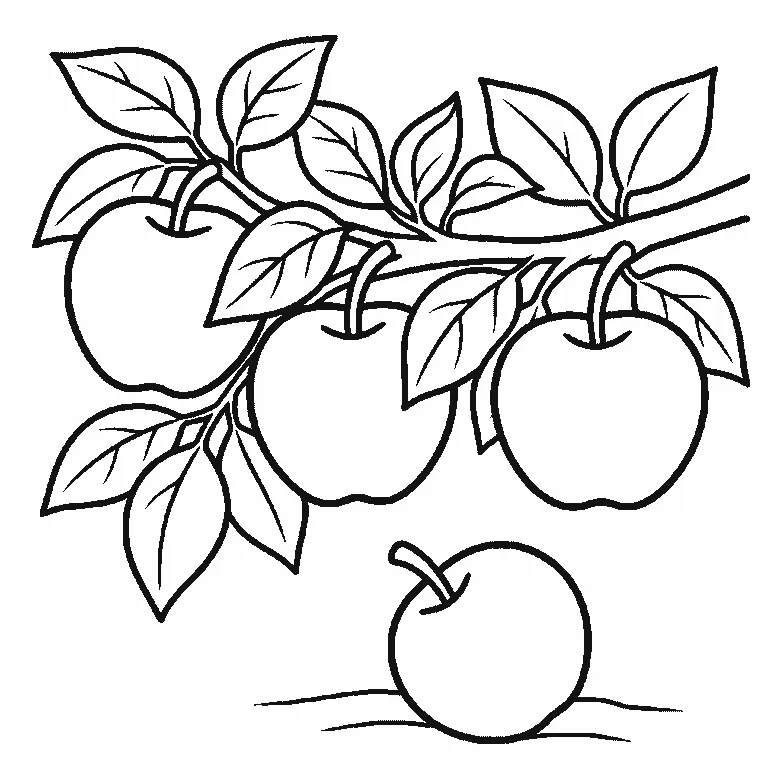
How to draw an apple
Six frames, four apples on a leafy branch — three hanging and one on the ground. Two apples first, then the other two, then leaf after leaf.
Step sequence made by us from a single drawing: each step keeps the lines of the one before it and adds to them.
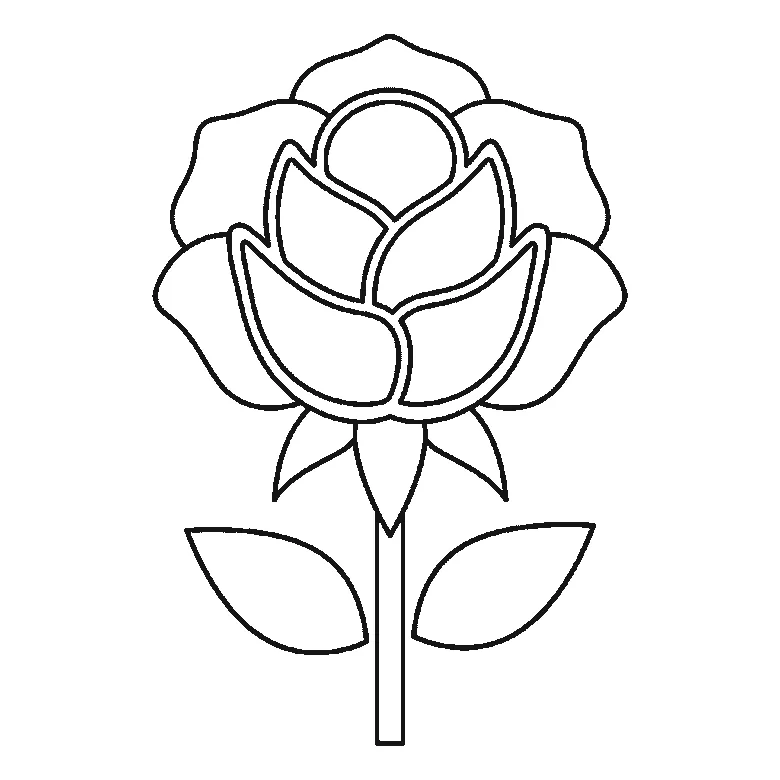
How to draw a rose
Six frames, one open rose. The centre cluster first, then the leaves, the outer petals and the stem.
Step sequence made by us from a single drawing: each step keeps the lines of the one before it and adds to them.
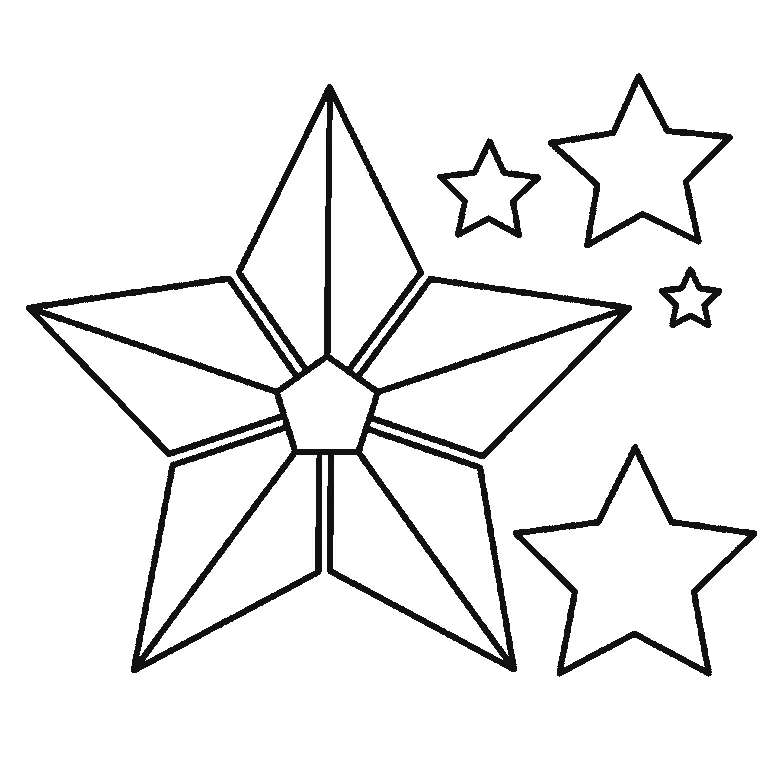
How to draw a star
Six frames, one faceted five-pointed star and four smaller ones, built one facet panel at a time.
Step sequence made by us from a single drawing: each step keeps the lines of the one before it and adds to them.
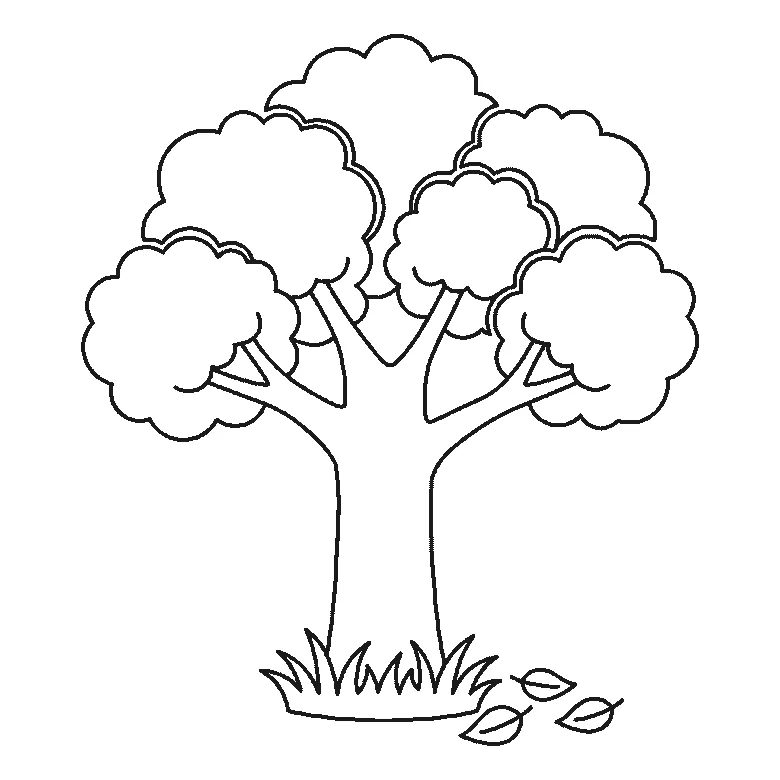
How to draw a tree
Six frames, one broad-leaved tree. Trunk first, then the branches, then the foliage in separate clumps.
Step sequence made by us from a single drawing: each step keeps the lines of the one before it and adds to them.
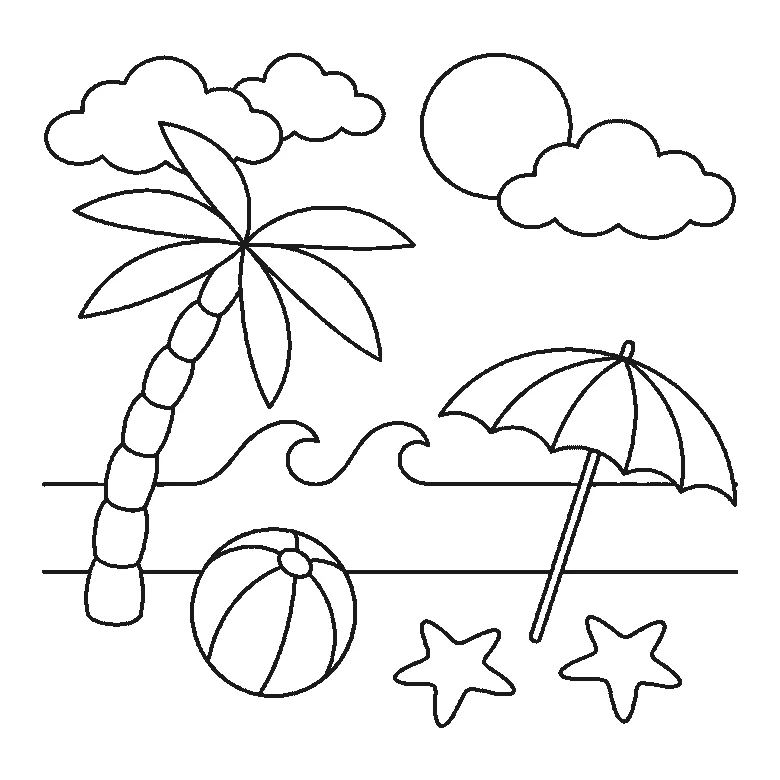
How to draw a beach
Six frames, one beach scene. The sea and its three waves first, then the sun and clouds — and the palm trunk and the parasol pole right at the end.
Step sequence made by us from a single drawing: each step keeps the lines of the one before it and adds to them.


