
PDF · A4 · 52 KB · Free, no sign-up. For home and classroom use.
How to draw a volcano
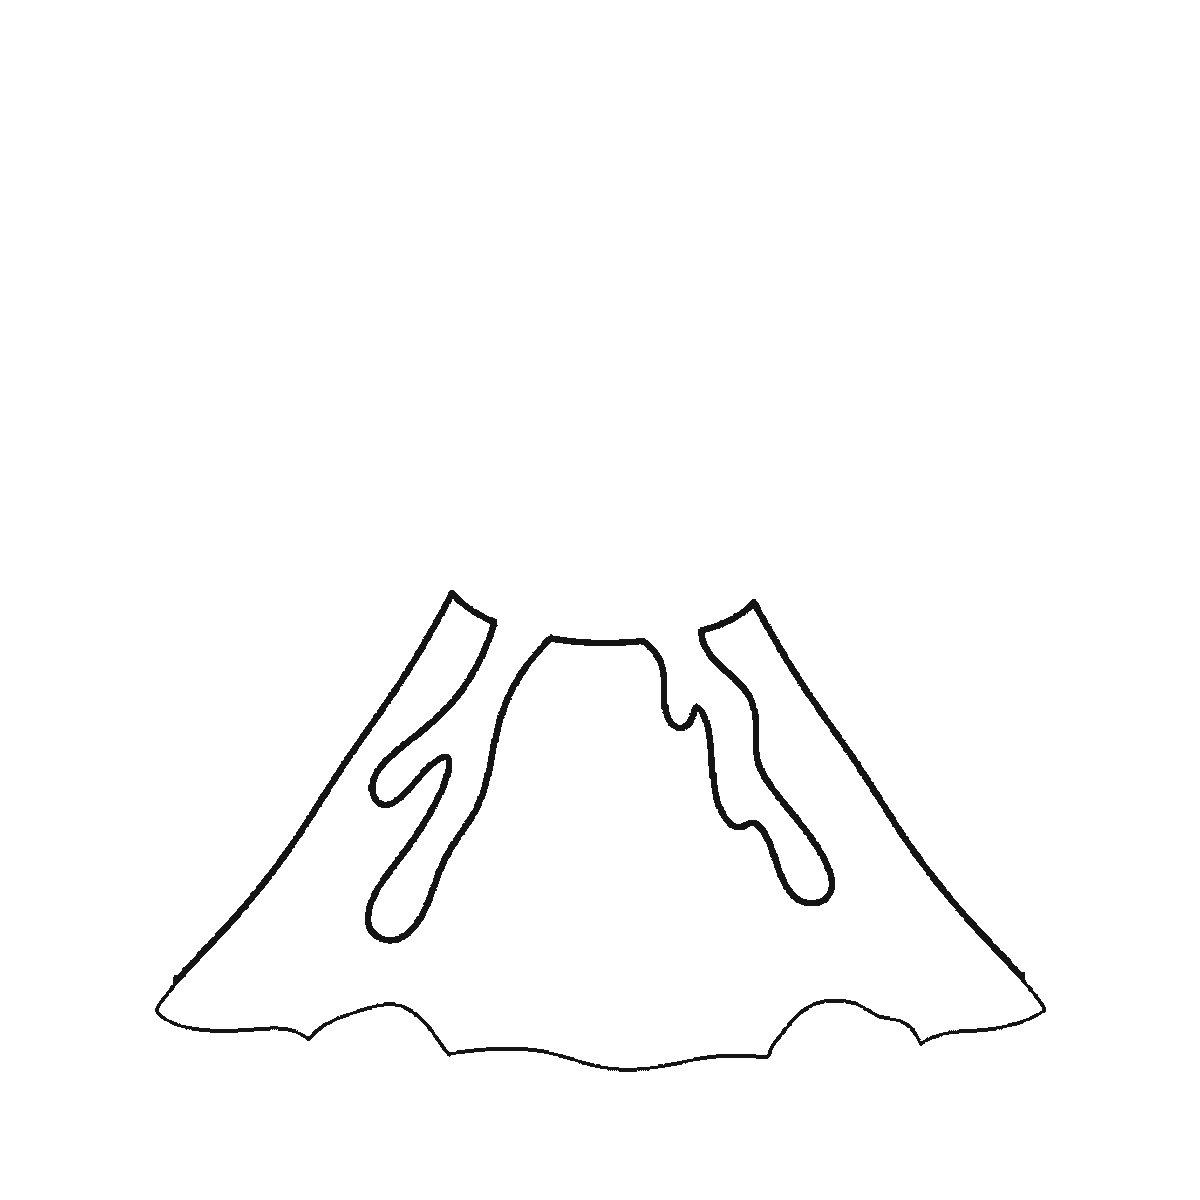
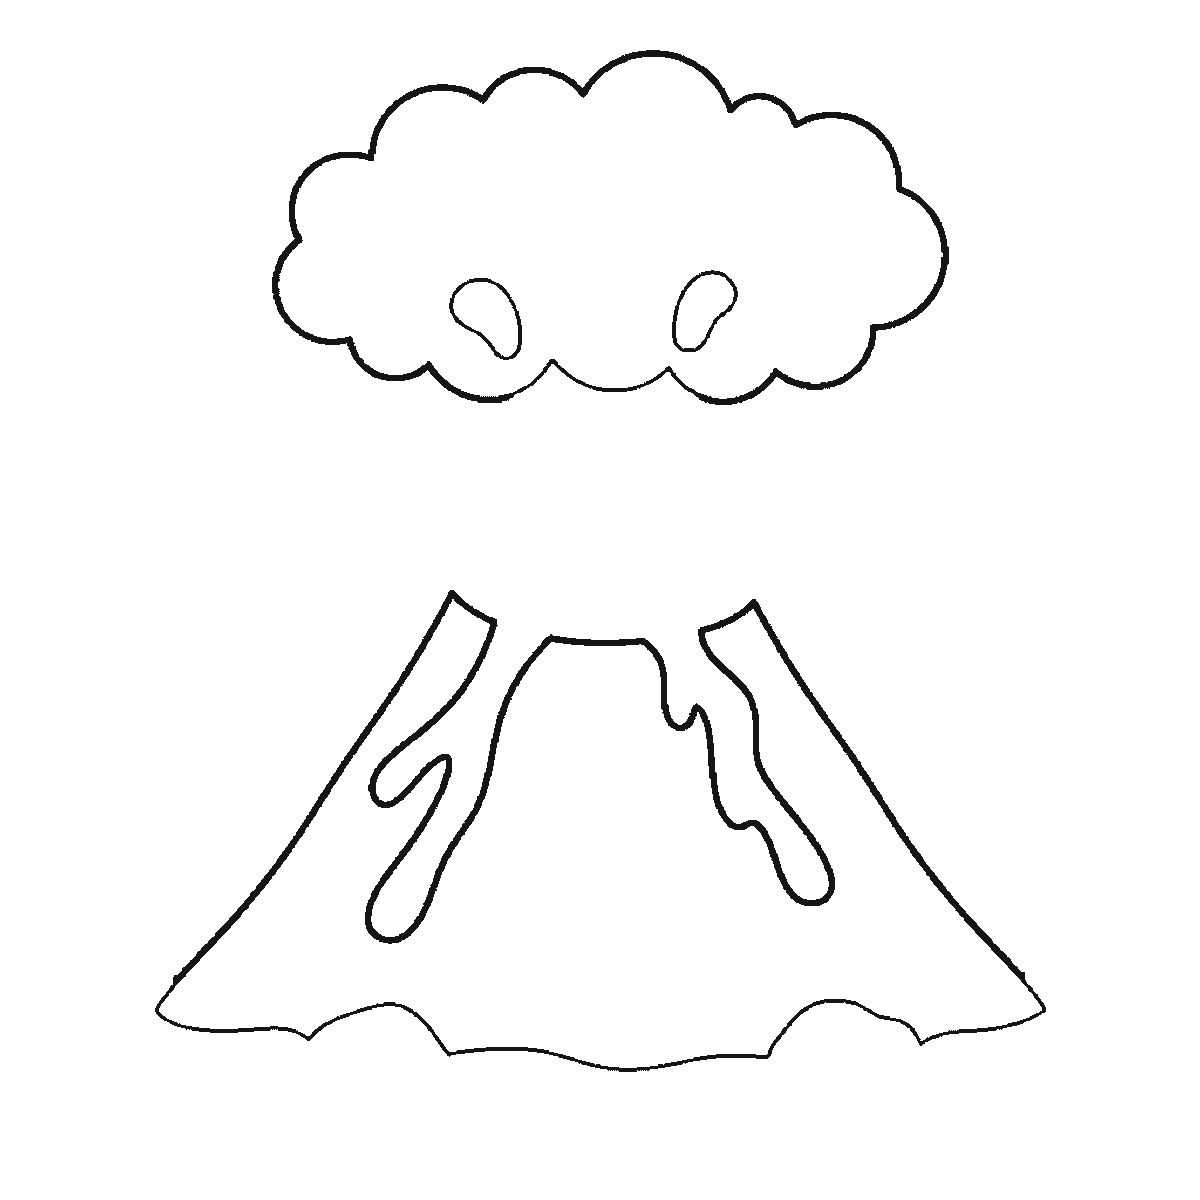
Six frames, one erupting volcano. The whole cone with its lava streams arrives in frame one; the smoke, the ground and the flying lava come after it.
This sheet takes one drawing of an erupting volcano and shows it six times, each frame carrying everything the frame before it had and adding a little more. Print it, put it beside your paper, and copy one frame at a time.
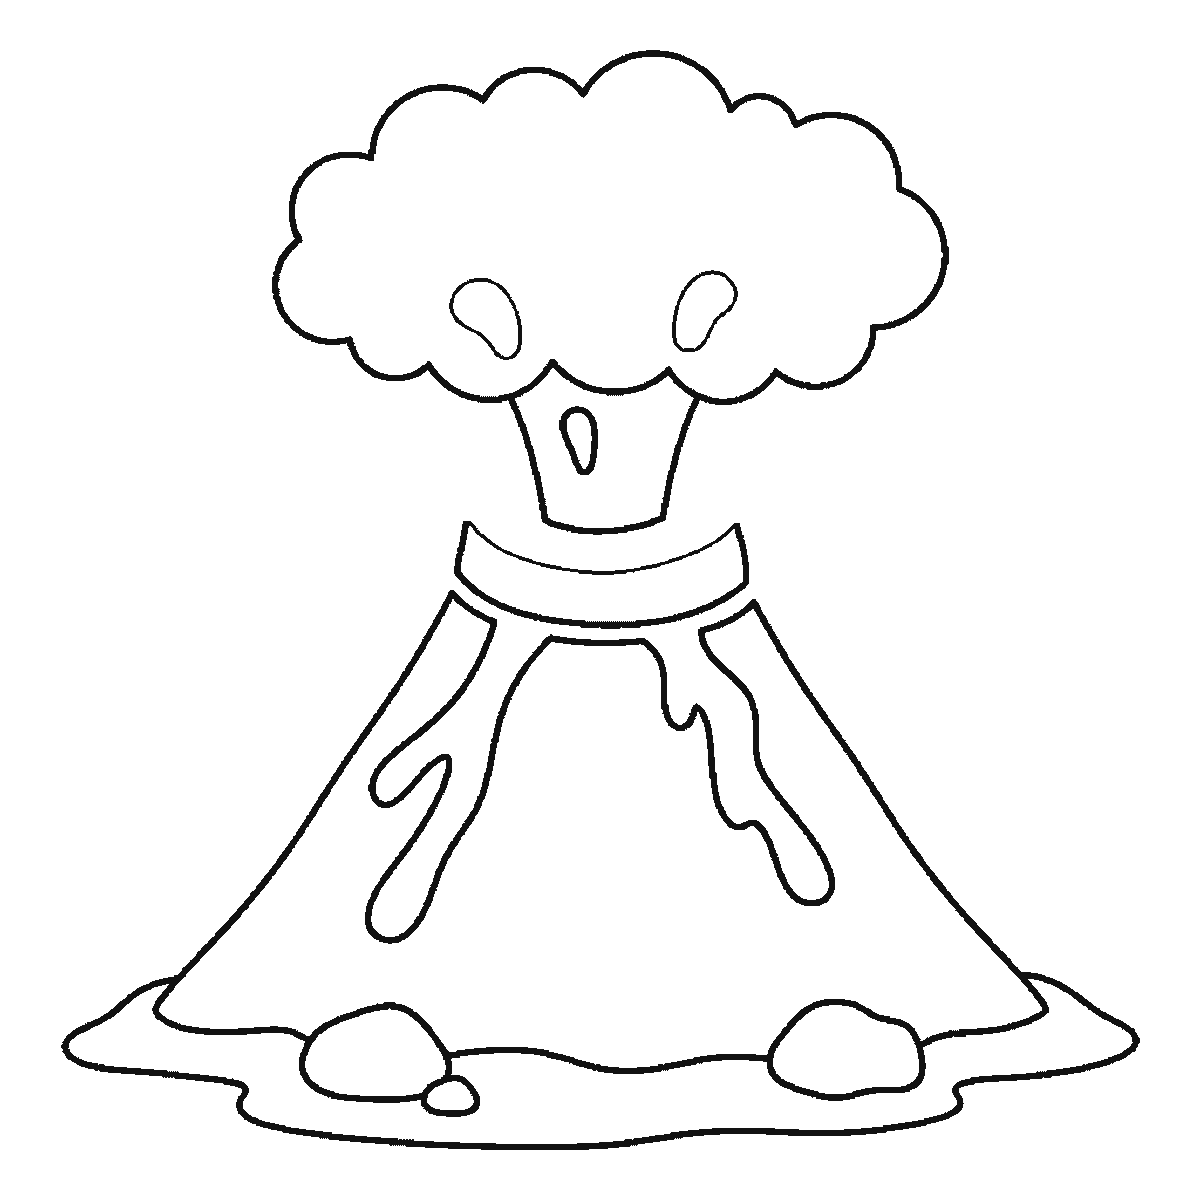
Frame one is the cone, and it comes with more on it than you would expect: the whole mountain, its wavy base, and both lava streams already running down its sides. The streams are drawn as long closed shapes with rounded ends, not as lines, and they are part of the very first step rather than something added at the end. If you are drawing along, that is the thing to know before you start — the lava on the mountain is part of the mountain's own shape, and putting it in later means fitting it into a cone you have already closed up.
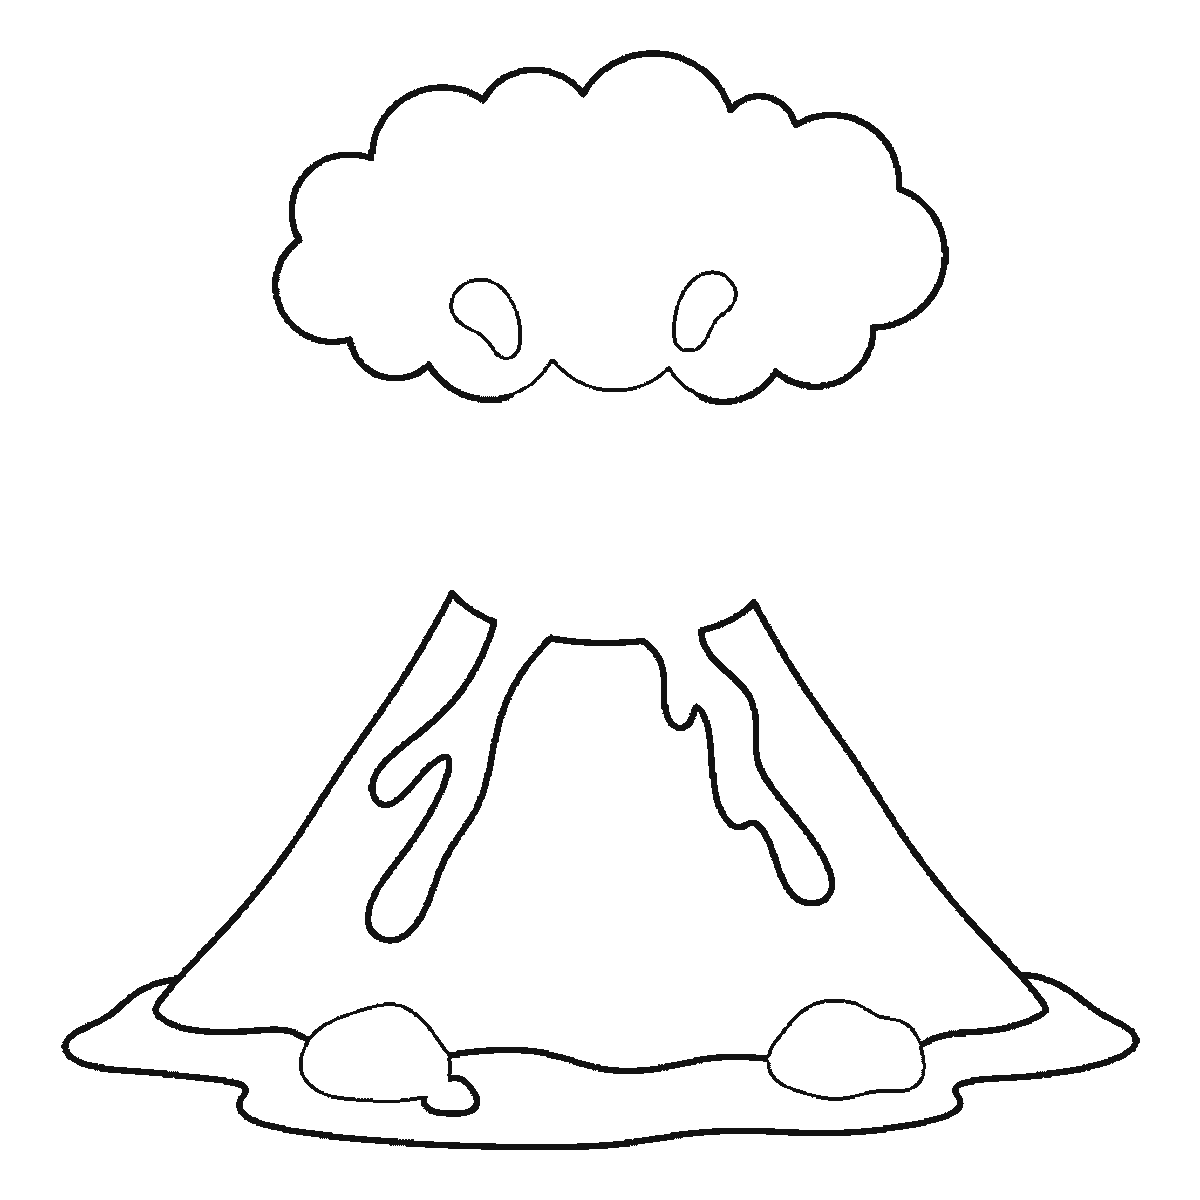
The smoke cloud is frame two, and it is the second biggest thing on the sheet. It is drawn as a single billowing outline with two puff shapes marked inside it, sitting above the crater rather than touching it. Frame three is the ground: a wide flat ripple of land spreading out from the base of the cone on both sides, which is what stops the volcano looking like it is floating.
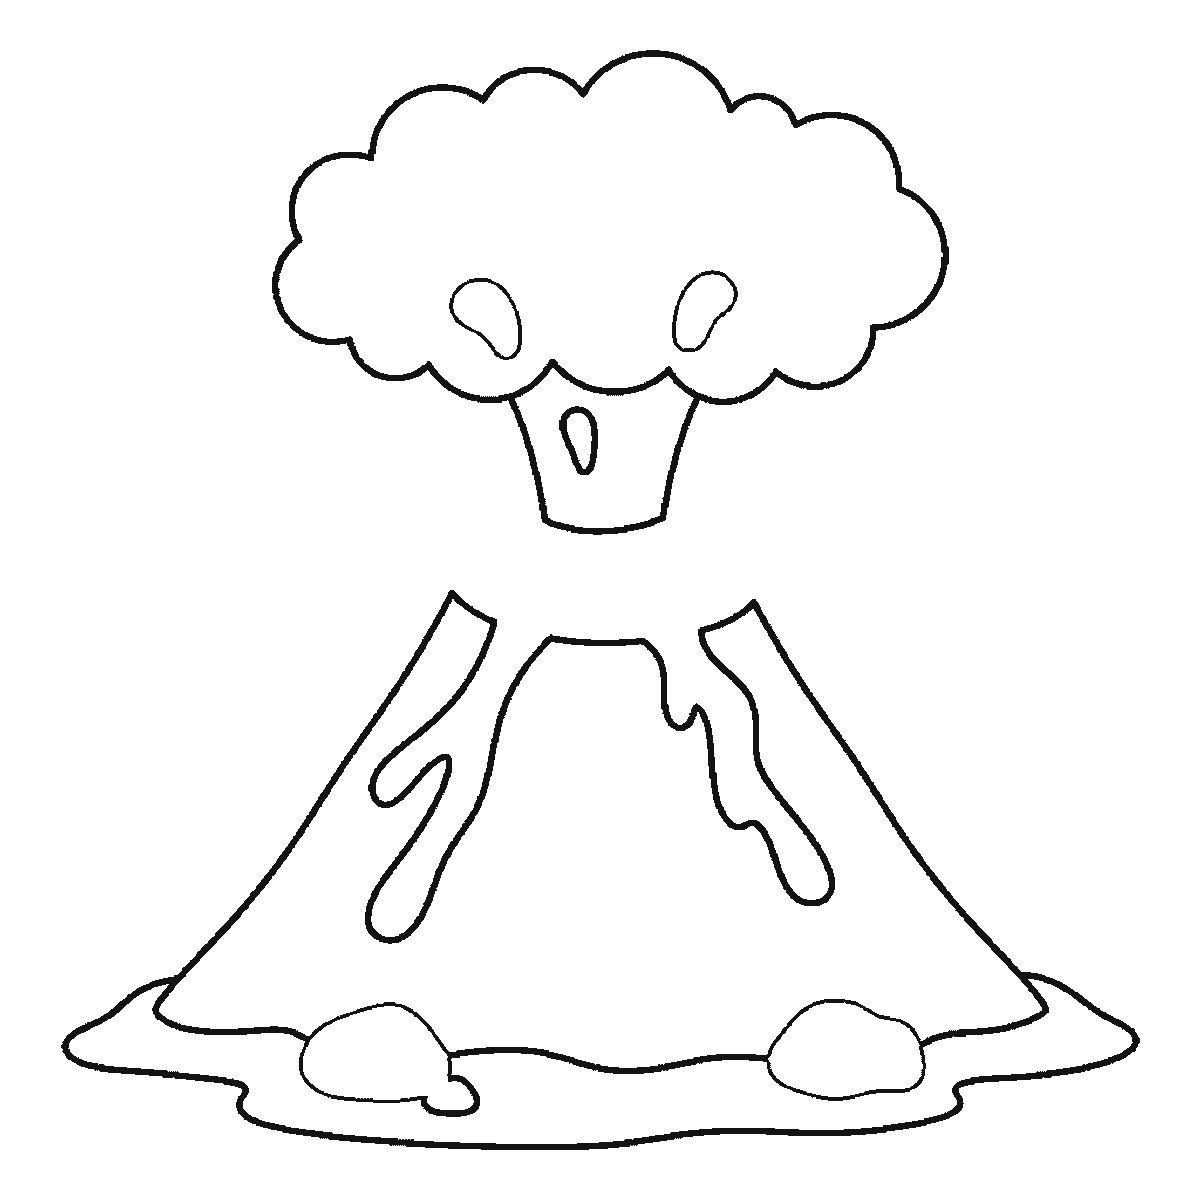
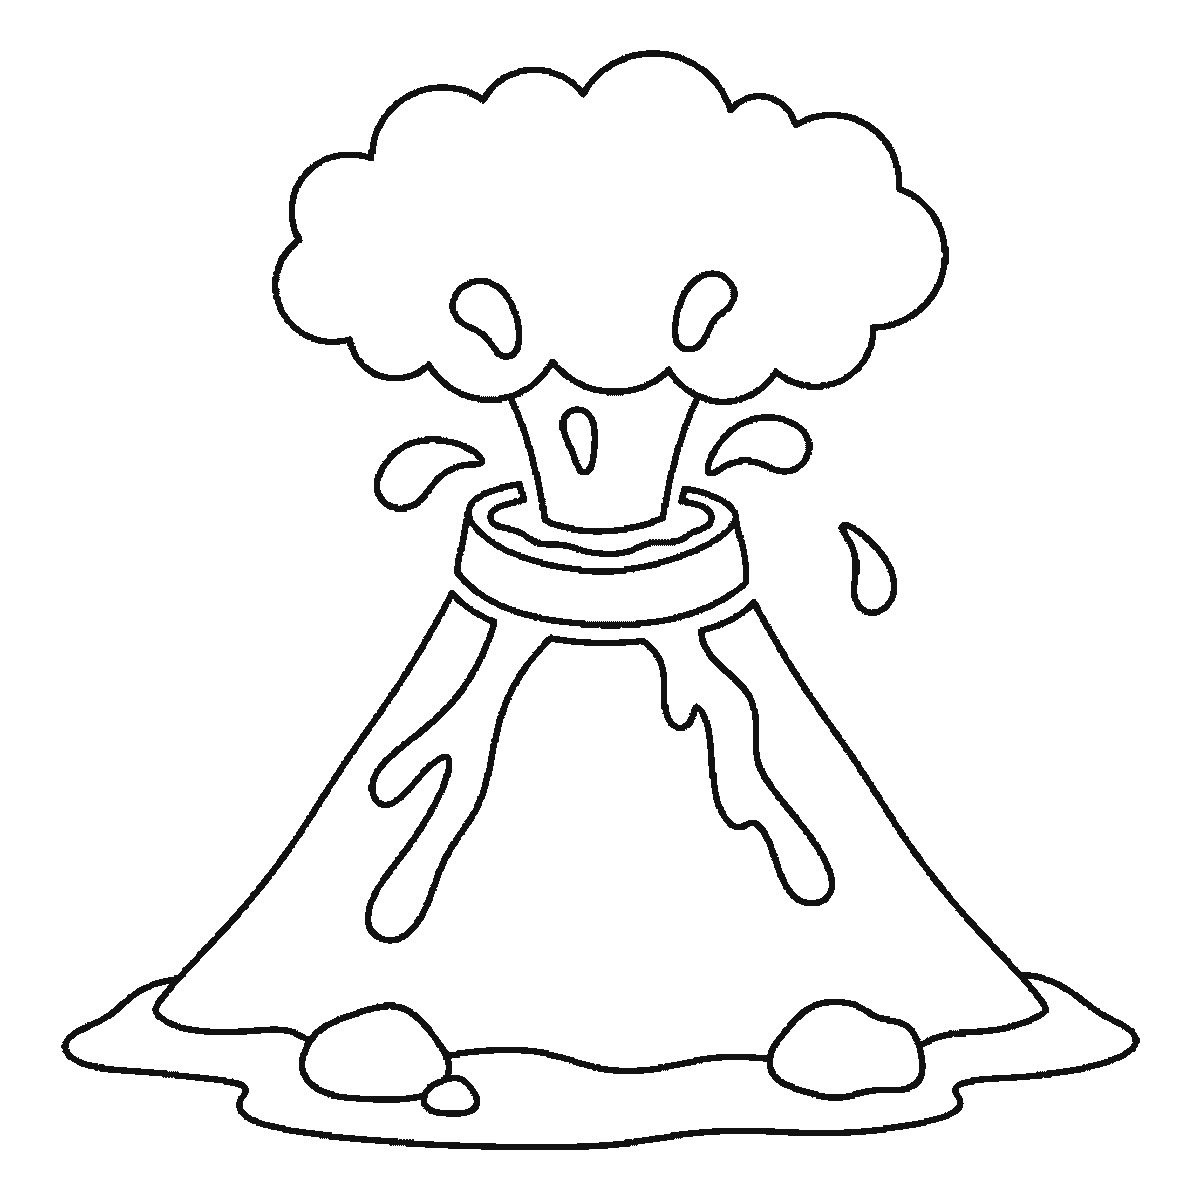
The last three frames are the eruption itself, and they are smaller than you might think. Frame four is the inside of the crater mouth — a short trapezoid opening with a bead of lava in it. Frame five is the crater rim, drawn as a curved band across the top of the cone, together with the two boulders lying on the ground. Frame six is the flying lava: rounded blobs thrown out around the crater at clearly different heights, plus the inner lip of the crater.
The two boulders are worth a note because of how they arrive. Their outlines are half-drawn in frame three, as part of the ground they sit on, and only completed in frame five. Half of a shape appearing four frames before the rest of it is a normal thing on these sheets and it catches people out: if you copy frame three exactly you will find you have already drawn most of two rocks without meaning to.
For proportion, the useful rule is that the cone should be wider at the base than the smoke cloud is across. A volcano drawn with a narrow base and a big cloud reads as a chimney. Draw the base line first, as wide as you dare, then bring the two slopes up to meet a flat top rather than a point — volcanoes are truncated, and drawing a sharp peak is the single commonest mistake.
The six frames are ordered by which closed shape is largest, biggest first and smallest last. That is why the mountain comes before the eruption, and it is not a claim that this is the order anybody ought to draw in. If you would rather start with the smoke and hang the mountain underneath it, the finished drawing is the same drawing.
The download is one A4 page with all six frames on it. It is a plain black outline on white and prints on any printer, because there is nothing shaded anywhere on the page. This is a good one to colour: the lava streams and the flying blobs give you somewhere obvious to put red and orange, and leaving the cone plain makes them read as hot.
Before you start
- Draw the base line before the slopes. A volcano is a shape that has to sit on something, and starting at the top means guessing where the bottom goes.
- Give the cone a flat top, not a point. Real volcanoes are cut off at the summit, and so is every drawing of one that looks right.
- Make the lava streams different lengths. Two matching streams running down either side make the mountain look symmetrical in a way no landscape ever is.
- Space the flying blobs at clearly different heights. Blobs arranged in a neat arc read as a fountain rather than an eruption.
Published Updated 586 words
The six steps
The steps go from the largest shape to the smallest, which is an easy order to copy. It is not the only order, and it is not a rule — if you would rather start somewhere else on the sheet, do.
Step 1
Step 2
Step 3
Step 4
Step 5
Step 6
More in this section
How to draw a palm tree
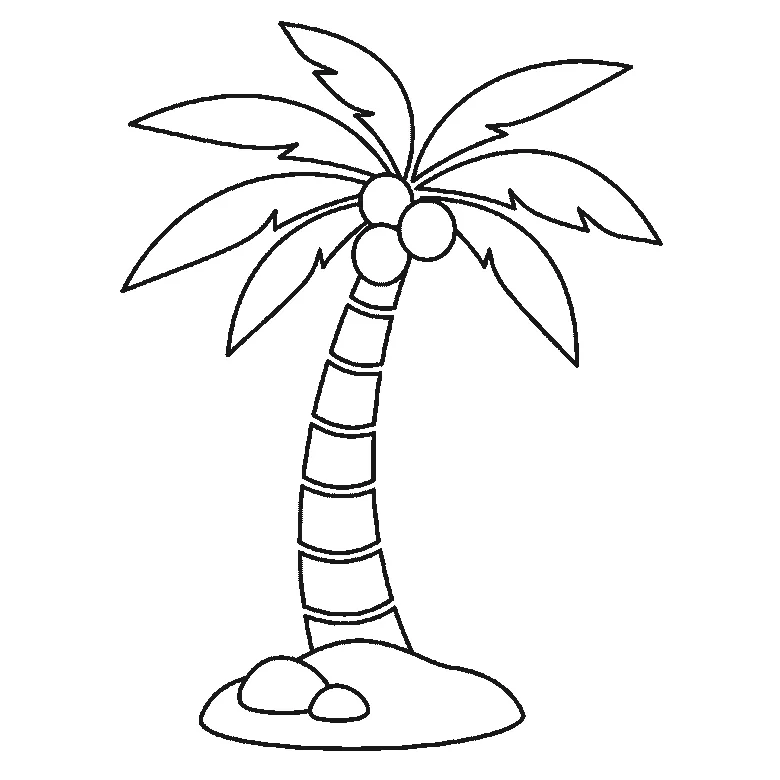
Six frames, one palm tree on a mound of sand. The fronds come first, two at a time; the trunk is not drawn until frame five.
Step sequence made by us from a single drawing: each step keeps the lines of the one before it and adds to them.
How to draw a sunflower
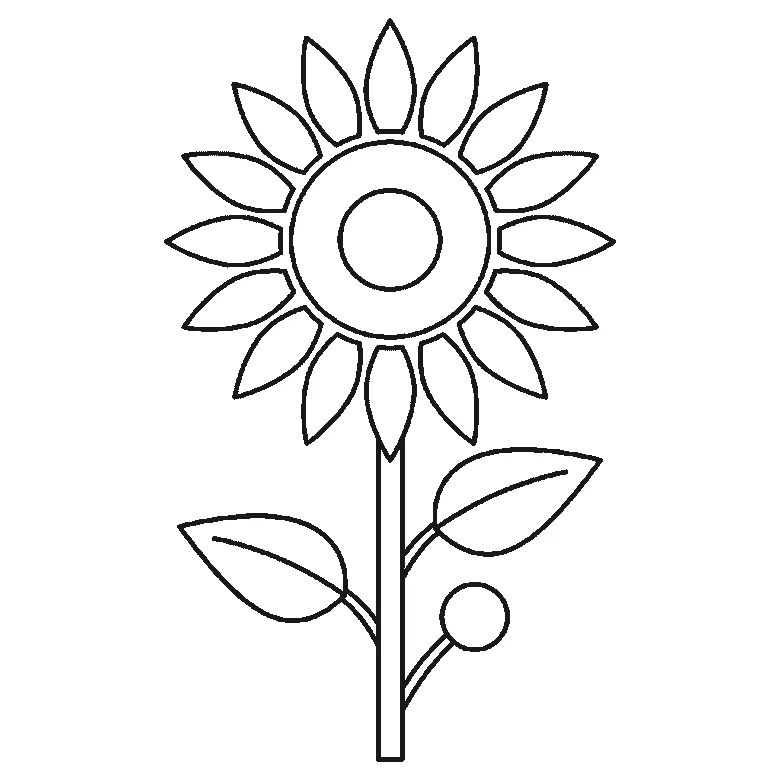
Six frames, one tall sunflower with two leaves and a bud. The seed head and one leaf first — and no petals at all until frame three.
Step sequence made by us from a single drawing: each step keeps the lines of the one before it and adds to them.
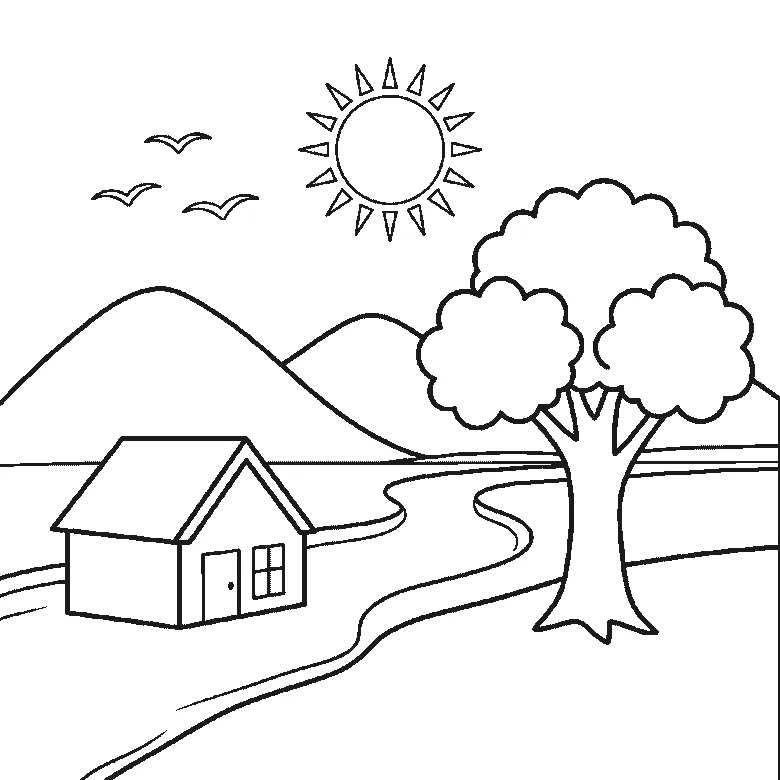
How to draw a landscape
Six frames, one countryside scene with hills, a river, a tree, a house and a sun. The leaves come first and the birds last.
Step sequence made by us from a single drawing: each step keeps the lines of the one before it and adds to them.
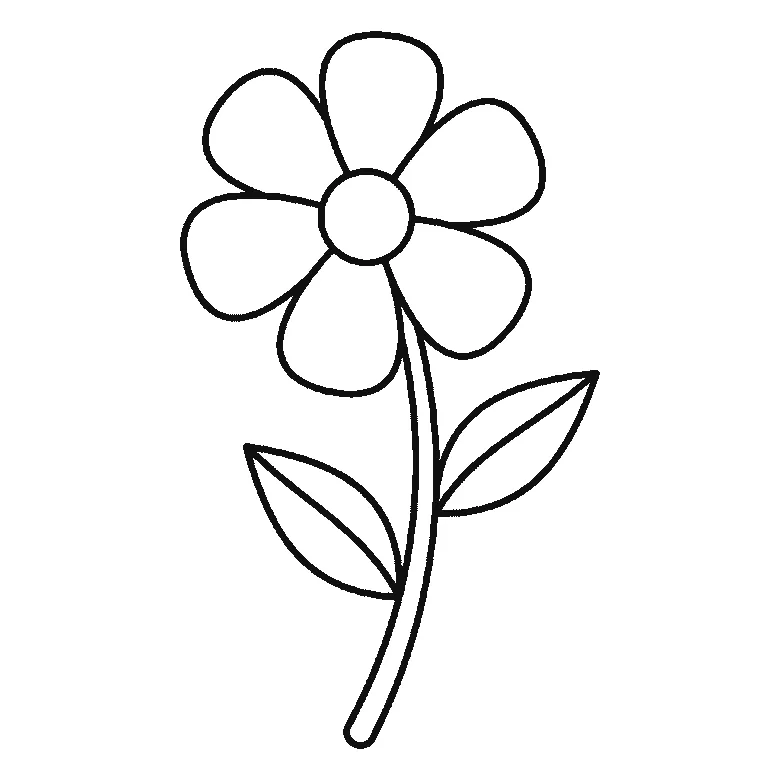
How to draw a flower
Six frames, one open flower on a stem. Three petals first, then the other three and the stem, the two leaves, and the centre near the end.
Step sequence made by us from a single drawing: each step keeps the lines of the one before it and adds to them.
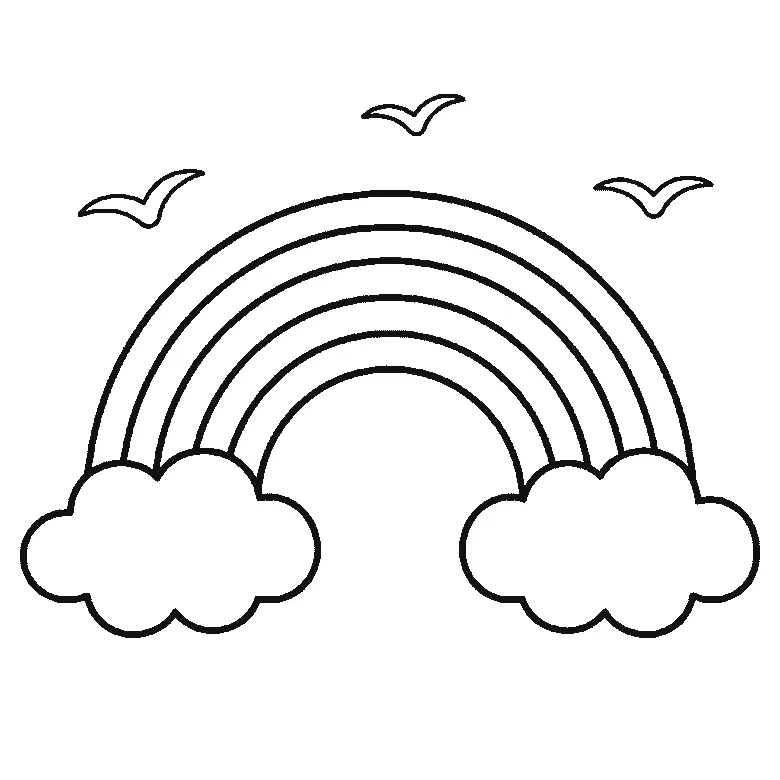
How to draw a rainbow
Six frames, a rainbow with a cloud at each end and three birds. The clouds first, then the bands from the outside in, and the birds last.
Step sequence made by us from a single drawing: each step keeps the lines of the one before it and adds to them.
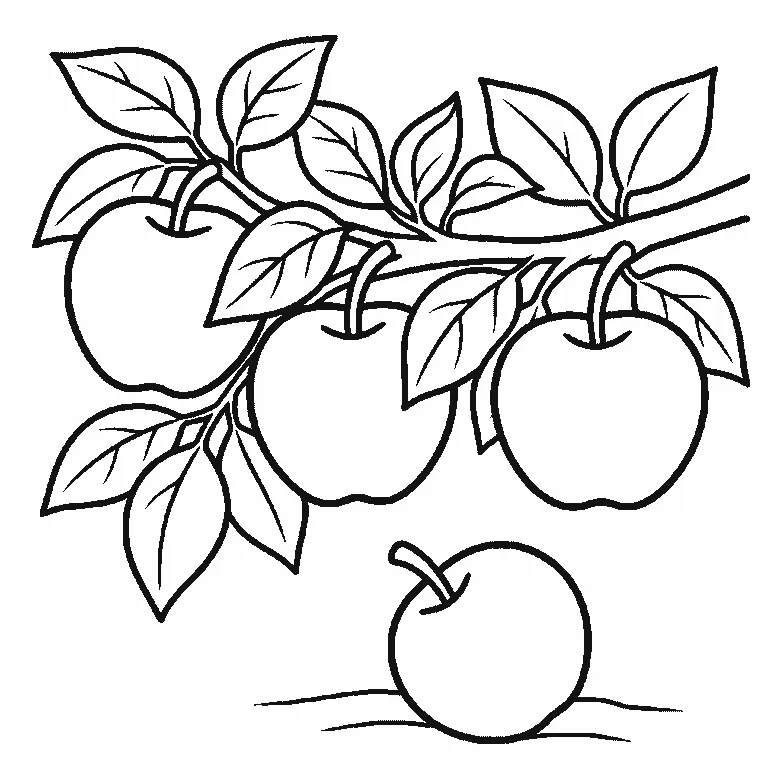
How to draw an apple
Six frames, four apples on a leafy branch — three hanging and one on the ground. Two apples first, then the other two, then leaf after leaf.
Step sequence made by us from a single drawing: each step keeps the lines of the one before it and adds to them.
How to draw a rose
Six frames, one open rose. The centre cluster first, then the leaves, the outer petals and the stem.
Step sequence made by us from a single drawing: each step keeps the lines of the one before it and adds to them.
How to draw a star
Six frames, one faceted five-pointed star and four smaller ones, built one facet panel at a time.
Step sequence made by us from a single drawing: each step keeps the lines of the one before it and adds to them.
How to draw a tree
Six frames, one broad-leaved tree. Trunk first, then the branches, then the foliage in separate clumps.
Step sequence made by us from a single drawing: each step keeps the lines of the one before it and adds to them.
How to draw a beach
Six frames, one beach scene. The sea and its three waves first, then the sun and clouds — and the palm trunk and the parasol pole right at the end.
Step sequence made by us from a single drawing: each step keeps the lines of the one before it and adds to them.
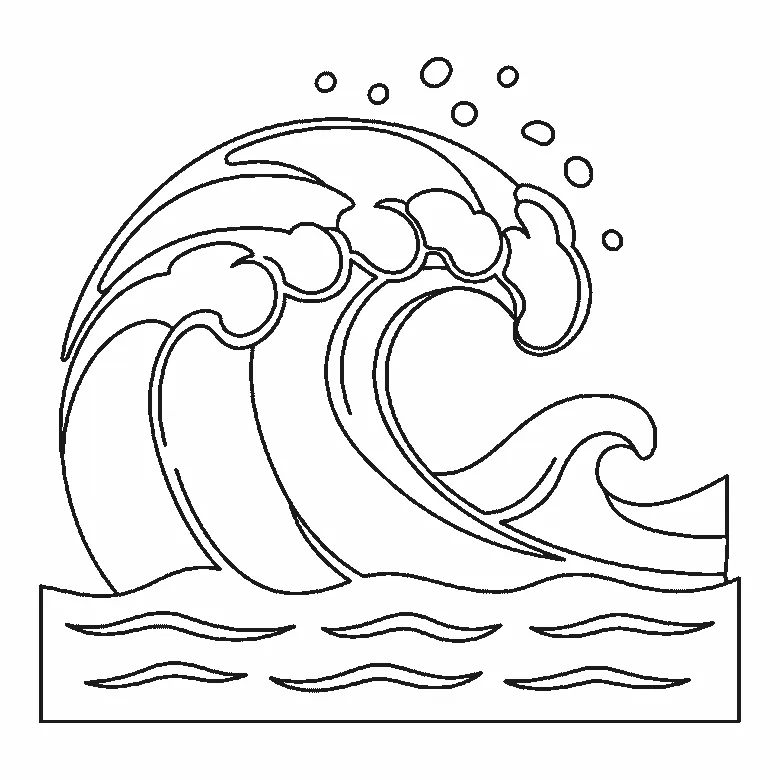
How to draw a wave
Six frames, one big breaking wave. The inside of the curl first, not the outline — and all the spray droplets in the very last frame.
Step sequence made by us from a single drawing: each step keeps the lines of the one before it and adds to them.
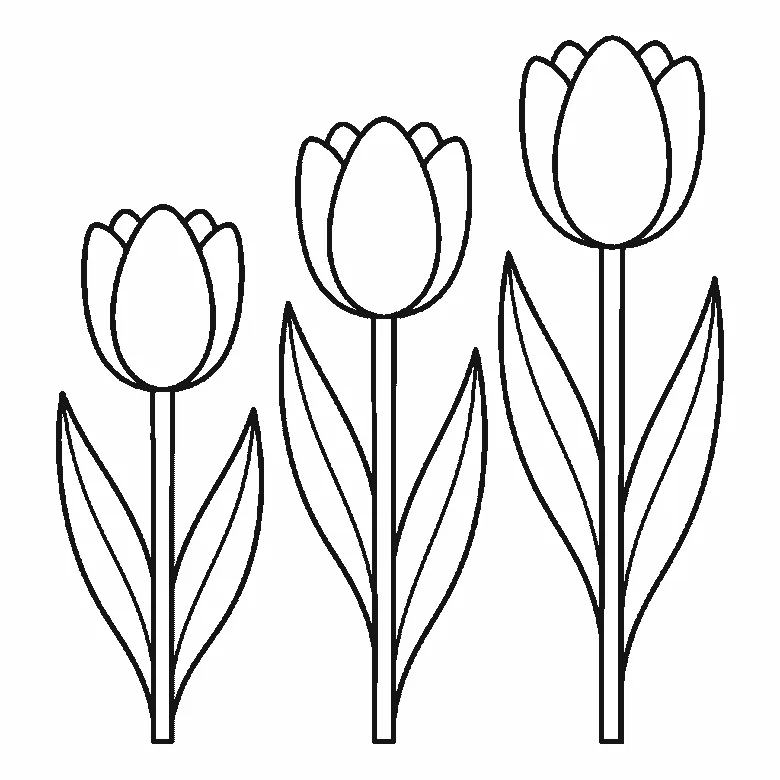
How to draw tulips
Six frames, three tulips of different heights. All three flower cups arrive together in the first frame — and the lines that split each cup into petals come last.
Step sequence made by us from a single drawing: each step keeps the lines of the one before it and adds to them.


