
PDF · A4 · 48 KB · Free, no sign-up. For home and classroom use.
How to draw a rose
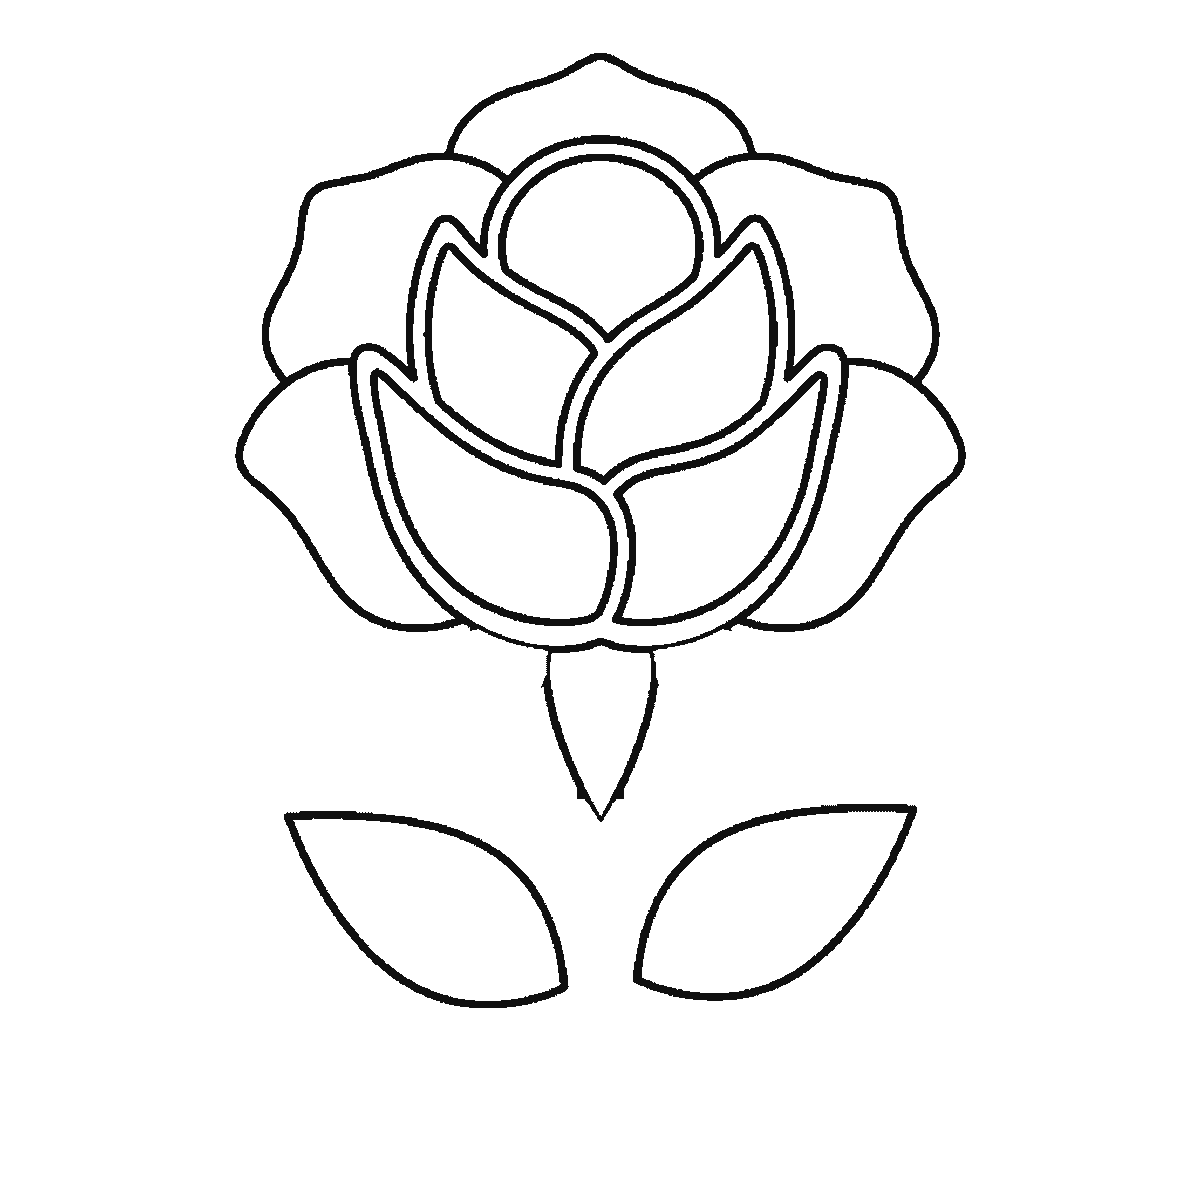
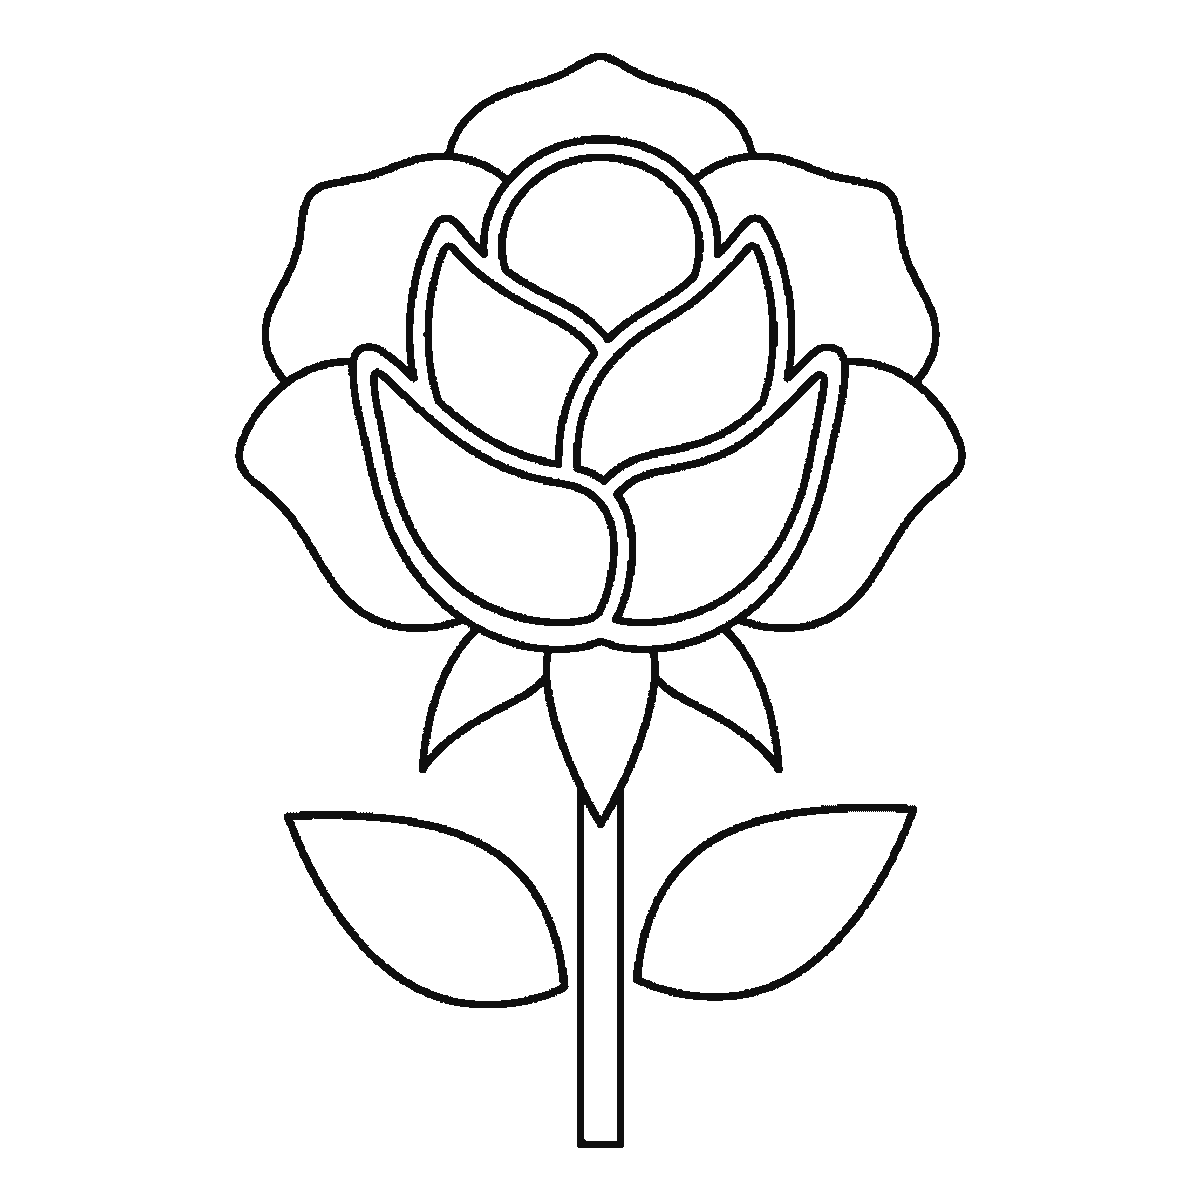
Six frames, one open rose. The centre cluster first, then the leaves, the outer petals and the stem.
A rose has a reputation for being difficult, and almost all of that reputation comes from people trying to draw the spiral in the middle before anything else exists to put it in. This sheet does the opposite. It builds the bloom from the outside in, so by the time you reach the fiddly centre you are drawing a small shape into a space that is already the right size, which is a completely different job from inventing one on blank paper.
Frame one gives you the tight cluster at the centre of the bloom — the small overlapping inner petals, drawn as one nested group. That is the opposite of what most drawing books do, and it works for a reason: the inner petals set the scale, so every outer petal added afterwards is measured against something that already exists rather than against blank paper.
The two leaves arrive next, one per frame, floating below the bloom with nothing yet connecting them to it. That is an odd thing to copy and it is worth knowing before you start: this sheet reveals shapes in order of SIZE, not in order of sense, so a leaf can appear before the stem that holds it. Put each one where the frame shows it and the stem will join everything up at the end.
Then the outer petals, added over two frames — wide, soft-edged shapes that fan out and slightly backwards, the way the oldest petals on a real rose curl away from the flower. Draw them as generous rounded forms rather than points. Petals drawn too narrow and too pointed are the commonest mistake with this flower, and they turn it into something closer to a chrysanthemum. Each one should overlap its neighbour rather than merely touching it, because a rose is a cupped spiral of layers and layers only read as layers when one shape visibly passes behind another.
Below the bloom sits the sepal collar — the small pointed shapes where the flower joins the stem. They are easy to leave out and they matter more than their size suggests, because they are the join. A bloom balanced directly on a stem with no collar looks stuck on, like a lollipop. Three or four short points is plenty.
The stem arrives last and it is the shape that makes sense of the whole page, because it is what finally joins those two floating leaves to the bloom. Draw it as a narrow shape with two sides rather than as a single line, so it has thickness. Rose leaves are pointed ovals with a visible central vein, and setting them at slightly different angles rather than symmetrically opposite each other makes the plant look grown rather than assembled.
If you want to make the drawing harder in a useful way, try turning the bloom slightly so you see it from three quarters rather than face on. Every petal then becomes a squashed version of itself, the collar disappears behind the flower on one side, and you have to think about what is in front of what. It is the same six shapes and a much better exercise.
One small observation worth carrying away: no two petals on a real rose are the same size, and the ones nearest the centre are always the smallest by a large margin, not a small one. Beginners tend to shrink each layer by about a tenth. Shrink each one by nearer a third and the flower suddenly gains depth it did not have.
The six frames run from the biggest closed shape on the sheet to the smallest, which for this drawing means the centre cluster, then the two leaves, then the outer petals, then the stem. That is a description of how the sheet was built and not a claim about how a rose ought to be drawn — the order comes from the size of the shapes and from nothing else, and working outer petals first is at least as sensible.
The download is one A4 page carrying all six frames, printable on any machine, plain black outline with nothing shaded. Once you have copied the last frame you have an outline you can colour in, which is a fair second use of the same sheet.
Before you start
- Make the outer petals wide and rounded. Narrow pointed petals turn a rose into a chrysanthemum.
- Let every petal overlap its neighbour rather than sitting beside it — the overlap is what makes the layers read as layers.
- Shrink each inner layer by about a third, not a tenth.
- Draw the stem as a shape with two sides, not as a single line.
Published Updated 715 words
The six steps
The steps go from the largest shape to the smallest, which is an easy order to copy. It is not the only order, and it is not a rule — if you would rather start somewhere else on the sheet, do.
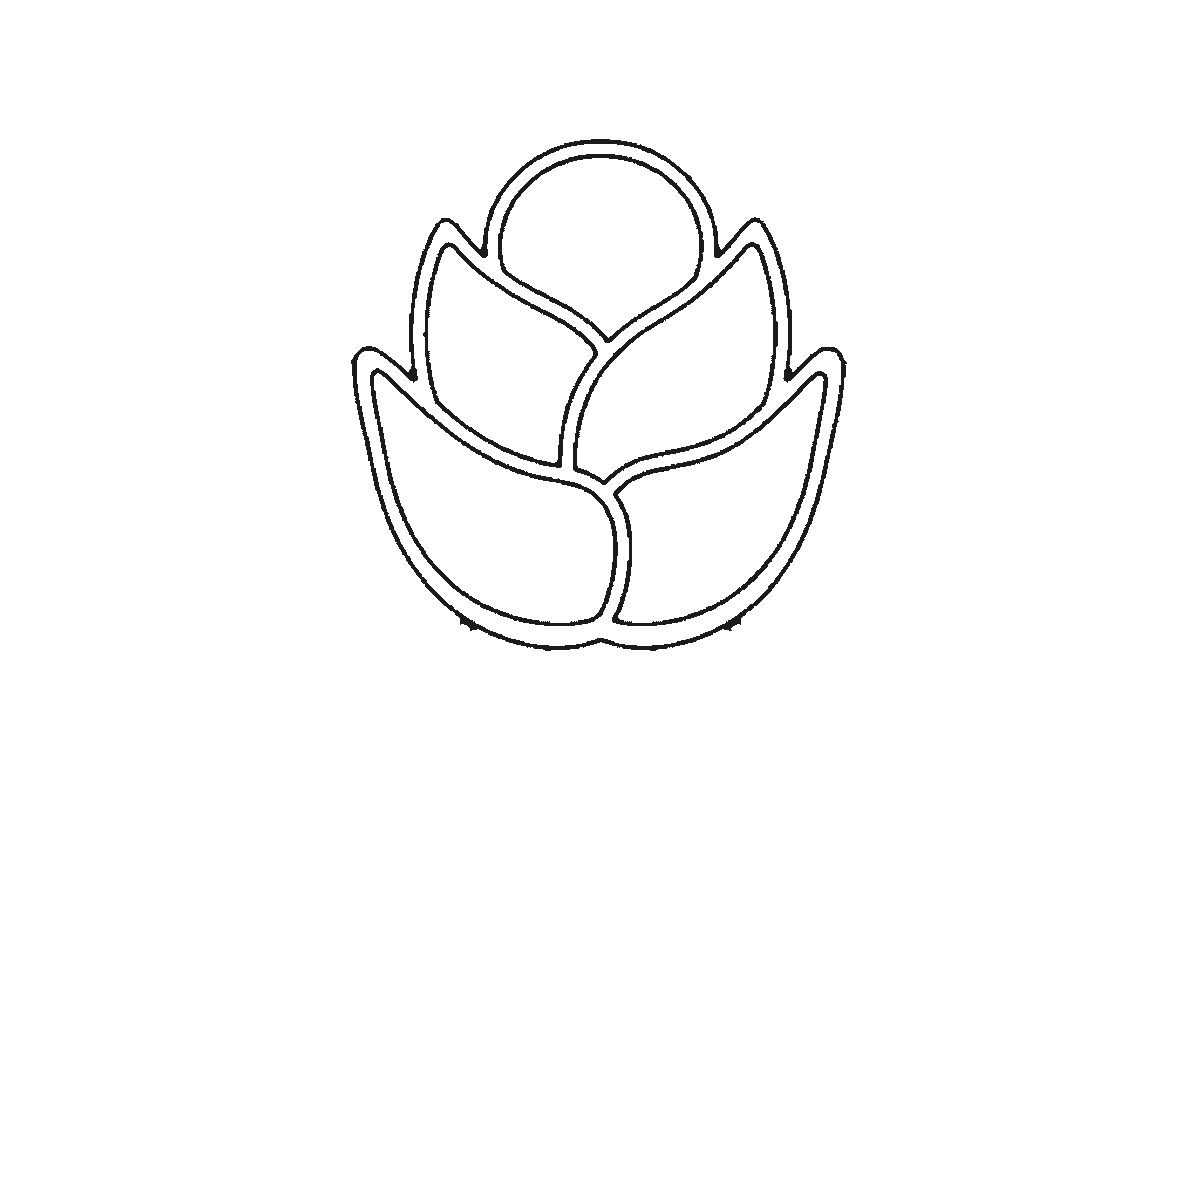
Step 1
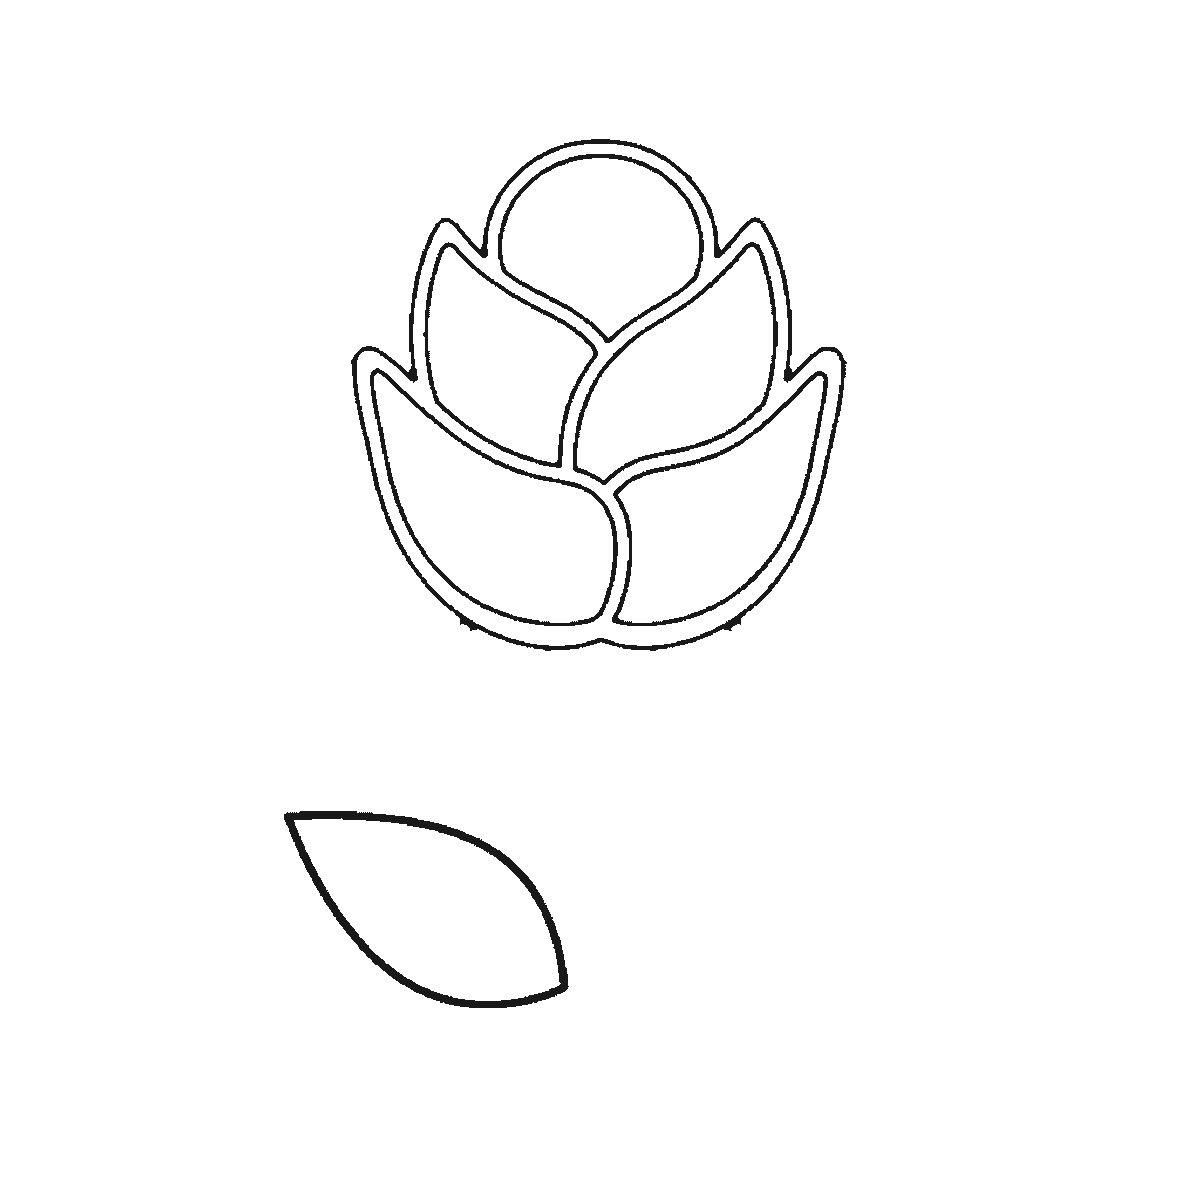
Step 2
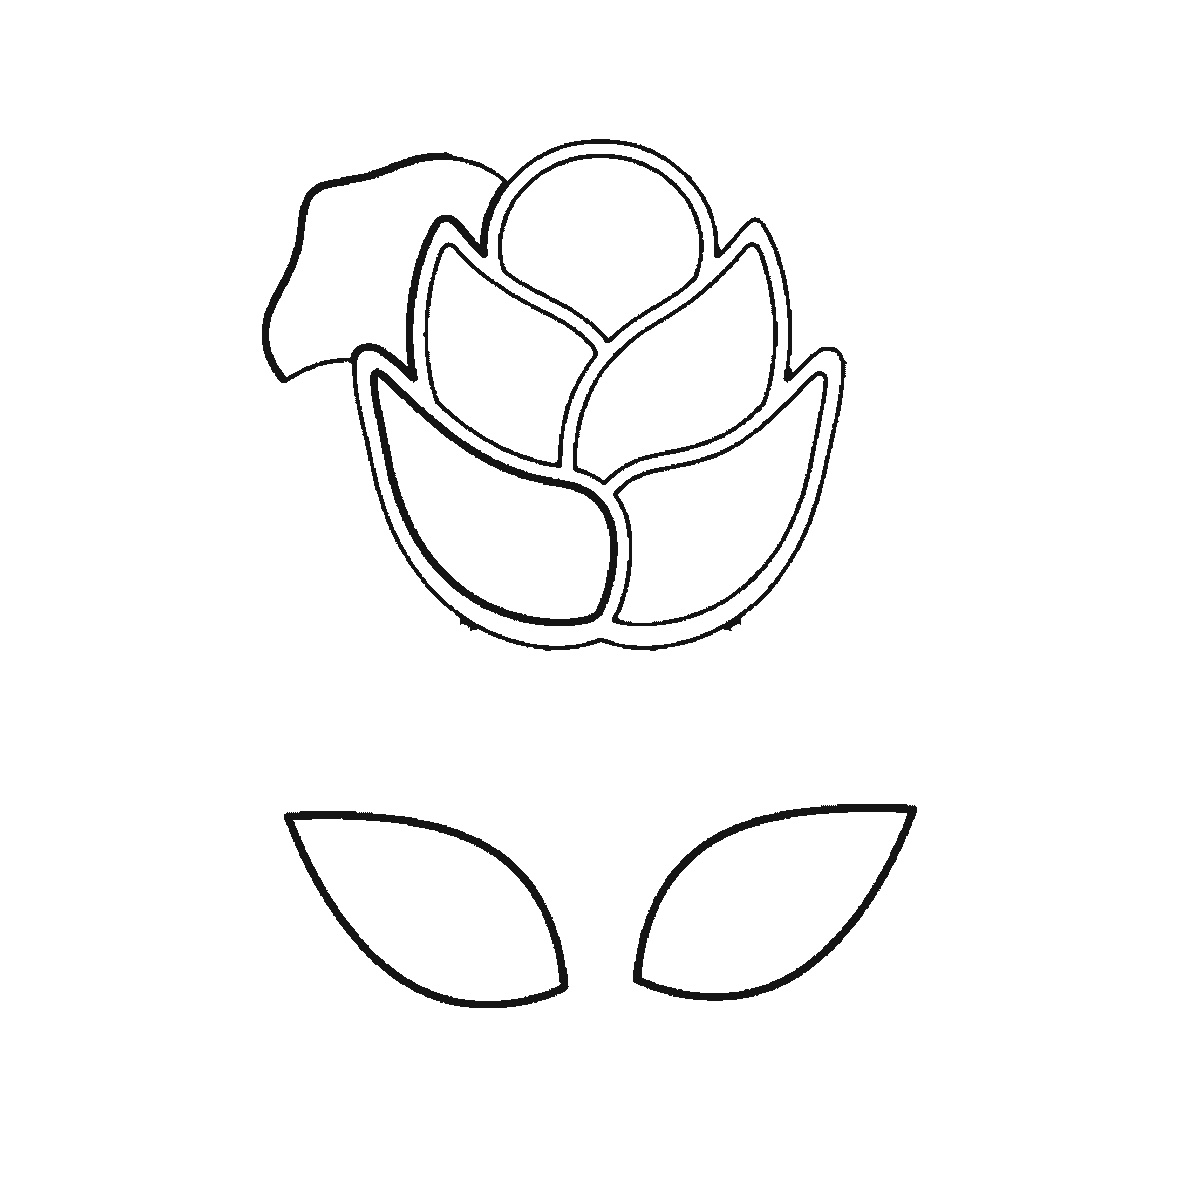
Step 3
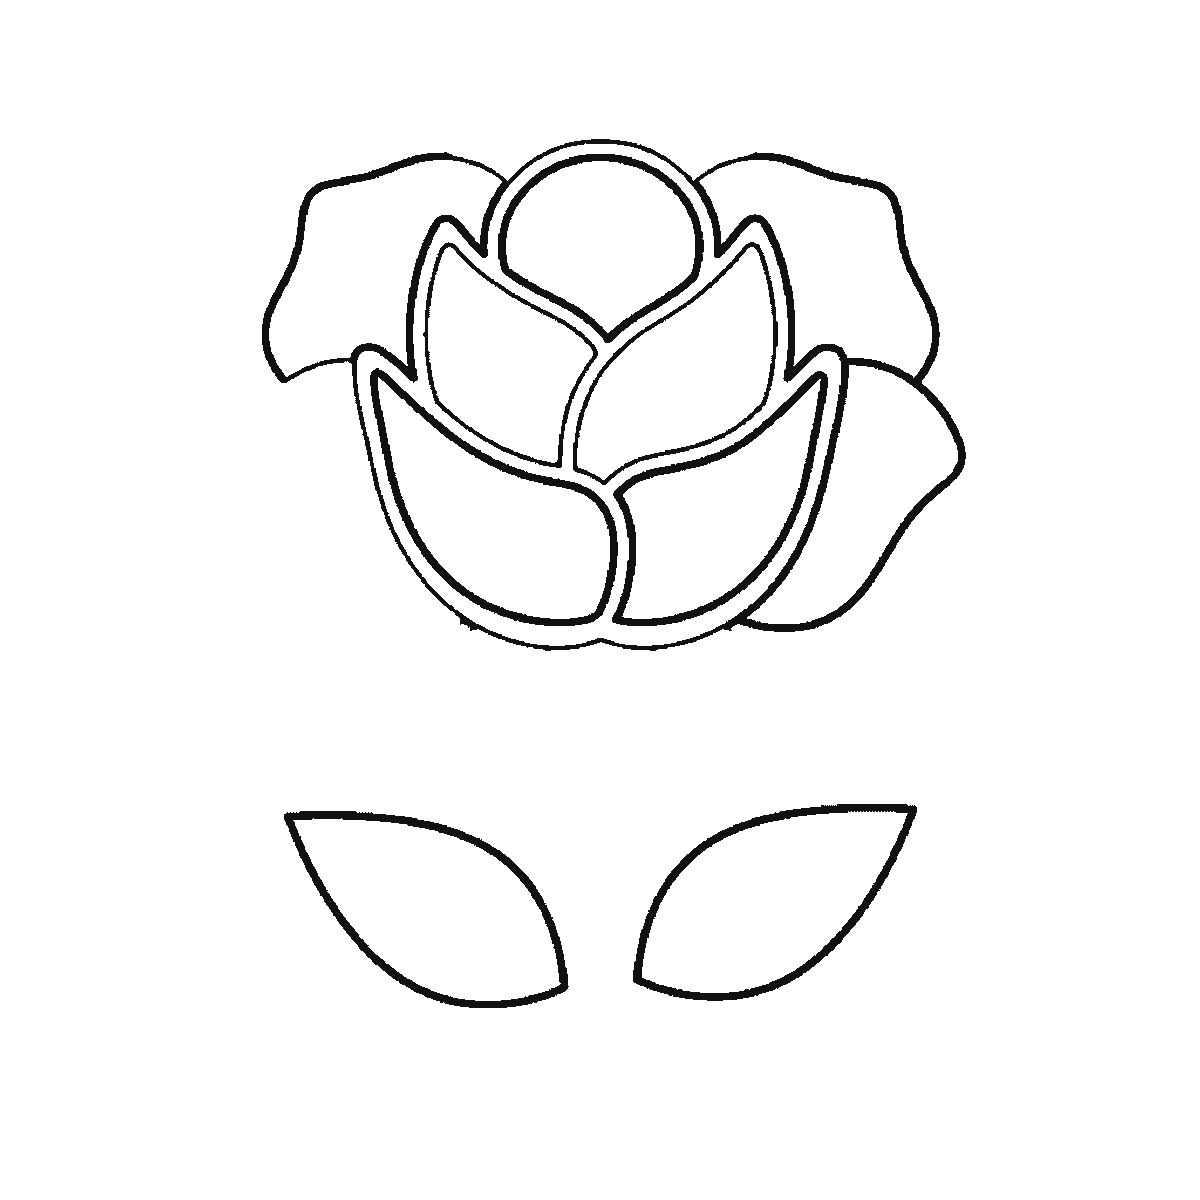
Step 4
Step 5
Step 6
More in this section
How to draw a star
Six frames, one faceted five-pointed star and four smaller ones, built one facet panel at a time.
Step sequence made by us from a single drawing: each step keeps the lines of the one before it and adds to them.
How to draw a tree
Six frames, one broad-leaved tree. Trunk first, then the branches, then the foliage in separate clumps.
Step sequence made by us from a single drawing: each step keeps the lines of the one before it and adds to them.
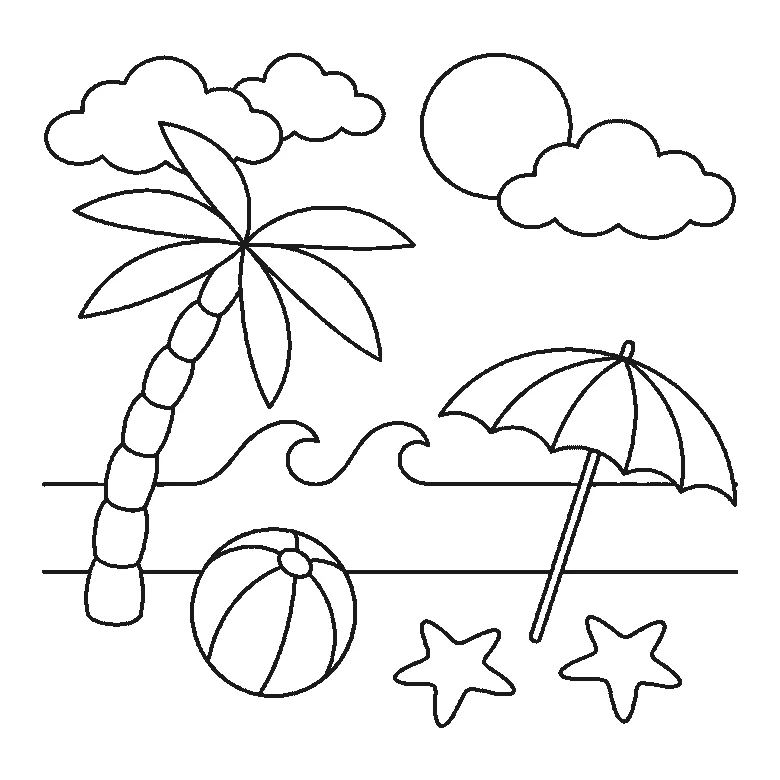
How to draw a beach
Six frames, one beach scene. The sea and its three waves first, then the sun and clouds — and the palm trunk and the parasol pole right at the end.
Step sequence made by us from a single drawing: each step keeps the lines of the one before it and adds to them.
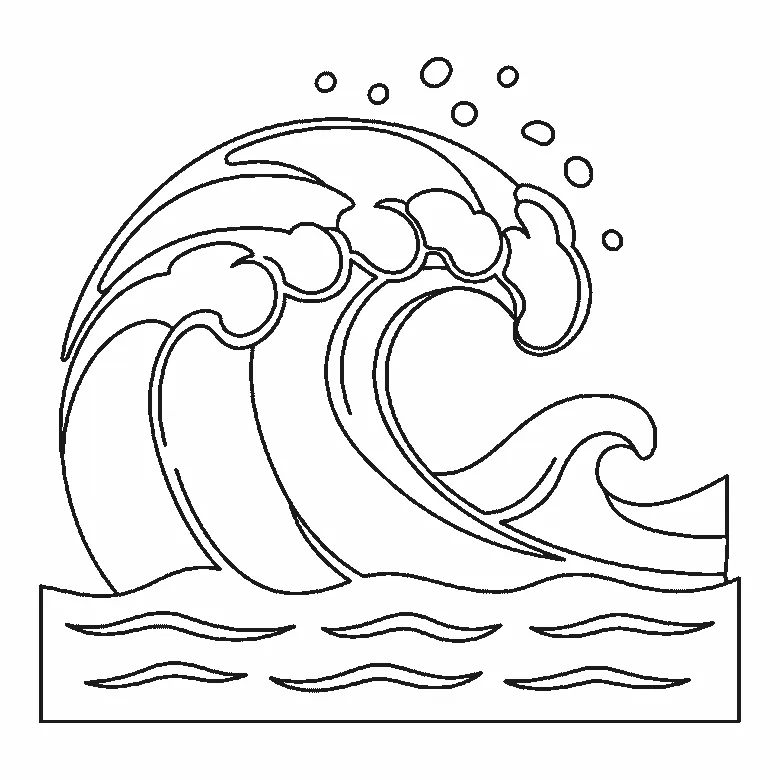
How to draw a wave
Six frames, one big breaking wave. The inside of the curl first, not the outline — and all the spray droplets in the very last frame.
Step sequence made by us from a single drawing: each step keeps the lines of the one before it and adds to them.
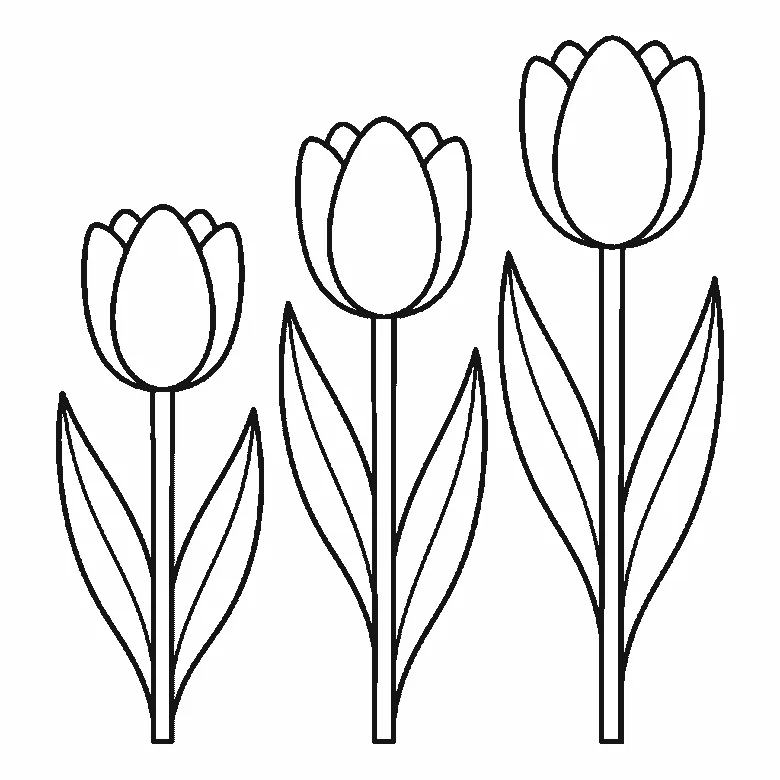
How to draw tulips
Six frames, three tulips of different heights. All three flower cups arrive together in the first frame — and the lines that split each cup into petals come last.
Step sequence made by us from a single drawing: each step keeps the lines of the one before it and adds to them.
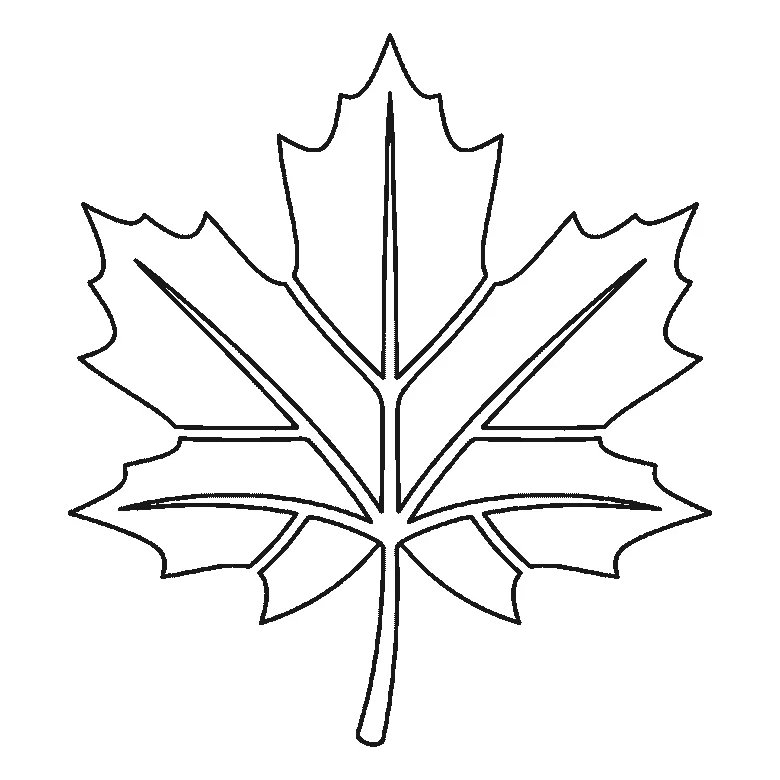
How to draw a leaf
Six frames, one maple leaf — and this sheet is the tidiest on the site: one lobe per frame, each with its own vein, and the stem last.
Step sequence made by us from a single drawing: each step keeps the lines of the one before it and adds to them.
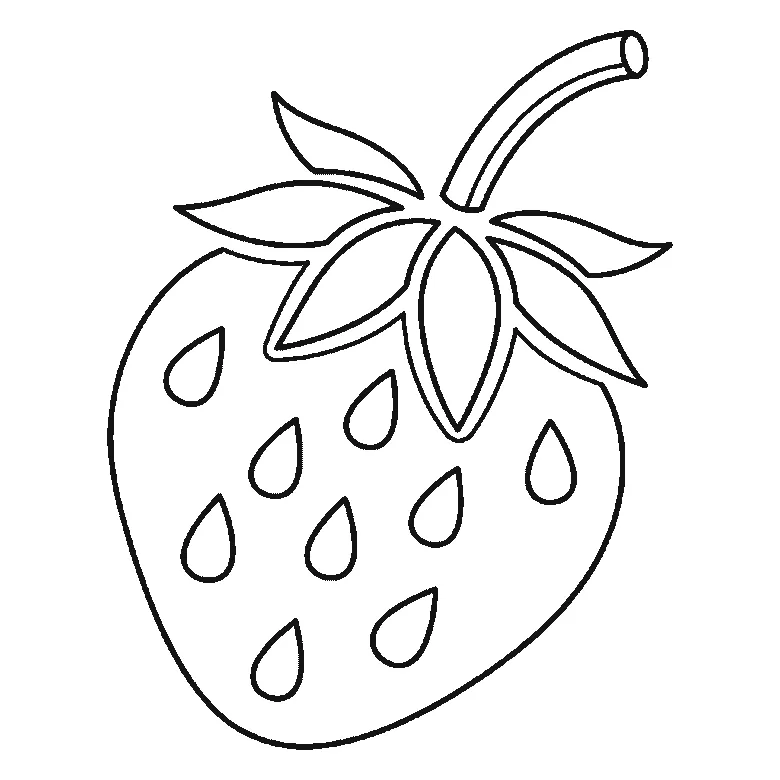
How to draw a strawberry
Six frames, one strawberry. The whole berry outline arrives in the first frame — a big first step — then a calyx leaf at a time, with all eleven seeds at the end.
Step sequence made by us from a single drawing: each step keeps the lines of the one before it and adds to them.

How to draw Earth
Six frames, one globe, revealed ocean-panel by ocean-panel rather than continent by continent. The land emerges as the white left behind, and the stars come last.
Step sequence made by us from a single drawing: each step keeps the lines of the one before it and adds to them.
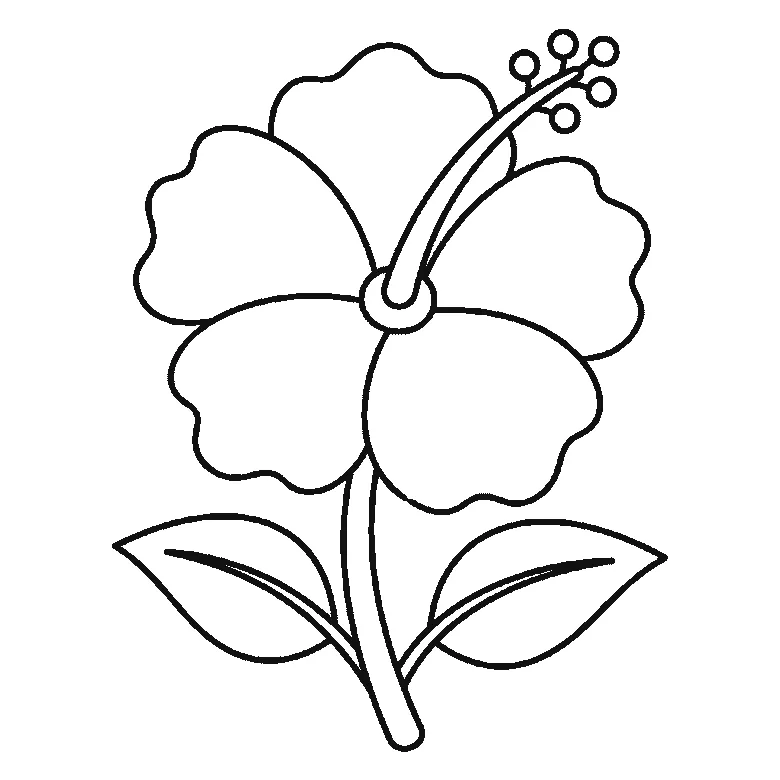
How to draw a hibiscus flower
Six frames, one open hibiscus. Three petals first and the other two next, so the flower head is done by frame two — and the stamen column arrives at frame five.
Step sequence made by us from a single drawing: each step keeps the lines of the one before it and adds to them.
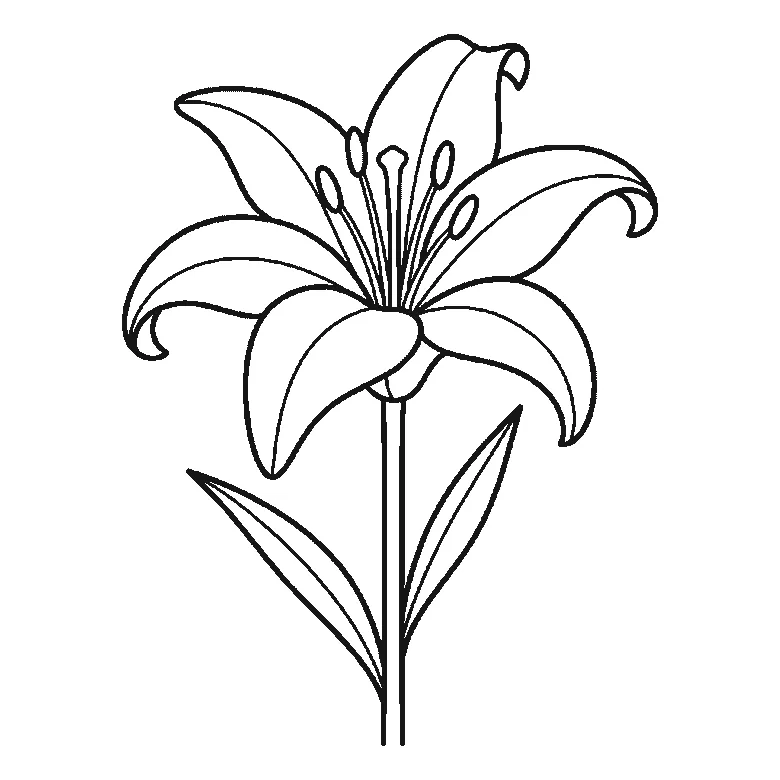
How to draw a lily
Six frames, one open lily. Three petals in the first frame, the rest two at a time — and the stem, the leaves and the central stamens right at the end.
Step sequence made by us from a single drawing: each step keeps the lines of the one before it and adds to them.
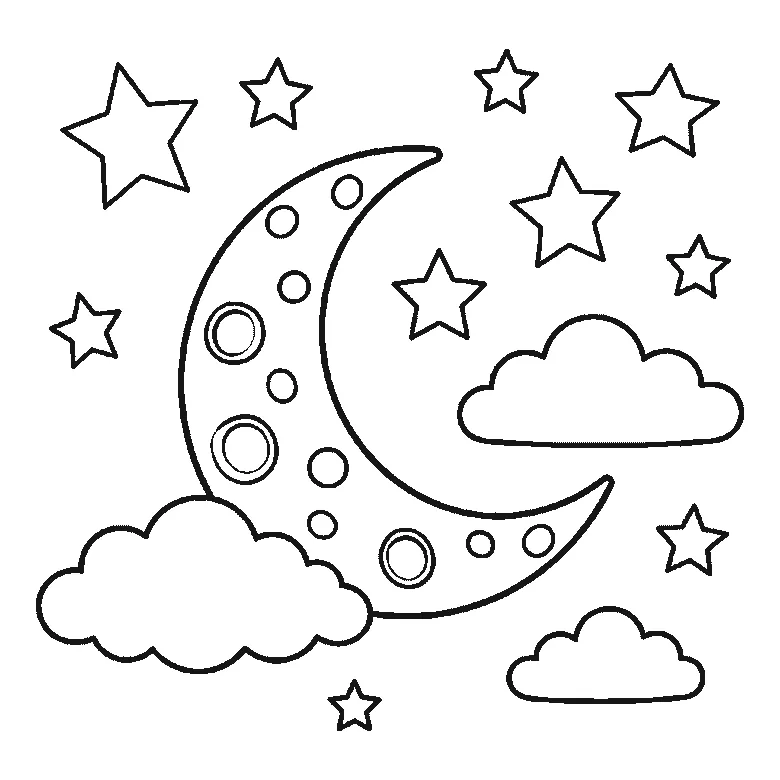
How to draw the moon
Six frames, a crescent moon in a night sky. The whole moon and every crater arrive in frame one; the five frames after it are clouds and stars.
Step sequence made by us from a single drawing: each step keeps the lines of the one before it and adds to them.
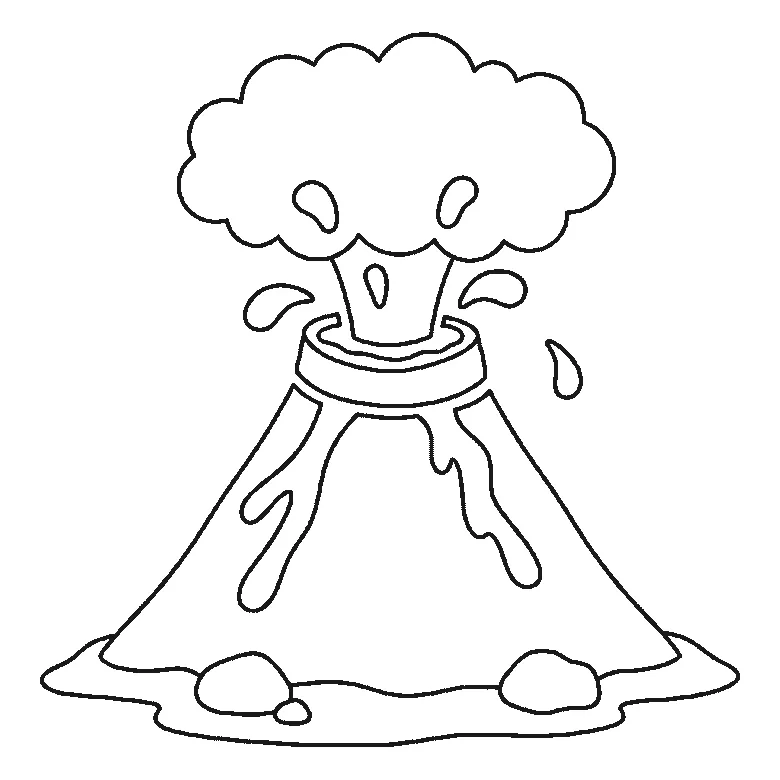
How to draw a volcano
Six frames, one erupting volcano. The whole cone with its lava streams arrives in frame one; the smoke, the ground and the flying lava come after it.
Step sequence made by us from a single drawing: each step keeps the lines of the one before it and adds to them.


