
PDF · A4 · 59 KB · Free, no sign-up. For home and classroom use.
How to draw a strawberry
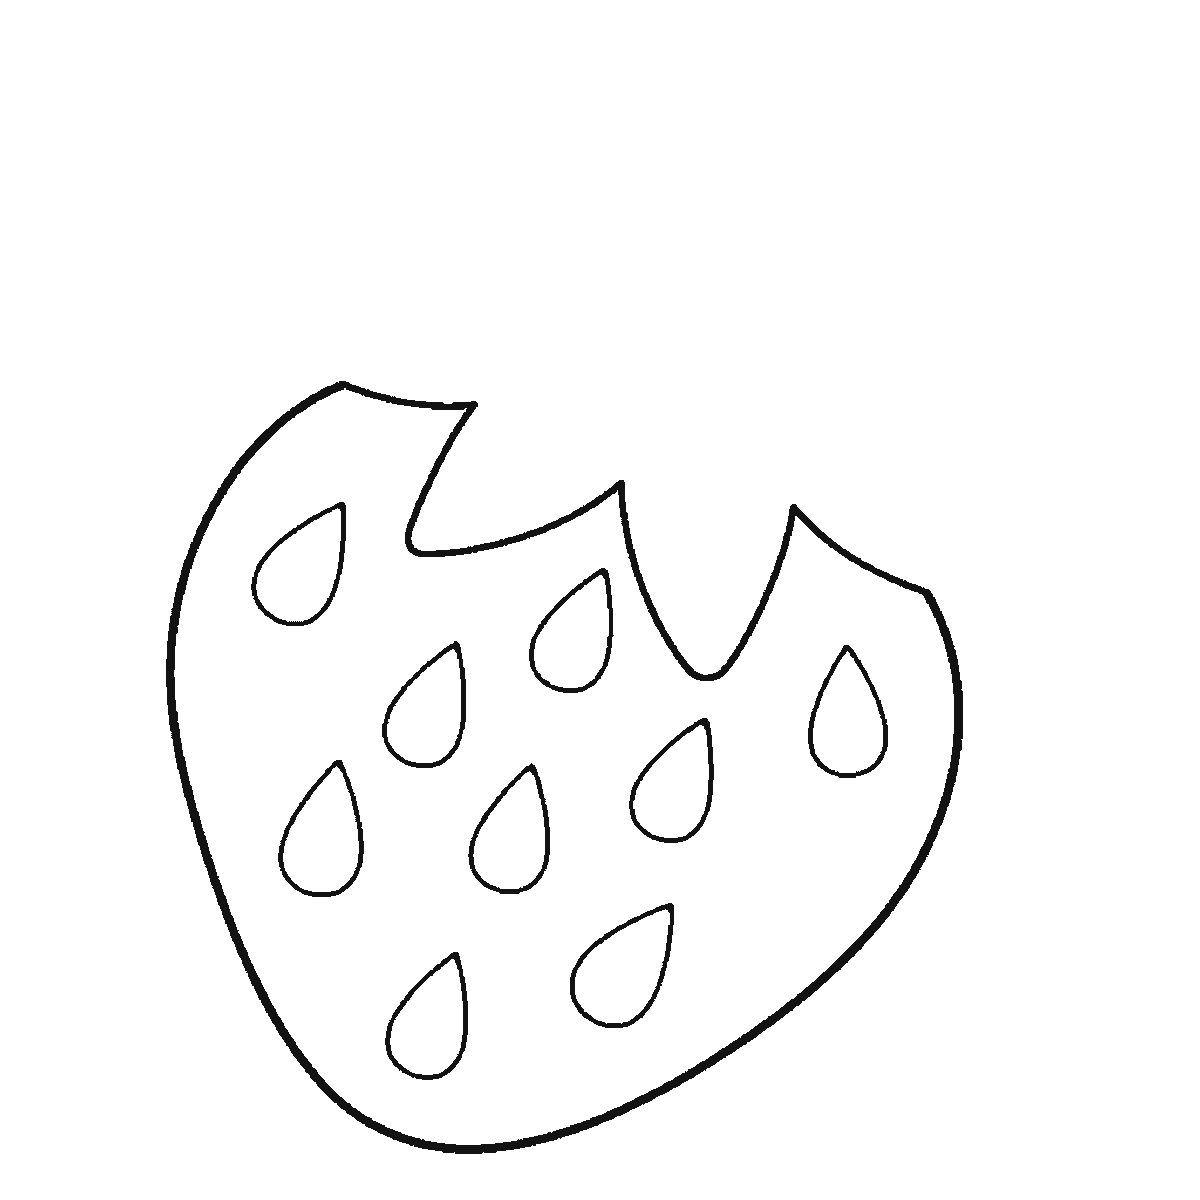
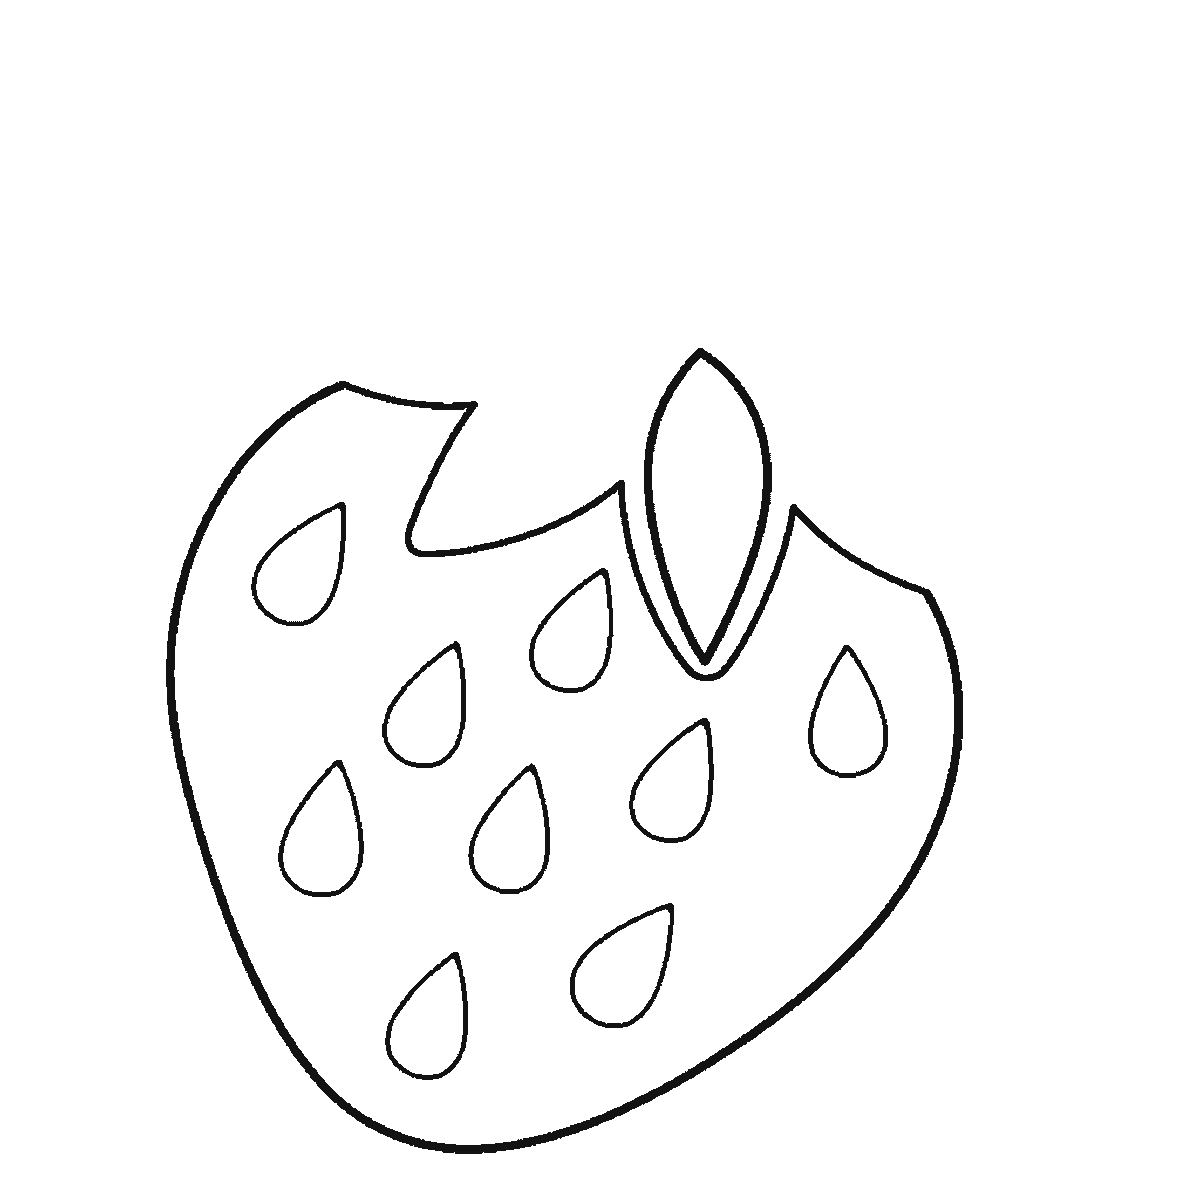
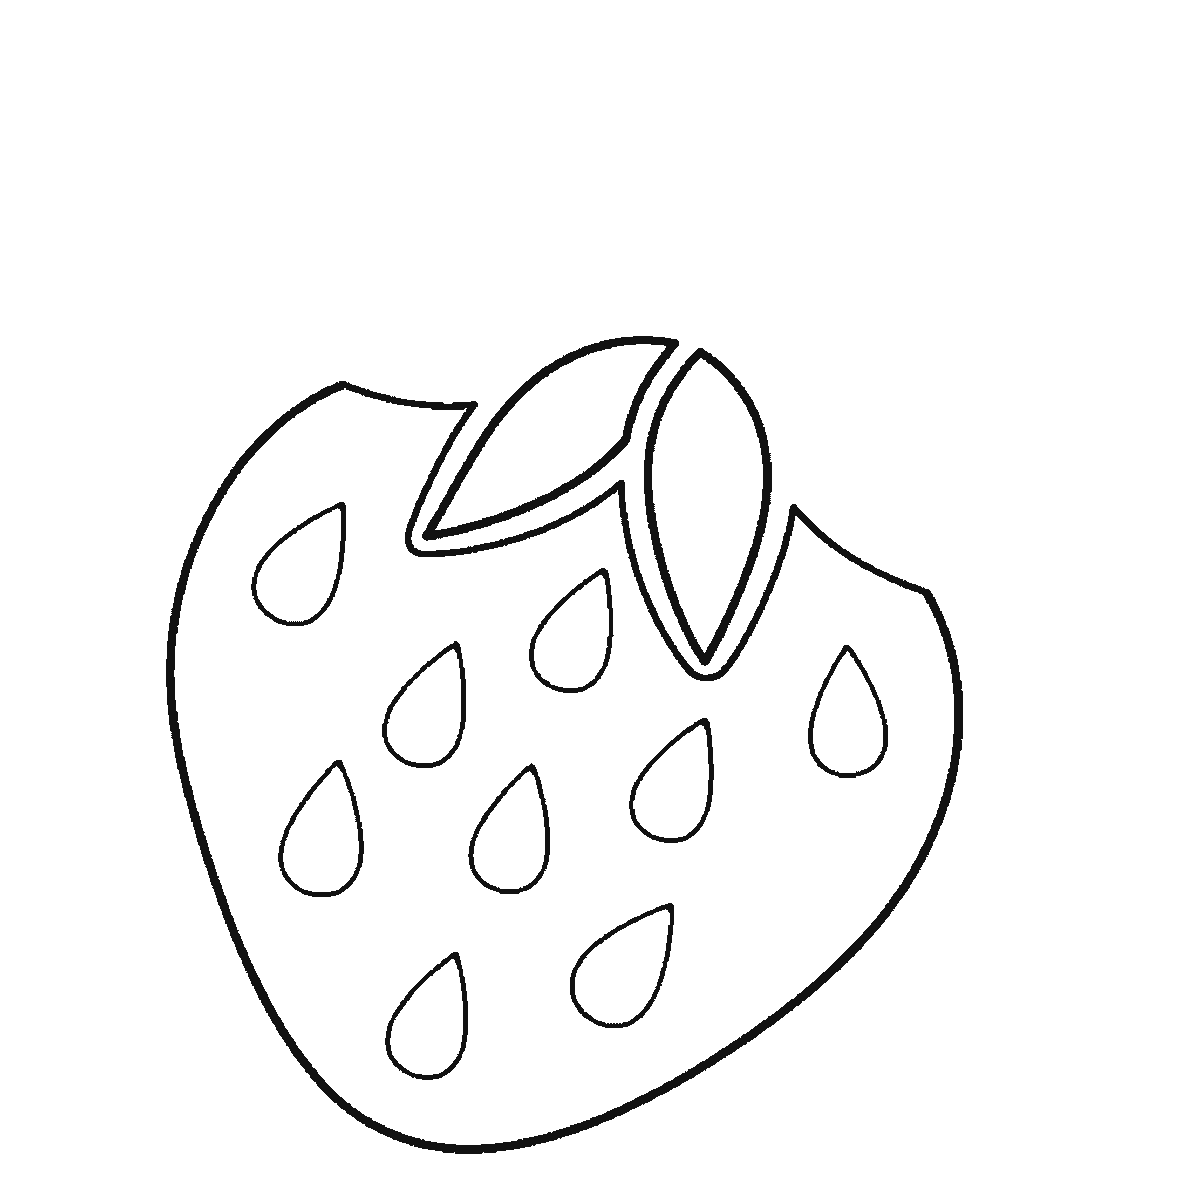
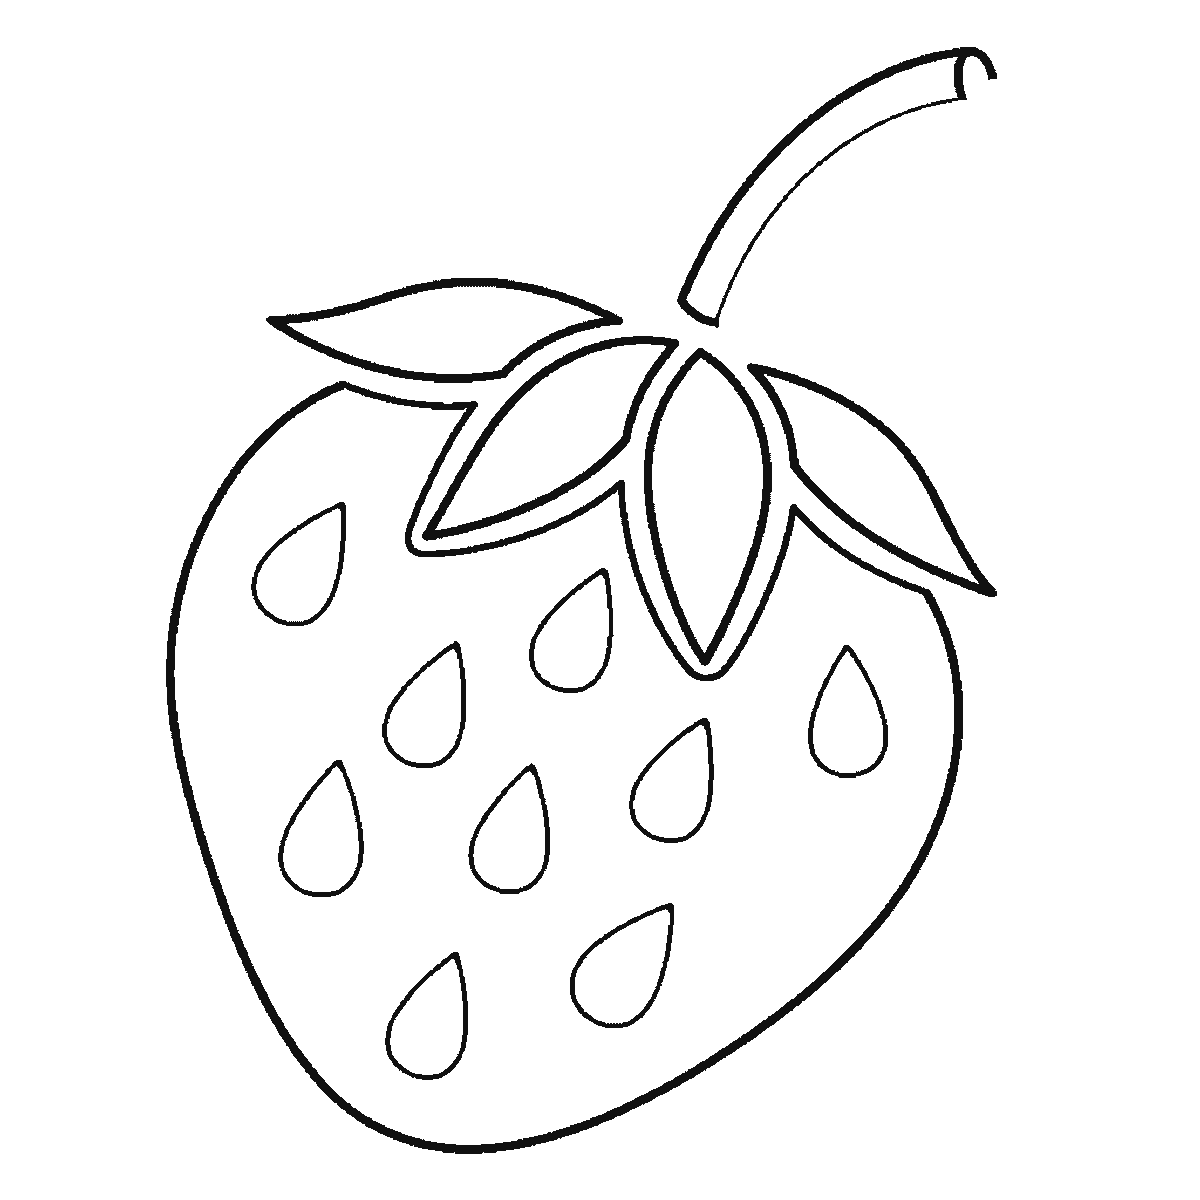
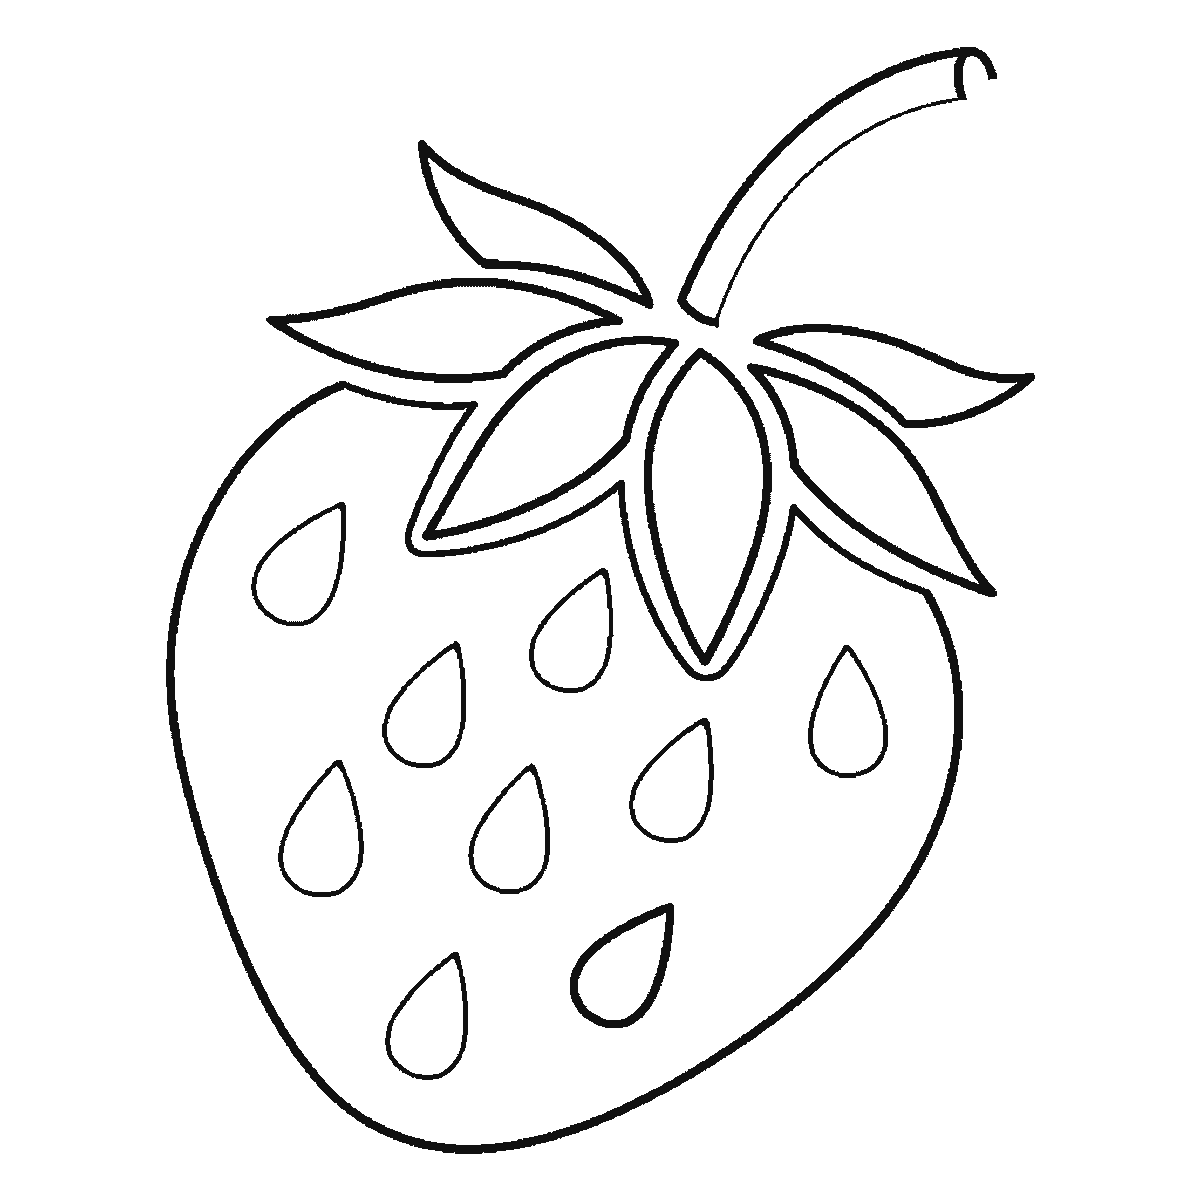
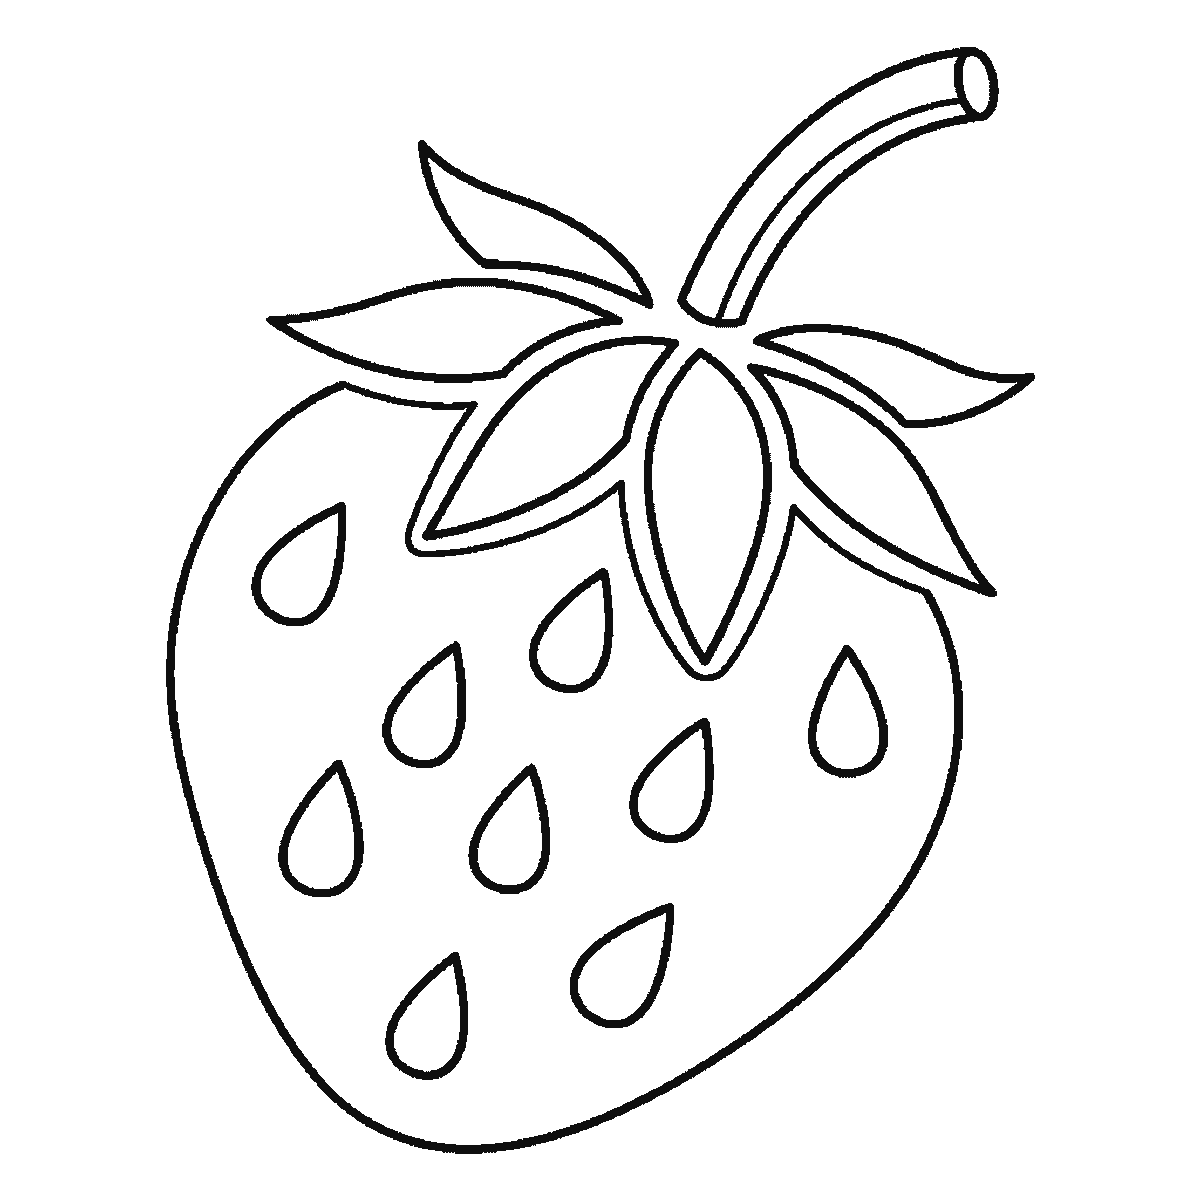
Six frames, one strawberry. The whole berry outline arrives in the first frame — a big first step — then a calyx leaf at a time, with all eleven seeds at the end.
This sheet takes one drawing of a single strawberry and shows it six times, each frame keeping the last one's lines and adding a little. It is an honest sheet in a way that is worth stating plainly: the first frame is a big step, bigger than on most of the drawings here.
That first frame is the whole berry — the rounded heart-shaped body AND every one of its seeds, in one go. About four tenths of all the ink on the finished drawing arrives in that single step. Two things about it are worth knowing in advance. The top edge is left ragged and open where the leafy crown will later sit, so frame one looks like a strawberry somebody has taken a bite out of. And the seeds are drawn as fine hairlines rather than at full weight — they thicken up in the last frame — so frame one is fainter in the middle than the finished drawing is. The four frames after it are the crown and the stem.
The berry outline is one continuous curve, wide and slightly lopsided at the top and narrowing to a soft point at the bottom. Draw it in one movement rather than in short strokes. A strawberry drawn in segments always ends up looking faceted, and the appeal of the shape is that it is smooth.
Frames two to five bring the crown, one or two leaves at a time, and the thick curved stem. The five calyx leaves each sit as their own separate pointed shape with a clear gap from its neighbours, and they should splay outwards over the shoulders of the berry rather than lying flat on top of it. A crown drawn as a single star shape is the commonest way this drawing goes wrong; five separate leaves that overlap the berry are what make it look real.
The seeds, then, belong to step one rather than being a reward at the end, and that is the right way round even though it does not feel like it. Each is a small teardrop, and they should sit at slightly different angles rather than all pointing the same way. Space them unevenly and leave a clear margin around the edge of the berry — seeds drawn right up to the outline look like they are falling off. This is the one part of the drawing where doing less is genuinely better: ten or so well-placed teardrops read as a strawberry, and thirty crowded ones read as a raspberry. Placing them while the berry is still an empty shape is far easier than fitting them around a finished crown, and sketching them lightly first, as the sheet does, means a badly placed one costs nothing to move.
The order on this sheet is largest closed shape first and smallest last. That gives you a sequence which is easy to copy and it is not a statement that this is how a strawberry should be drawn. If you would rather put the crown in first and hang the berry underneath it — which is how the fruit actually grows — that works just as well and gets you the same picture.
The last frame is quieter than most: it closes the stem into a proper two-line tube with a rounded cut end, runs a centre vein down each of the five calyx leaves, and goes back over every seed to bring it up to full line weight. Nothing new is introduced — the drawing is firmed up rather than added to, which is a fair description of the last pass on most drawings and is rarely shown this plainly. One A4 page holds all six frames in plain black outline on white with no shading. It prints on a nearly-empty printer and the finished frame colours in beautifully, this being one of the few subjects where almost everybody already knows exactly which colours to use.
The change worth making on a second attempt is the seeds. Draw the same berry with the seeds sitting in shallow dimples — a short curved line under each teardrop — and the surface stops being flat. It is one extra stroke per seed, eleven strokes in total, and it is a much bigger improvement than any amount of extra care spent on the outline. Small repeated marks are where a line drawing gets its texture, and a strawberry is the friendliest place to practise them.
Before you start
- Draw the berry outline in one continuous movement. Short strokes make it faceted, and a strawberry is a smooth shape.
- Give the crown five clearly separate leaves with gaps between them, not one star shape.
- Let the calyx leaves splay over the shoulders of the berry rather than sitting flat on top of it.
- Keep the seeds few, unevenly spaced and set at different angles, with a clear margin from the outline.
Published Updated 744 words
The six steps
The steps go from the largest shape to the smallest, which is an easy order to copy. It is not the only order, and it is not a rule — if you would rather start somewhere else on the sheet, do.
Step 1
Step 2
Step 3
Step 4
Step 5
Step 6
More in this section
How to draw Earth
Six frames, one globe, revealed ocean-panel by ocean-panel rather than continent by continent. The land emerges as the white left behind, and the stars come last.
Step sequence made by us from a single drawing: each step keeps the lines of the one before it and adds to them.
How to draw a hibiscus flower
Six frames, one open hibiscus. Three petals first and the other two next, so the flower head is done by frame two — and the stamen column arrives at frame five.
Step sequence made by us from a single drawing: each step keeps the lines of the one before it and adds to them.
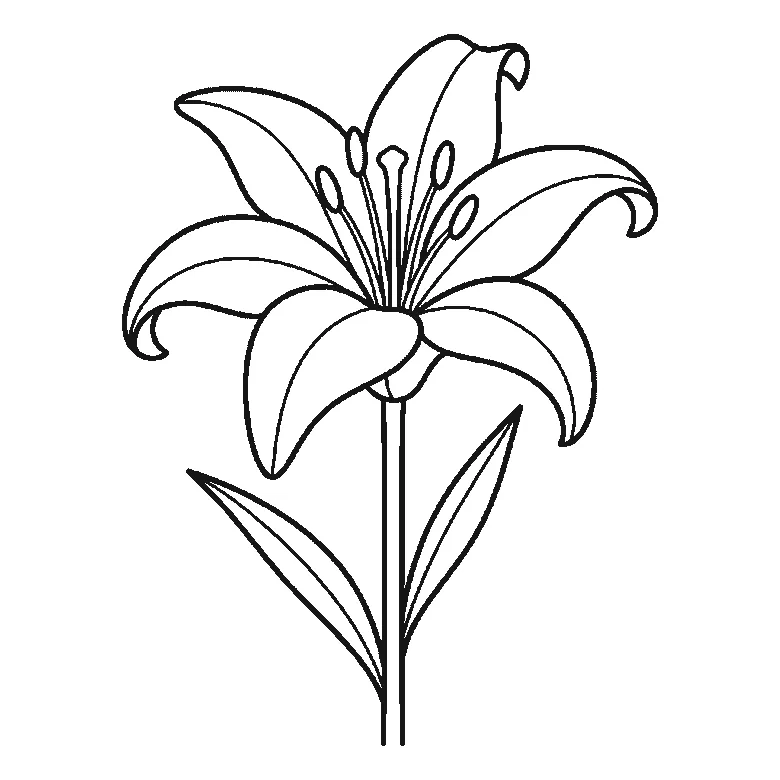
How to draw a lily
Six frames, one open lily. Three petals in the first frame, the rest two at a time — and the stem, the leaves and the central stamens right at the end.
Step sequence made by us from a single drawing: each step keeps the lines of the one before it and adds to them.
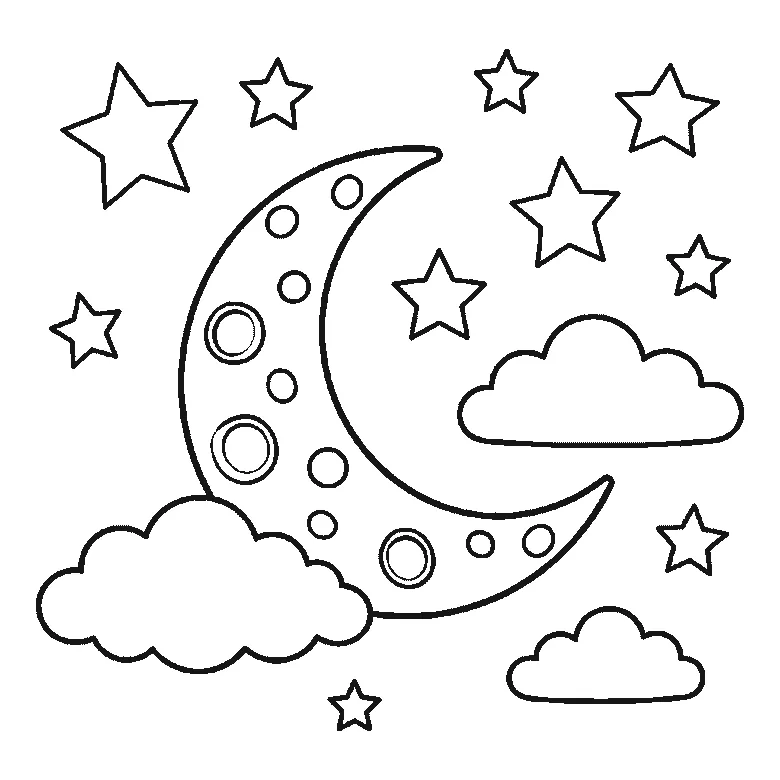
How to draw the moon
Six frames, a crescent moon in a night sky. The whole moon and every crater arrive in frame one; the five frames after it are clouds and stars.
Step sequence made by us from a single drawing: each step keeps the lines of the one before it and adds to them.
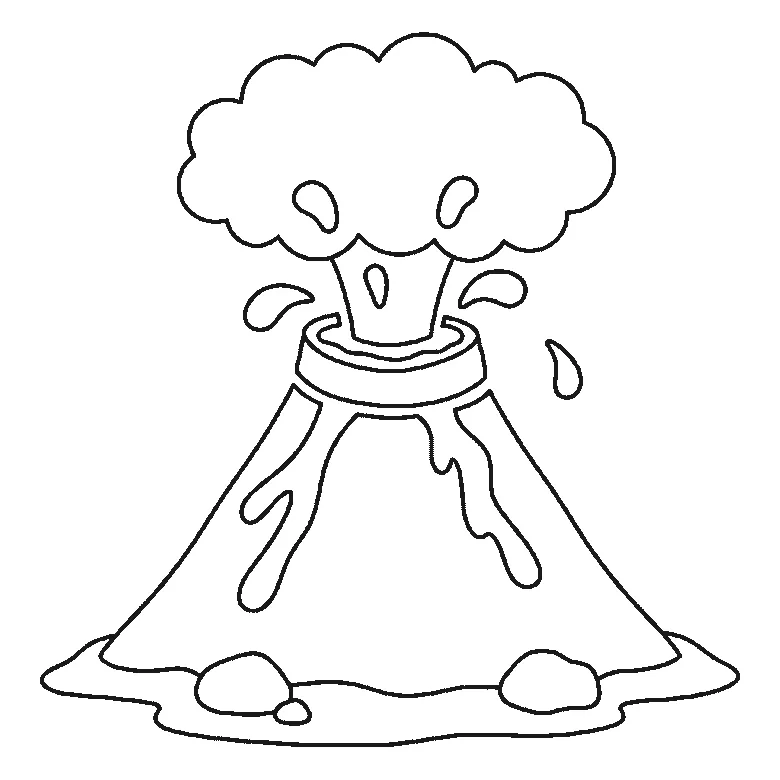
How to draw a volcano
Six frames, one erupting volcano. The whole cone with its lava streams arrives in frame one; the smoke, the ground and the flying lava come after it.
Step sequence made by us from a single drawing: each step keeps the lines of the one before it and adds to them.
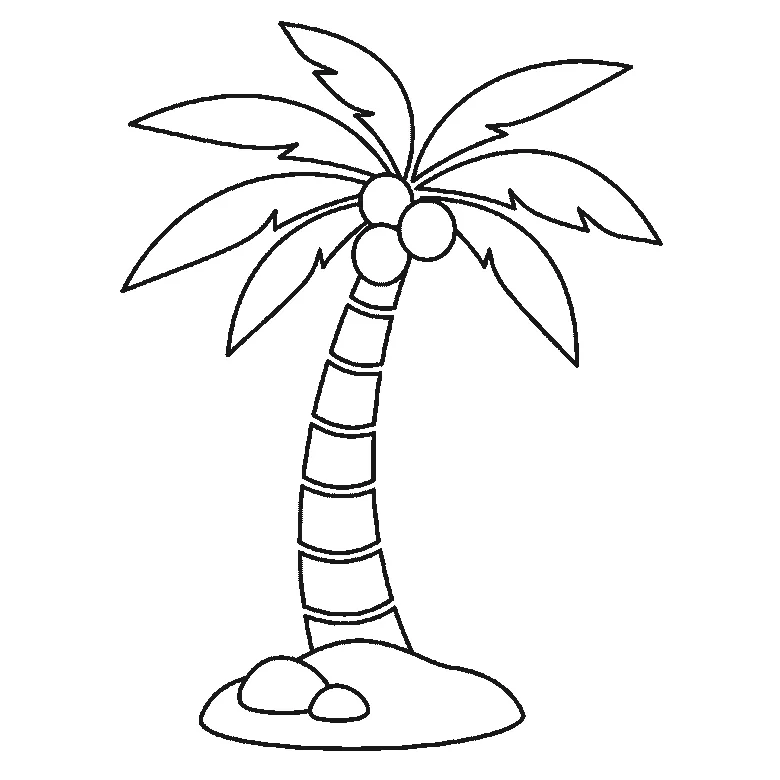
How to draw a palm tree
Six frames, one palm tree on a mound of sand. The fronds come first, two at a time; the trunk is not drawn until frame five.
Step sequence made by us from a single drawing: each step keeps the lines of the one before it and adds to them.
How to draw a sunflower
Six frames, one tall sunflower with two leaves and a bud. The seed head and one leaf first — and no petals at all until frame three.
Step sequence made by us from a single drawing: each step keeps the lines of the one before it and adds to them.
How to draw a landscape
Six frames, one countryside scene with hills, a river, a tree, a house and a sun. The leaves come first and the birds last.
Step sequence made by us from a single drawing: each step keeps the lines of the one before it and adds to them.
How to draw a flower
Six frames, one open flower on a stem. Three petals first, then the other three and the stem, the two leaves, and the centre near the end.
Step sequence made by us from a single drawing: each step keeps the lines of the one before it and adds to them.
How to draw a rainbow
Six frames, a rainbow with a cloud at each end and three birds. The clouds first, then the bands from the outside in, and the birds last.
Step sequence made by us from a single drawing: each step keeps the lines of the one before it and adds to them.
How to draw an apple
Six frames, four apples on a leafy branch — three hanging and one on the ground. Two apples first, then the other two, then leaf after leaf.
Step sequence made by us from a single drawing: each step keeps the lines of the one before it and adds to them.
How to draw a rose
Six frames, one open rose. The centre cluster first, then the leaves, the outer petals and the stem.
Step sequence made by us from a single drawing: each step keeps the lines of the one before it and adds to them.


