
PDF · A4 · 36 KB · Free, no sign-up. For home and classroom use.
How to draw a flower
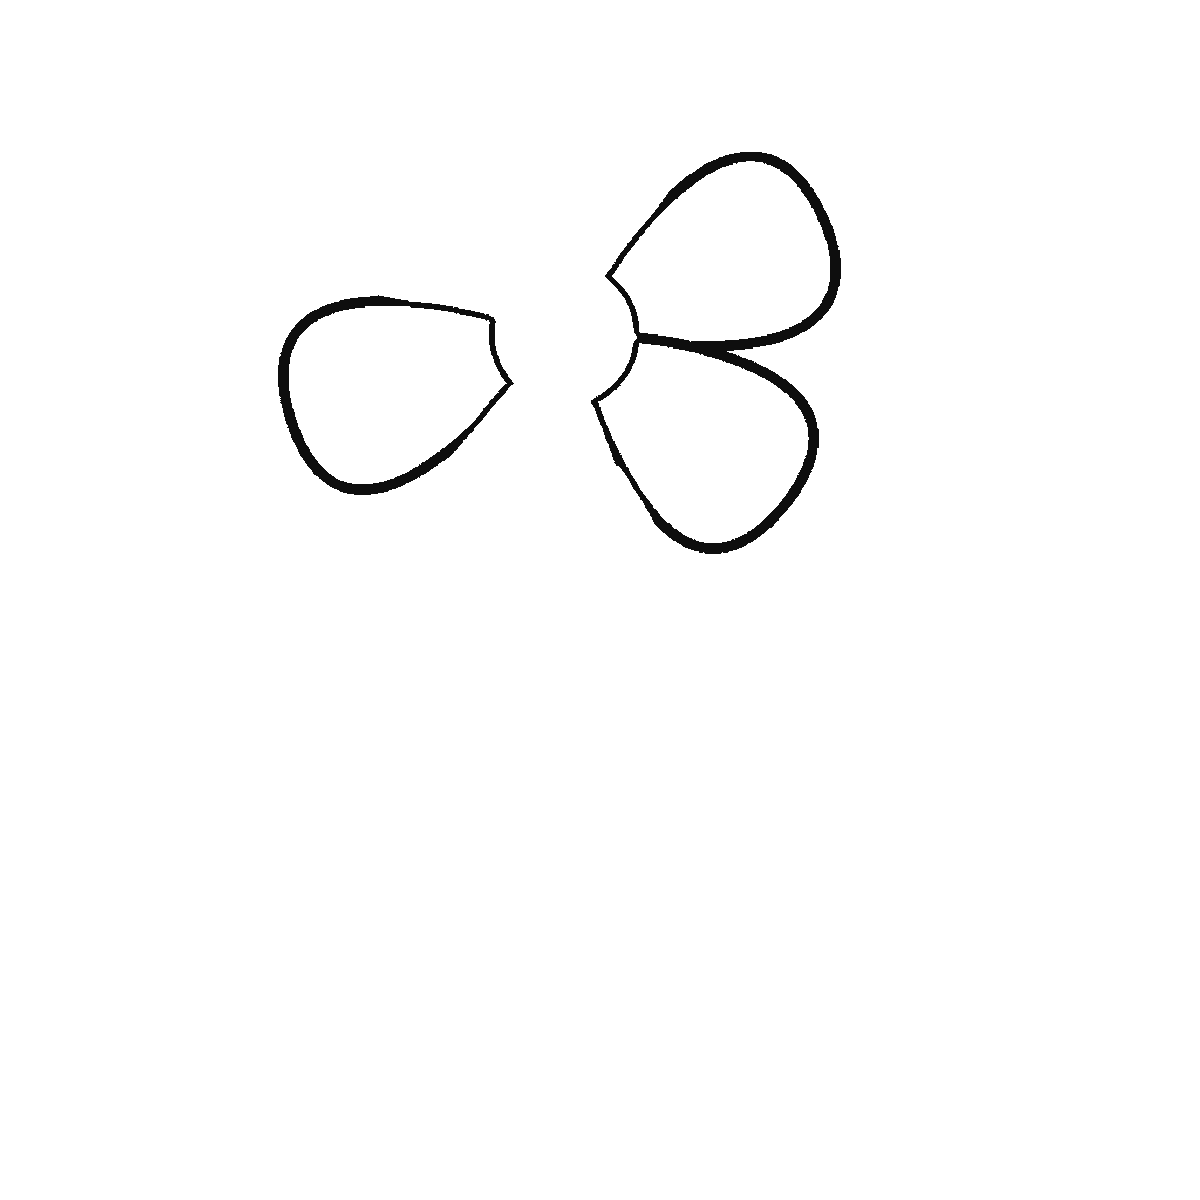
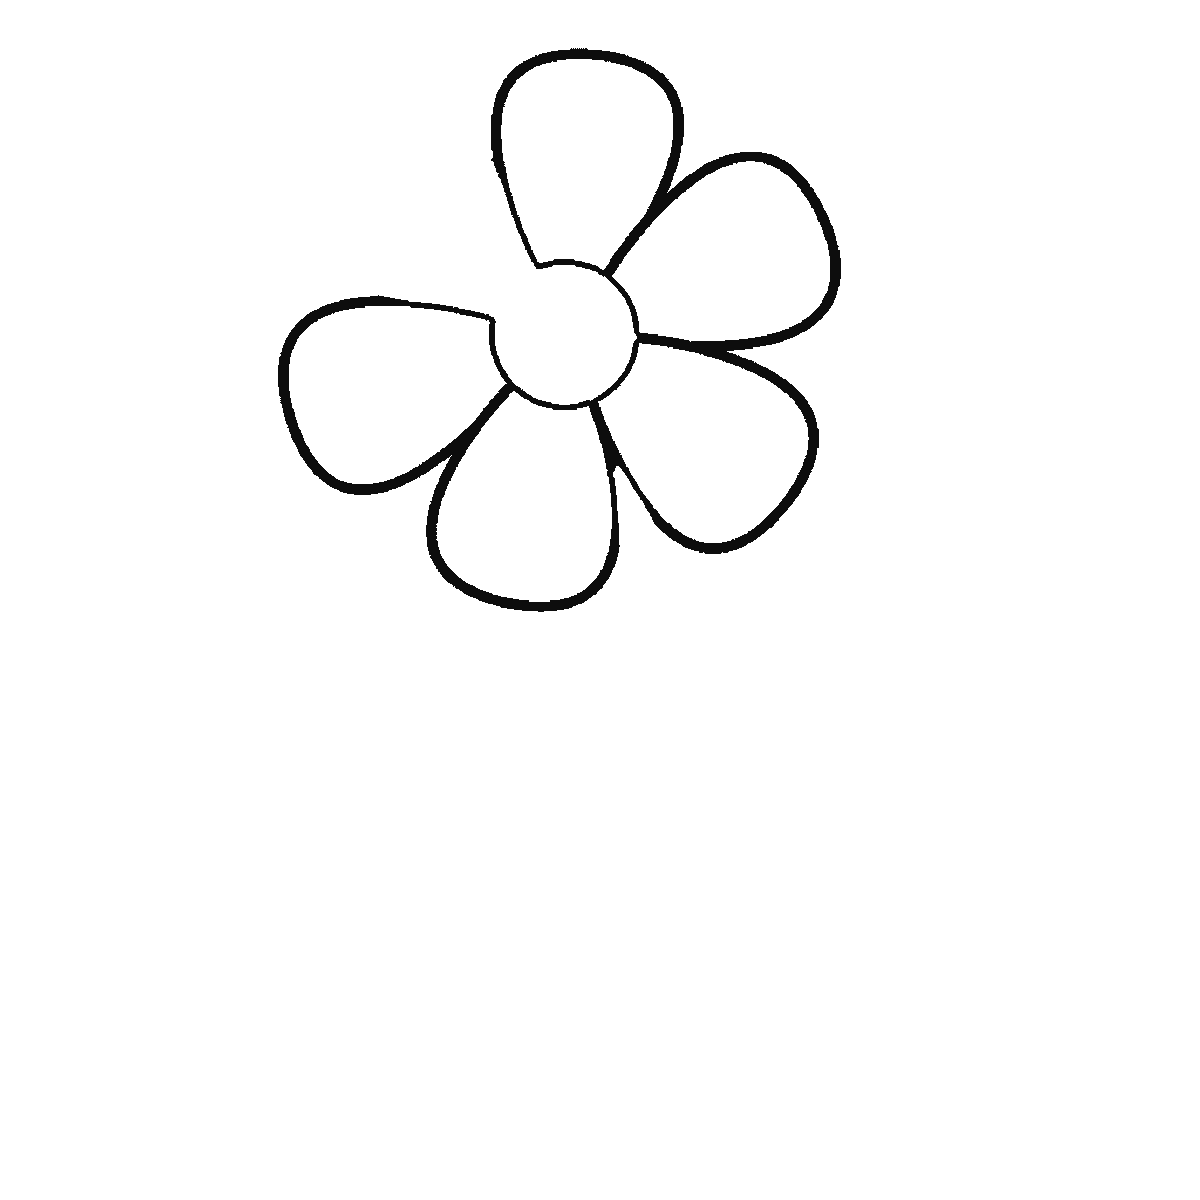
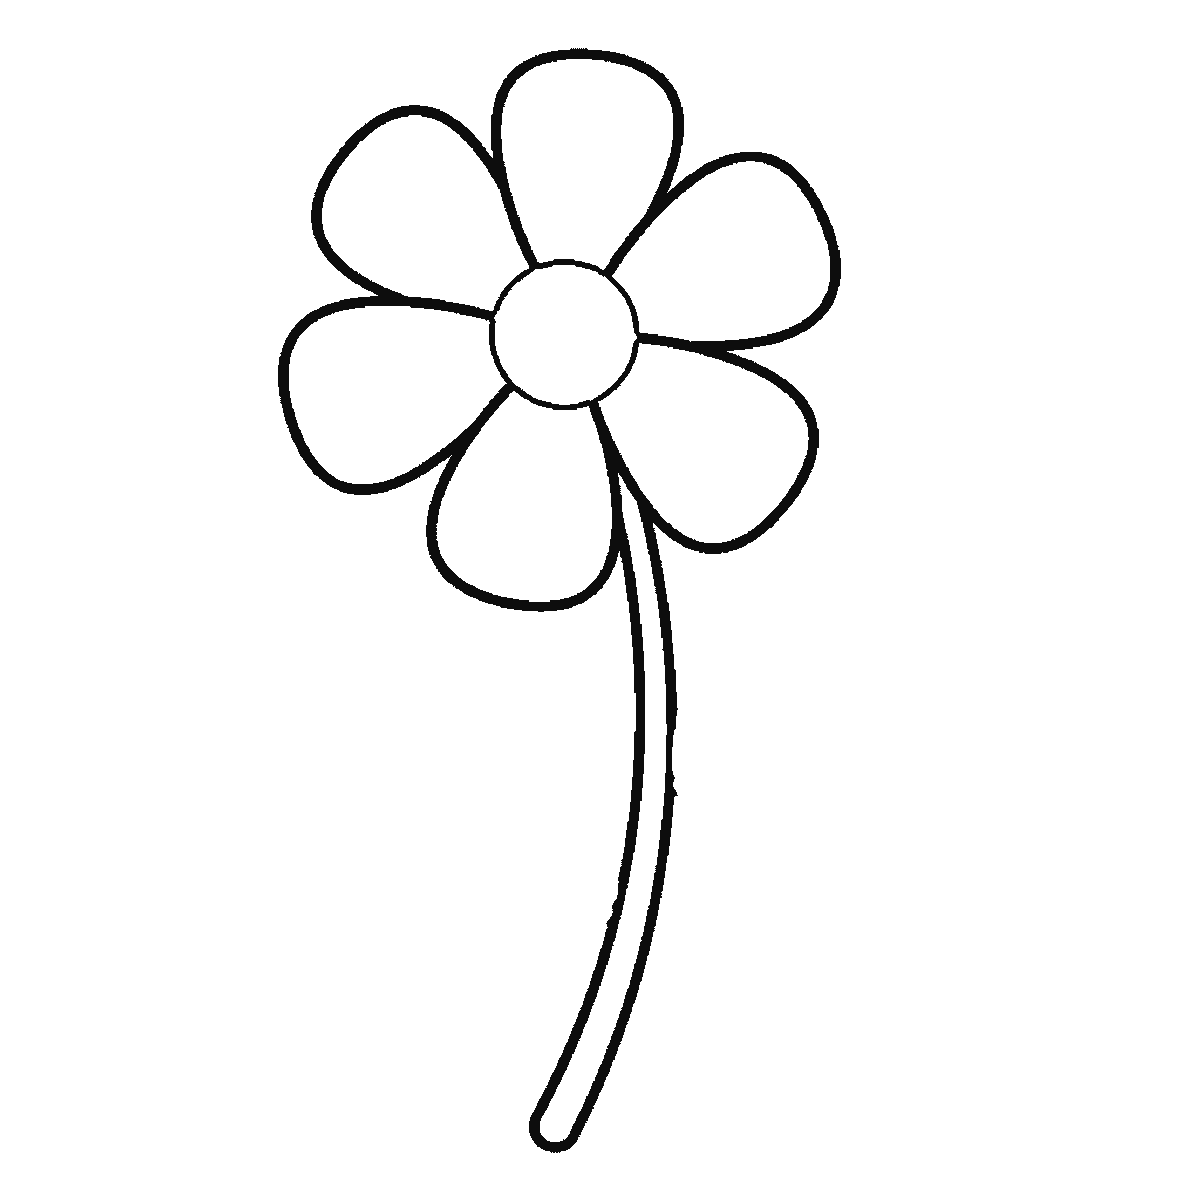
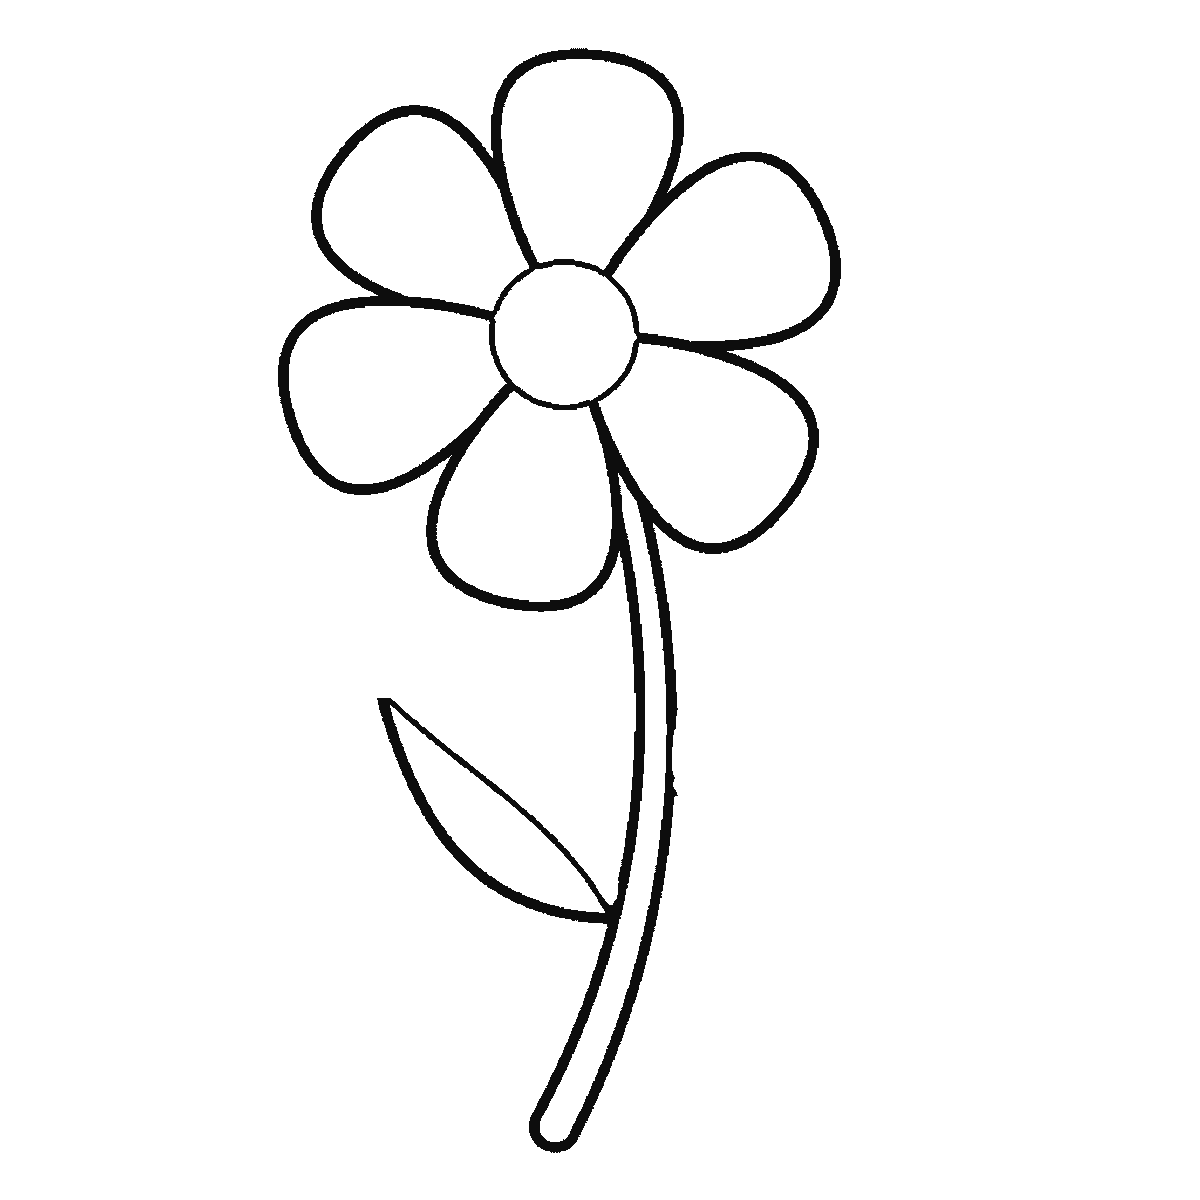
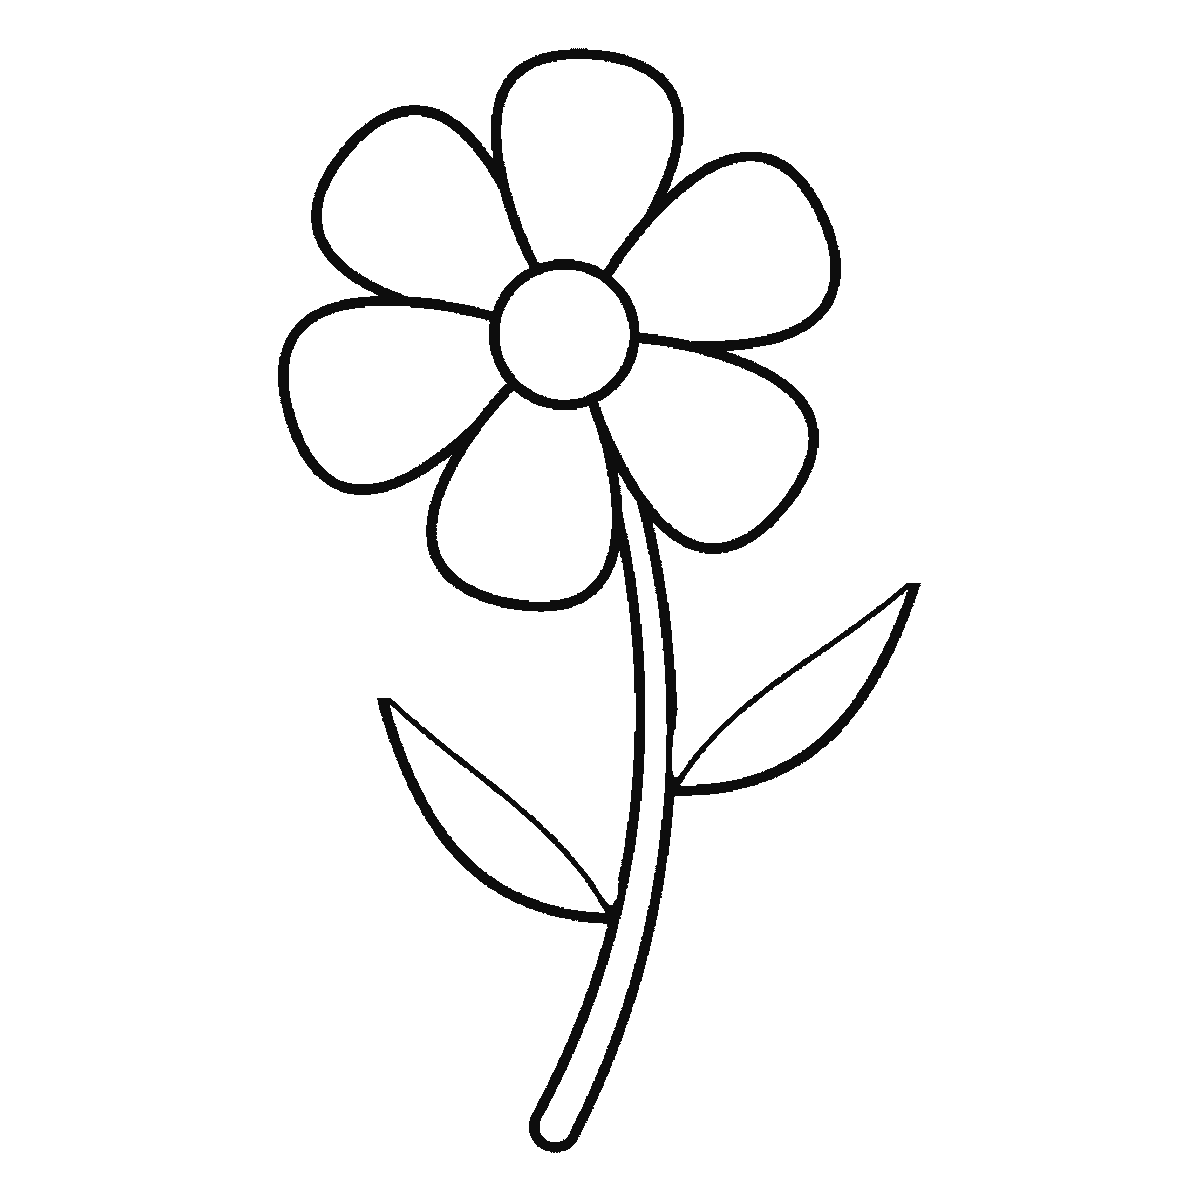
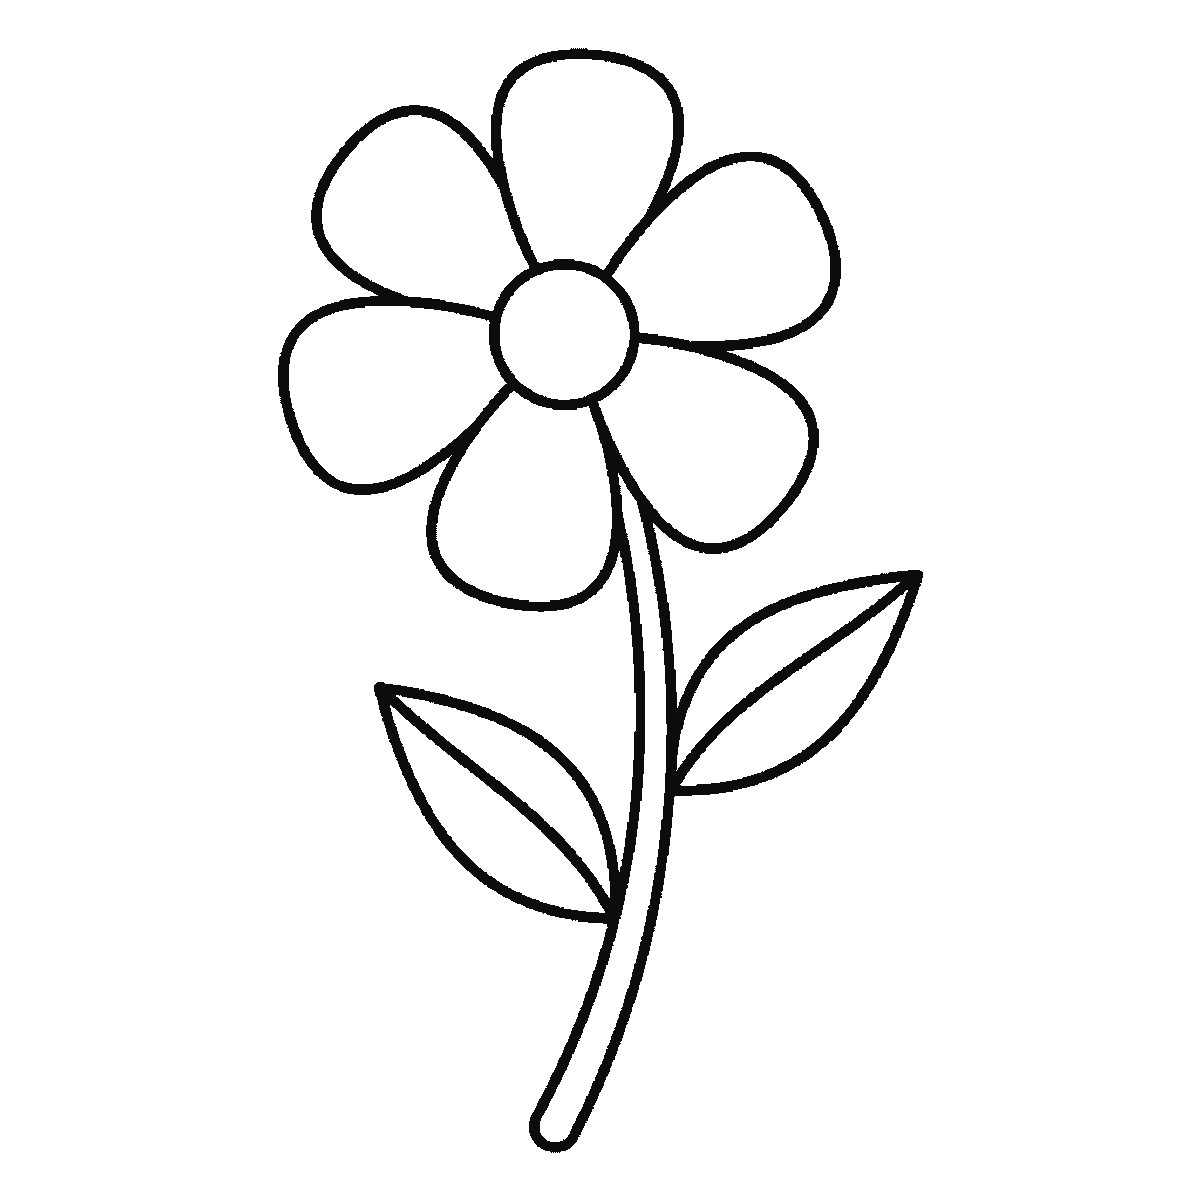
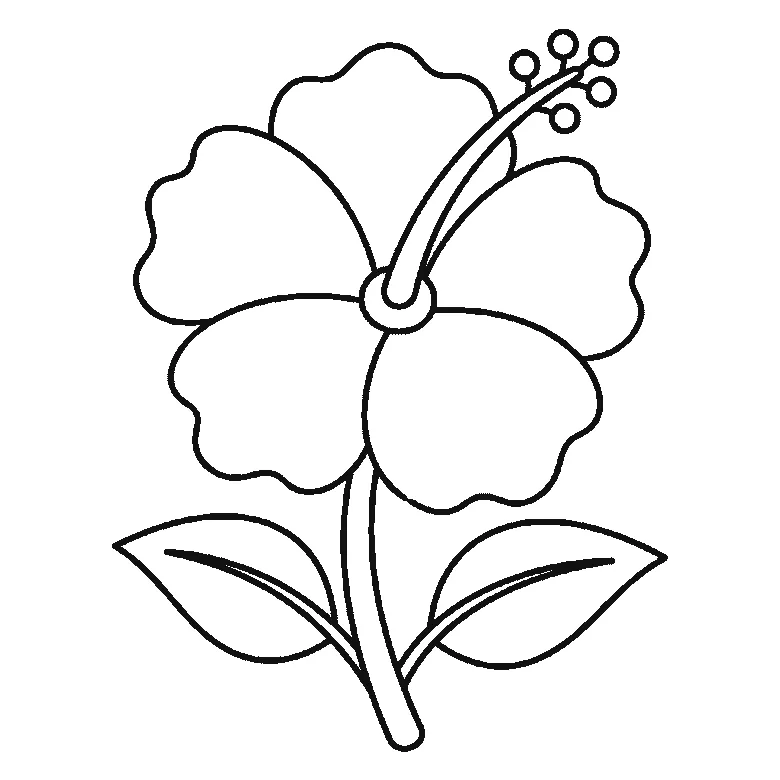
Six frames, one open flower on a stem. Three petals first, then the other three and the stem, the two leaves, and the centre near the end.
A flower is the subject most people draw when they are not thinking about drawing at all, which means almost everyone has a bad habit here to unlearn. The idle doodle version — a circle with rounded blobs stuck round the edge — is fine as a symbol and looks nothing like a flower. This sheet builds one that does.
Frame one gives you three of the six petals — not three side by side, but the three largest, wherever they happen to sit round the head. The first useful correction is that they are not all the same. Real petals differ in width, in how far they open and in how much they overlap their neighbours. Drawing six identical shapes evenly spaced produces a wheel; drawing six slightly different ones produces a flower, and the sheet varies them just enough to see.
The second correction is one the sheet does not make for you. Its six petals meet neatly around the centre and none of them overlaps its neighbour, and that is the one place worth drawing better than the drawing does. Real petals pass in front of or behind the ones beside them, and drawing those overlaps is what gives the head depth. A ring of petals all meeting tidily at the centre lies flat on the page and no amount of colour will lift it. Nudging two of the six so they cross is a ten-second change with a large effect.
The centre arrives in frame five, second from last and long after the petals that ring it, as a distinct closed shape. It should be smaller than the doodle version suggests. A large centre with short petals reads as a daisy; a small centre with long petals reads as almost anything else. It is the ratio, not the shapes, that decides which flower you have drawn — and drawing every petal before the centre means that ratio is already settled by the time you reach it.
The stem arrives in frame three alongside the last petal, and it curves. A straight vertical stem is the second habit worth losing — nothing in a garden grows dead straight, and a gentle curve immediately makes the drawing look observed rather than remembered. It is drawn here as two lines with a real thickness between them rather than as a single stroke, and that is worth copying exactly.
The leaves go on in frames four and five, one to a side, and the thing to get right is where they attach. Leaves grow from the stem, not from the flower head, and they are set at different heights on opposite sides rather than as a matching pair — which is exactly what this drawing does. Two leaves at the same height make the plant look like a cartoon.
Each leaf wants a central vein running from where it joins the stem to its tip, following the leaf's own curve — and those two veins are the very last marks on the sheet, frame six on its own. That single line does more to make a leaf look like a leaf than any amount of edge detail, and it takes a second.
The overall shape of the head is worth deciding before you draw any petal. A flower seen straight on is a circle; one seen at a slight angle is an oval, and the petals at the far side are shorter and more foreshortened than the near ones. The angled version is harder and looks considerably better.
If you want to move away from the generic flower on this sheet towards a particular one, the fastest route is the petal count and the centre size. This one has six broad petals and a small centre, which sits it near a poppy; many narrow petals and a large centre goes towards a sunflower; five rounded petals and a tiny centre goes towards a wild rose. Nothing else about the construction has to change.
The six frames run from the largest closed shape to the smallest, so the big petals arrive first and the leaf veins last. It is an easy order to copy and it is not the correct one — building outwards from the centre is at least as sensible.
Before you start
- Make the petals different from each other. Identical evenly spaced petals produce a wheel.
- Overlap the petals. Drawing the overlaps is what gives the head depth.
- Curve the stem, and draw it with real thickness rather than as a single line.
- Attach the leaves to the stem at different heights, and give each one a central vein.
Published Updated 711 words
The six steps
The steps go from the largest shape to the smallest, which is an easy order to copy. It is not the only order, and it is not a rule — if you would rather start somewhere else on the sheet, do.
Step 1
Step 2
Step 3
Step 4
Step 5
Step 6
More in this section
How to draw a rainbow
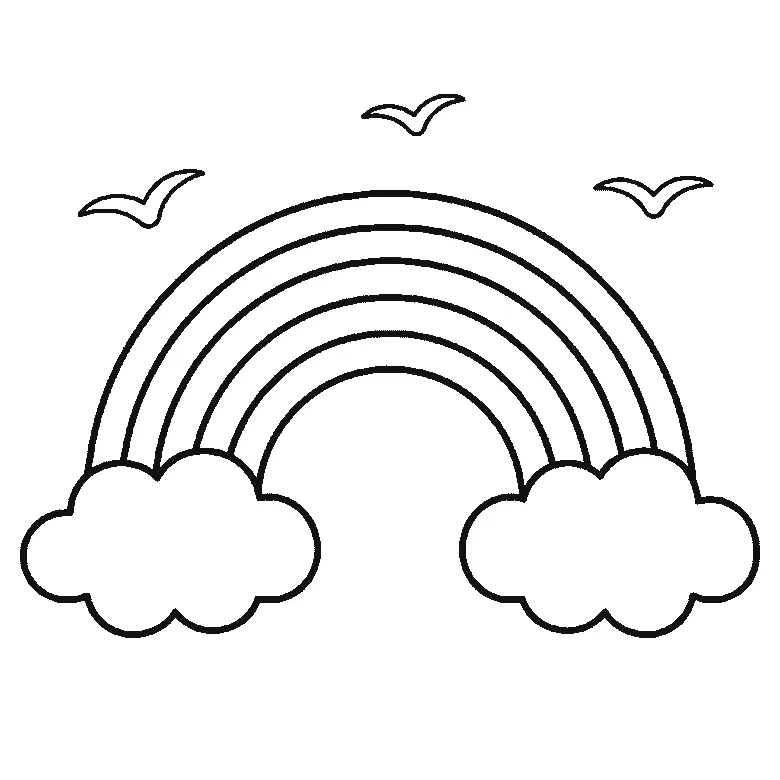
Six frames, a rainbow with a cloud at each end and three birds. The clouds first, then the bands from the outside in, and the birds last.
Step sequence made by us from a single drawing: each step keeps the lines of the one before it and adds to them.
How to draw an apple
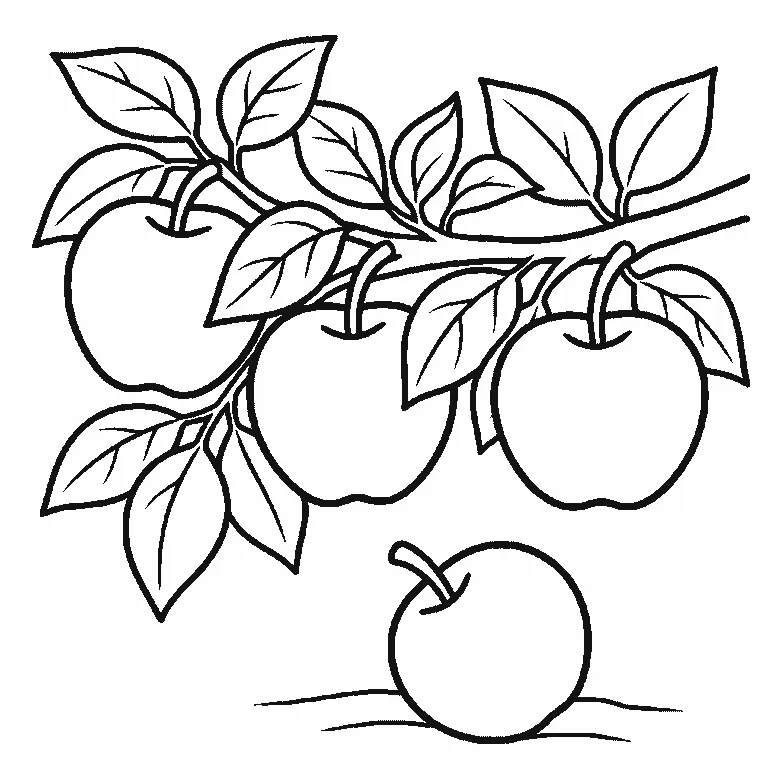
Six frames, four apples on a leafy branch — three hanging and one on the ground. Two apples first, then the other two, then leaf after leaf.
Step sequence made by us from a single drawing: each step keeps the lines of the one before it and adds to them.
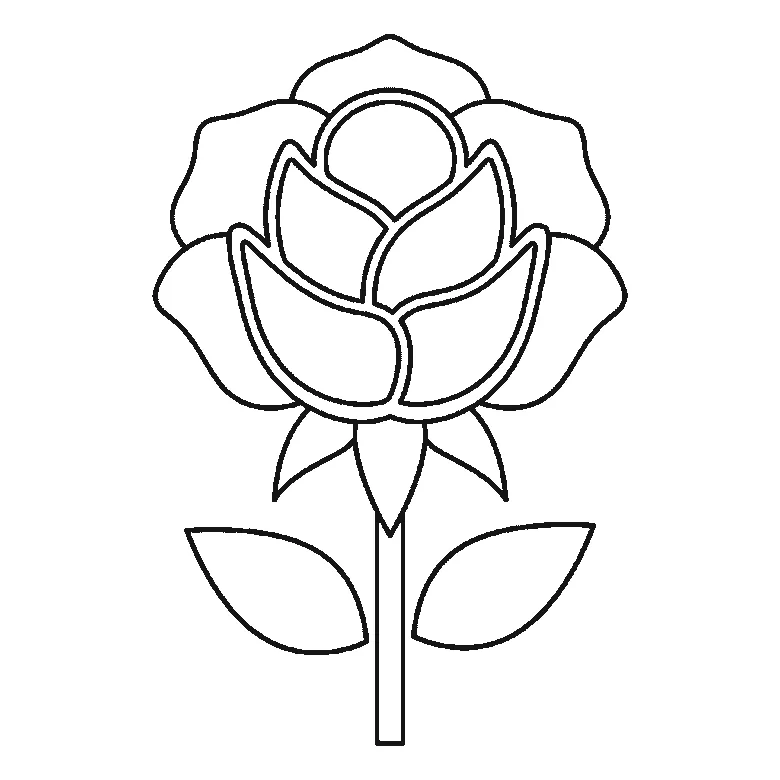
How to draw a rose
Six frames, one open rose. The centre cluster first, then the leaves, the outer petals and the stem.
Step sequence made by us from a single drawing: each step keeps the lines of the one before it and adds to them.
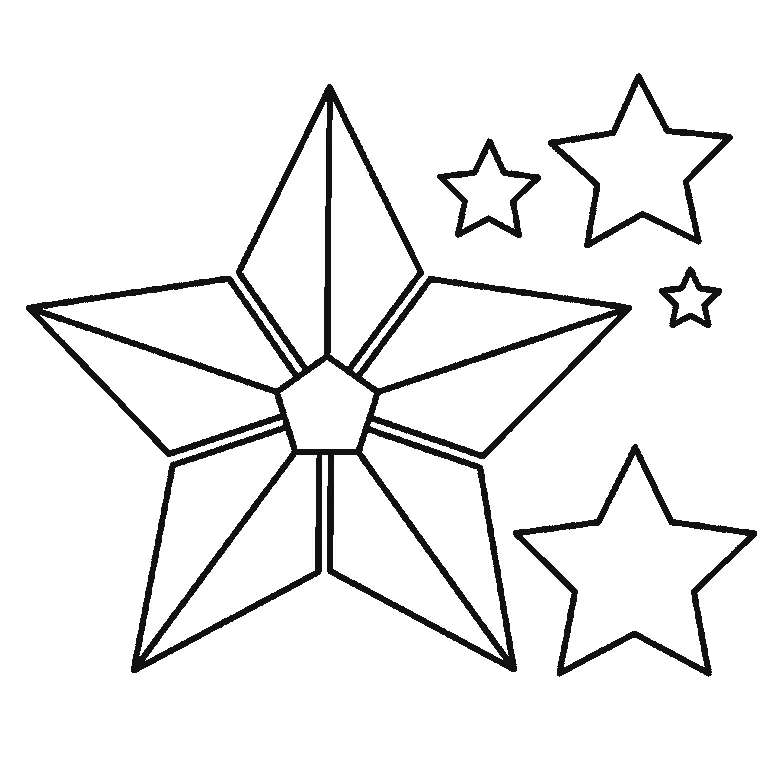
How to draw a star
Six frames, one faceted five-pointed star and four smaller ones, built one facet panel at a time.
Step sequence made by us from a single drawing: each step keeps the lines of the one before it and adds to them.
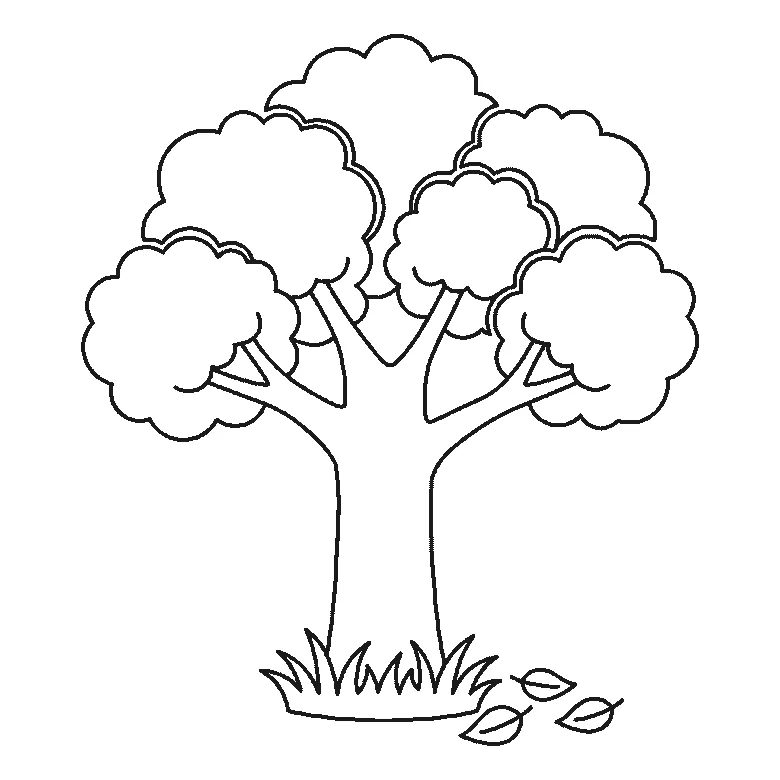
How to draw a tree
Six frames, one broad-leaved tree. Trunk first, then the branches, then the foliage in separate clumps.
Step sequence made by us from a single drawing: each step keeps the lines of the one before it and adds to them.
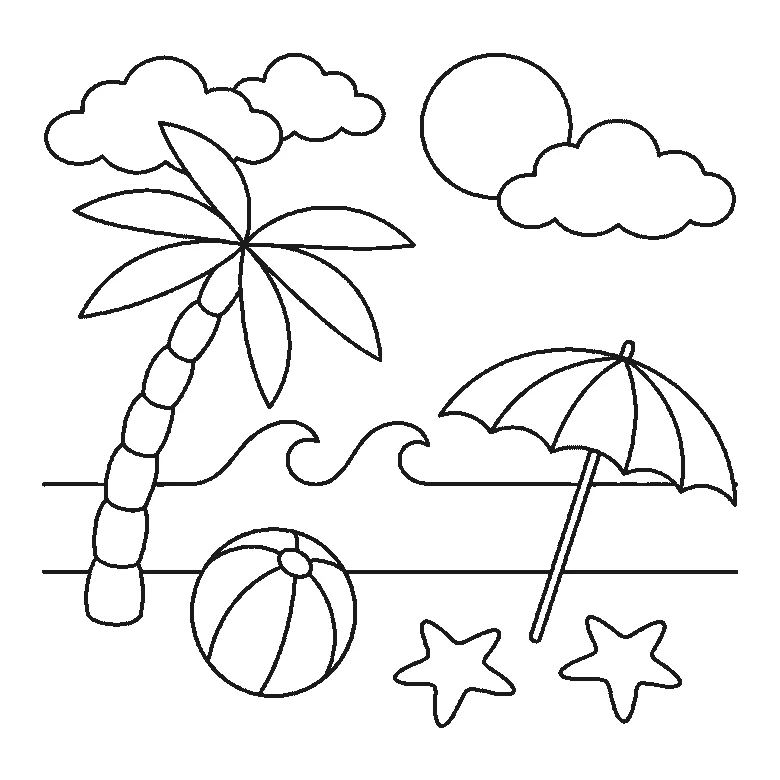
How to draw a beach
Six frames, one beach scene. The sea and its three waves first, then the sun and clouds — and the palm trunk and the parasol pole right at the end.
Step sequence made by us from a single drawing: each step keeps the lines of the one before it and adds to them.
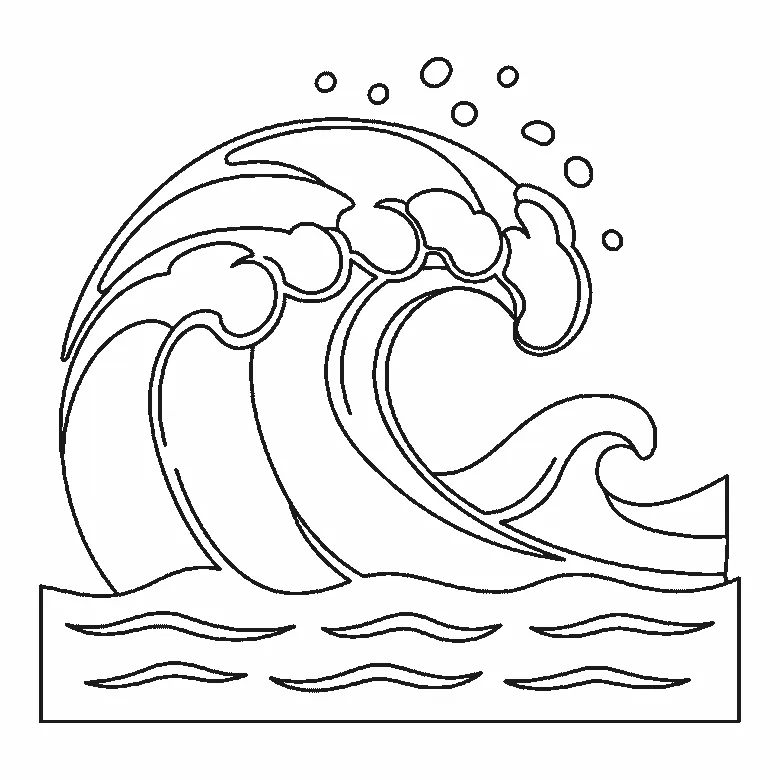
How to draw a wave
Six frames, one big breaking wave. The inside of the curl first, not the outline — and all the spray droplets in the very last frame.
Step sequence made by us from a single drawing: each step keeps the lines of the one before it and adds to them.
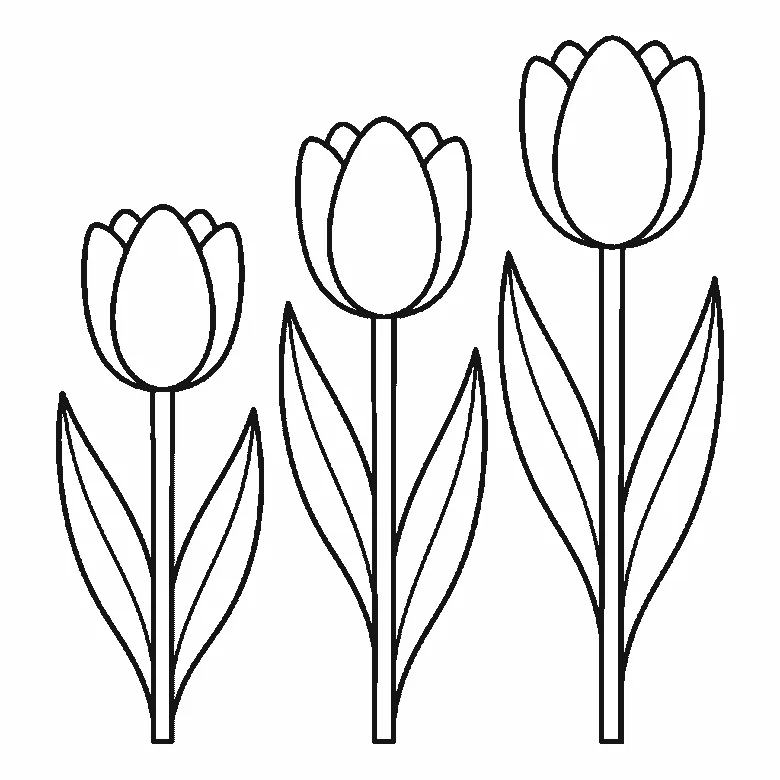
How to draw tulips
Six frames, three tulips of different heights. All three flower cups arrive together in the first frame — and the lines that split each cup into petals come last.
Step sequence made by us from a single drawing: each step keeps the lines of the one before it and adds to them.
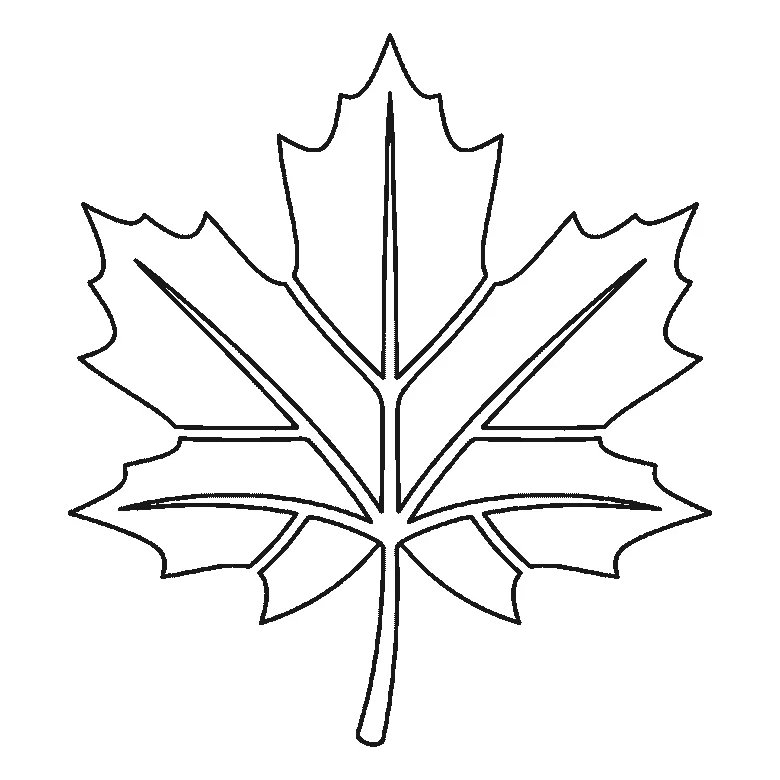
How to draw a leaf
Six frames, one maple leaf — and this sheet is the tidiest on the site: one lobe per frame, each with its own vein, and the stem last.
Step sequence made by us from a single drawing: each step keeps the lines of the one before it and adds to them.
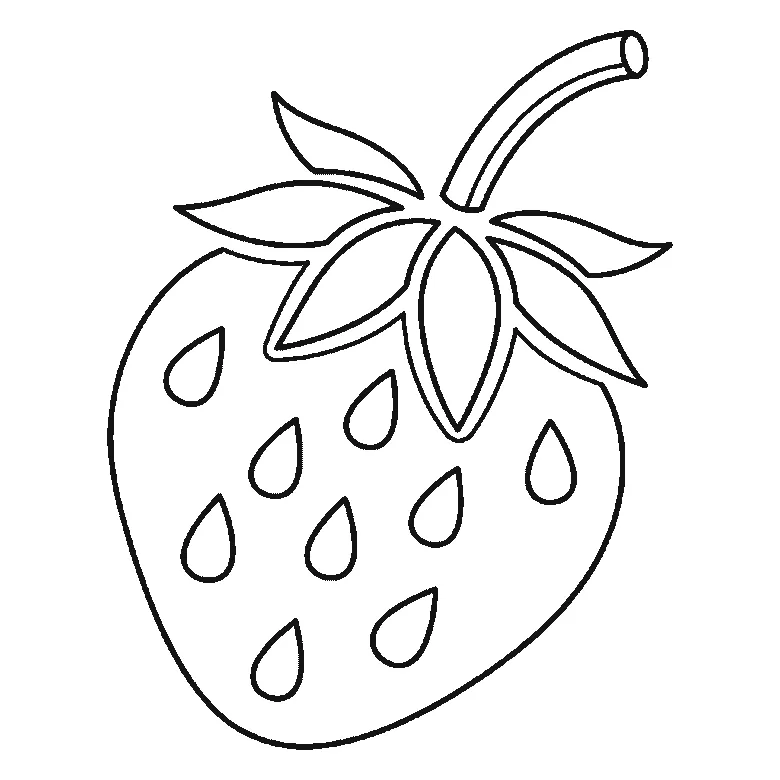
How to draw a strawberry
Six frames, one strawberry. The whole berry outline arrives in the first frame — a big first step — then a calyx leaf at a time, with all eleven seeds at the end.
Step sequence made by us from a single drawing: each step keeps the lines of the one before it and adds to them.

How to draw Earth
Six frames, one globe, revealed ocean-panel by ocean-panel rather than continent by continent. The land emerges as the white left behind, and the stars come last.
Step sequence made by us from a single drawing: each step keeps the lines of the one before it and adds to them.
How to draw a hibiscus flower
Six frames, one open hibiscus. Three petals first and the other two next, so the flower head is done by frame two — and the stamen column arrives at frame five.
Step sequence made by us from a single drawing: each step keeps the lines of the one before it and adds to them.


