
PDF · A4 · 39 KB · Free, no sign-up. For home and classroom use.
How to draw a palm tree
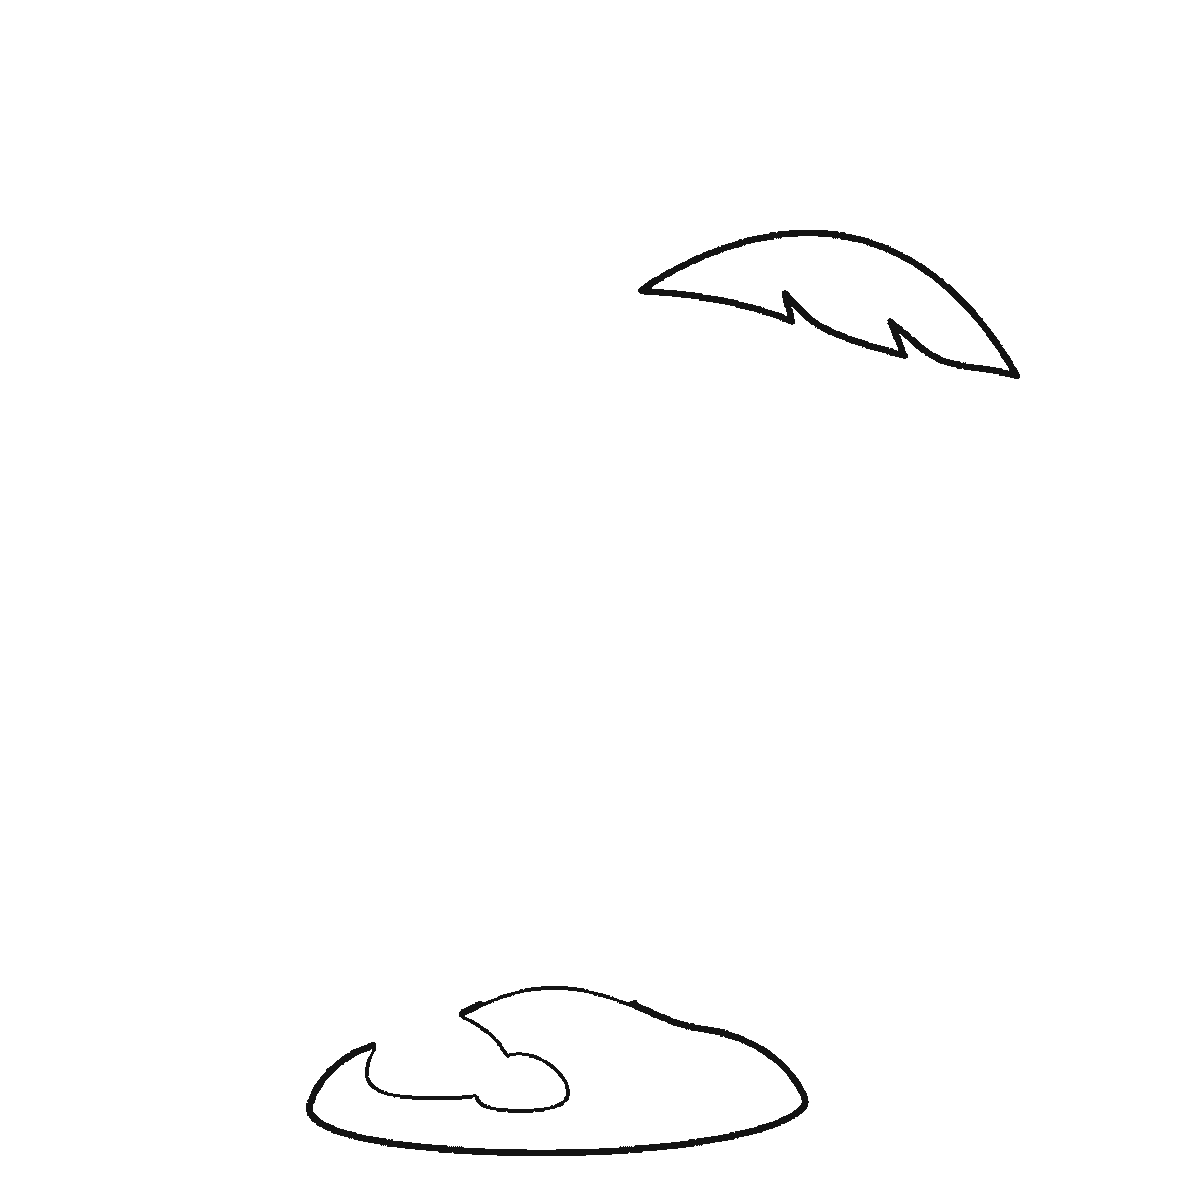
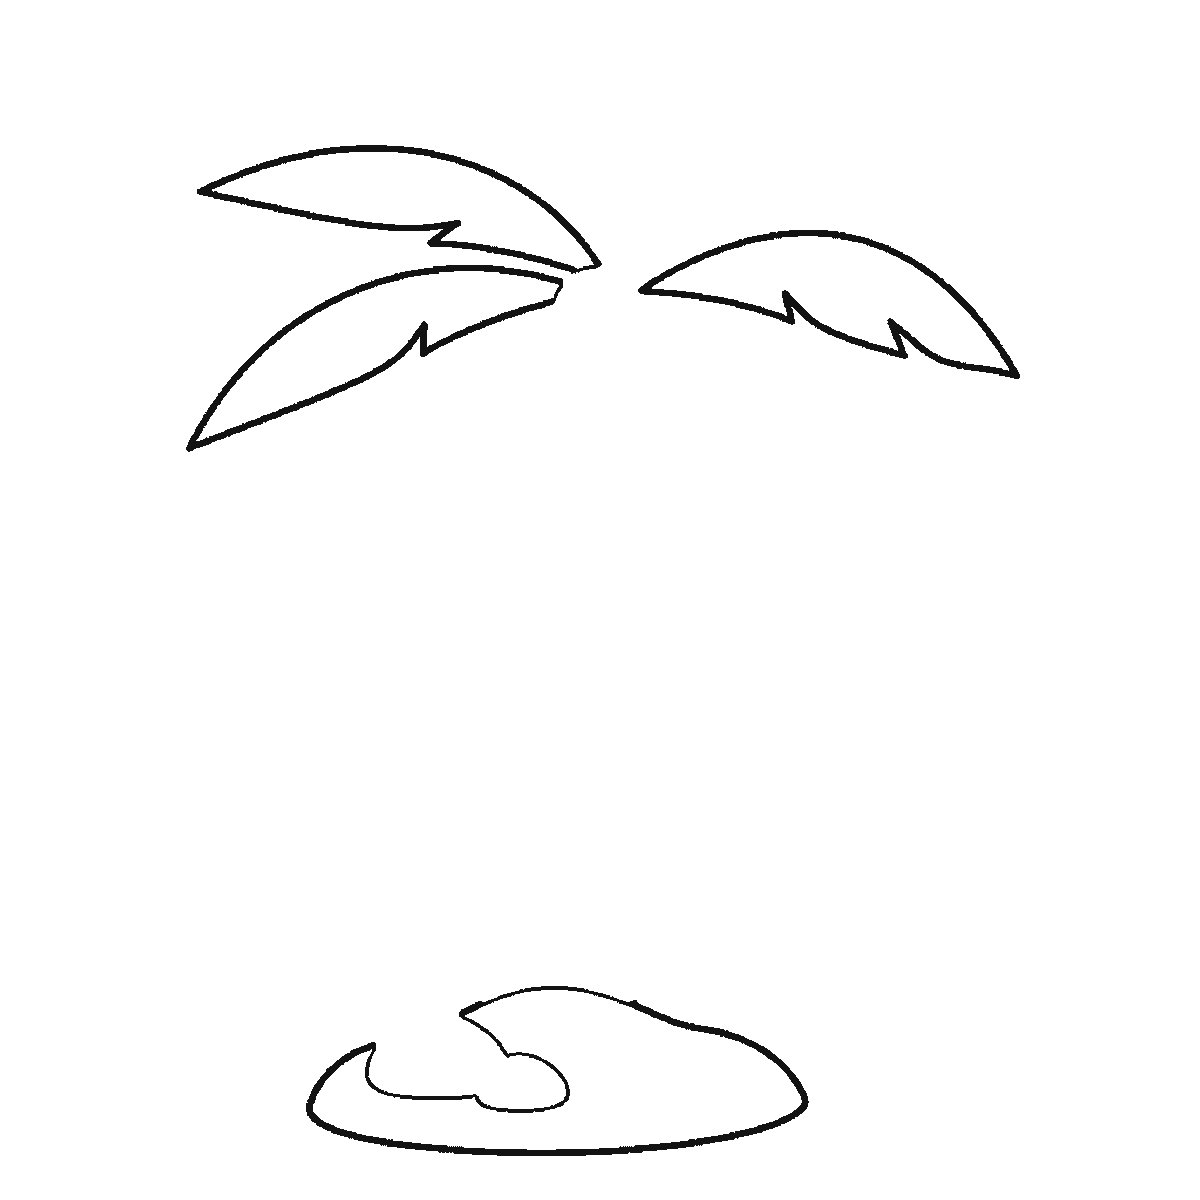
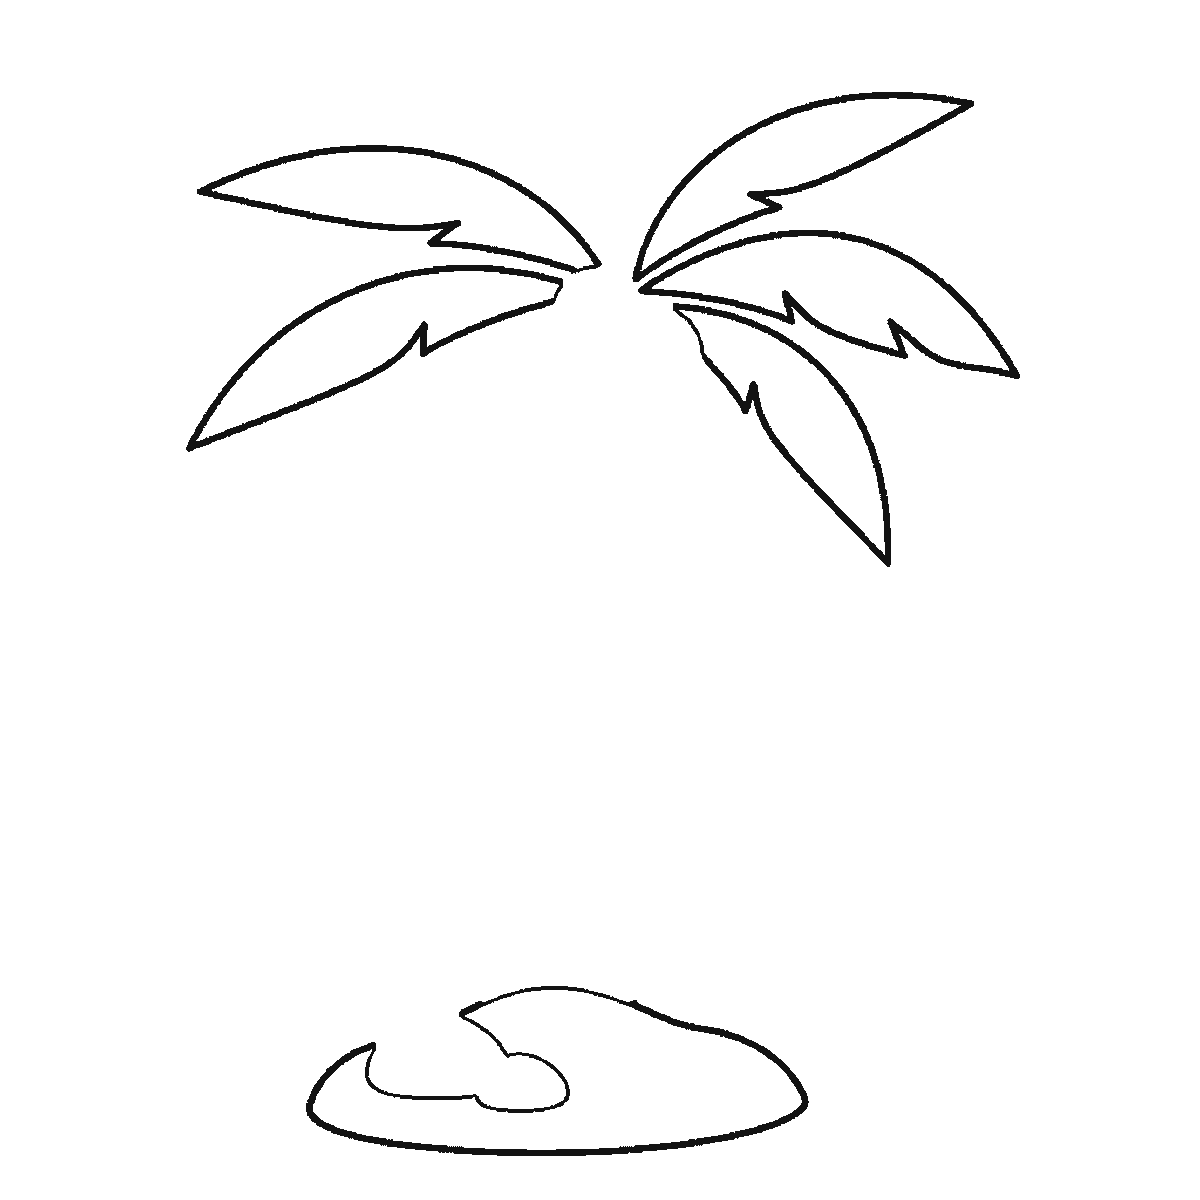
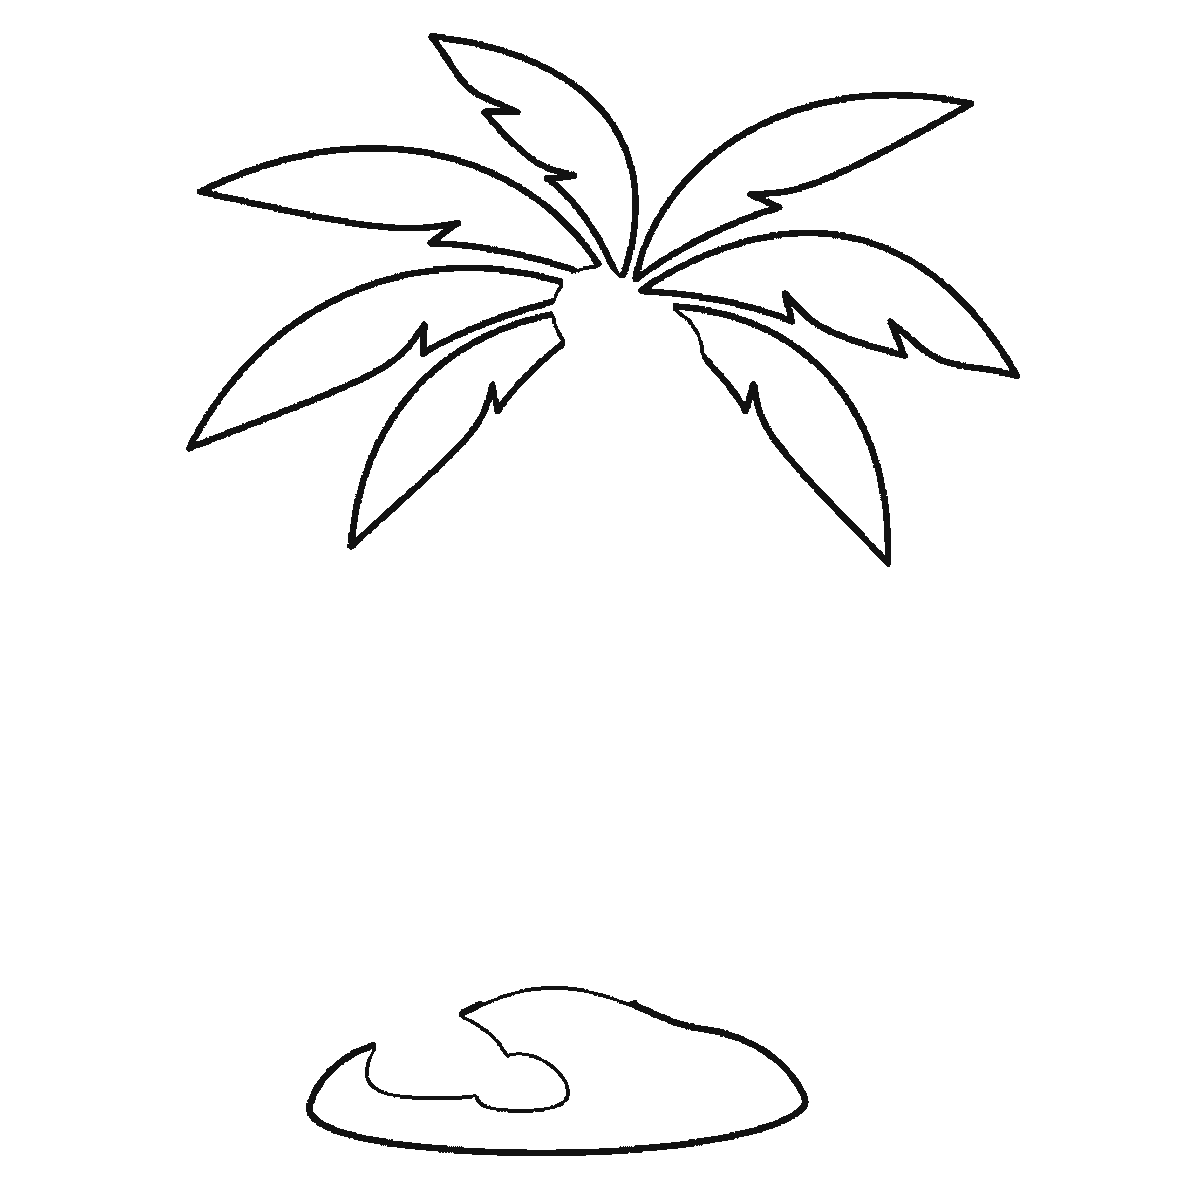
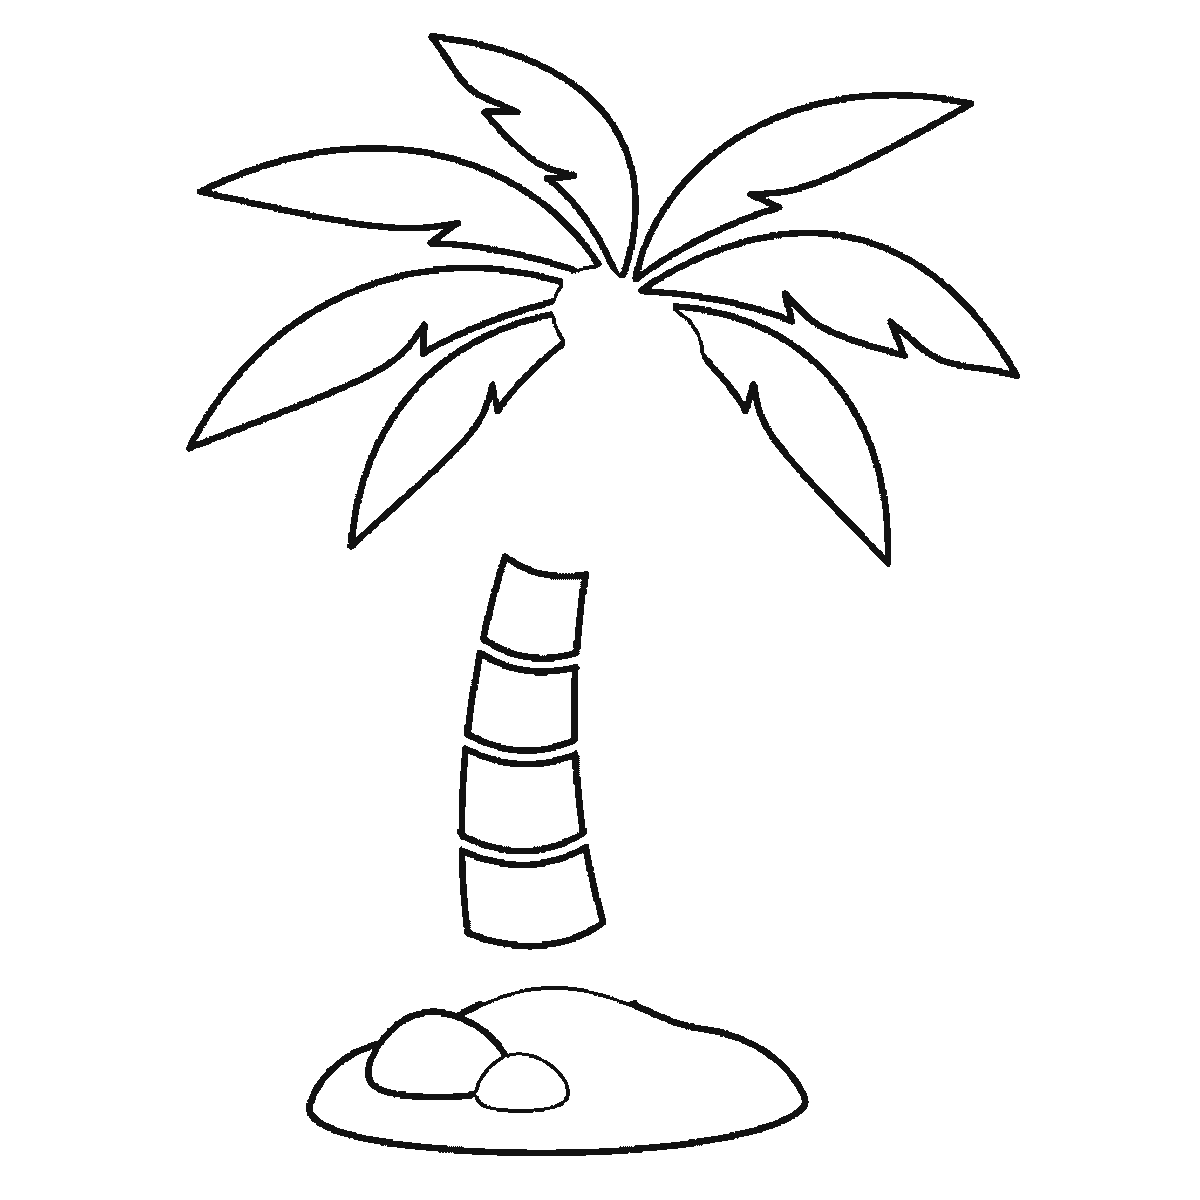
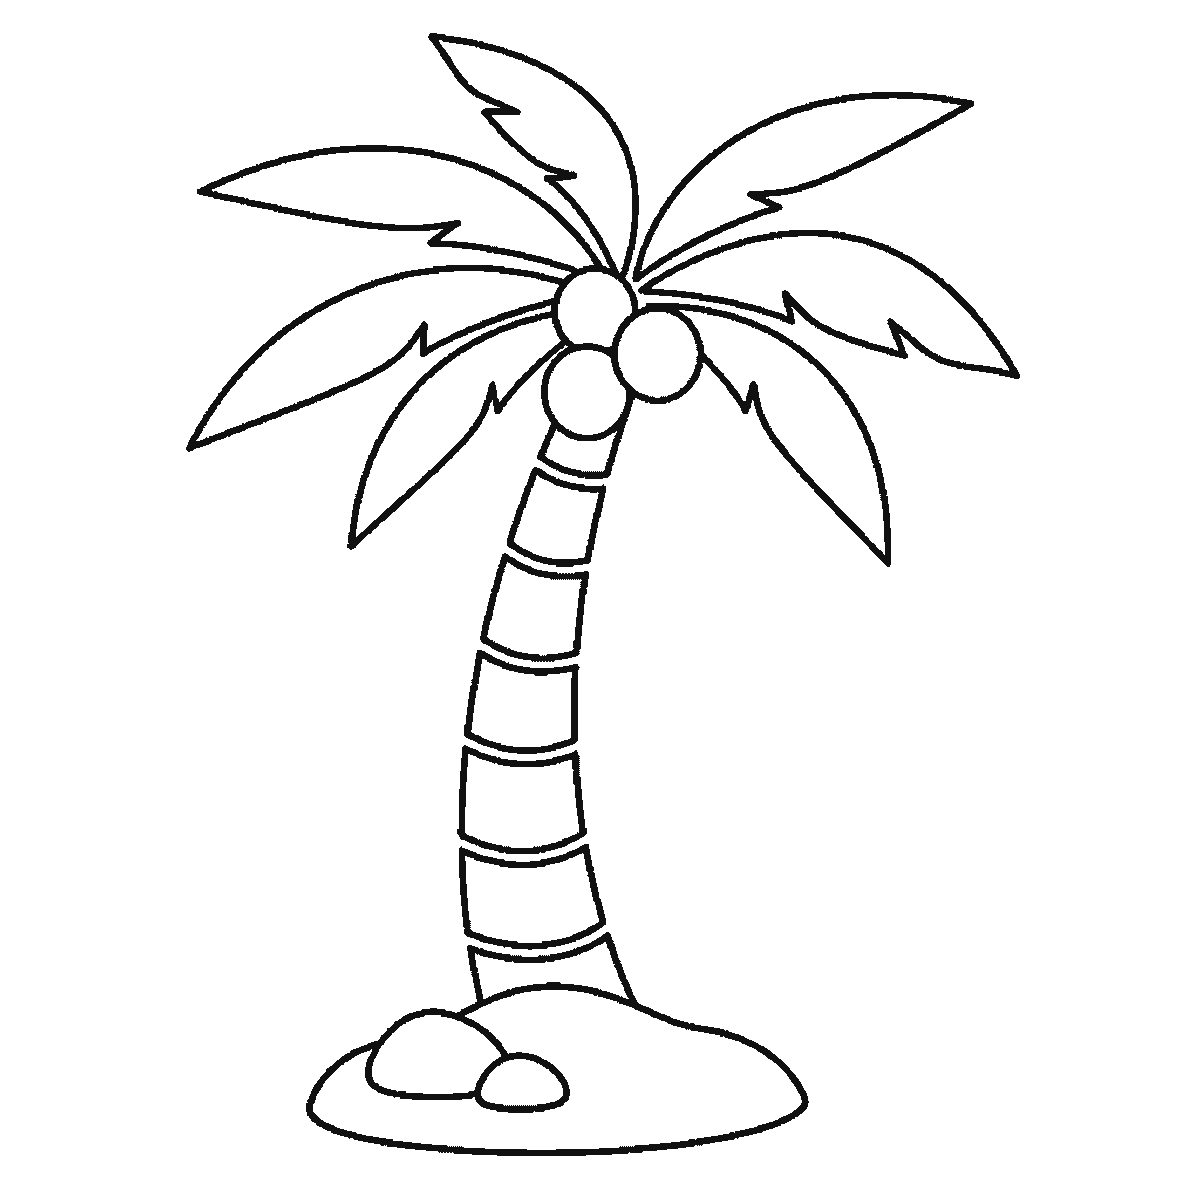
Six frames, one palm tree on a mound of sand. The fronds come first, two at a time; the trunk is not drawn until frame five.
This sheet takes one drawing of a palm tree and shows it six times, each frame carrying everything the frame before it had and adding a little more. Print it, put it beside your paper, and copy one frame at a time.
The order here is the opposite of what almost everybody expects, and it is the reason this page is worth reading before you draw. Frame one is one frond and the mound of ground at the base. Frames two, three and four add the other six fronds, two at a time. The trunk — the thing every beginner starts with — is not drawn until frame five, and its top and bottom sections not until frame six. The coconuts are the very last thing on the page.
That is not a suggestion about how to draw a palm tree. It happens because the frames are ordered by the size of each closed shape, and a palm frond is a big shape while a trunk drawn as a narrow banded column is a stack of small ones. But it is a genuinely interesting way to work if you try it: setting the crown of fronds first and hanging the trunk under it afterwards makes it much easier to get the tree leaning the way you want, because the leaves decide the balance of the drawing and the trunk merely connects them to the ground.
There are seven fronds and they radiate from a single point at the top of the trunk. Each is drawn as a long closed shape with a zigzag notch cut into one side, which is what suggests the split leaflets without drawing every one of them. The notches all point the same way along each frond — towards the tip — and copying that consistently is most of what makes them read as palm rather than as fern.
The trunk is drawn as six stacked bands rather than as two long lines, four of them in frame five and the top and bottom ones in frame six. Those bands are the old leaf scars a palm carries all the way up, and drawing them as separate closed segments rather than as lines across a column is what gives the trunk its texture. The trunk curves — it is not vertical — and the curve is what stops the tree looking like a lamp post.
The three coconuts sit in a cluster where the fronds meet the trunk, and they arrive in the last frame. They are simply three overlapping circles, and they are worth waiting for rather than adding early: drawn first, they tend to push the fronds outwards and leave the crown looking sparse.
The six frames are ordered by which closed shape is largest, biggest first and smallest last. That is why a frond comes before the trunk, and it is not a claim about the right way to draw a tree. If you would rather draw the trunk first, as most people do, the finished drawing is the same drawing.
The download is one A4 page with all six frames on it, so a class can work from one sheet each. It is a plain black outline on white and prints on any printer. Once you have copied it, the useful variation is to draw the same crown of fronds on a much shorter, fatter trunk — that is a different species of palm entirely, and it costs you nothing but the trunk.
Before you start
- Mark where the fronds meet before you draw any of them. Seven leaves radiating from a point you have not decided on will not meet neatly.
- Curve the trunk. A straight vertical trunk is the single thing that makes a drawn palm look like a signpost with leaves on.
- Point all the zigzag notches towards the tip of each frond. Notches pointing both ways read as damage rather than as leaflets.
- Draw the coconuts last, as the sheet does, and overlap them. Three separated circles look like fruit that has been arranged rather than grown.
Published Updated 581 words
The six steps
The steps go from the largest shape to the smallest, which is an easy order to copy. It is not the only order, and it is not a rule — if you would rather start somewhere else on the sheet, do.
Step 1
Step 2
Step 3
Step 4
Step 5
Step 6
More in this section
How to draw a sunflower
Six frames, one tall sunflower with two leaves and a bud. The seed head and one leaf first — and no petals at all until frame three.
Step sequence made by us from a single drawing: each step keeps the lines of the one before it and adds to them.
How to draw a landscape
Six frames, one countryside scene with hills, a river, a tree, a house and a sun. The leaves come first and the birds last.
Step sequence made by us from a single drawing: each step keeps the lines of the one before it and adds to them.
How to draw a flower
Six frames, one open flower on a stem. Three petals first, then the other three and the stem, the two leaves, and the centre near the end.
Step sequence made by us from a single drawing: each step keeps the lines of the one before it and adds to them.
How to draw a rainbow
Six frames, a rainbow with a cloud at each end and three birds. The clouds first, then the bands from the outside in, and the birds last.
Step sequence made by us from a single drawing: each step keeps the lines of the one before it and adds to them.
How to draw an apple
Six frames, four apples on a leafy branch — three hanging and one on the ground. Two apples first, then the other two, then leaf after leaf.
Step sequence made by us from a single drawing: each step keeps the lines of the one before it and adds to them.
How to draw a rose
Six frames, one open rose. The centre cluster first, then the leaves, the outer petals and the stem.
Step sequence made by us from a single drawing: each step keeps the lines of the one before it and adds to them.
How to draw a star
Six frames, one faceted five-pointed star and four smaller ones, built one facet panel at a time.
Step sequence made by us from a single drawing: each step keeps the lines of the one before it and adds to them.
How to draw a tree
Six frames, one broad-leaved tree. Trunk first, then the branches, then the foliage in separate clumps.
Step sequence made by us from a single drawing: each step keeps the lines of the one before it and adds to them.
How to draw a beach
Six frames, one beach scene. The sea and its three waves first, then the sun and clouds — and the palm trunk and the parasol pole right at the end.
Step sequence made by us from a single drawing: each step keeps the lines of the one before it and adds to them.
How to draw a wave
Six frames, one big breaking wave. The inside of the curl first, not the outline — and all the spray droplets in the very last frame.
Step sequence made by us from a single drawing: each step keeps the lines of the one before it and adds to them.
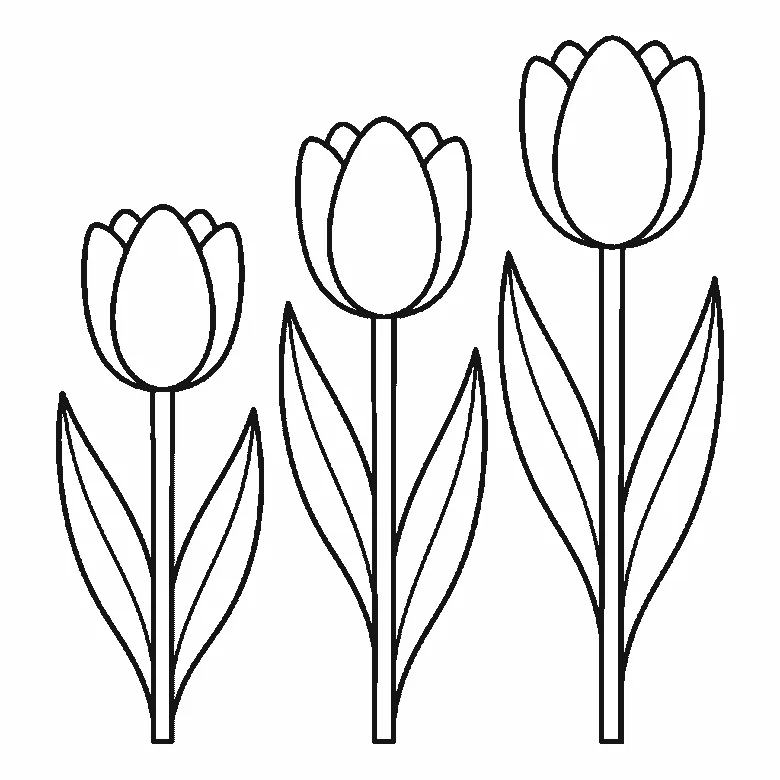
How to draw tulips
Six frames, three tulips of different heights. All three flower cups arrive together in the first frame — and the lines that split each cup into petals come last.
Step sequence made by us from a single drawing: each step keeps the lines of the one before it and adds to them.
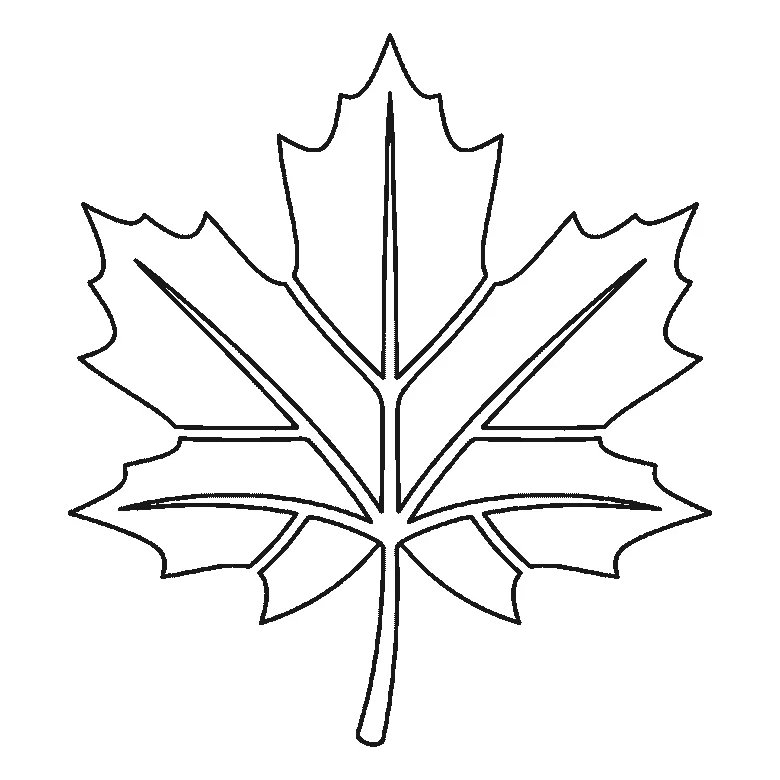
How to draw a leaf
Six frames, one maple leaf — and this sheet is the tidiest on the site: one lobe per frame, each with its own vein, and the stem last.
Step sequence made by us from a single drawing: each step keeps the lines of the one before it and adds to them.


